Hi there, this is Annika from Annika Olsson Photography. Can you believe that the end of March is closing in and it’s almost Easter!? I have been secretly looking forward to this holiday since we moved ito our new house late last spring. This season symbolizes so much to me; growth, colors and the endless excitement and inspiration I feel, whenever I see life blossom and recreate itself.
The project I have for you today has been in the making for quite a while. You see, the first thing we built here after moving in, was a chicken coop because we were so excited about the idea of having fresh eggs every day. Since I love to do research, that of course became part of the ‘chicken buying project’ and when I learned how many different colors eggs naturally come in, I was over the moon. I knew exactly what I wanted; to go out every day and not only collect a handful of nourishment, but a handful of colorful little wonders.
We have, for the last 8 months, been receiving 4-5 eggs daily, in four different colors, and I still get as excited as the day we got our first egg.
In my first post here on the blog, Nursery Wall Decor, I talked about the ability to create something new from scraps and found objects. In this project we are going to do just that again, but with eggshells. I think these babies are way to pretty to waste, plus eggshells are such a fun object to use for crafting and decorating, and now that Easter is coming, it’s the perfect project.
Since I love lettering, I thought that would be a fun theme for this egg decor. I’m not so confident with doodling (have you seen some of the egg doodling projects out there? They are gorgeous!) Anyway I felt this was more up my alley, all-though I’m pretty new to lettering. I do believe that in every new project, there’s room for improvement, so I might just learn something myself.
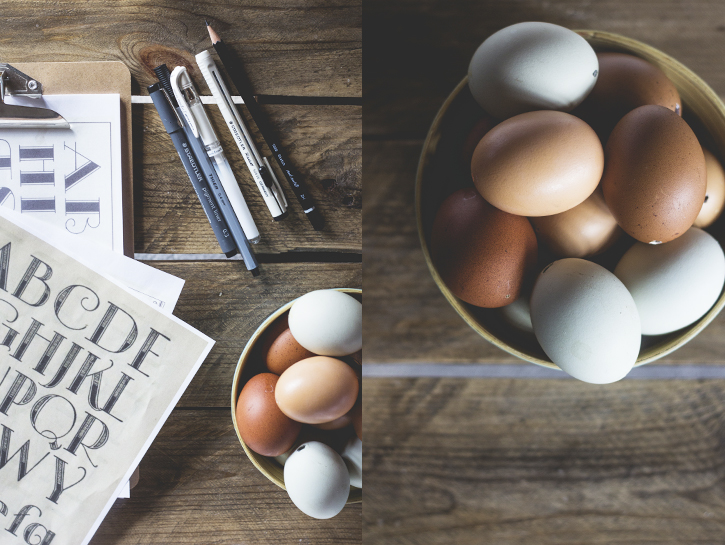
So let’s get started on some egg lettering! You’ll need the following materials to complete this project:
1. Pencil, eraser, & pigment ink pen.
(i used a white one, but feel free to use any color of your choice)
2. Print-out of letters/text for reference.
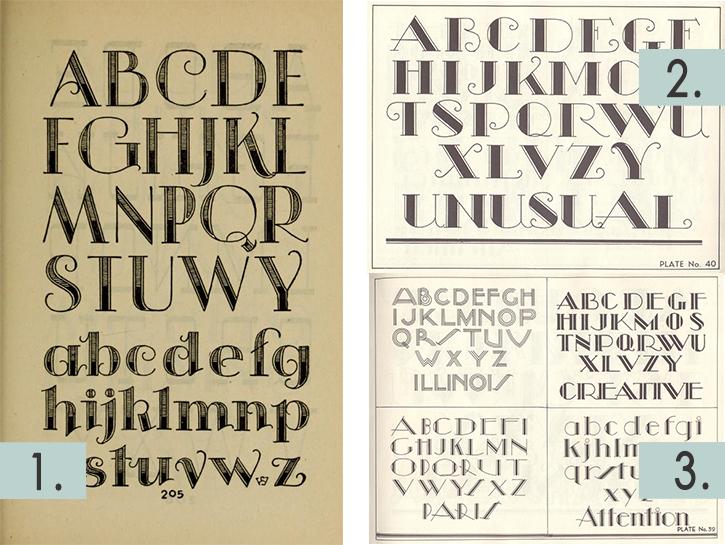
Some of you might be really awesome at lettering without any reference, but if you are (like me) not so comfortable yet, reference material is the way to go. You could use books or anything that has type on it, but it’s nice if you can print/scan it, to get a physical copy. This way you can make some test sketches on it, to be more sure of your strokes. I have made a few reference pages ready for you to download and print. See above picture: Download 1 – Download 2 – Download 3
Sometimes it’s hard finding good references, and books can be expensive, so I’m gonna share with you, THE MOST AWESOME PLACE on the internet for referencing and inspiration on lettering, type and graphics:
May I present to you, the Internet Archive.
This place has digitized millions of free books, including several on the above topics. Now before you rush off to spend countless hours browsing a vast land of information, I’m going to point you towards a few books, that are really awesome for this particular project. Also, the really cool thing about these books is, that you can download them as PDF’s, or just save and print individual pages while flipping through online.
Book 1: Studio Handbook
Book 2: David’s practical letterer
Book 3: Convenient book of specimens
3. Eggs (“blown out”), store bought or maybe your own, dyed or as is.
There are tons of tutorials on how to blow out eggs. Just have a look at this Pinterest search (I chose a nasal aspirator, which made it very easy). As I told you in the beginning, the colors on our eggs are just gorgeous, so I didn’t have to color them. But if you need to, there’s quite a few natural egg dyeing tutorials on Pinterest to choose from.
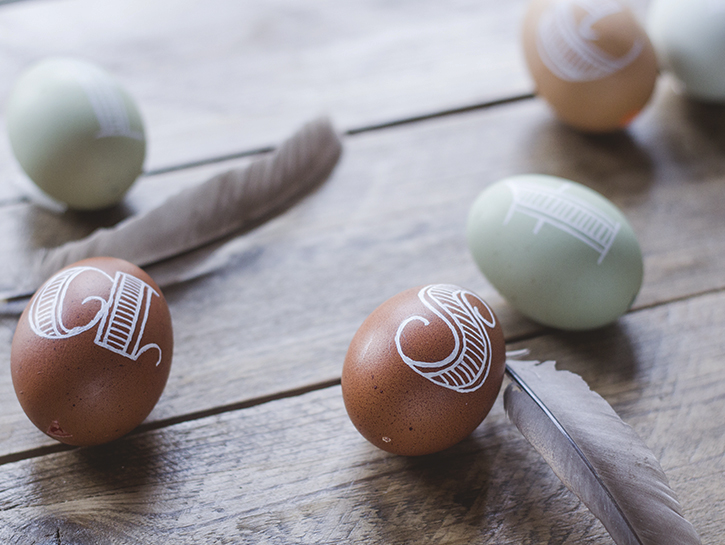
Now that we have everything ready, we are going to do some lettering. Follow the steps in the picture below to create your own awesome Easter eggs.
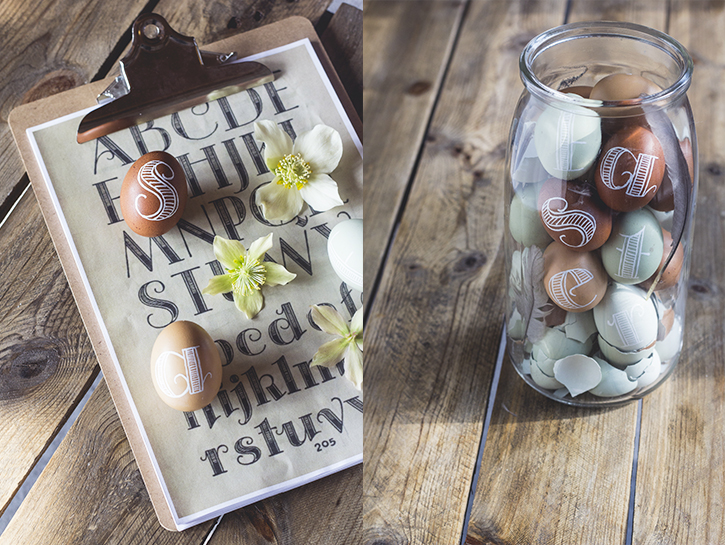
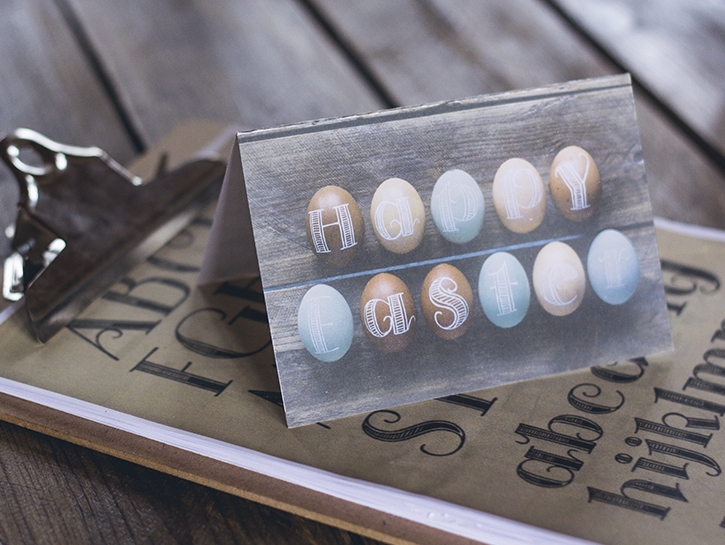
Hopefully you now have a bunch of gorgeous lettered eggs, ready to decorate your home for Easter. I put all of mine in a big glass jar with some broken shells and some feathers. I really like the look of that. I also made a snapshot of all the eggs and turned it in to a simple Easter card. You can download it here:
Easter card A4 size
Easter card Letter size
I hope you liked this tutorial. If you are interested in more inspiration on lettering, you can follow my Pinterest board and visit my blog, where you’ll find more about lettering and DIY projects.
I WISH YOU A HAPPY EASTER !!!!





Too cute and fun! We have to try this!
These eggs are absoutely stunning! So beautiful! Thanks for the downloads too!
LOVE THESE, Annika! Thanks for a the Easter inspiration, downloads and references too. xo
So beautiful in your glass jar! Terrific Easter decor!