Want to take stunning baby photos on-the-go?
This ongoing warm and blooming season offers plenty of opportunities for outdoor photo sessions with your baby. I find myself snapping way too many pictures (is there such a thing as too many?) of my adorable baby and I have all these ideas of photo-shoots I want to do with my baby girl dressed up in cute clothes, with flowers in her hair, sitting in the long summer grass.
This all sounds very romantic, but all mamas know that taking staged photos of your little ones in all sorts of outfits with cute accessories takes time and planning. We might be able to plan around our baby, but if baby gets upset or fussy in time for the photoshoot, you may just have lost precious time. I call it precious time, cause when we plan for something and don’t succeed at it, it add to our mama stress level. We want to do so much for and with our little ones and that include capturing all those beautiful moments of our way to fast-growing babies. We don’t want our life as mothers being an endless list of to do’s and miss out on what’s most important, so we need to spend our precious time wisely. 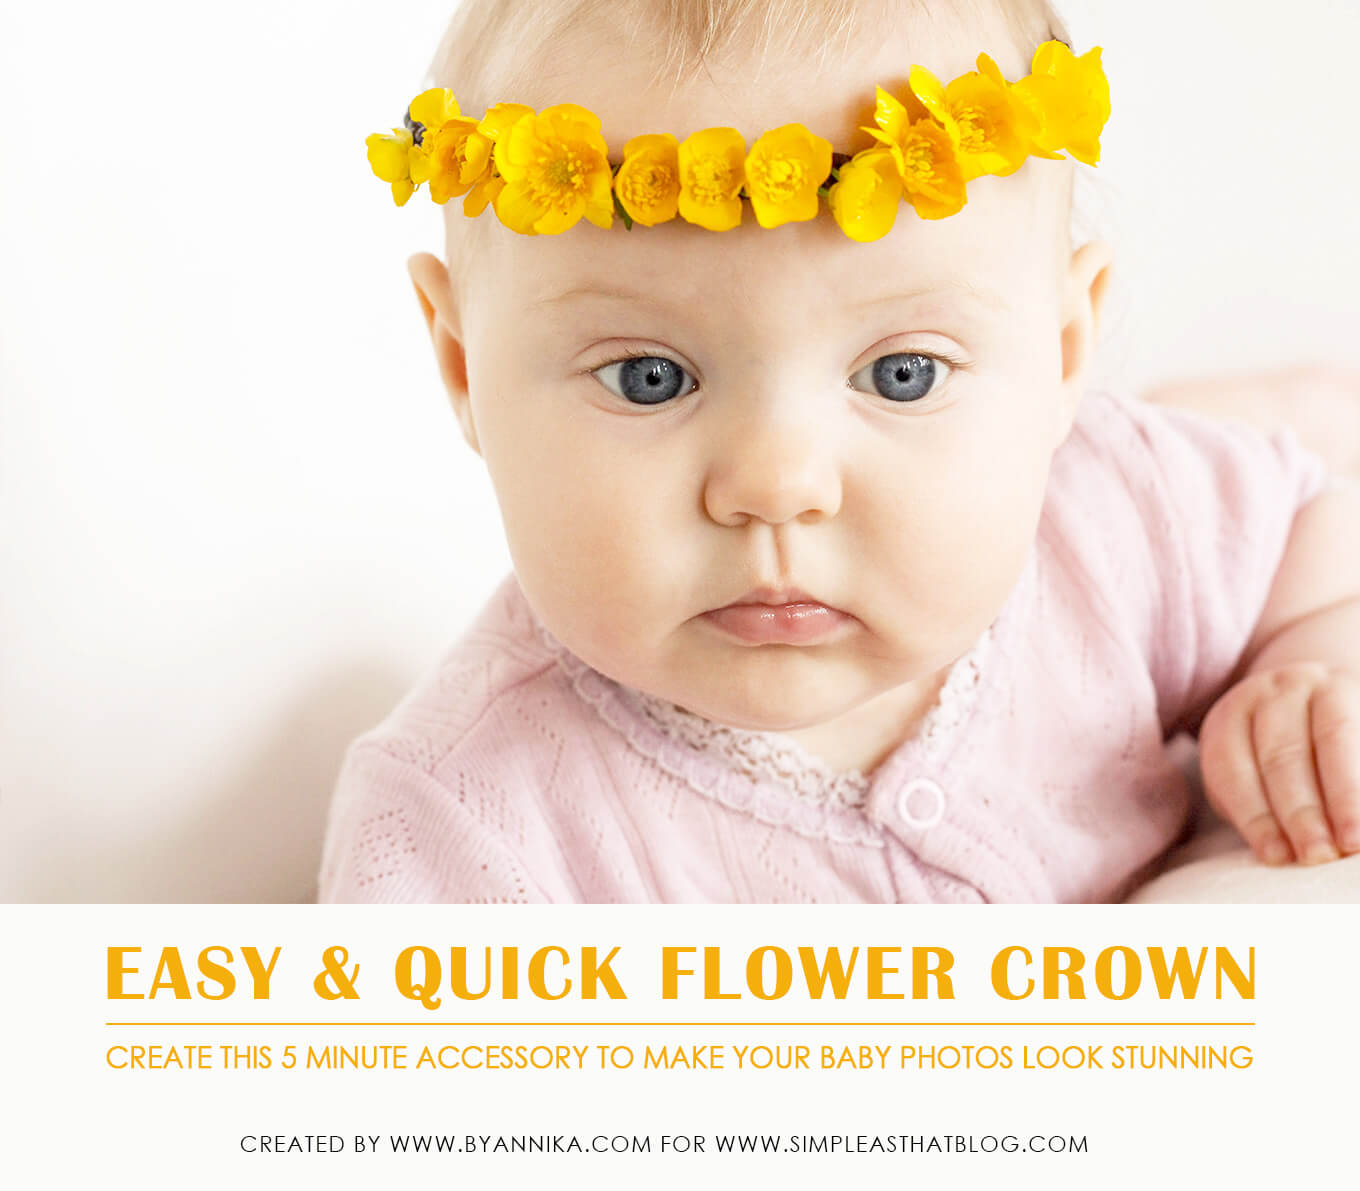
“Easy and quick, on-the-go solutions are our success”
I believe in setting yourself up for success and as a mama, practical, easy and quick, on-the-go solutions are our success. Am I right? So that’s exactly what we are going to do today. Setting yourself up for success.
HOW TO TAKE STUNNING PHOTOS ON THE GO
“You only need one simple accessory to take stunning photos”
Think about all the times you take your baby for a stroll around the park or to the beach. These places have so many photo opportunities and are beautiful settings for taking gorgeous pictures. I know you might be thinking, that bringing loads of outfits and accessories to the park for a photoshoot is not your idea of doable with a baby. Well, we will not be doing that. Basically, you only need one simple accessory to take stunning photos and that’s flowers. Flowers will make any scenery light up with both color and warmth, and that goes for baby photos, too.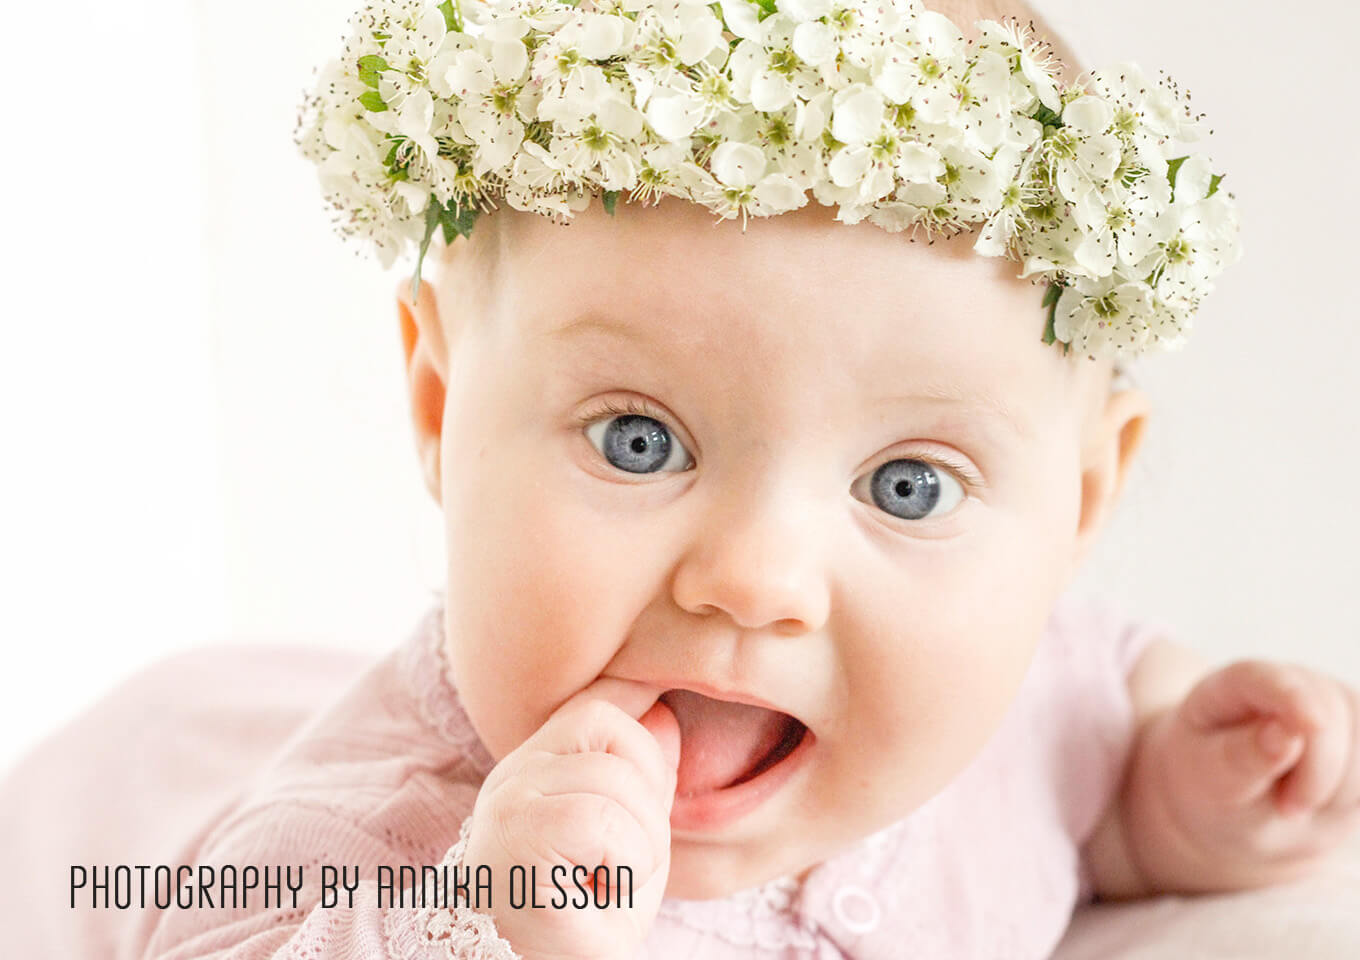 THE FLOWER CROWN
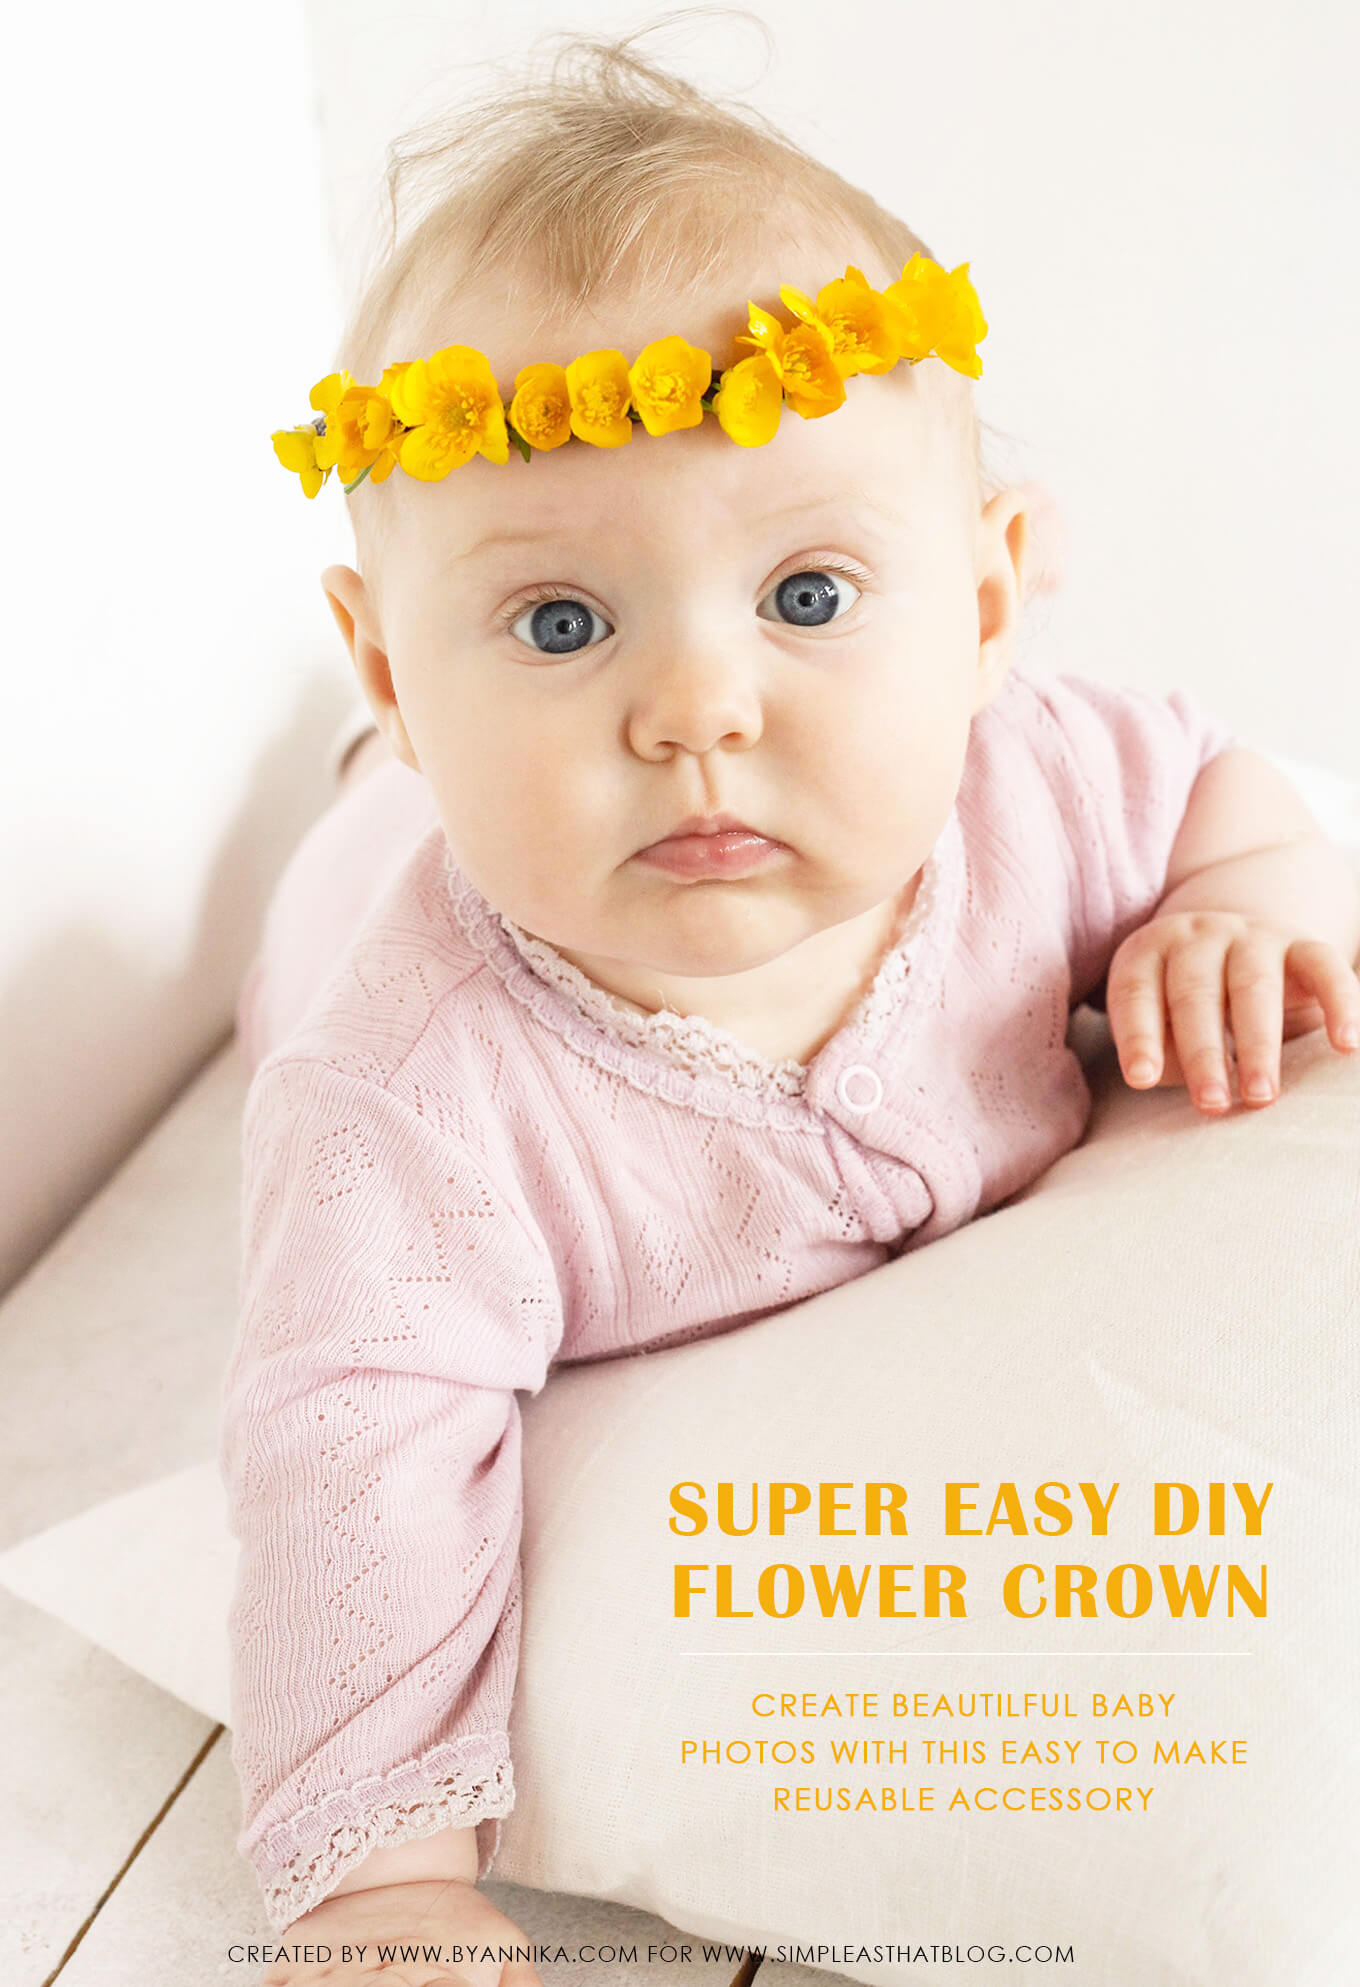
Today I’m going to show you how to create a reusable headband for a flower crown. The headband will be your on-the-go accessory for photo shoots, and you can use it wherever you are, on your walks and adventures with your baby. It’s reusable and will easily fit in your bag.
“It only takes 5 minutes to create a flower crown”
You have probably made a flower crown or two before and therefore know how time-consuming they are, let alone how quickly the flowers get soft and loose their crispness. When you make this headband base first, the flowers can be picked and inserted right away into the headband for your on-the-go photo shoot and afterward you just toss the flowers and keep the headband for your next session. This way it only takes 5 minutes to create a flower crown and that is something that is doable when you have a baby.
WHAT YOU NEED (for your on-the-go photo-session)
Besides your beautiful baby, you’ll need to bring a few things on your walk – but I’m almost certain they are already in your bag or pram.
– Camera (mobile or DSLR)
– Blanket/small pillow to place your baby on.
– Outfit (the one your baby is wearing)
– Headband (the one we are making today)
That’s it.
THE HEADBAND
We are going to create a braided headband from a leather cord. Leather cord can be purchased at any hobby store like Michaels and Hobby Lobby. I used a leather string with a 2-3 mm thickness. When you braid with leather, you can make the braid a bit loose, which will give you a braid that has little holes along the headband. We insert the flowers in these holes to create our flower crown.
You’ll need three pieces of leather cord with the following measurement:
Measure your baby’s head (circumference – where you would place a headband) and add 2.5 inches to that number.
Follow the step by step tutorial and use the images below for reference to create your headband.
- Braid the 3 leather strings loosely, so the pattern creates openings/holes along the braid. Leave 1 inch unbraided at each end.
- Braid in the ends at opposite ends to form a circle.
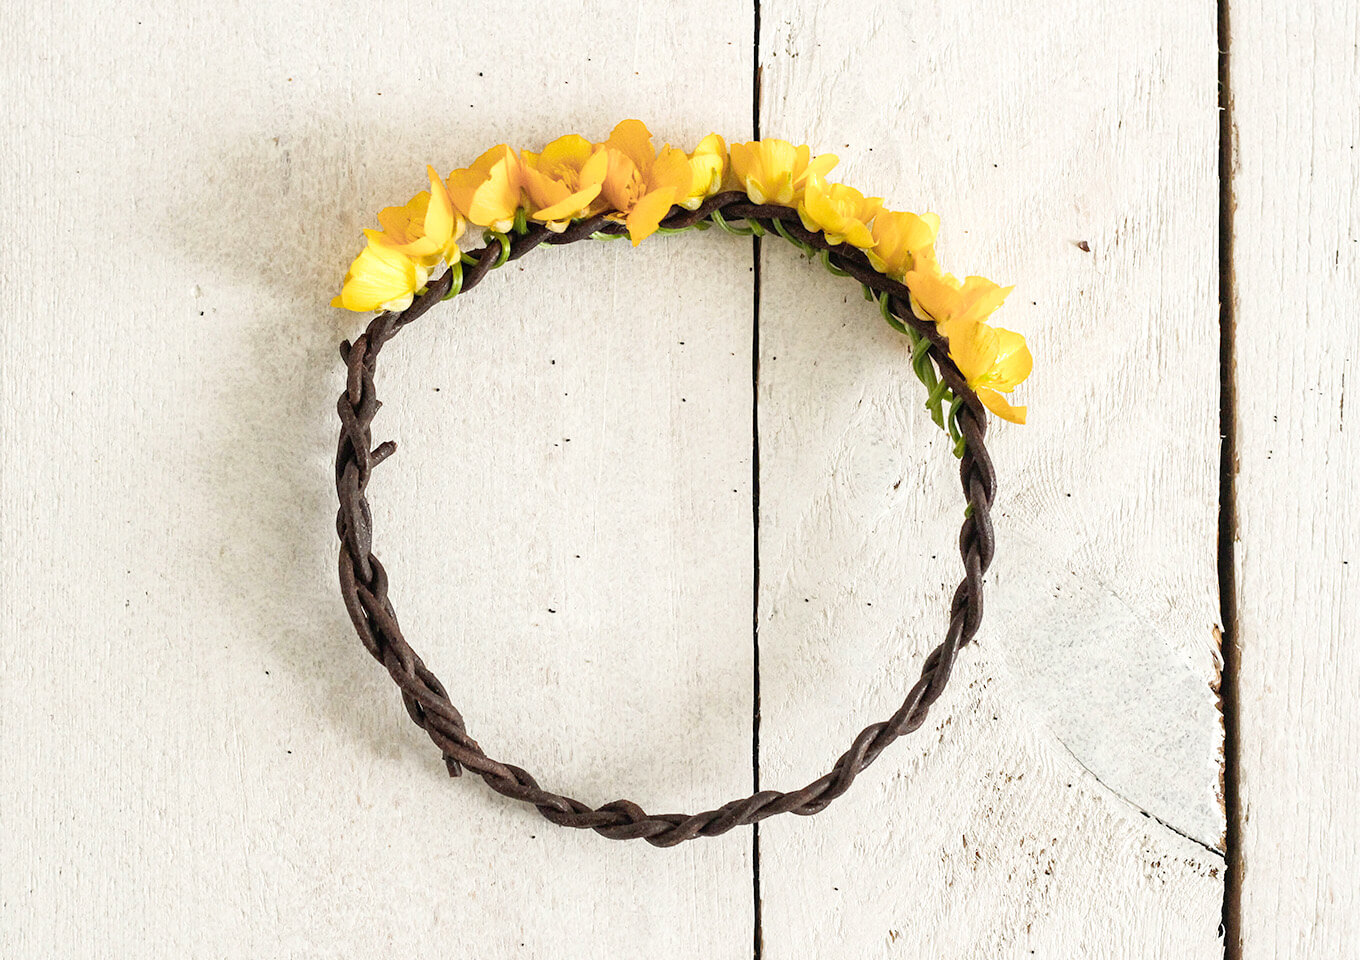
- You should now have a braided circle with holes, where flowers can be inserted around the headband.
These are the simple steps to creating a reusable headband.

 CHOOSING FLOWERS.
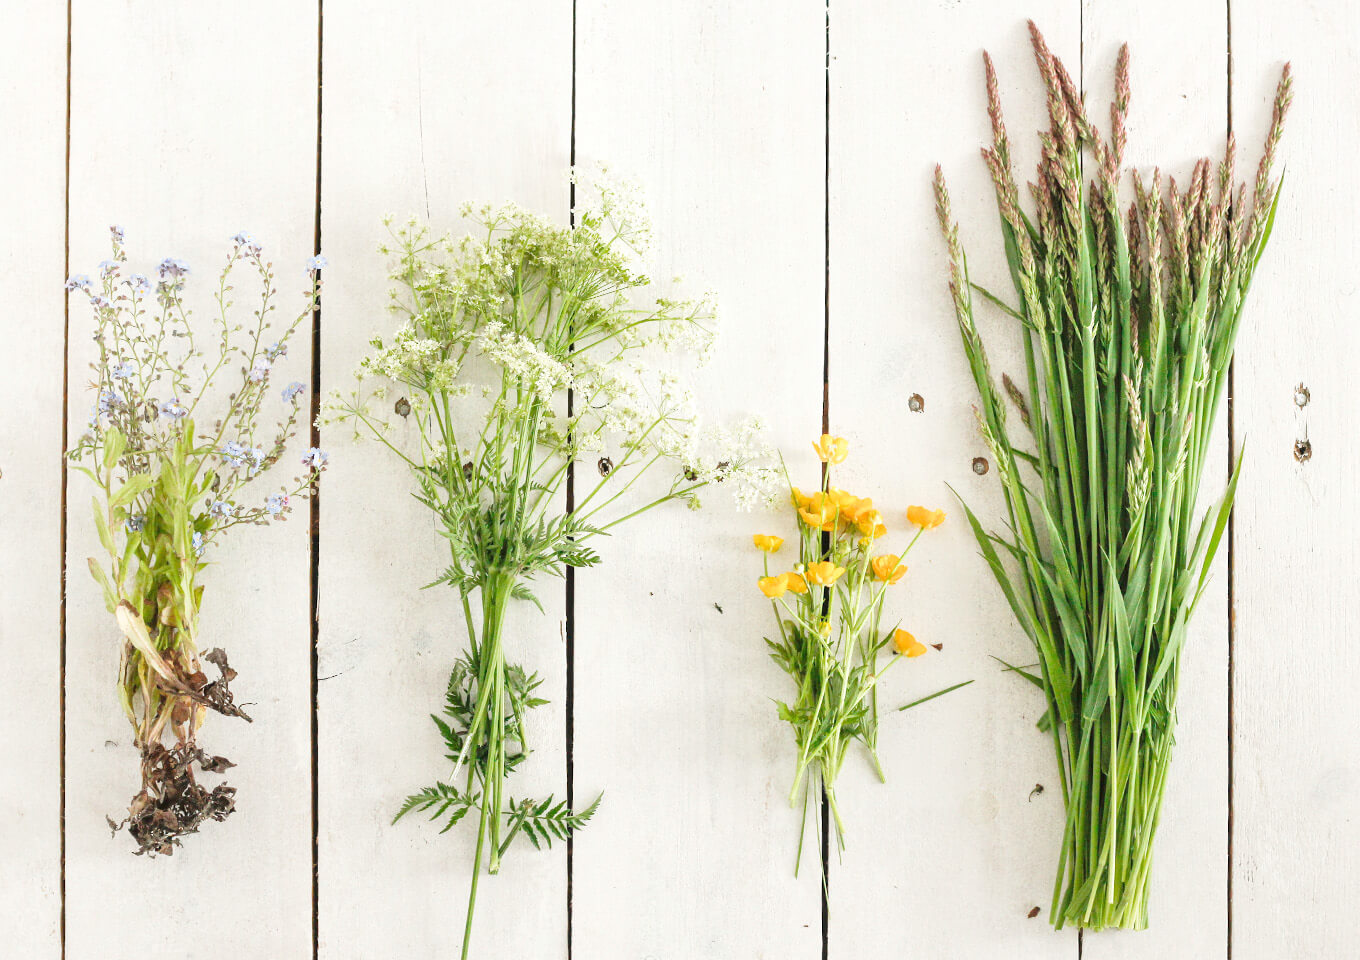
Most of the flowers I used for the images in this post were either simply flowering weeds or from bushes. A few flowers will go a long way, you absolutely don’t have to go pick a whole field. You can, of course, attain great results with cut flowers from a shop, too, but to keep things simple, I suggest you go see what nature will offer you on your walks. You’ll be surprised at how many different wildflowers you’ll find along roadsides. If you are the lucky owner of a garden, you are more than likely to find something there, that will work well for you flower crown.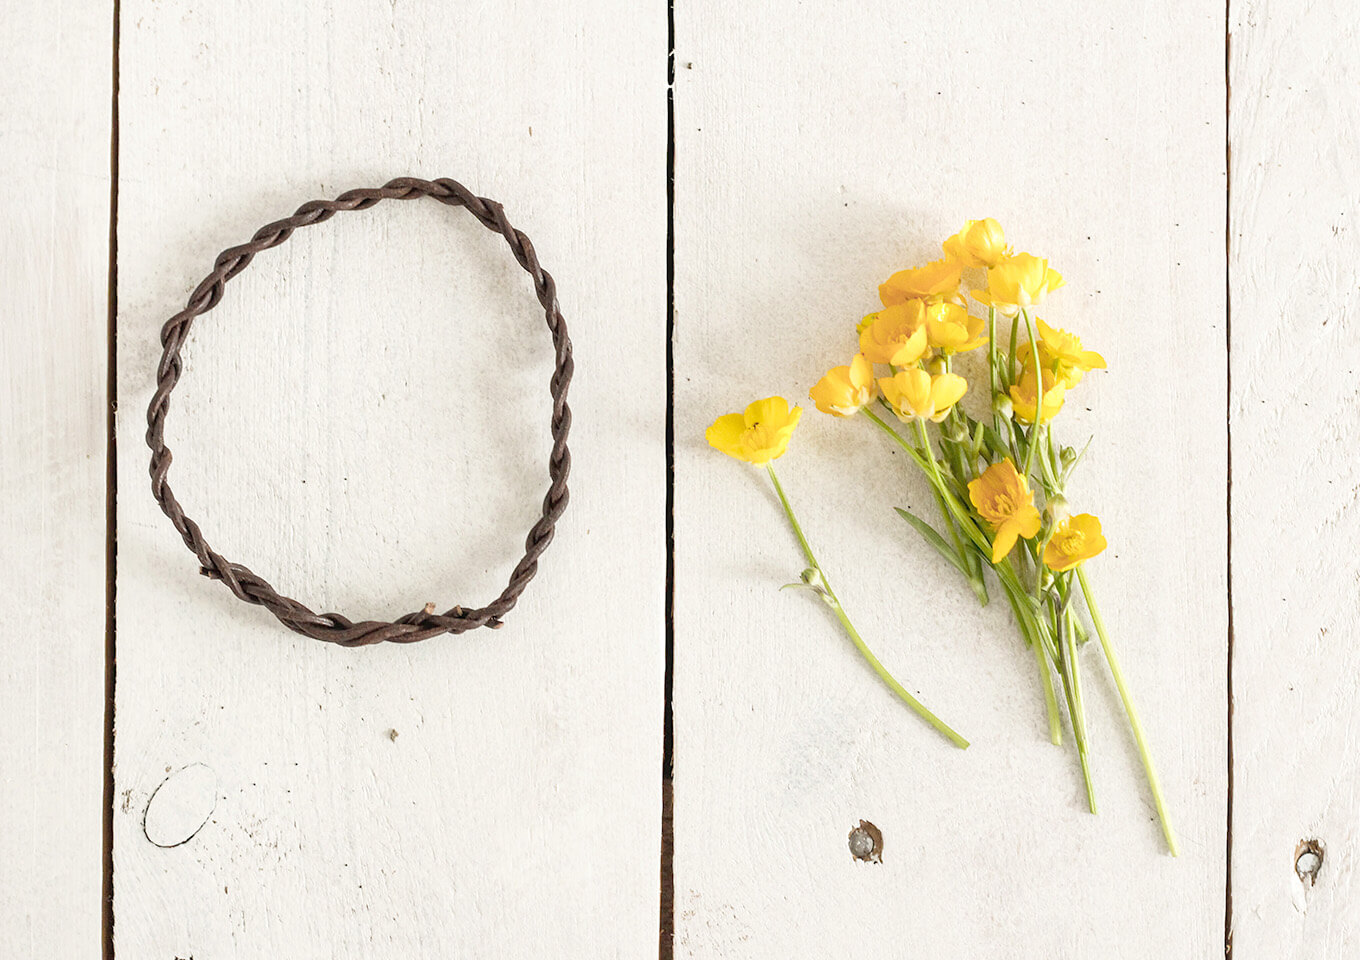
- Take a handful of flower heads with short stems and start inserting them through your braid. Pull through until flower feels a bit stuck. Move on to next flower head. (see image below for alternative way of securing flower with long thin stems)
- Finish off your flower crown by pinching of excess stems on the back of your headband.
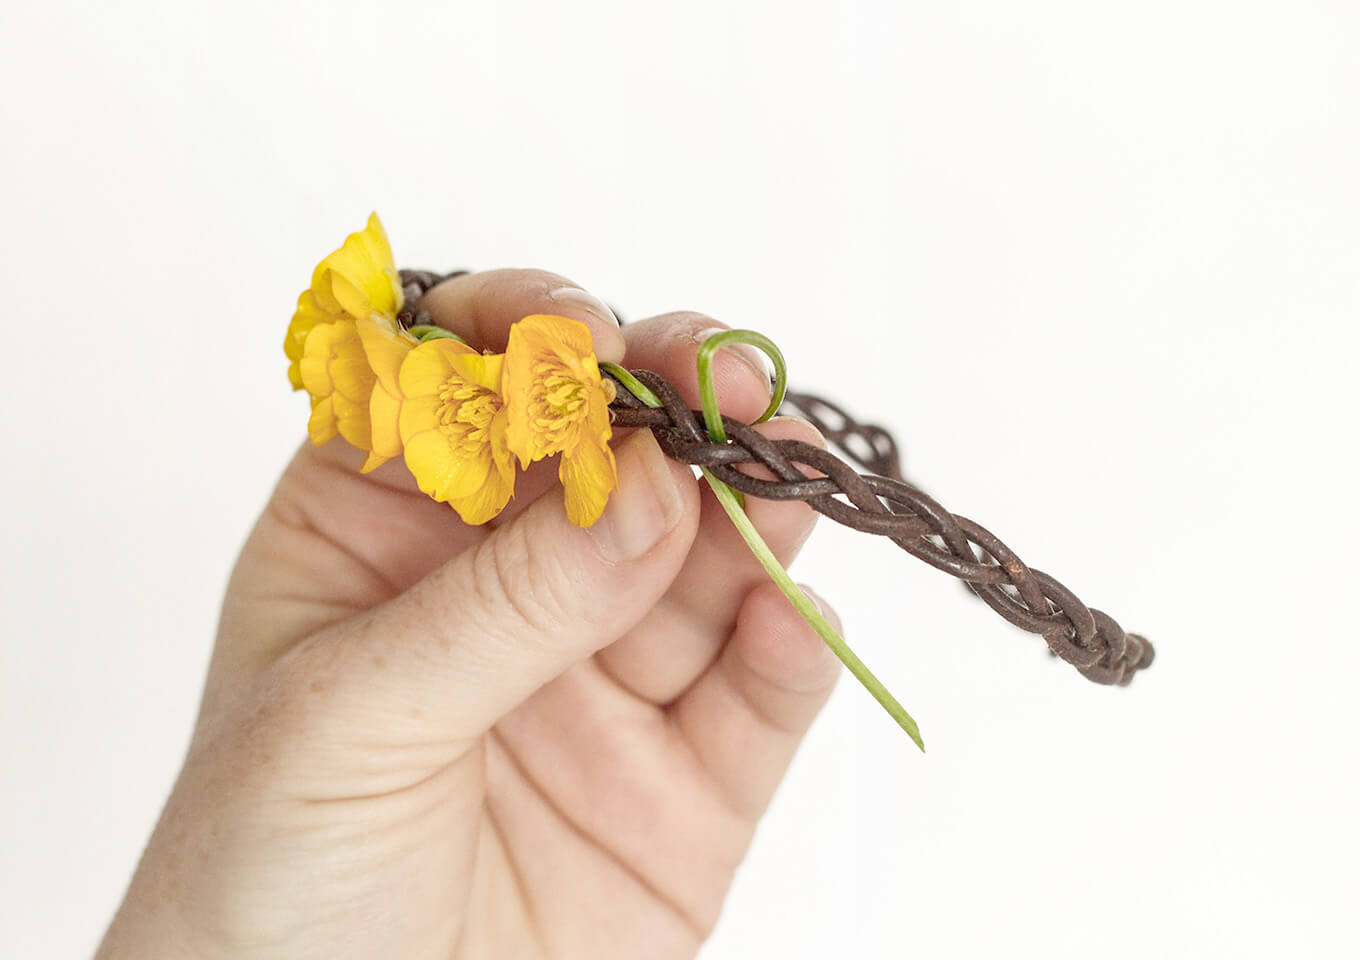 Keep in mind that when filling in the crown with flowers, you don’t have to fill it up all around. Filling up the front of the headband can be plenty when taking pictures of your baby’s face.
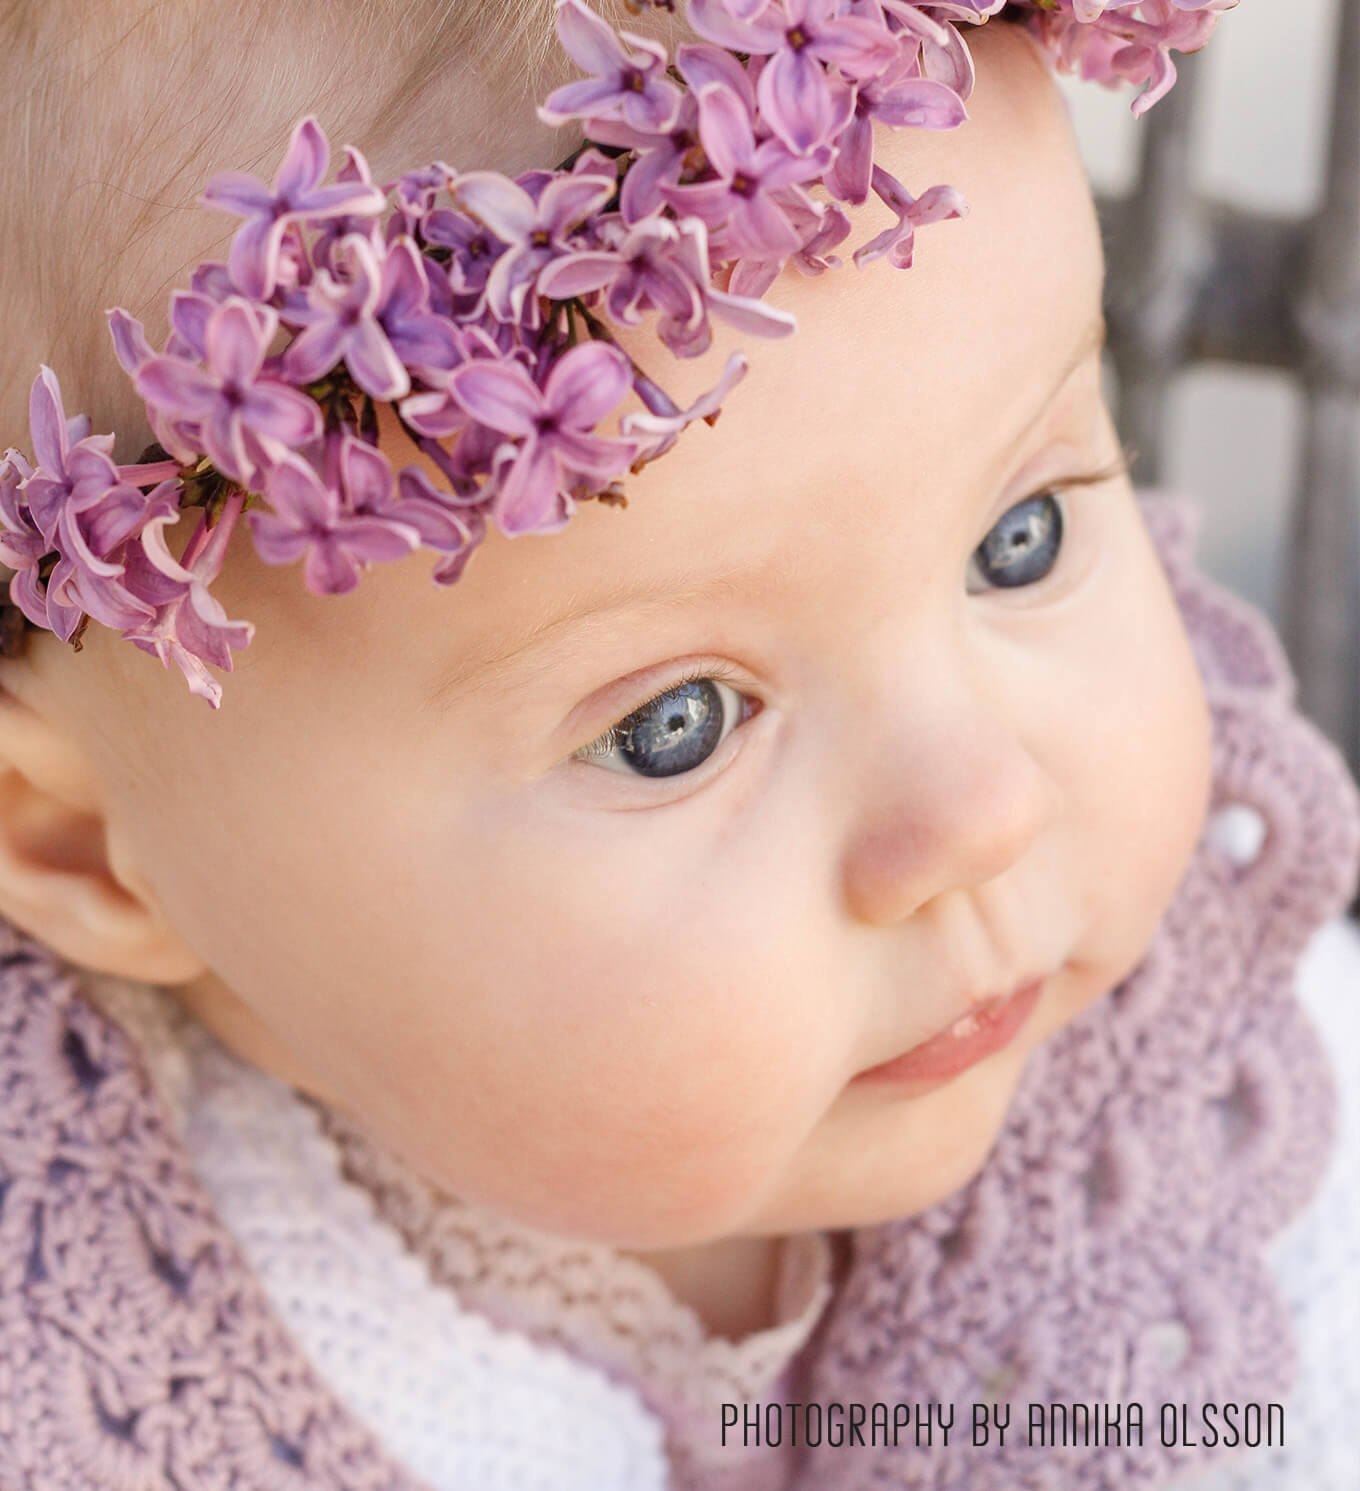 Go see the beautiful photos I got from this (above picture) photo-session with my baby girl wearing a lilac flower crown. There are also some extra tips on how to achieve beautiful images with your baby.
Here is a tutorial on how to make an adjustable reusable headband.
I hope you had fun creating the headband and that you look forward to trying out some on-the-go photo-sessions with your baby.
Let me know if you have any questions.
Have a beautiful summer 🙂
Annika


Leave a Reply