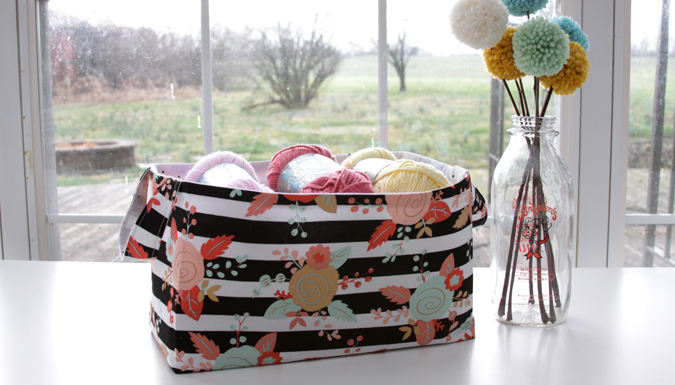
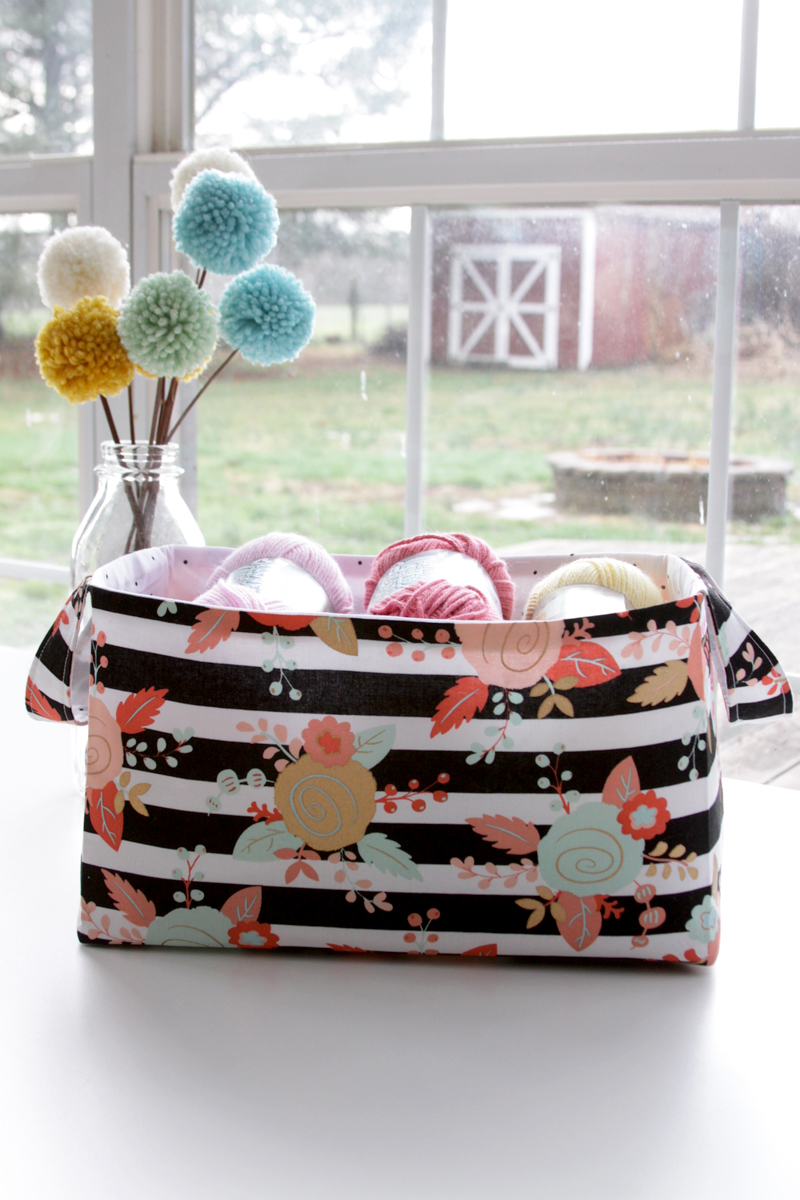
I just love quick and simple sewing projects that are useful, too! This quick and easy fabric basket is so fun to make – it goes together in a about a half hour. It can be used to hold so many things too! It would be great for crafts, toys, or so cute in a closet as storage. And since they go together so quick, you can make a whole set in just a few hours.
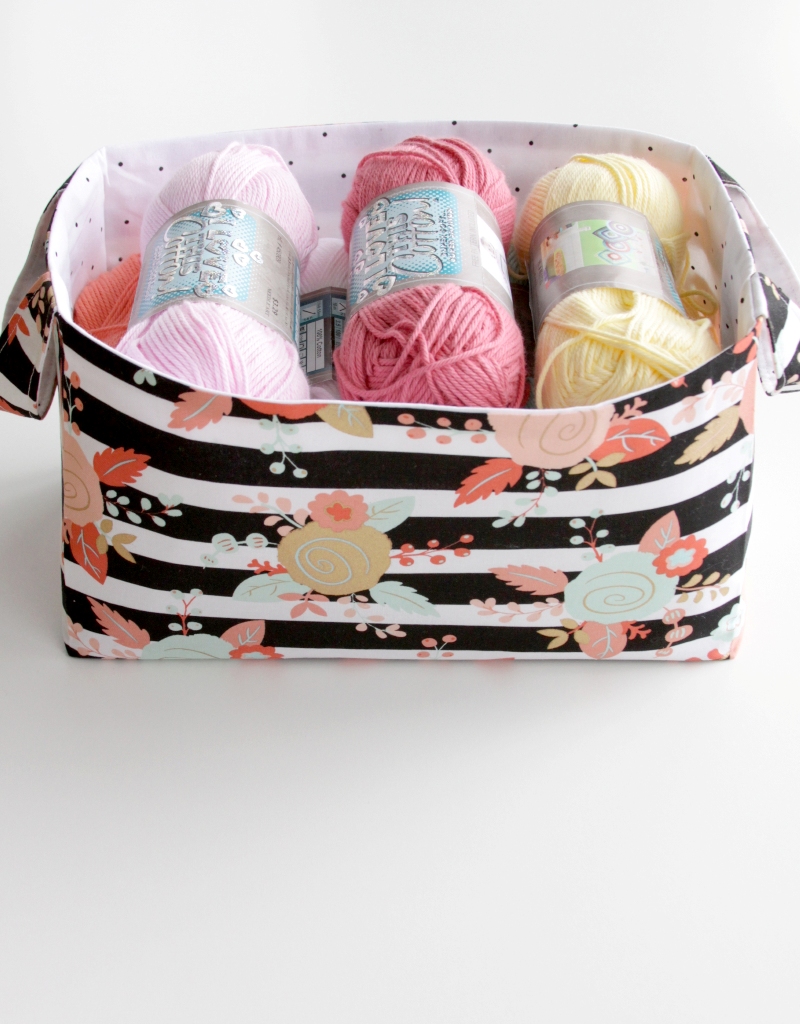
This is perfect for a beginner, too – all you need is basic straight sewing.
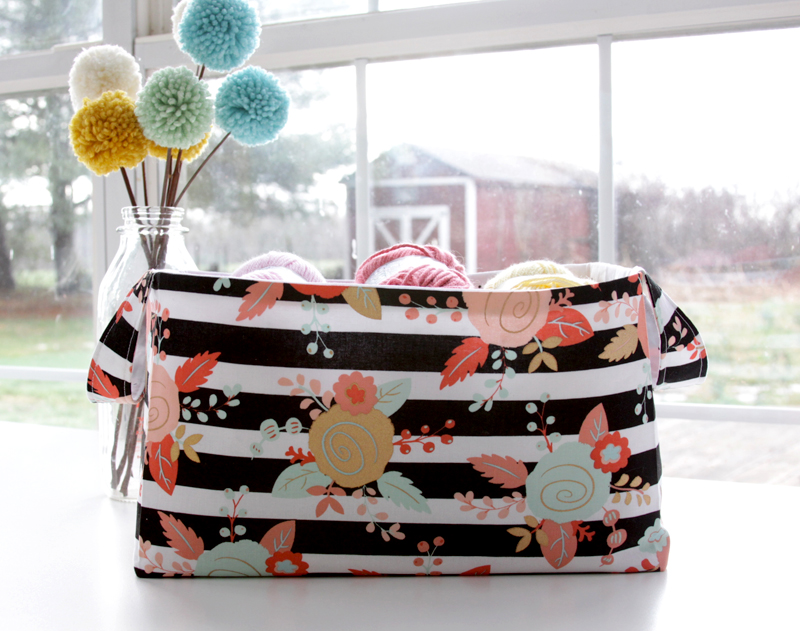
So let’s get started! Here’s what you’ll need:
- Outer fabric: 1/3 yard
- Inner fabric: 1/3 yard
- 2/3 yard of Craftfuse fusible interfacing (it’s a heavier weight interfacing so the basket will hold it’s shape)
Start by cutting out your fabric pieces. Out of each fabric and interfacing you will need two pieces 11″ x 22″. Iron the fusible interfacing to the wrong side of the outer fabric.
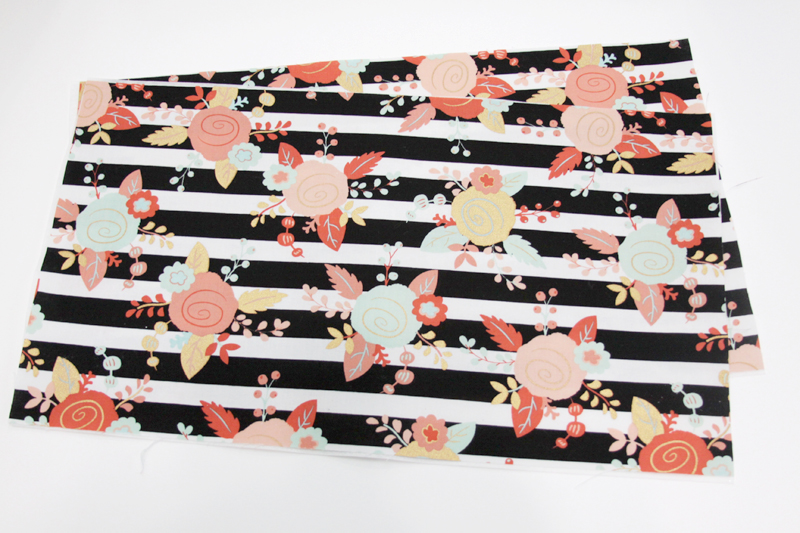
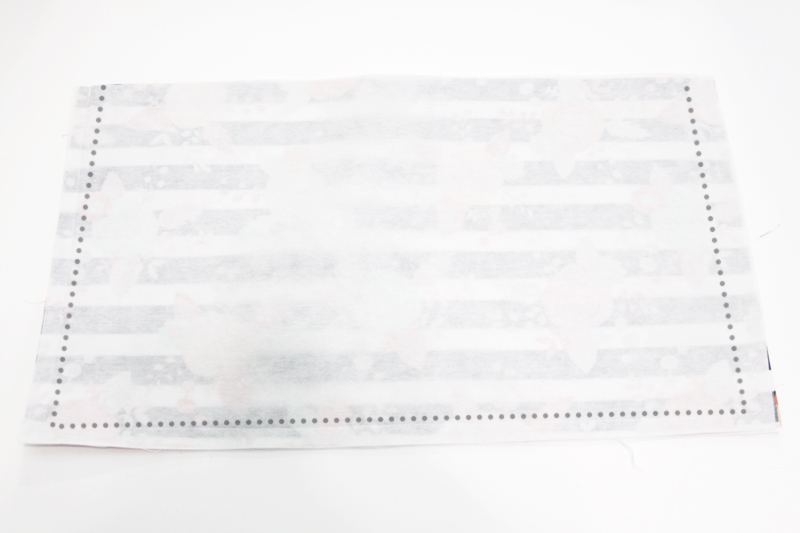
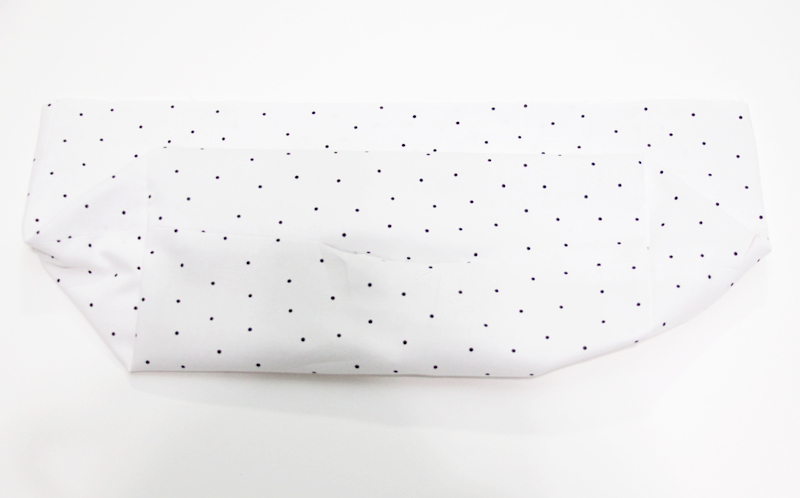
Place the fabrics right side together. Sew around the two sides and bottom of the pieces with a 1/2″ seam allowance. The dotted lines show you where to sew since the seam is hard to see on the interfacing.
Press the seams open. Make a triangle with the corner edge by bringing the side seam to the bottom seam. Measure and mark a line where the triangle measures 6″. Sew across the triangle.
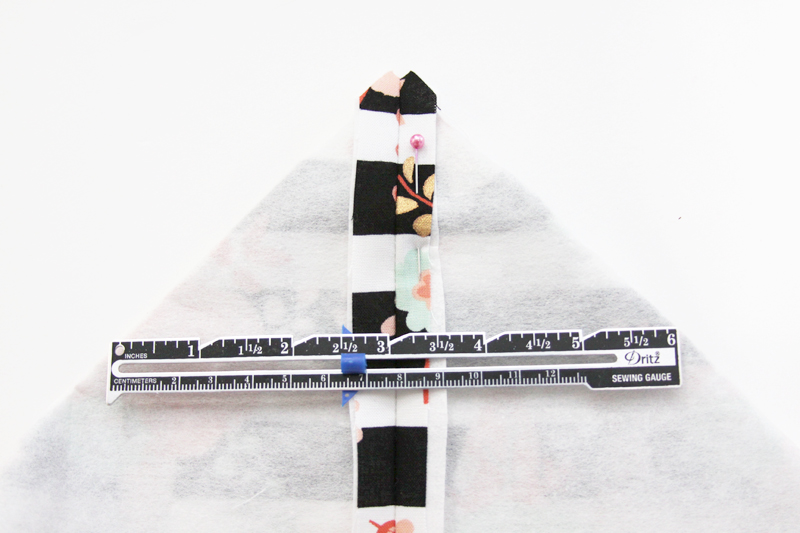
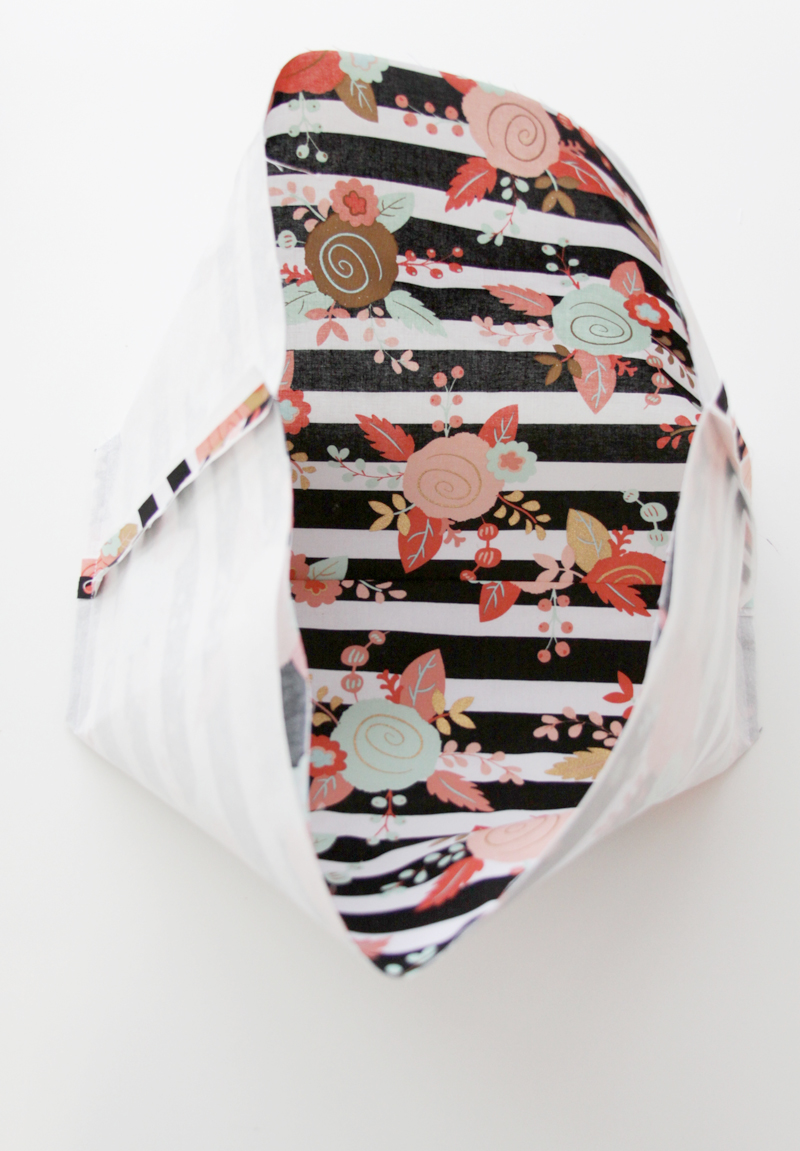
Repeat for the other side. Trim off the corner edge. Now you have the basic shape of the basket.
To make the handles, cut 4 pieces 2″ x 10″. Cut the same of interfacing. Press the fusible interfacing to the wrong sides of the fabric. Place two pieces right sides together and sew the long edges with a 1/2″ seam allowance. Turn the handle right side out and press, then sew along each edge 1/4″ from the seam. Repeat for the other handle.
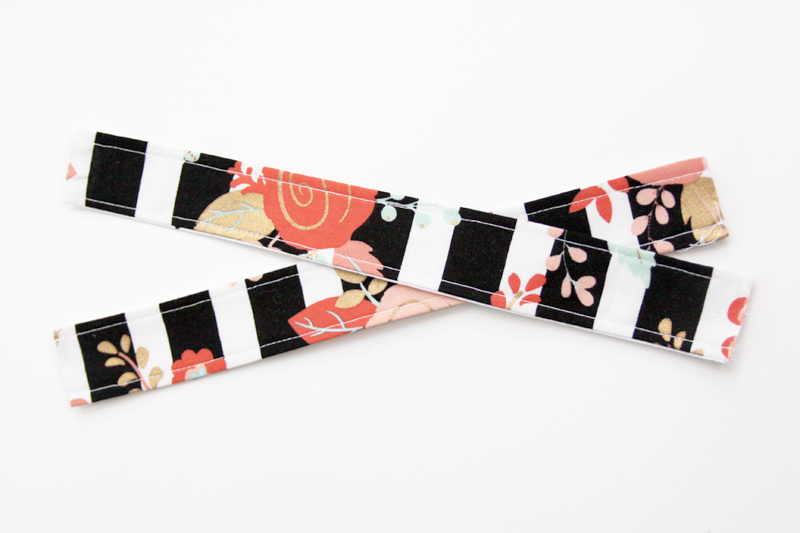
Place the handle so the raw ends line up with the top edge. Each side of the handle should be 2″ from the center seam. Sew the top edge of the handles to the basket with a 1/4″ seam.
Sew the lining together just like you did the main fabric, but on the bottom side leave an opening 3″ long. Sew the corners and trim the triangles as well.
Turn the outer fabric right side out and place it inside the lining, so the right sides are together. Sew around the top edge.
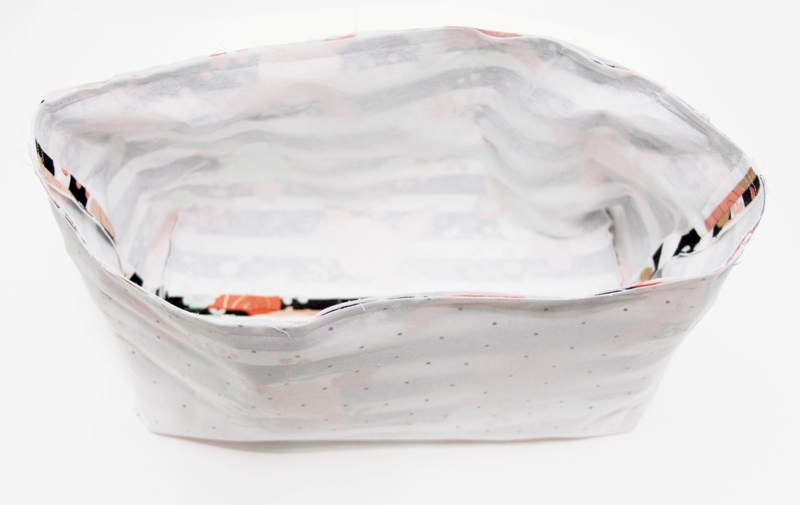
Turn the basket right side out through the opening in the lining. Press the basket so the seams all look nice. If you want a loose rounded shape, leave the basket the way it is. If you want a more crisp corner, press the corner and base in place.
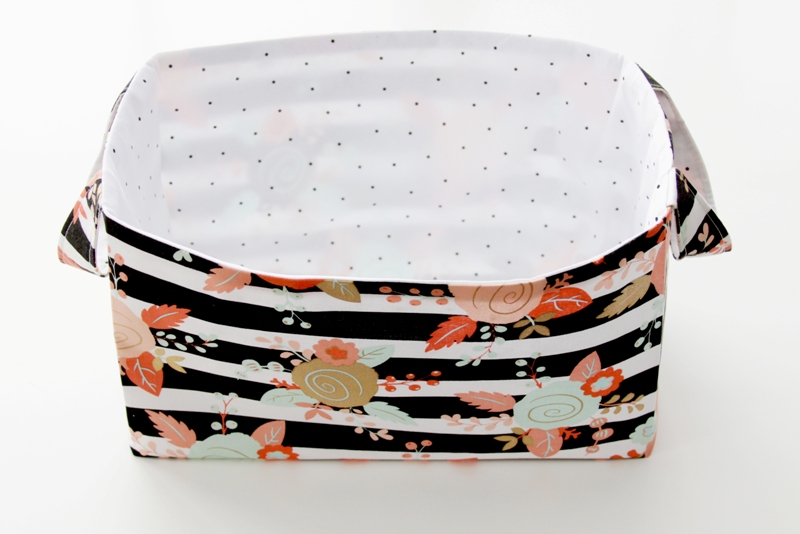
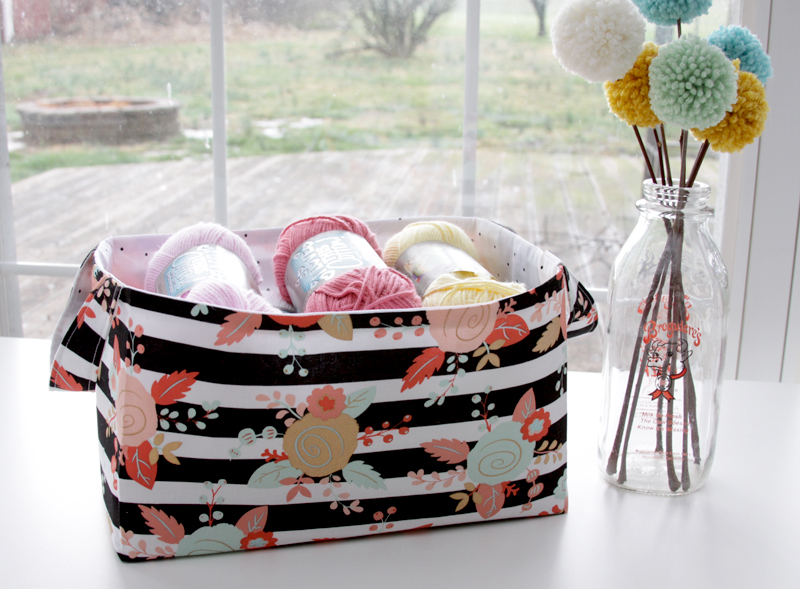
So fun right? That’s all there is to it! Now you can get your things all organized in cute fabric baskets. They’d be great gifts too!

I can’t wait to make some of these. Thanks for sharing. I love it.
Thanks Becky! They are so fun to sew up!
Love this simple and easy-to-make basket! Thanks so much for this helpful tutorial. I have to ask, where is that particular fabric that you used from? Love it!!
Thanks Anastasia! Isn’t the fabric great?! It”s from Hobby Lobby and they have several pretty coordinates too. I might have gone a little crazy there! 🙂
Half an hour of time will probably take me 2 hours instead, but still! How cool is that! #BestIdeaEver
I need to make a bin with finished measurements of 22×12.5×10.
Could you help me with the pattern. Amount of material and how to cut it out? Thanks so much
I am going to make this. But I think I will put the handles on the longer edge and not the short ends. Hope this works out. ☺
Hey, I’m wondering what the finished dimensions of the basket are ? I’m looking for a particular size , I thought I’d attempt to make one.