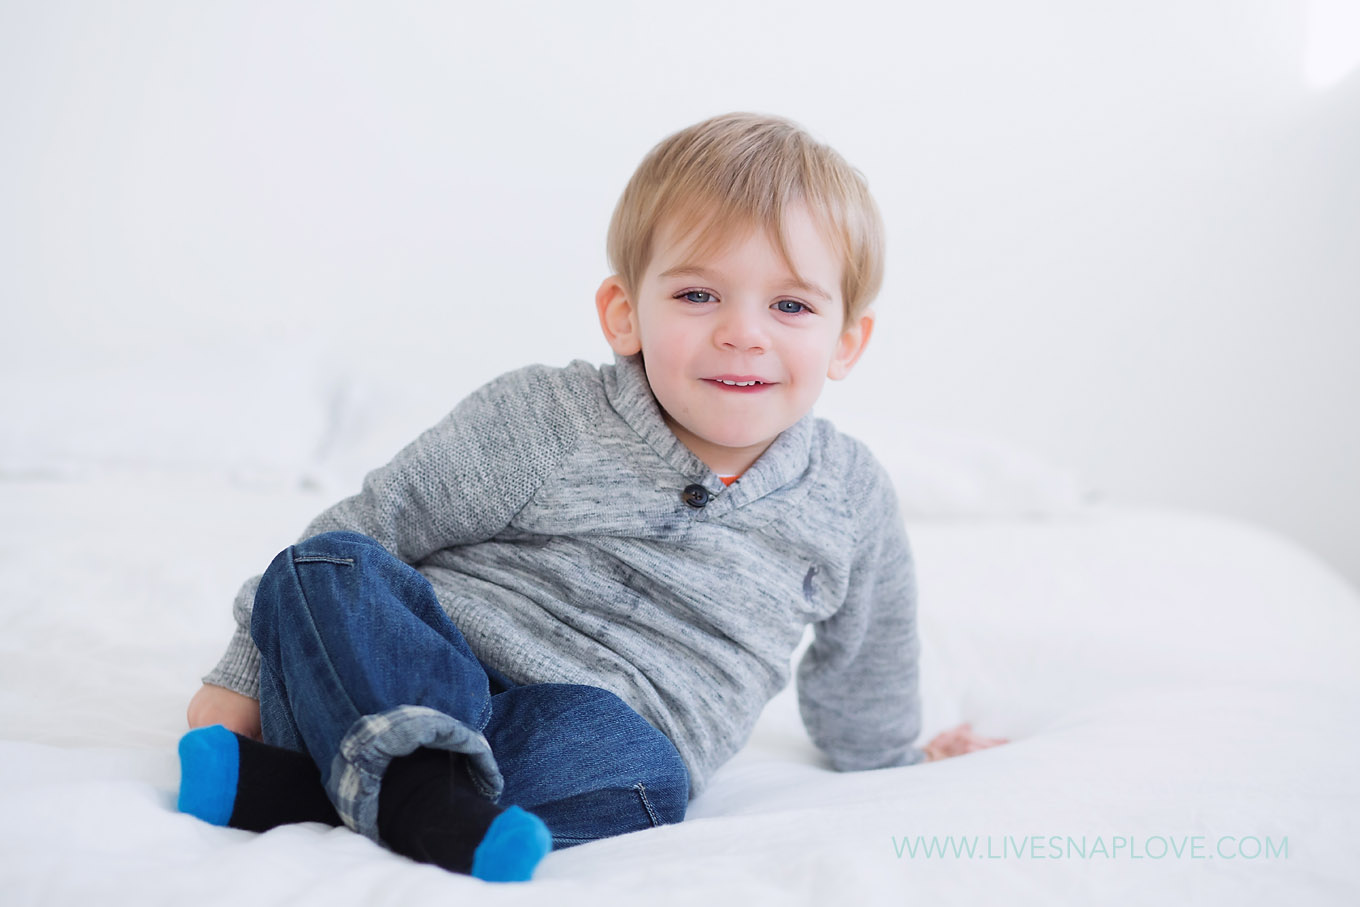
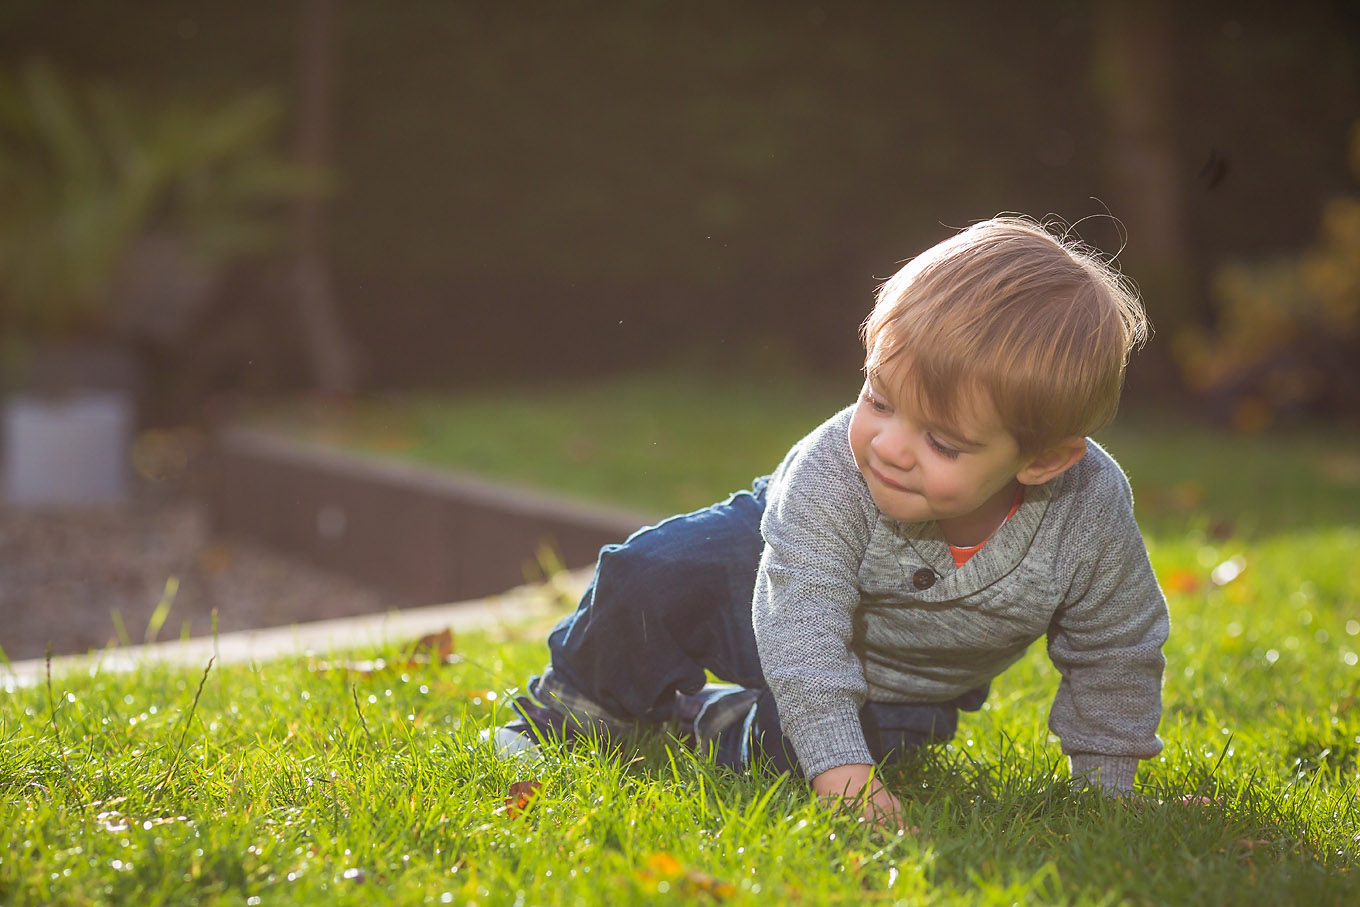
 I know that when you first start out wanting to take better photos, you can feel overwhelmed about everything there is to learn about photography! I’ve pulled together five simple tips that you can start using today that will help you get better photos. Although they are simple changes, I promise that they can have a BIG impact on your images (especially number 3!)
1. Watch the edges of the frame
One of the things that can really help make your images look better is to make sure that you are not randomly cutting off body parts from your subject. I know that when I first started in photography, I would get so excited that my child was FINALLY looking at the camera that I would forget everything else and rush to capture it. The result was images that cut off toes, fingers and feet!
This is an easy fix – just pay close attention to the edges of the frame and make sure there is some room around your subject.
In case you are wondering, that doesn’t mean that you can’t crop into your subject – far from it – it’s just that there is a simple “rule” to follow about where you crop. Again, it’s simple: Always make sure that you are not chopping off body parts at a joint. That means avoiding chopping at the wrists, elbows, shoulders, knees and ankles. And of course, watch those little fingers and toes!
2. Change your perspective
A really simple, easy way to get started taking more interesting photographs is to simply change your perspective. Instead of taking images from the same boring positions, move around a bit! Get down on your belly, take a photo from above for a bird’s eye view or move behind your subject. (You can check out some examples of how to get more creative images here)
3. Switch to Aperture Priority Mode
The key to getting better photographs is to move away from the AUTO functions on your camera. That’s because when you shoot in AUTO, your camera has to “guess” at what you are trying to capture. Since there is no way it can know this, it will use “middle of the road” settings that will cover most eventualities. As you can imagine, if you use middle of the road settings you get middle of the road images!
If you can give your camera a clue about how you want the scene to look, then you will get MUCH better images. You can do this by switching to Aperture Priority Mode on your camera. I’ve already written a detailed post about on what Aperture is, and how to shoot in Aperture Priority Mode, so you should definitely go and check that out here. (You can even get a free cheat sheet to help you make the switch!)
4. Watch your shutter speed
When you shoot on AUTO, your camera will very often (more often that you think!) give you shutter speeds that are far too low for what you are photographing. Higher shutter speeds help to freeze motion and give you a crisper, sharper image, so if you find that your images are soft and out of focus, your shutter speed is usually the culprit.
The solution to this is to shoot in Aperture Priority Mode, and keep an eye on your shutter speed. You will usually see written as a number with a 1 in front of it, such as 1/200 or 1/30 (although some models will just have the number)
If you see your shutter speed with a number under 1/60 – then the chances are you are going to get a blurred and soft image, even if your subject is still. My rule of thumb when photographing children is to try to get around a minimum of 1/200 – that’s because they tend to move about even when they are meant to be sitting still! (Unless they are zoned out on the TV of course 🙂 )
So, what can you do? The best idea is simply get more light onto the scene – more light will allow you to use a faster shutter speed and stop you from getting a blurred image. If you struggle to get a fast enough shutter speed indoors, then why not take them outside?
5. Practice!
One of the best things you can do to improve your photographs is simply practice. This can be more difficult than it sounds at the beginning because you might not know what to shoot. Rebecca has as free checklist here on the Simple As That blog that gives you a list of 50 everyday moments that you need to capture that will definitely help with this. I personally love having a list to shoot to and get new ideas from. Download it, and then simply start working your way through them!
If you have a DLSR and would like some more involved lessons on how to get better photos, then I’ve got just the thing for you. The Beginners Bootcamp is a free seven day email course that is perfect for photography beginners, and will have you shooting better images in just a few days. You can learn more about this free course here.
The most important thing to bear in mind when practising is that there is absolutely no reason NOT to take lots of different photos. It doesn’t cost a thing to press the shutter, and if you don’t like the results, you can simply delete them. I often find that I take my best photos after I have taken a few “warm up” ones!


Leave a Reply