This simple and unique origami apple makes the perfect back to school party favour, teacher gift or kids craft! Follow along with ChiWei of One Dog Woof as she shows us how to make our own!
I’m so super thrilled to be here with Rebecca today to share a quick little craft as we start thinking about going back to school! Before we start though, let’s do a quick introduction, shall we? Just like in school, right? I’m ChiWei and I blog over at One Dog Woof. I’m an engineer who’s now pursuing graphic design, a mom of 2 and a create spirit who likes to write about lots of stuff, including paper crafts, crochet, DIY projects, and anything else in my crazy life that I think you might find interesting. If you have a moment, swing by and take a look!
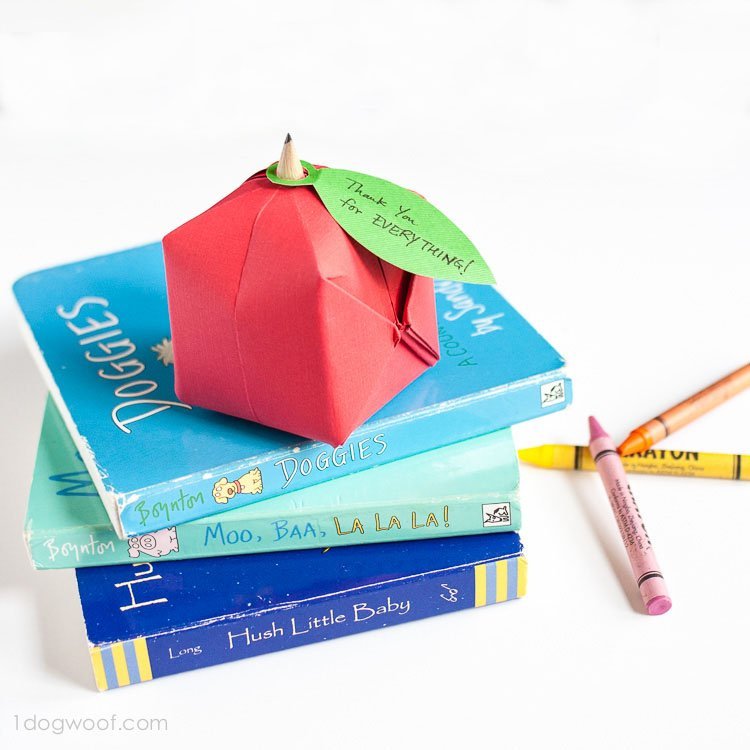
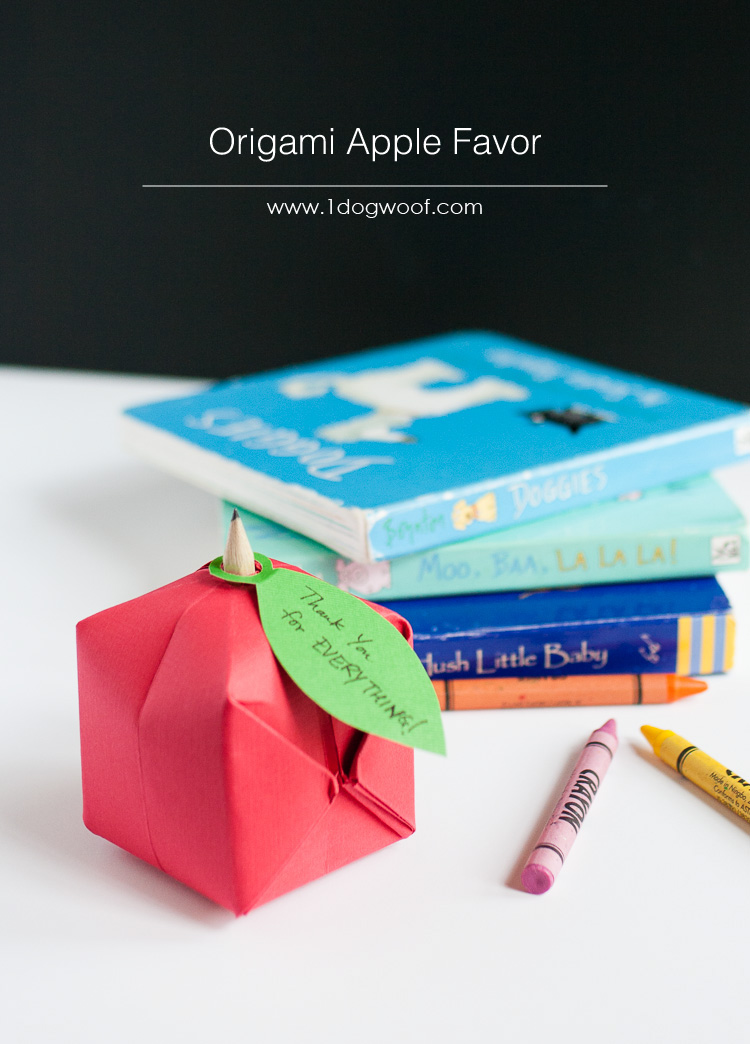
Ok, onto the project. I love little paper crafts because they’re easy to make and the materials don’t cost very much. Today’s example is this Origami Apple Favor. I dunno, it’s maybe not what a teacher secretly really wants, but it would make a great place setting, or maybe just a friendly little welcome on the first day of school!
You’ll need the following supplies:
red square paper
scrap of green paper
mini pencil
round paper punch
scissors
glue optional
Instructions:
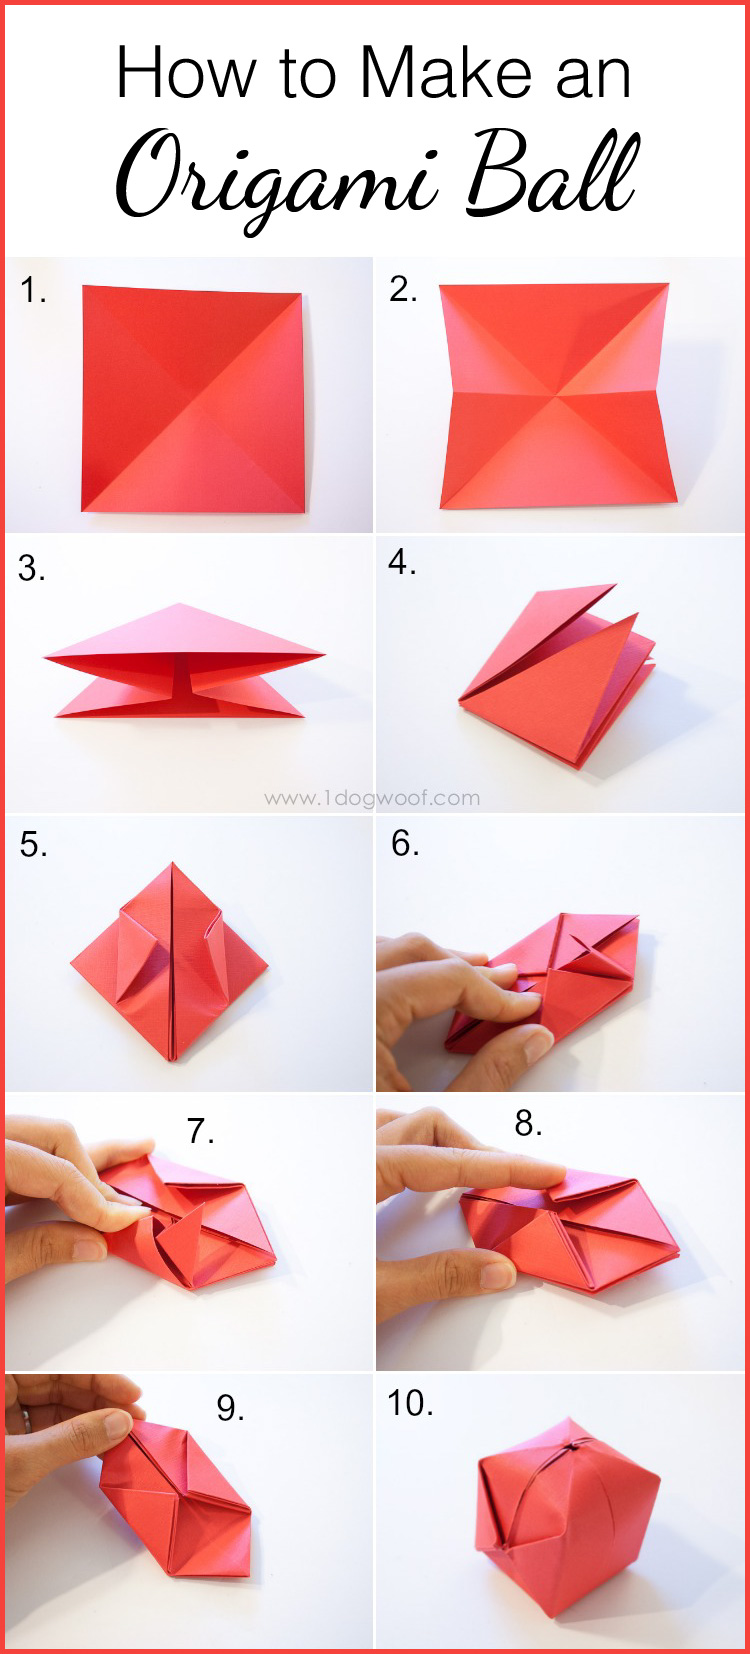
1. Make an origami ball. There’s lots of instructions online, but because I’m a visual person, I put together a simple infographic for you to follow. Once you have your ball (or apple, as we’ll call it now) inflated, you’re almost done.
2. Cut out a leaf from the green paper. You can make it as big or as small as you like, depending on whether you’ll be writing a note or decorating it. (I wrote a thank you note because we’re moving…. see below). Remember to leave a “stem” on the leaf so it can be attached to the apple stem as shown in the picture below.
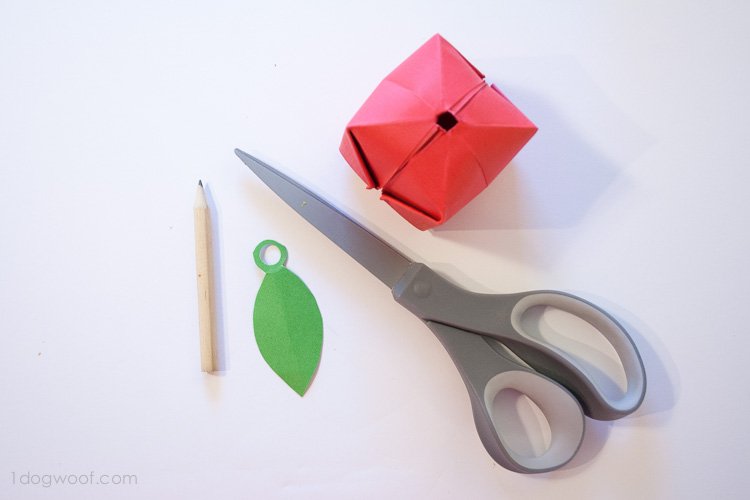
3. Punch a hole in the leaf stem that is big enough for your mini pencil to go through. I was thinking, if finding mini pencils isn’t easy, you can always use a brown crayon too. (I know when I tried looking for mini pencils, I could only buy them in 100 packs, but seriously, what do I need with 100 mini pencils? I’m not running a horse betting operation here, and I’m not Ikea. Although I have to say, the one pencil I happened to find in my purse is probably from my last trip to Ikea.)
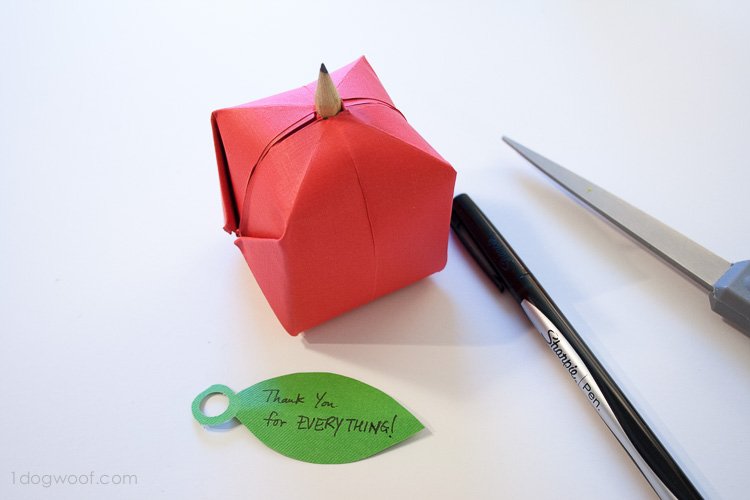
4. Stick the pencil or crayon into the hole in the apple and then put the leaf on the pencil. You can glue the leaf stem down to the apple to secure it if you’d like.
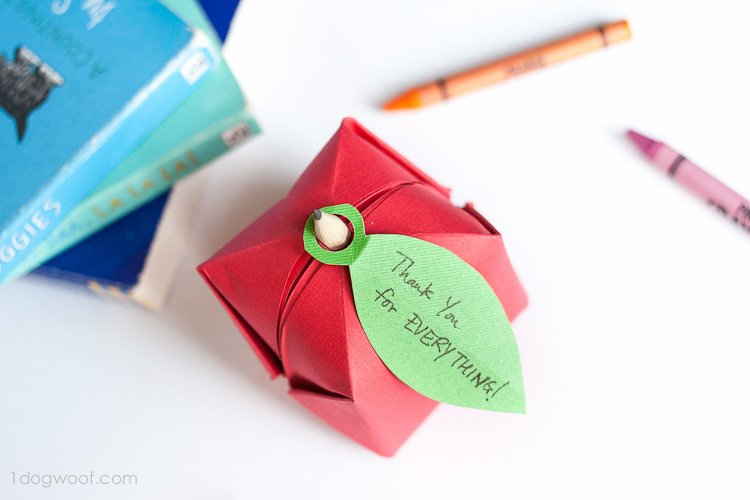
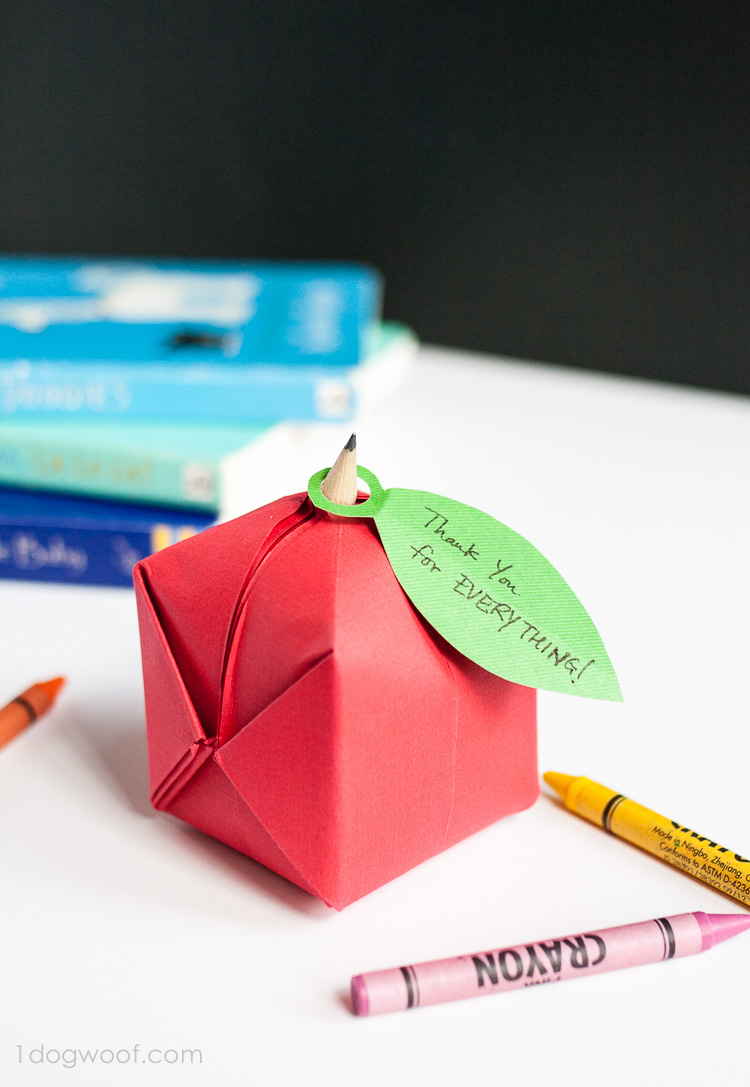
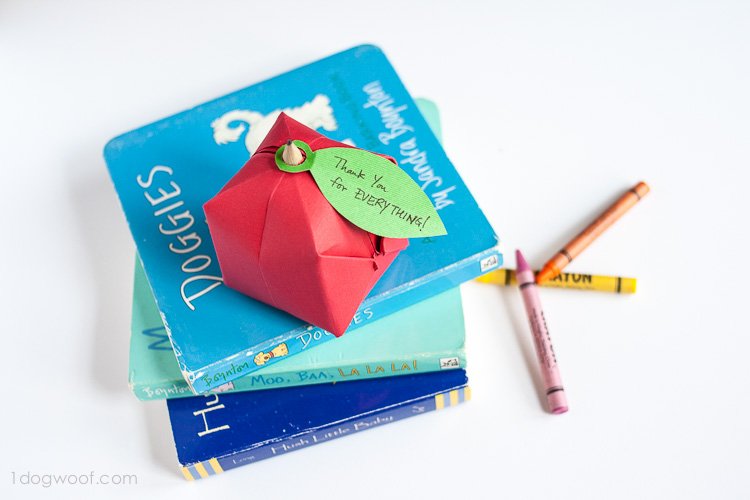
Wasn’t that easy? That’s my kind of project! Especially when one is in the middle of an epic and last minute cross country move. If I had to gather a long list of supplies and work on something complex right now, my head might just explode. So, hopefully you enjoyed this tutorial enough to make yourself some cute little apples to hand out when the school year starts!
Speaking of cross-country though, here’s my shameless plug.
Yes, we are driving our way from New York to San Francisco over the course of about one week.
Am I crazy? Probably.
Will it be fun? I hope so.
Will I be blogging about it? You better believe it…at least when I can get wifi at whatever hotel we stay at.
Should you go to my blog and follow my adventures? Yes please! I look forward to sharing our escapades with you! You can follow me on your choice of social media (Facebook | Twitter | Pinterest), although I think Instagram will be the most interesting on a long roadtrip, don’t you?
When we arrive, and find a home and unpack my crafting supplies, I’ll get back to the business of creating fun projects to inspire and motivate you! See you soon!
Thank you so much for sharing with us ChiWei! Back to school time is almost here for us and I know my kiddos will love making some of these fun little apples with me! Best of luck with your move!


LOVE this!!
Cute! Teacher Appreciation Week is coming up so I am going to make these with some chocolate kisses inside them to give to the teachers in my building on one of the days. I’m going to do something every day that week to make them feel special because they are great and like family to me; this will be perfect! Thanks!