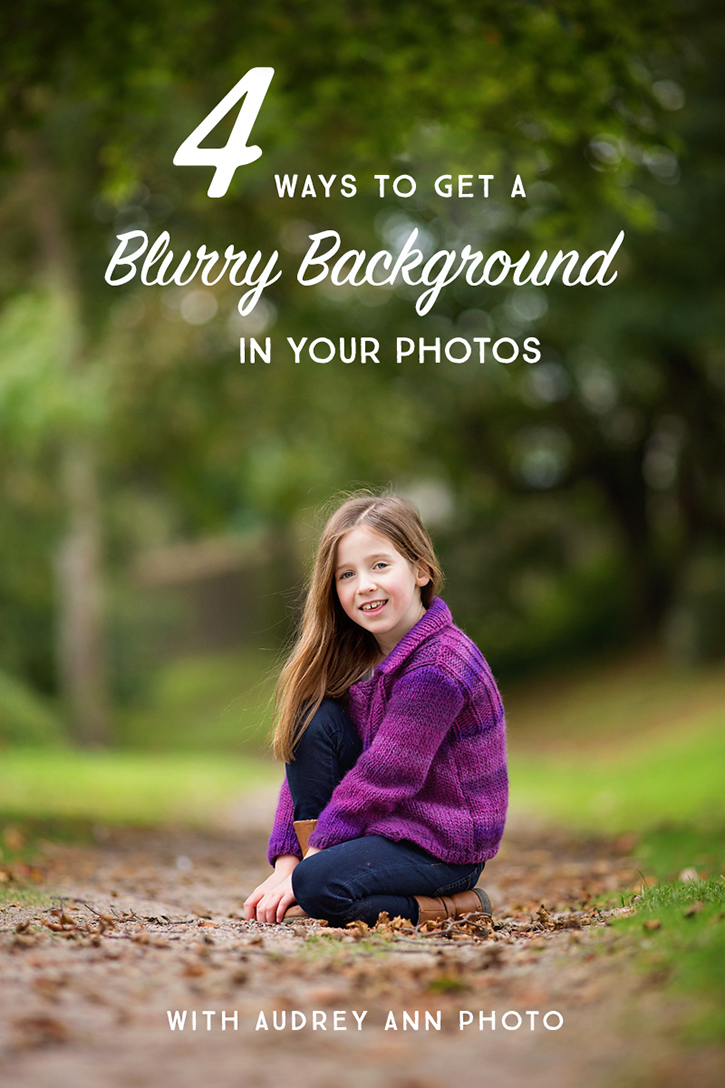
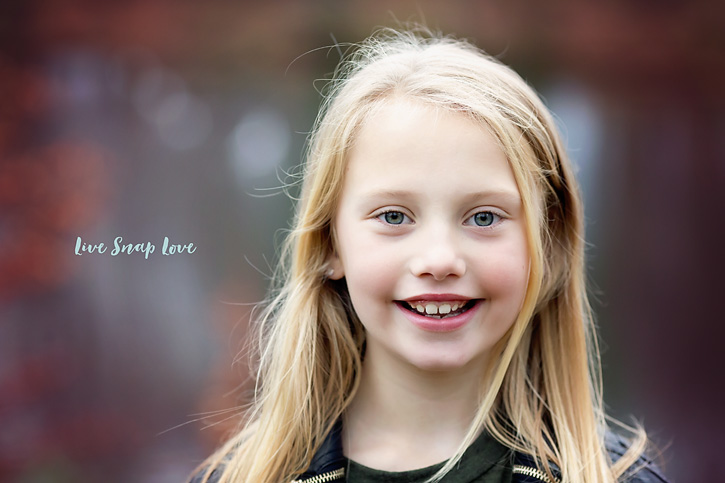
Today I’m thrilled to welcome Audrey Ann of Audrey Ann Photo as a special guest in our inspiring Simply Photography Series. Audrey is here to share 4 ways to get a blurred background in our photos.
When I started out on my photography journey, the very first thing I wanted to learn was how to blur out the background whilst leaving my subject in sharp focus. It’s an effect I still love as much today as I did back then, as it’s such a fantastic way to draw attention to your subject, especially when the background is busy or cluttered.
Although you definitely get more control over the end result if you have a DSLR camera, you can still get this affect with a point and shoot, provided you have some control over your settings. Don’t worry, I’ll give instructions for you along the way too!
No. 1: Shoot in AV Mode or Scene Mode
If you are shooting with a DSLR camera, you’ll need to move away from the AUTO setting. (Go on, I know you want to!) Change the dial at the top of your camera to Aperture Priority Mode, listed as either an A or AV.
This will allow you to control the aperture, but let the camera take care of balancing your shutter speed and ISO to get the correct exposure, so you don’t need to worry about it.
If your camera will not allow you to shoot on AV mode, it will usually have SCENE modes instead. Switch to this on your dial instead, and choose “portrait” as the scene type.
No. 2: Choose a Small F-Stop Number
The next step is to set your aperture.
The aperture is basically a hole in your camera that allows light to reach the image sensor. When you set your aperture, you are controlling how big or small that hole is. This is measured is F-stops – you’ll see it on your camera as F followed by a number, such as F3.2 or F5.6. Confusingly, a bigger number means a smaller hole and vice versa.
You don’t need to worry too much about learning this, as all we really need to know is that to get a blurred background, we need to have a large aperture, so choose the smallest F-number you can. It really depends on your lens how small a number you can use – some lenses stop down to F1.8 and others will only stop down to F5.6, so just turn the aperture down to around F2.8, or as low as you can if you can’t go down that far.
If you are using the Portrait scene mode, the camera will do this for you!
No. 3: Move your Subject away from the background
Next, you want to make sure that your subject is standing a good distance away from the background. For example, if you are shooting your subject with a wall behind them, move them a good few feet forward from the wall – the more separation between the two you have, the more background blur you will get! This goes for both DSLR and point and shoot users!
No. 4: Zoom in / Shoot with a Longer Focal Length
You will also see a difference in the amount of blur in the background if you stand farther back from your subject and zoom in. Unfortunately, with some lenses there can be a drop off in quality the more “zoomed in” you are, but you can play with it until you find a sweet spot! 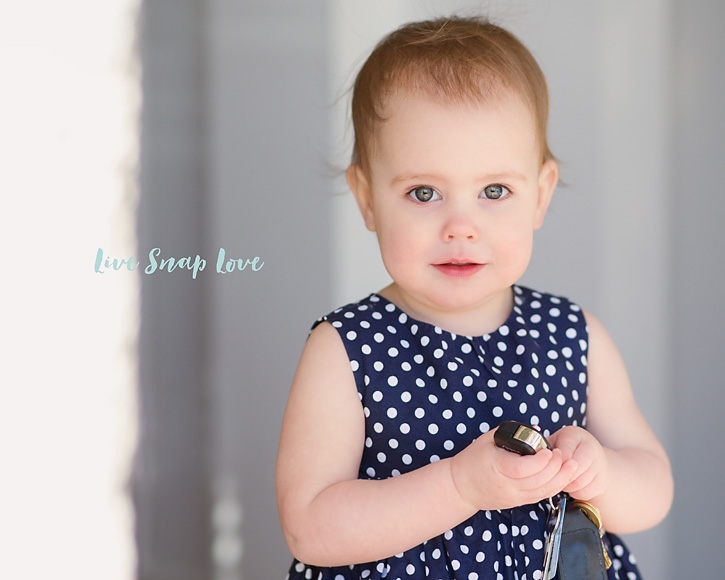
And that’s it! I suggest practicing this with a stuffed animal or toy, or anything that doesn’t move basically (like your children!) until you get a feel for it. Once you have got it down you will use this all the time, I promise!
Audrey Ann is a photographer who loves to find and capture the beauty in the chaos of everyday life. In her blog, Live Snap Love, she shares tips and tutorials to help improve your photography skills and take the images of your chlldren you’ve been dreaming of! You can find more photography resources on her Blog or follow her on Facebook, Instagram or Pinterest.
For more simple photography tips check out these posts
Capture Beautiful Silhouette Photos with your Phone
My List of Photography Essentials
50 Photos to Take With Your Kids
 How to Take a Sharp Picture with Moving Objects


Really helpful article! Hoping to use these tricks next time when I will take a picture for my blog.
These are great tips. Thanks for sharing!
these are great tips I feel like I”m always still trying to figure out my camera thanks so much
Love your tips! I have a point and shoot camera. How can I get the same results with using one of these more basic cameras? Thanks for the article!!
Finally! How to take decent photos simplified! I went outside and changed my settings to how you specified and I cannot believe how awesome my practice photos turned out! I had been shooting in the P mode thinking this was the best but after comparing P and AV mode in shooting , I love the blurred background and also believe that the object was clearer/in focus more. Thank you for this little tutorial! I’m off to go photograph a family now in the park.
Thank you for the great tips. I loved your suggestion of practicing on a stuffed animal.
Thank you for sharing your knowledge. It is truly appreciated.