Hello, you beautiful people. How are you? It’s Annika, stopping by with a simple but high-impact DIY project for all of you photo enthusiasts.
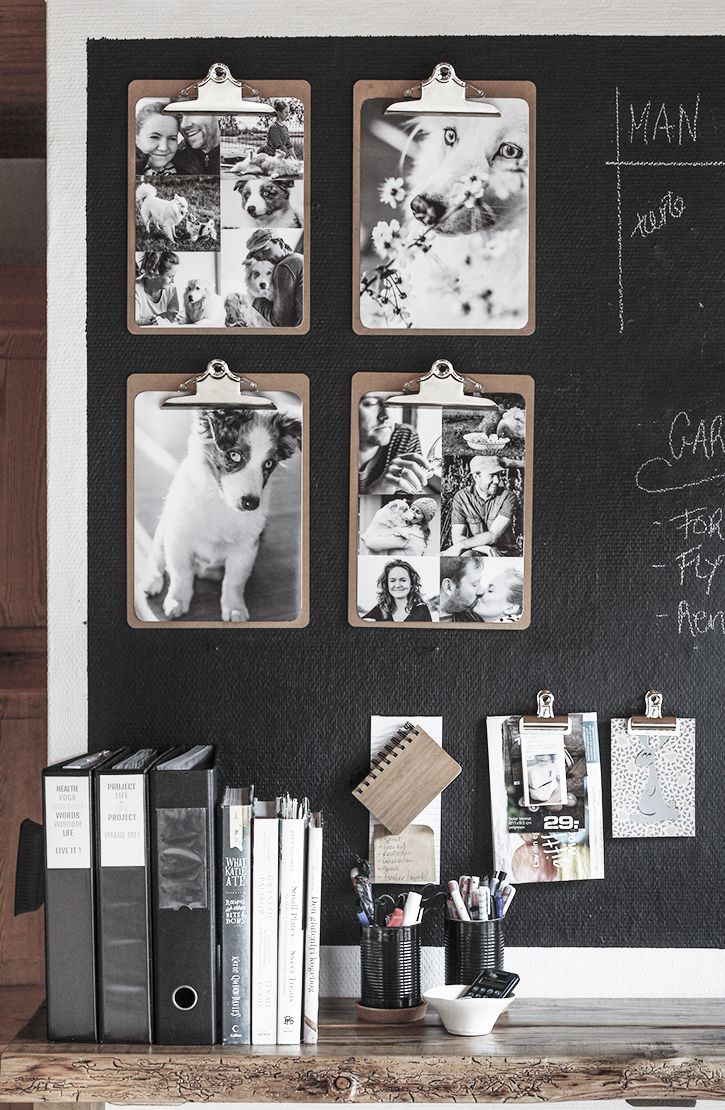
My husband and I recently installed a breakfast bar/command center in the kitchen. We hung old barn wood at waist level to visually anchor the space, as well as to hold files, recipe books, and a few office supplies. I also painted an oversized blackboard right onto the wall to give us a space to write and cross off our daily to-do’s.
After stepping back and taking in our work, I realized that space was lacking the warmth of a personal touch, and I think you and I can agree that nothing personalizes a space more than photos of your family.
So I went digging for pictures of us and our dogs. Photos that represent who we are as individuals and as a family. Can you guess how many I found?
Way too many.
I’m guessing many of you know what it’s like to have hundreds of images on your computer without ever getting them onto your walls or into your hands to really enjoy. (Related: 1 Year to More Organized Photos)
When I want to display photos in our home, one of the stumbling blocks I run into is the fear of committing to just the right image. If I’m going to go to the effort and expense of enlarging and framing a photo, I want to choose the exact perfect shot… which keeps keeps me from printing any at all.
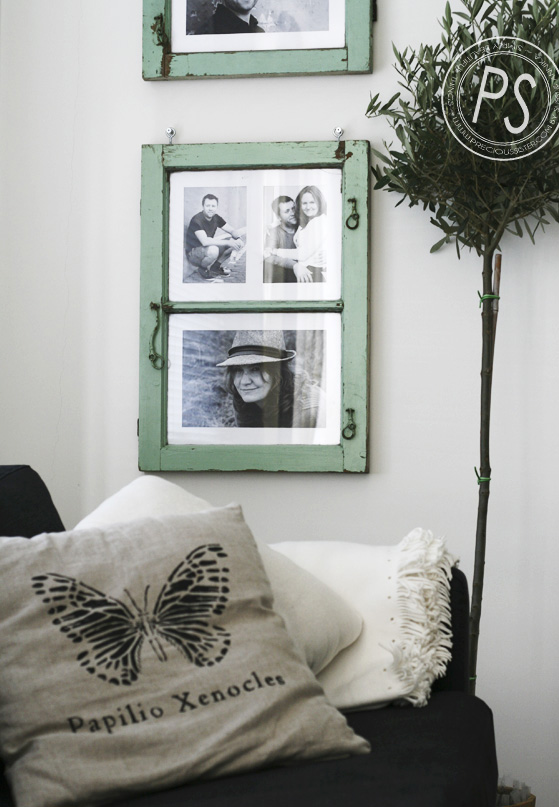
But the simple, DIY project I came up with will allow me (and I hope you!) to switch out the images any time I want to. That way I don’t have to commit to the perfect photo, and I also get to enjoy more of our favorite images, as I switch them out over time.
Take a Quick Video Tour of the whole Space
The Project
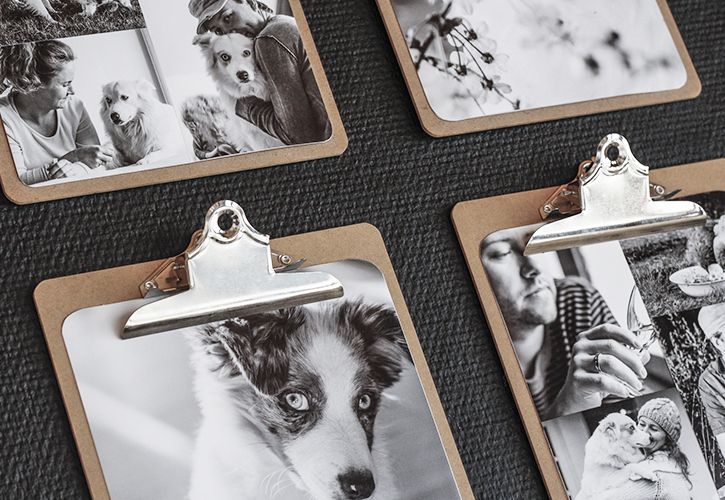
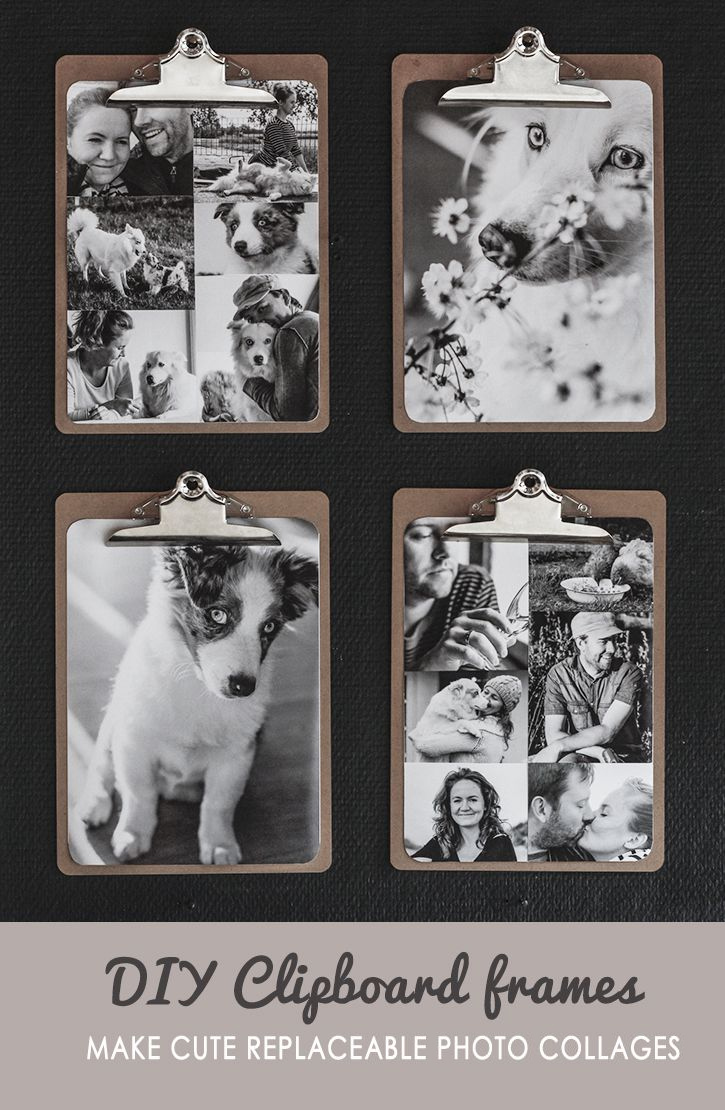
Collages are a great way to display several pictures at once, but they easily cross over into the territory of visually messy. My solution was to mix a few small but symmetric collages with larger prints that ground the collection.
The clipboard is the key to easily swapping out the prints. I think the clipboards coordinate nicely with the blackboard, in keeping with the subtle schoolroom vibe. And each print is lined with sturdy backing to help the photos hold up well over time.
Below is a step-by-step guide to creating this easy and beautiful display for multiple photos.
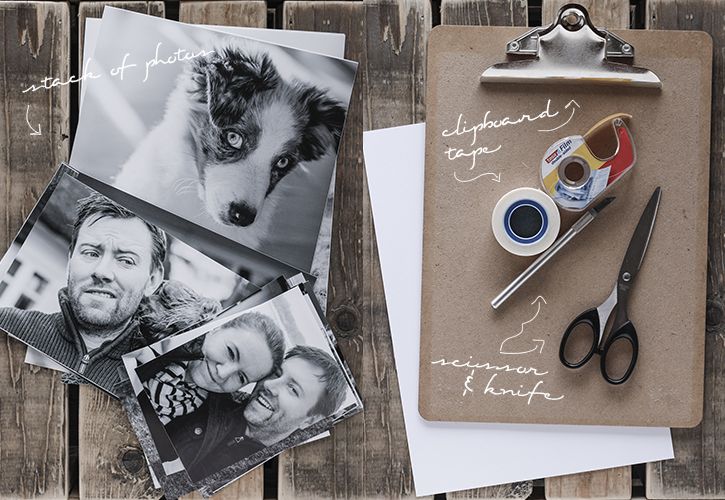
Materials
- A collection of printed photos in various sizes: 4×6, 5×7, 8×10. I converted them all to black & white before printing them, to give the display a more consistent look. You can use any image software or app to make B&W images.
- A few basic office supplies: scissors or a hobby knife, a ruler, and a pencil.
- The number of clipboards you’d like to use. I used four A4 boards.
- Sturdy paper. I used A4 paper.
- Double-sided tape or glue.
A Step-By-Step Guide
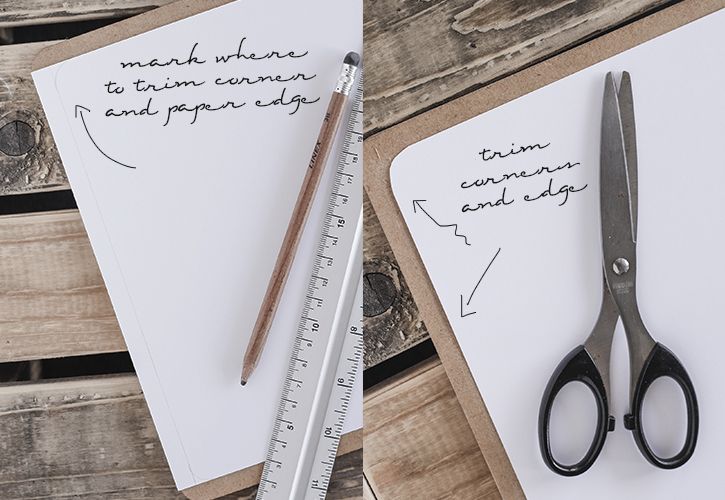
Take a piece of paper and clip it to a board. We want to make the clipboard look like a frame by creating an edge. Use the ruler to draw lines where you need to trim the paper, so that the clipboard makes an even edge around the paper.
Trim the edges and round the corners.
Repeat this for the number of boards you are using, as well as for any extra collages you would like to be able to swap with in the future.
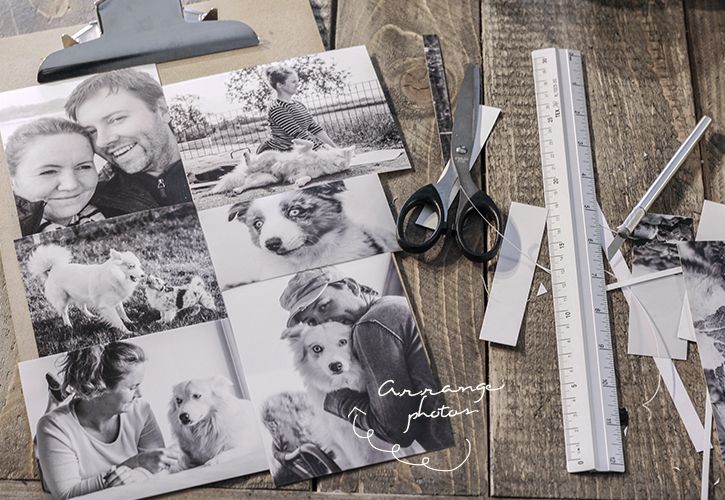
Now start arranging and placing your photos in a collage on top of the paper. Make sure that you are covering the entire paper, but be aware that important areas of the photos are inside the paper edges. When you are certain of how you want the images, tape or glue the picture to the paper.
(I made two boards with big images and two with collages, plus a couple of extra collages for future use.)
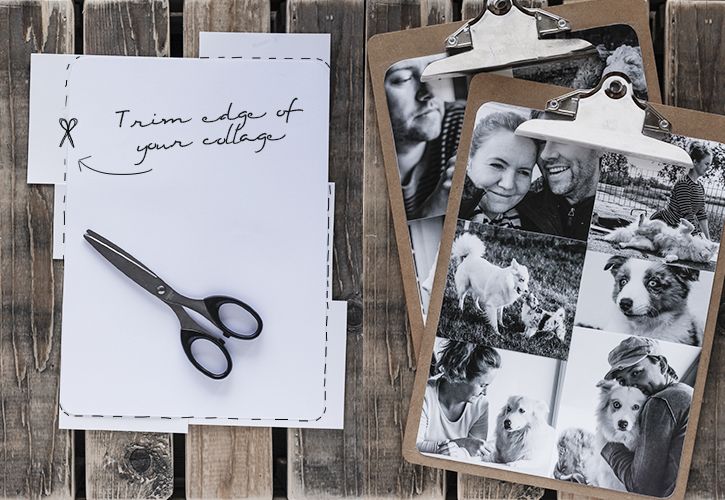
Turn your glued/taped photo collages and trim the photos along the paper edge. This should give you a nice and even collage or image, ready to clip onto your board. Do this for all the photo collages and clip them onto your boards.
You don’t have to glue or tape them to the boards; the clip will hold just fine. On the boards where you would like to be able to switch the photo collages, stack them evenly and then clip to your board. This way you can store them right where you use them and easily switch out your beautiful images on a regular basis.
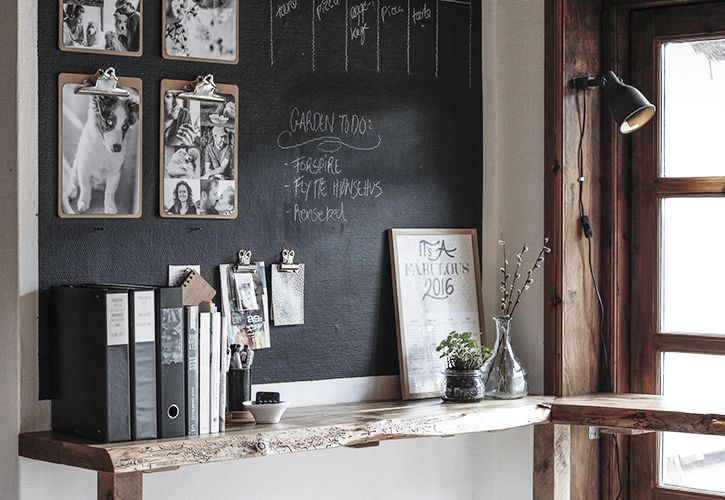
Now all that is left is for you to hang your clipboards so you really can get to enjoy all of your family images. I hope you enjoyed this easy photo project. Please let me know if you have any questions.
Have a great day! Annika
If you enjoyed this post you might also like…


Latest posts by Annika Olsson (see all)
- The one reusable accessory you need to make your baby photos look stunning (tutorial) - Monday, June 12, 2017
- Create a beautiful personalized Mother’s Day gift - Wednesday, May 3, 2017
- Create a super quick last minute Easter (or any time of year) hostess gift. - Sunday, March 19, 2017

This is an awesome idea. Do you have post describing the black board you hung them on? How did you make that? Thanks
Thank you, Buffy.
The blackboard is just painted directly on the wall. I used a water-based matte black paint and painted onto our existing white wall. Since my wall is textured, big writing will work, but not detailed writing with chalk.
I would suggest, that to get an optimal surface, that you buy a big MDF board (they come in various thickness), paint that and hang on your wall. Paint wise, there are a lot of tutorials and suggestions you can google on what type of paint will work. Chalk paint is an obvious choice, but can be expensive. My wall is 114×124 cm and with two coats, it would be pricey.
I always wanted to try to make my own chalk paint, but I just found that simple inexpensive matte paint would do the trick for my needs so far 🙂
Hope this helped a bit.
Have a great day.
/annika
I love this idea and especially the photos in black and white. So classy!
Thank you Michelle. Glad you like it 🙂