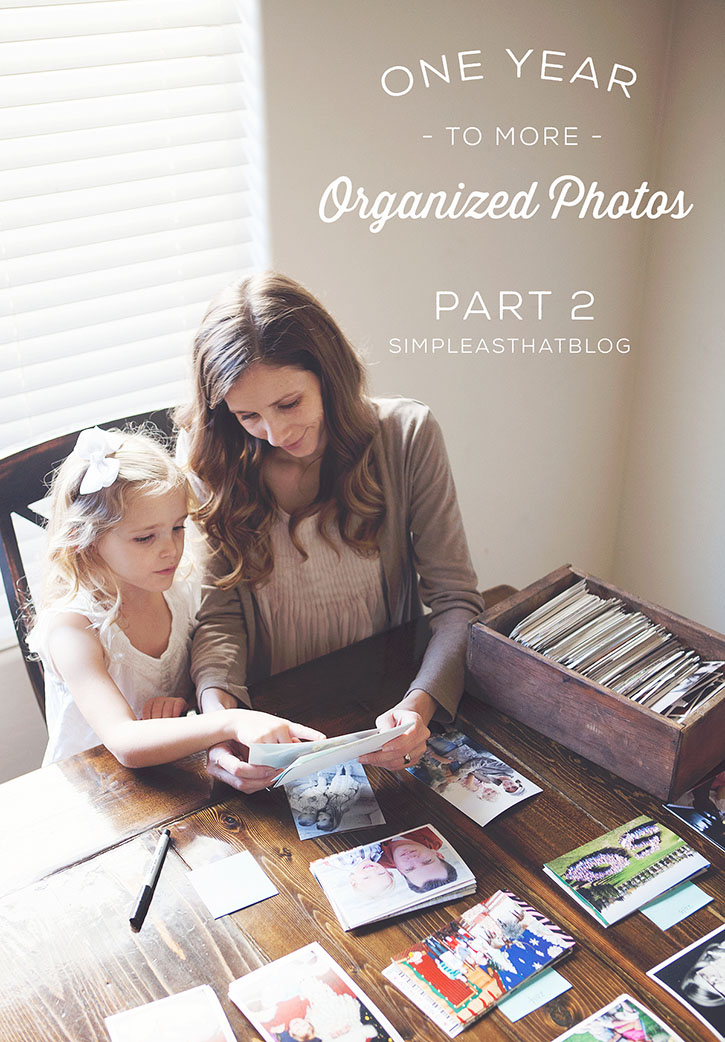
I’ve made progress in my “One Year to More Organized Photos” project and this week I want to share what I’ve done with organizing our printed photos. If you missed it Check out Part 1 : Getting Started and join us as we get these photos under control!
It’s great to take photos but it’s really only the beginning when it comes to enjoying those precious family memories we’re trying to preserve. My main goal with this One Year to More Organized Photos project is to get our photos out and available for our whole family to enjoy together! I’m sad to admit that right now our photos mostly reside on our computer and various backup discs and hard drives and I’m doing something about that in 2015!
Organization isn’t about perfection; it’s about efficiency, reducing stress and clutter, saving time and money and improving your overall quality of life. – Christina Scalise
Through the years I haven’t been very diligent about printing my images. I mean, I’ve printed some for scrapbooking or for framing, but it hasn’t been very systematic and I’ve ended up with a few boxes of un-used photos tucked away in a closet along with the few I have printed and framed around our home. My plan this year is to print photos from each year and get them into photos albums.
Gather
For me, the process of getting ALL my photos organized (including digital images) needed to begin with the images that were already printed. As part of getting started in this whole process I spent some time gathering all of my printed images from around the house so I could see what we had. As I brought all these images together it helped me to see what had been done already and what gaps I needed to fill in as far as printing images going forward.
Sort and Purge
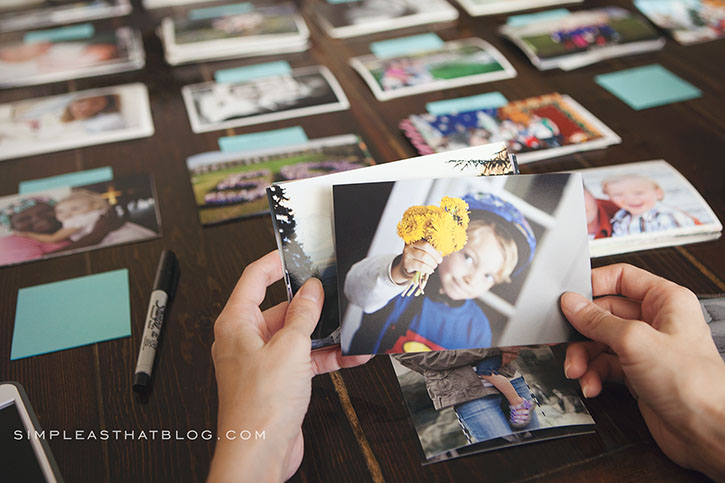
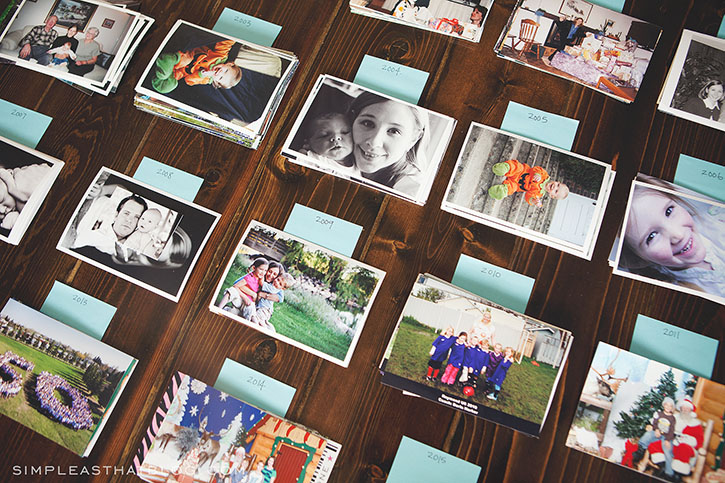
Once I had all my printed photos gathered together in one place (our kitchen table) I began sorting them and organizing them by year. My sophisticated sticky note system worked great as I took each printed image and determined which year it was taken and put it in it’s subsequent pile.
My kids were so excited to help me with the sorting! We enjoyed looking through old photos and reliving special memories from when they were little! We had photos spread out on the table for a few days so we picnicked in the living room for meals – but it was worth it! It turned into a little family project and it made the reasons I’m doing this all the more real. These memories are meant to be seen, enjoyed, talked about and relived over and over again and leaving them hidden on our computers or on our phones is sad.
If I could remember when a photo was taken I had my computer handy to look up dates. As I found duplicates or low-quality images that I didn’t feel I needed to include in our photo albums I threw them out. That’s right. I threw photos away. For me this process is just as much about trimming down the number of photos I have as it is about getting them out to enjoy. I take a lot of photos and weeding through them and only keeping the ones that best represent our family memories will do a lot to cut down on photo clutter.
Label
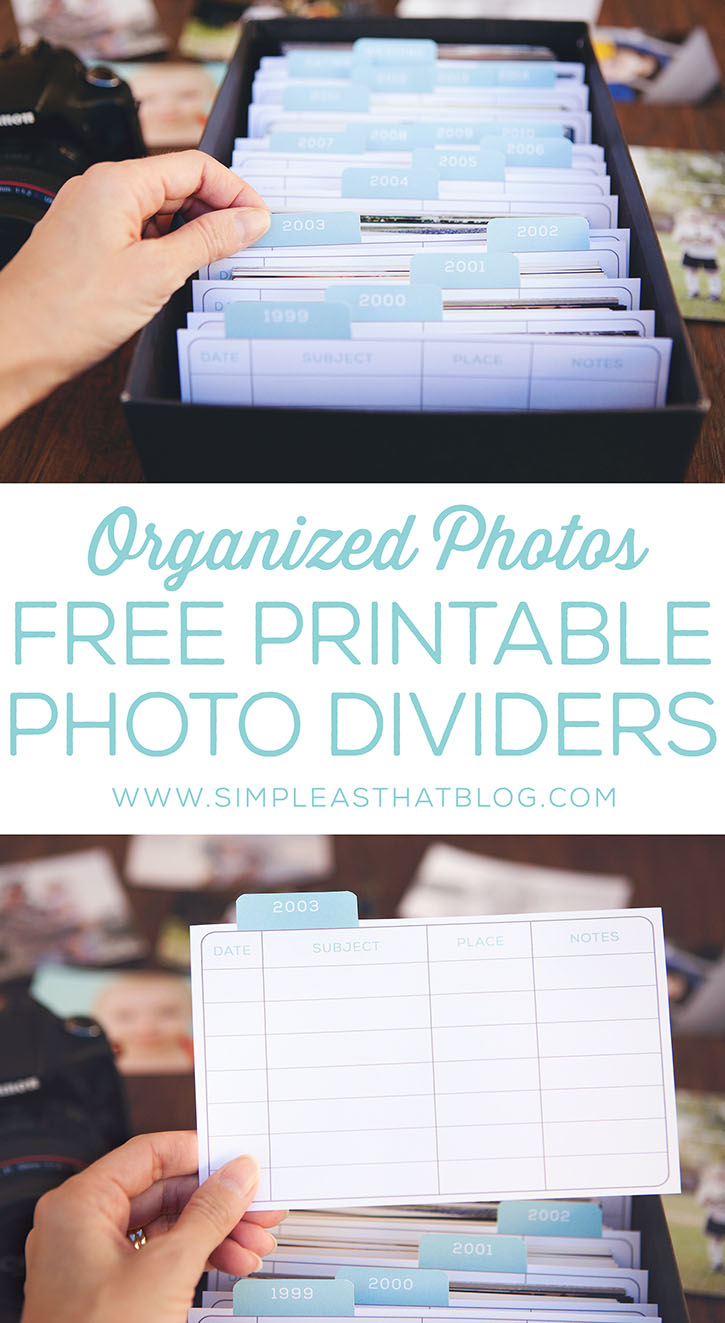
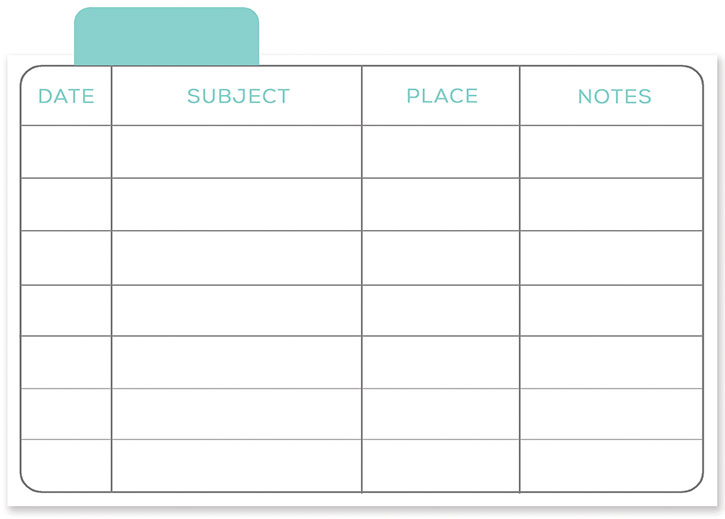
After I’d done all the work to get these photos sorted, I needed to come up with some way to keep them organized by year. I created a set of simple dividers for each year to use in the photo boxes I already have and those will be available for free download – you’ll find the download link by scrolling down. I’ll be sorting each year by month order eventually but I haven’t gotten that far yet. When I do, these dividers / index cards will be perfect for jotting down the major dates and events from each year and for keeping these photos organized until the time comes when I’m able to transition them into photo albums.
These photo divider cards are just the right size to fit inside a standard size photo box. The divider tabs are blank, I added the years using photo editing software, but you can just as easily write on them with a pen. If you want to get fancy and use your computer to label your photo dividers I’ve included a JPG set of the cards that can be used at picmonkey.com to add your own text.
CLICK HERE TO DOWNLOAD PRINTABLE PHOTO DIVIDERS – PDF
CLICK HERE TO DOWNLOAD PRINTABLE PHOTO DIVIDERS – JPG
I plan to record dates and basic information on the backs of my photos as well and I’ve done some research on how to do this the safest way possible. I have a few photos from my childhood that my Grannie was very diligent about writing dates and details on and she recorded those things in ball point pen. Now, many years later, that pen is showing through on the other side of the images and has ruined a handful of precious photos. It’s important to have those details recorded on your printed images, but it’s even more important to make sure you record them safely to preserve the images over the years.
Tips for Writing on Photos Safely
1. Choose the right pen – The number one thing to consider when it comes to writing on your photos safely is choosing the right pen. You need to be sure you’re using an “archival” pen. The term archival refers to the pens “permanence, durability, or chemical stability.” You want your pen to be archival quality to ensure your writing won’t bleed through, fade or damage your photos over time.
Other things to look for in a good pen in addition to it being archival quality: it should be permanent, quick-dry, non-toxic and fade-resistant. Here are some archival quality pens to consider:
2. Allow ink to dry – Even though a lot of pens say they’re smudge-proof, I always like to make sure I allow my ink to dry for a period of time after writing on my photos before I stack them. It would be so sad to get some wet ink on the front of your photos so just to be safe give the ink a little time to dry.
3. Press lightly – When writing on a photo be sure you aren’t pressing to hard or your writing could indent the photo paper and effect the image on the front.
4. Write on the edge – One the back of your photos write along an edge, that way, if the pen you’re using does damage the photo in some way it will be confined to the edge, not the the middle of the image.
I’m really excited about the progress I’ve made so far and can’t wait to begin printing photos and organizing them as I go with my handy photo dividers. Now that I know what photos I have the next step, is to start planning what photos to print and start getting those printed images into albums!
Join me in a few weeks time to check in on my progress and remember, follow me on Instagram and share YOUR photo organization stories using the hashtag #OneYeartoOrganizedPhotos!
Have anything more to add to what I’ve shared today? I’d love to hear your thoughts in the comments!


I am pretty overwhelmed with the idea of getting myself organized with photos!
I have a lot printed in boxes and in albums up to about 2009. I have scrapbooked a lot too but the pages are in bins , not albums and that’s stressing me out! I need to buy like 20 albums for all the scrapped pages!
tara
This is great! I am feeling excited to organize my photos. Do you have any ideas for larger sized photos? I seem to have SO MANY. I am debating just digitizing them and throwing them away. But that is so scary for some reason!
I’d recommend some photo pockets like this one Whitney, then they could be stored in a 12×12 binder.
http://amzn.to/1Cjt1sW
I really need to start organizing our pictures and get more printed. I don’t think I have printed pictures since 2013 or before. I have had a couple bound books made but that can get pretty pricey so I don’t want to use that for my only form of photo keeping. I like the way you laid them all out and categorized them. That would make it pretty simple!!!Thanks for sharing and I can’t wait to see what you do next!
What suggestions do you have for photos that other people have given you. My mum sometimes gives me copies of her photos from holiday visits to family so the photos are her memories, not mine, but are photos of loved family members like grandparents, aunts, cousins, etc. I also have baby photos sent when someone has a new baby and send out baby announcement. I have most of my printed photos in envelopes sorted by theme, not date e.g. baby photos of other people’s babies, pregnancy number 1/2 etc, holiday to … , Santa photos, so and so’s birthday, house photos chronicling diy to the house over the years and so. Taking all these photos and mixing them up to sort by date kind of makes me nervous. Lol.
Hmmmm…I can’t say I have a whole bunch of these types of photos so I haven’t really thought about it. If it’s ok, I’m going to have to think on this and get back to you! 🙂 I understand your desire to hang on to them…but I can see how putting them in date order would be tricky. I’ll let you know what I come up with!
Thanks. 🙂
I have a similar issue Susan. For many years relatives have sent photos of their families and I have hung on to them. I’m thinking that I will probably put them in their own photo album, (an extended family album). I’ll pick the best of the best and probably throw the rest away. For right now I’ve got them separated from my immediate family photos, but in chronological order for now. It will be interesting to see what Rebecca comes up with.
Thanks Debbie. That’s a good idea. Sometimes I feel guilty about thinking about throwing them away so just continue to hang on to them but yes, maybe pick the best of the bunch and throw the rest away.
That’s a good question. I think you have to ask yourself is it worth the money investing into keeping them safe, ie a photo album or bin, plus the space they take up. Then go from there. Don’t feel bad about getting rid of them, if needed. It’s YOUR family space, not others. But I like the idea of keeping the best and pitching the rest.
I am curious how your are going to keep all these. Is your place just to store them away? Or are you going to figure out a memory keeping system. I have photos from my high school that I am thinking about what I should do with. I’ll probably end up doing what I am doing with my current photo system which is upload them to a private instagram account and have a photo book made (by Chatbooks if your wondering). That way they are stored multiple places and I can reorder the books if I ever needed.
I have found part 1 and part 2 of the organizing photos series but have been unable to find anything for March and April. Please tell me how to locate these parts. Thank you.
I’ve fallen a bit behind Sandra – more coming soon! I promise. 🙂
And what are you going to with this printed photos? You’ll leave them like this or are you planing to make albums or something?
Our photos are mostly digital or negatives, there’s not much that either my husband or I have printed from our childhood, so I’m starting with cleaning up our digital files, then will borrow negatives from our family members to digitise in groups and file away in chronological order as best we can. I have managed to stay reasonably up to date with scrap booking my kids’ childhoods to now so I’ve got those memories documented at least 🙂
Thank you for starting this! I’m looking forward to reading more about your progress… Can’t wait to have other tips to organize my crazy amount of pictures 🙂
So anxious for more installments of your “one year to more organized photos” series…are the remaining steps coming? Thanks!
They ARE! Oh boy….I’ve fallen behind but I’m determined to get back on track come September! 🙂
i read through all of the comments. Someone had mentioned about family member photos that were sent to you. I think you are talking about your siblings and family. If do this is what I do.
I have 7 sibling and plenty of photos of their children. So I decided to toke these oictures and give them their own scrapbook album. Each of my siblings have their own “chapter”. Starting with family photos or maybe even a wedding picture. Then each child (my niece or nephew) get their own page. Front and back that way if I need to add more pages I can.
Each family had their own cheaper and each cold has their own page. I pretty much just put in their photos on the page and leave areas blank to add them as I go (and they grow). Hopefully this makes sense. My siblings have used their chapter at the kids graduation party ( I get it back of course).
Hope it helps
Did you do a part 3 on the one year to get photos organized? I have looked and can not find anything more about it.
Thank you for providing free photo dividers . It’s a really cool idea.
I am too am overwhelmed with this daunting task. But I believe it
will help me begin my journey to have them organized.
As to what to do with pictures that are given to you that are not of your immediate or extended family, here is what I did. During a period when my mother was very sick a few friends from church included pictures of their children with Christmas cards. 10 years later, what to do with them? I gave them to the wives of the now-grown and married sons. It was something they appreciated and enjoyed with their families that they otherwise would not have been able to.
Thank you for sharing your process. I love your photo divider printable and used it as I recently sorted all of my physical photos. I have a blog post and video about my process at http://www.taneya-kalonji.com/genblog/merry-christmas-physical-photo-organization/ and you can see how I used them. Thanks!