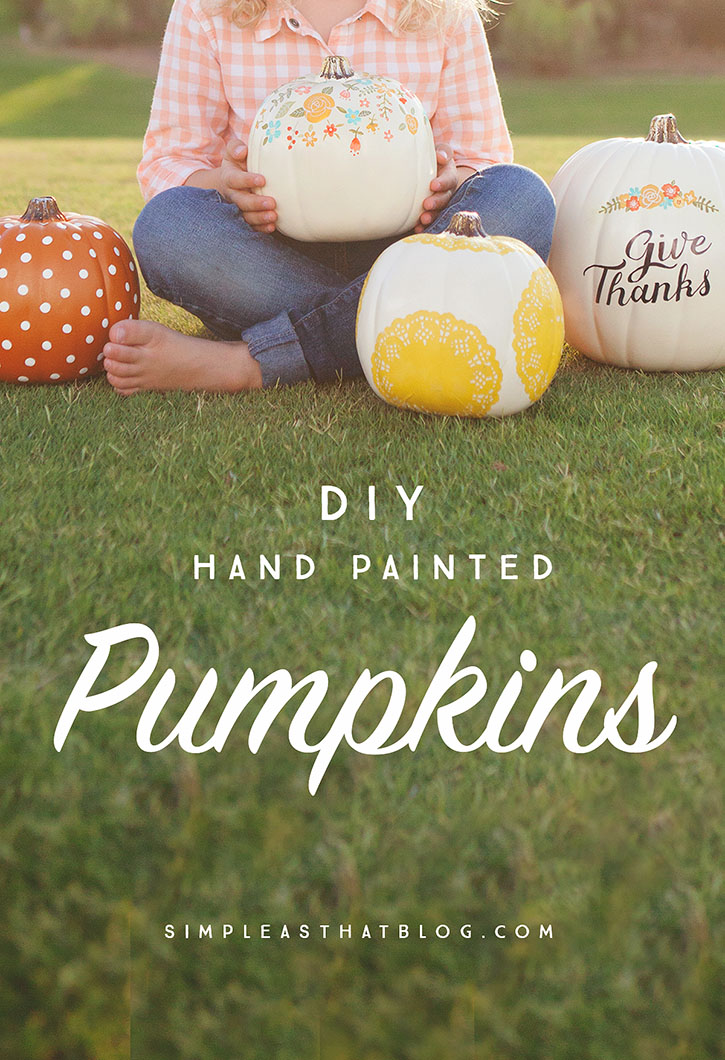
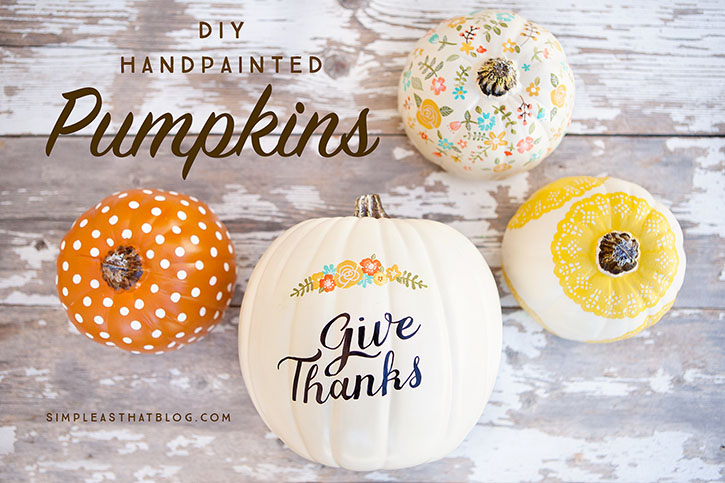
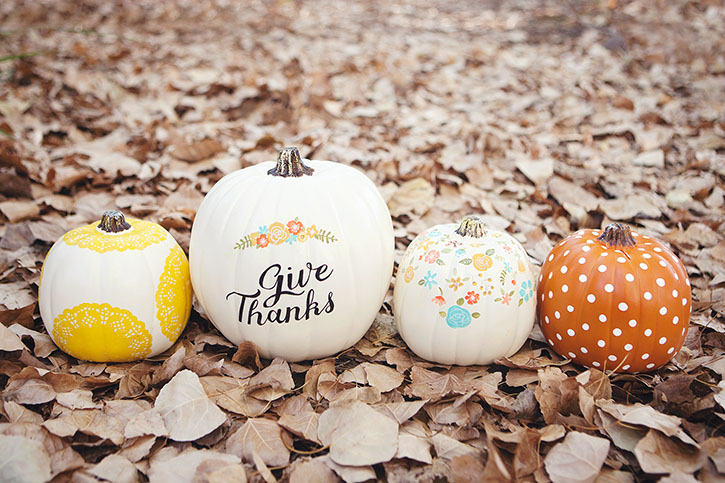
DIY Hand-Painted Pumpkins – nothing says Fall like pumpkins, but if pumpkin carving just isn’t for you, not to worry! Using faux craft pumpkins as your canvas, create your own hand-painted Fall decor that can be used year after year.
It’s September 1st and I can’t even tell you how excited I am for Fall! It’s still so hot here in Arizona and I say bring on the cooler weather, the pumpkin spice and Halloween!
I’m a bit of a minimalist when it comes to decorating for Fall – or any season for that matter. I love a fun DIY decor project as much as the next person, but if I go to the work of creating something special for my home I want it to last.
That’s why I love these craft pumpkins so much! They come in all shapes and sizes and when you create a project using faux pumpkins you’re able to enjoy your creation again year after year.
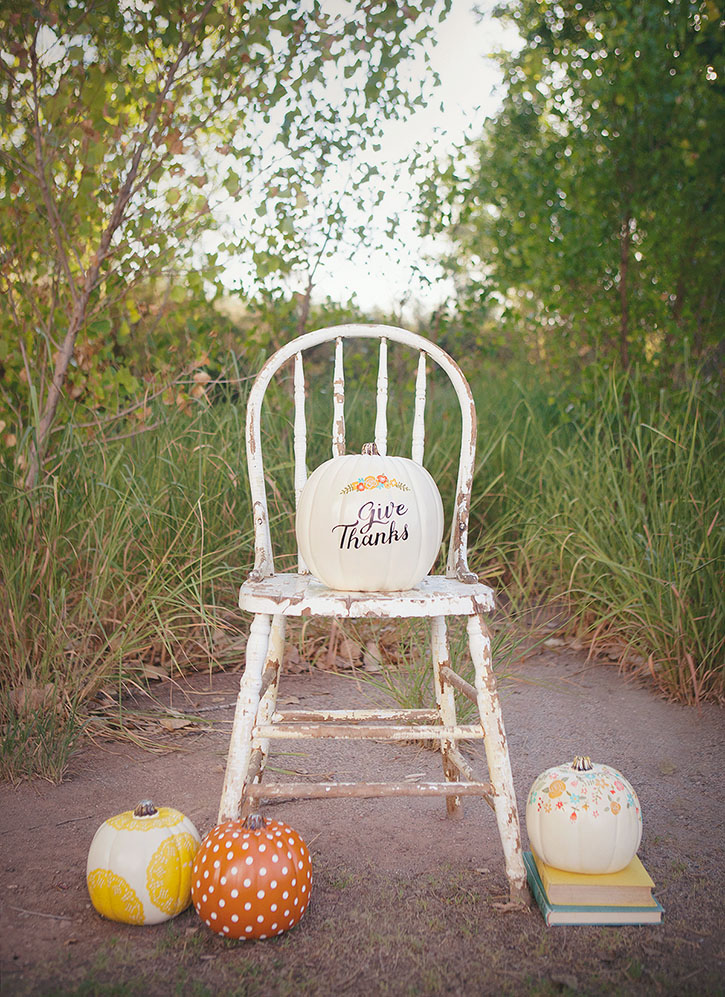
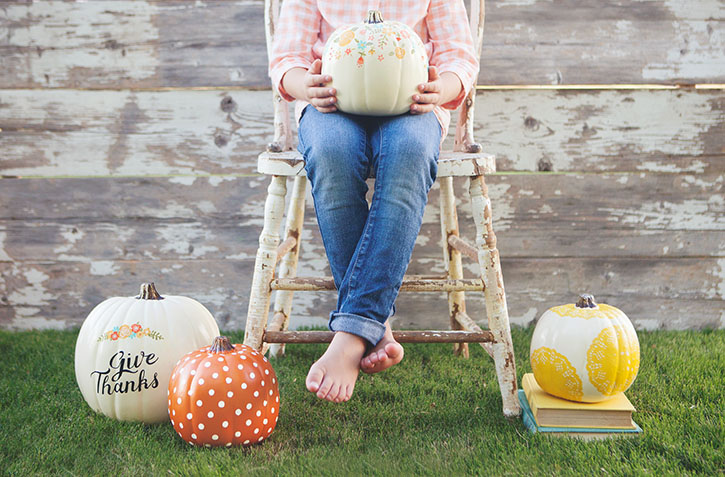
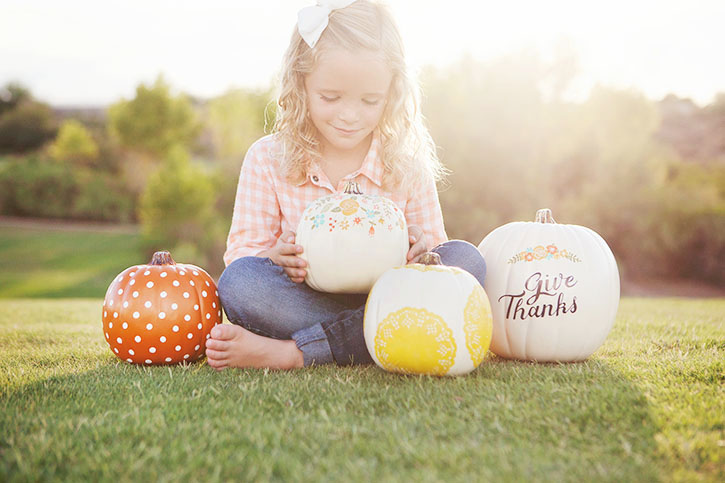
This is the first in our monthly Michaels Makers craft challenges and the challenge this month was to DIY Craft Pumpkins. I’ve been loving floral patterns lately so I wanted to incorporate florals and a vintage-inspired look into a small pumpkin vignette I could display in our home.
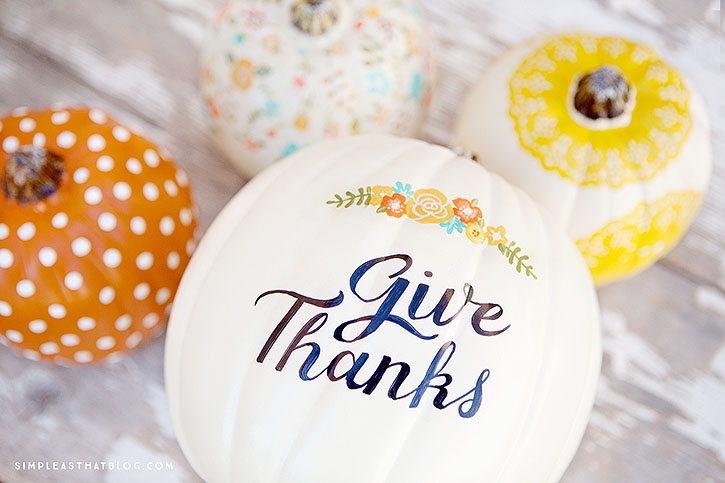
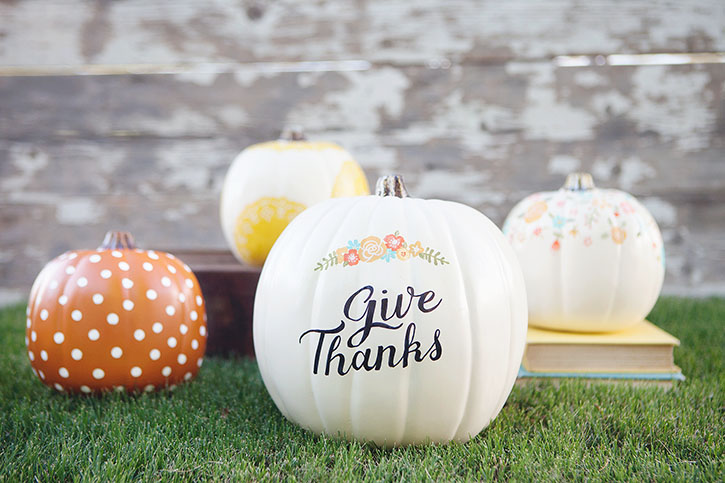
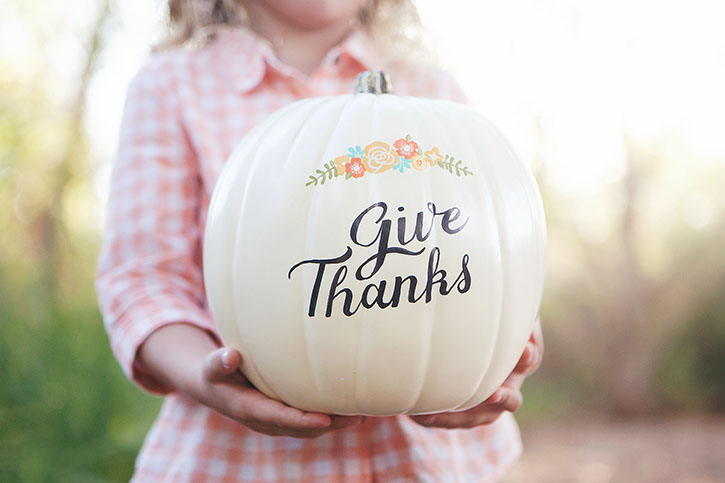
I had a lot of fun with these pretty pumpkins. They’re non-tradition and incorporate some of my favorite Fall colors. The hand-lettering adds the perfect touch and will be a great reminder to be thankful throughout the season.
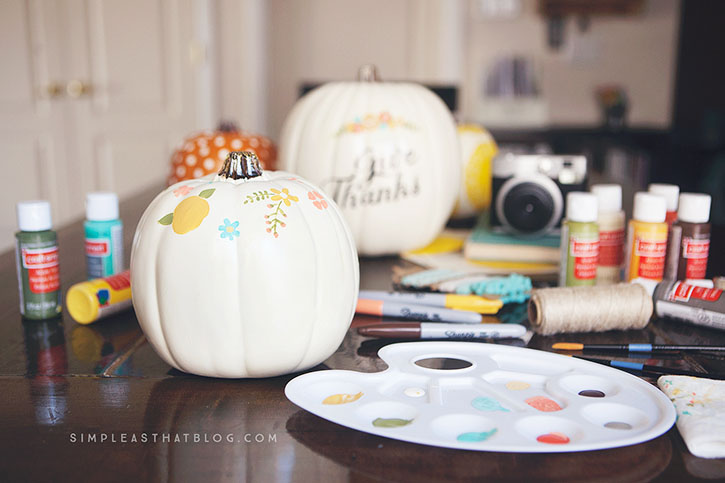
SUPPLIES YOU’LL NEED
Acrylic Craft Paints
Paint brushes in varying sizes
Paper Doilies
Mod Podge
Sharpies
INSTRUCTIONS
Polka Dot Pumpkin
Let’s start with the easiest one! To create the polka dot pumpkin you’ll need a small orange craft pumpkin, some off white craft paint and a pencil. A pencil with a brand new eraser will make the best polka dots. Dip the eraser end of the pencil in the paint and use it to stamp polka dots all over the pumpkin.
Paper Doily Pumpkin
For this pumpkin you’ll need some paper doilies, mod podge and a foam brush. Apply a thin layer of mod podge to the doily itself, position it on your pumpkin. Smooth it down using your foam brush and more mod lodge. It’s not going to lay perfectly flat and may wrinkle a bit because the pumpkin is curved but that’s ok. For the top of the pumpkin cut a circle out of the center of one doily and mod lodge around the center. Be very gentle when applying mod lodge over the doilies as they can tear easily.
Hand-lettered Pumpkin
For the hand lettered pumpkin create your word art in Photoshop Elements or at Picmonkey.com. Be sure to size it so it fits on your pumpkin. Next print out your word art in black and white. With pencil color in the back of the paper where your typography design is. Be generous with the lead so it’s nice and dark. Now flip the paper over, place it on the pumpkin where you’d like your design to go. Tape in place.
Begin tracing your letters with another pencil. The coloring you did with the pencil on the back of the paper will transfer the design onto the pumpkin. Once you’ve transferred your design to the pumpkin in pencil use a sharpie to fill in your design. You can leave as is or paint a small bouquet of flowers above the letters to add some color.
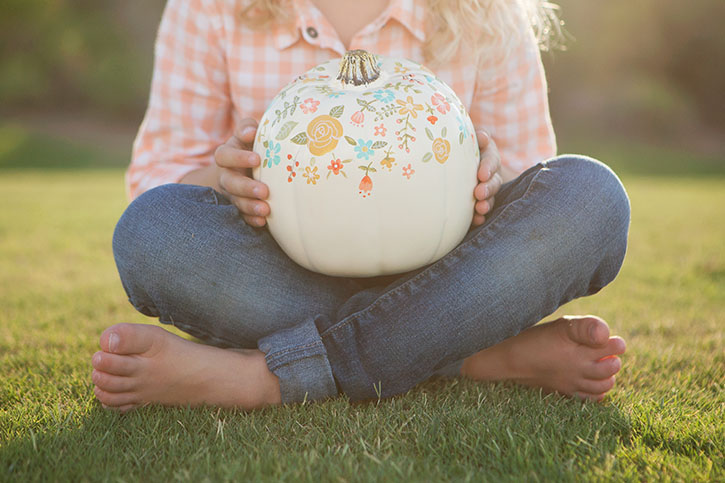
Floral Pumpkin
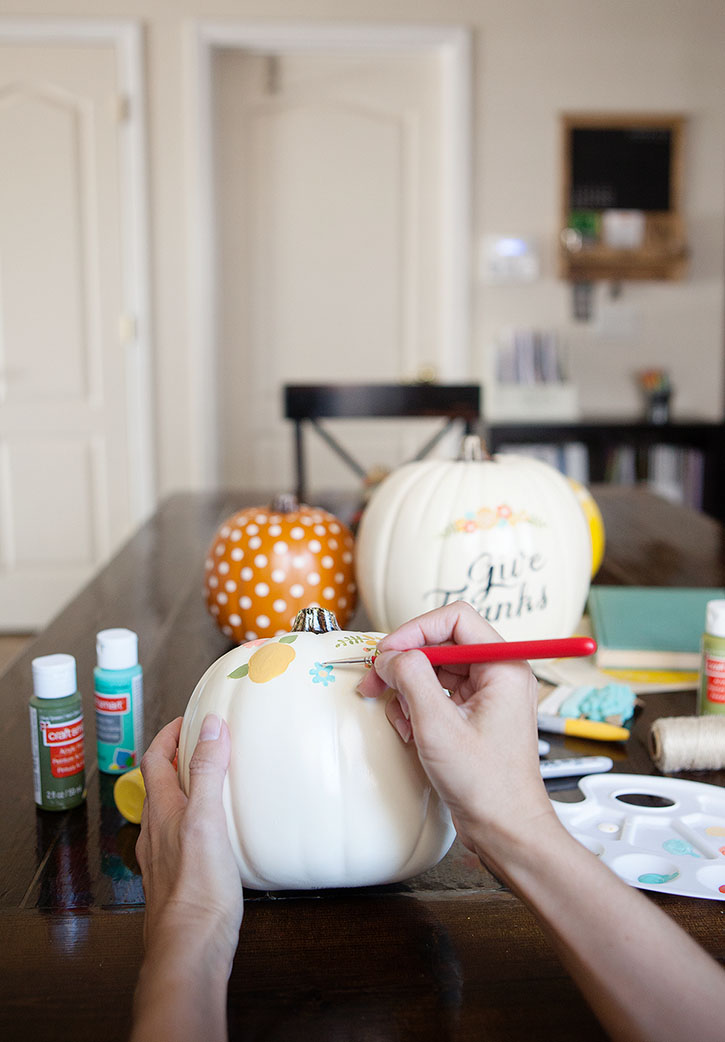
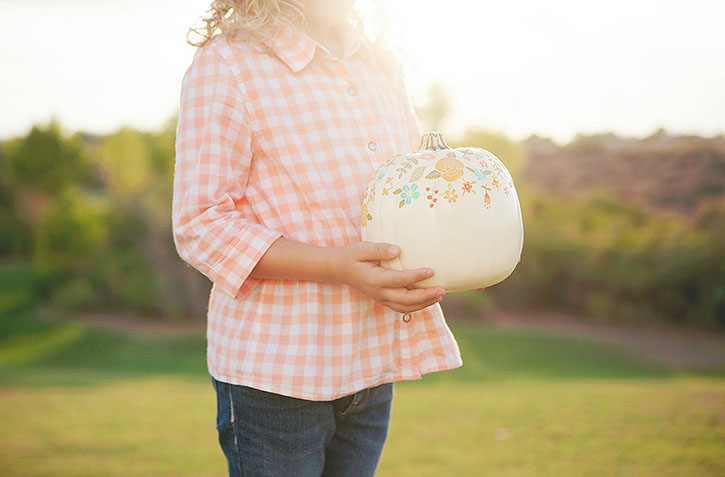
Choose a variety of Fall colored acrylic craft paints. Paint flowers, leaves and laurels on your pumpkin. Have fun with it – they don’t need to be perfect. Fill up the entire pumpkin with flowers or have them cascade down the top of the pumpkin. You may need a few layers of paint to cover properly. Once your flowers are dry, add detail into the paintings with sharpie marker or an opaque white marker.
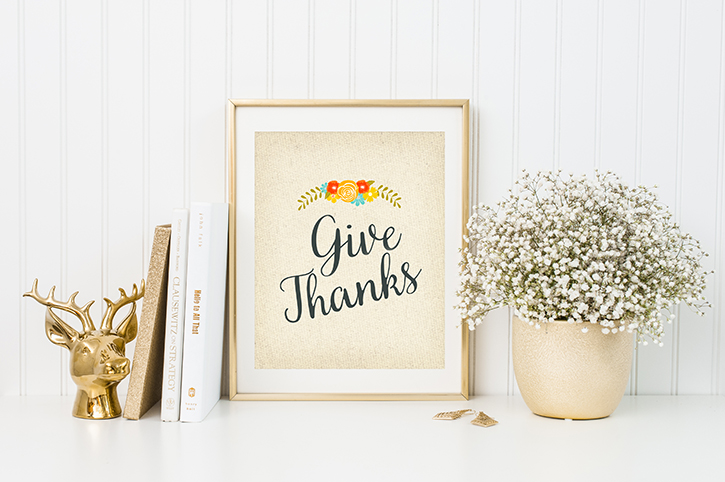
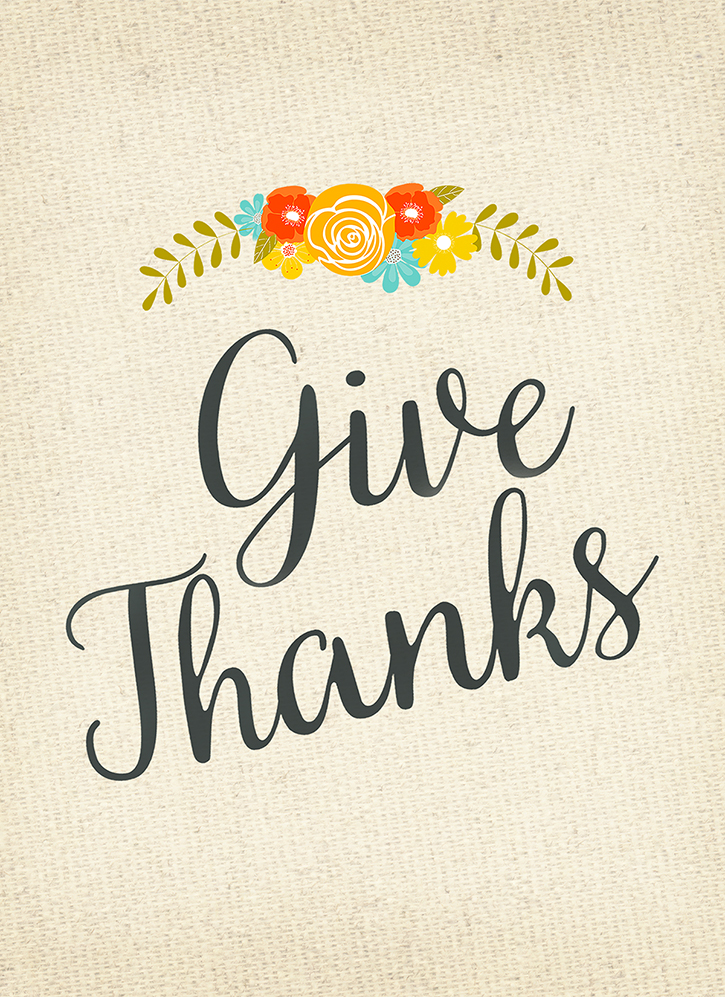
These pumpkins were such a cool project! There’s something about painting on a pumpkin vs. paper or a traditional canvas that makes it extra fun. If you aren’t feeling super crafty I’ve created this free printable that you can frame or use as a template to add some hand-lettering to your own craft pumpkin.
Click here to download Give Thanks Printable
Click here to download the Give Thanks Template
If you’re going to use the printable as a template for your pumpkin simply print in BW (adjust this setting in your printer preferences window) and shrink or enlarge depending on the size of pumpkin you’re working with.
To kick off fall in your own home, visit Michaels.com and check out the variety of craft pumpkins available – there is every color, shape and size you could ever want! If you’re looking for something a little bit different, they recently started selling these fun half pumpkins, perfect for fall décor wall mounts and fun signs!
For more fall décor inspiration be sure to look at the 49 other DIY pumpkin projects from the rest of the Michaels Makers – they are fabulous!
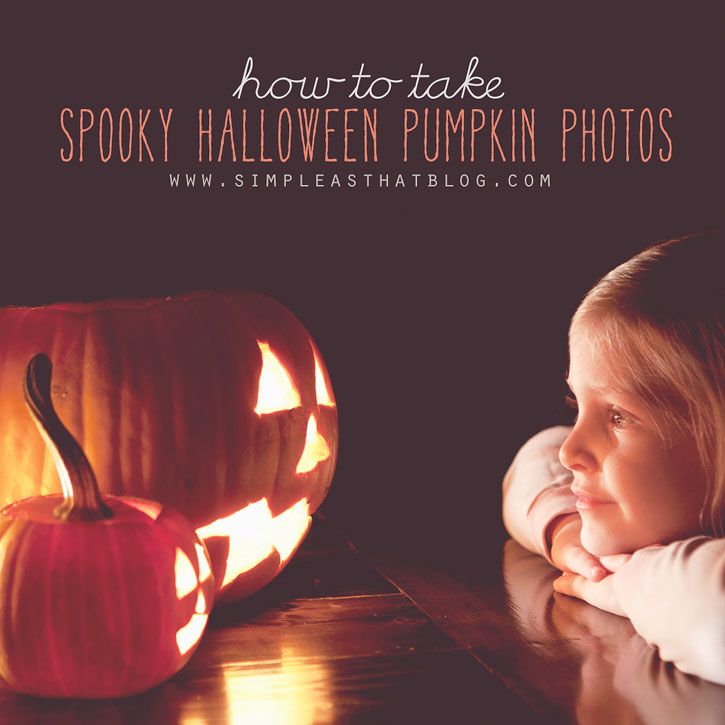
Tips for Taking Pumpkin Photos



These are sooo cute! Under instructions it says…”I love”….I love what? I’d love to know how you painted the rose, what your floral jnspiration was, and if the lettering js freehand!!
Happy September!!
This is lovely! I may have to do this this year. Thank you! 🙂
So pretty! I love all of your pumpkins.
Thank you so much Amy! So glad you stopped by! 🙂
These pumpkins are fabulous!!! I think I could do the polka dot one—baby steps 🙂
Hi Rebecca! This is wonderful! So excited to give this a try. Did you use a stencil for the flowers or freehand them? Thanks so much!!
I free handed them Traci – I kept them really simple then added the fine details with a sharpie.
These pumpkins are gorgeous! I really like the floral pumpkin – you are a wonderful painter!
I loved this DIY so much that I featured it in a recent blog post! You can find it here
http://thedeerandthewolf.com/fall-for-diy/
Amanda
Do you have to use a paint primer before you paint your pumpkins?