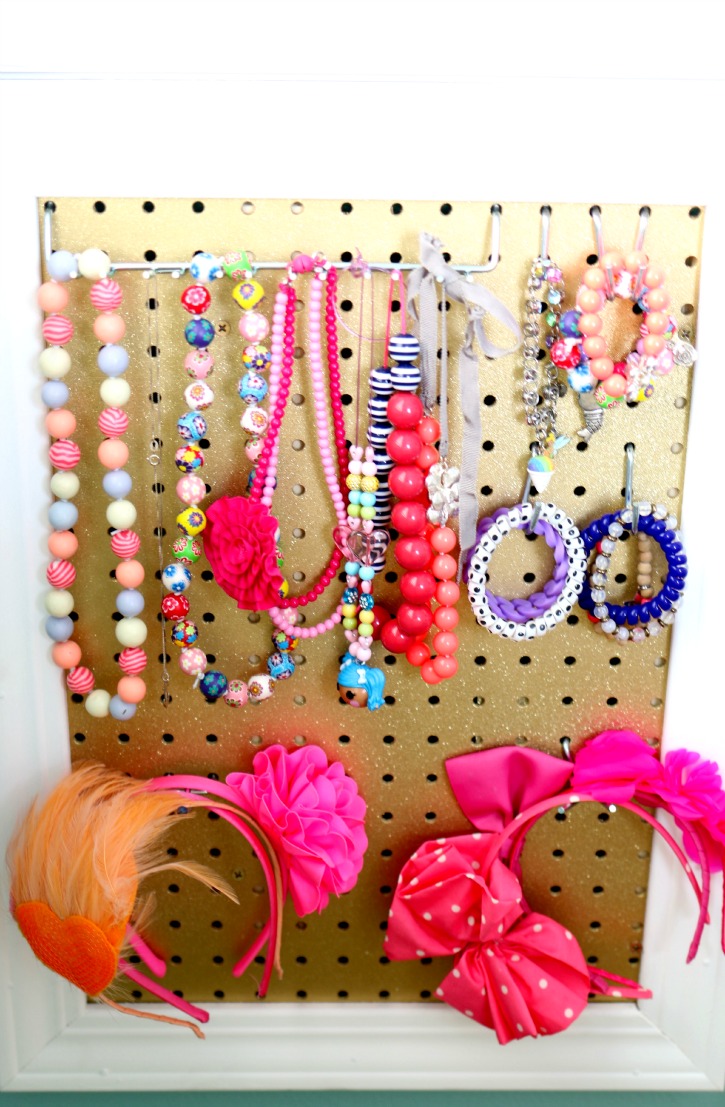
The holidays are here! Don’t get caught up in purchasing expensive gifts when some can be made with love and our very own hands. This D.I.Y. Girls Jewelry Board is the perfect gift to give our little or big girls to organize and display their baubles and headbands.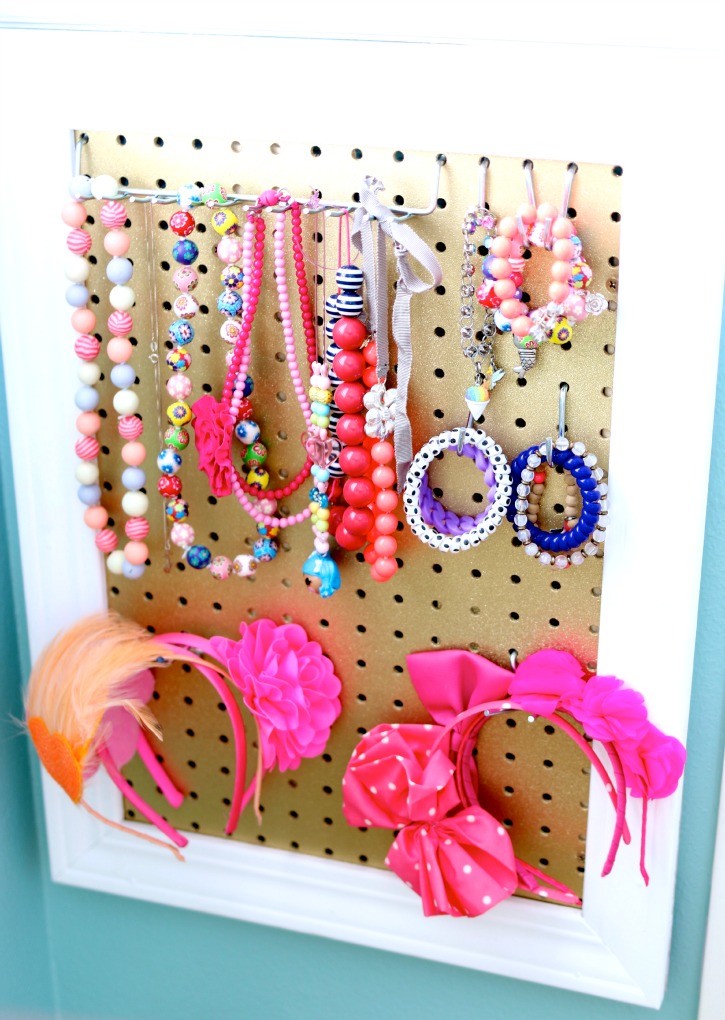
Hi friends, it’s Nicole from Simply Happenstance! Can you believe the holidays are upon us? How can that be? I feel like we were just cleaning up and organizing from last year. This Christmas, I am trying very hard to keep the gifts to a minimum and purchase ones that are meaningful, educational, and will grow with my kids. At times I do think they get too much, so I am working on a few items that are handmade and useful.
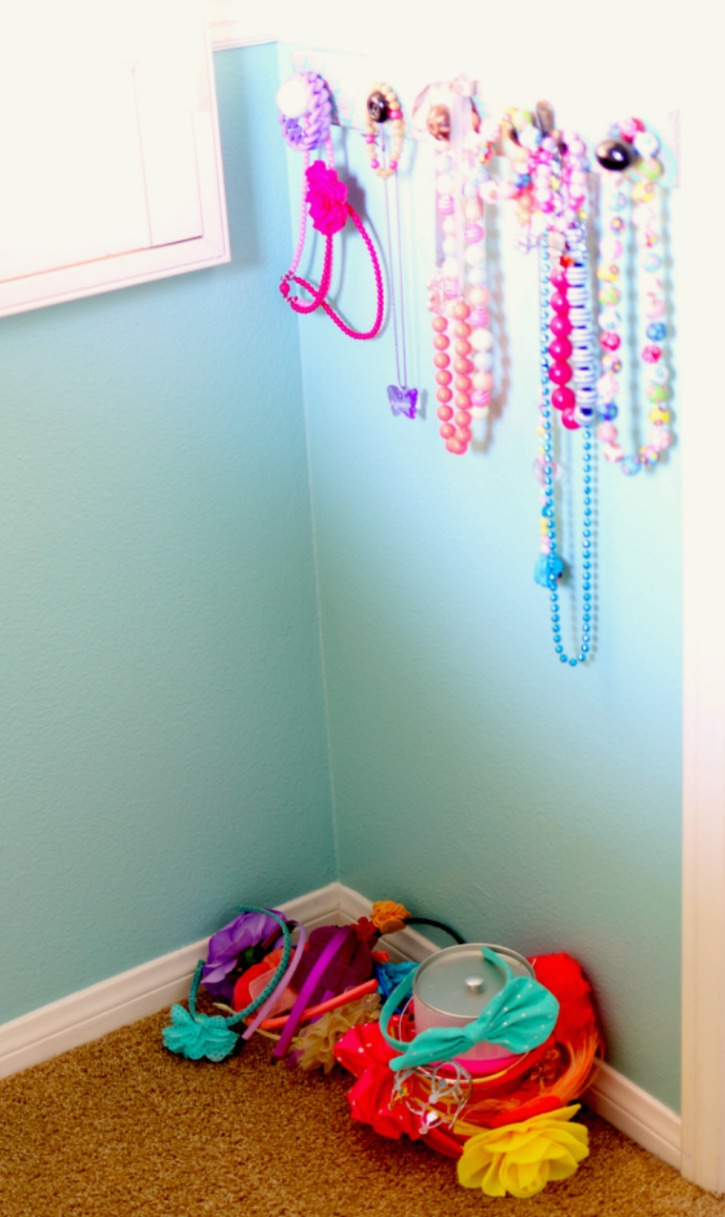
I loved Simple As That’s recent post “Thinking Beyond Toys”, that it got me thinking about the clutter that we have going on in my daughter’s room. A couple of years ago, Sara and I had a giveaway in conjunction with a D.I.Y. Jewelry Board which still hangs in my closet to this day. It is filled with fun and trendy baubles and it has been a great way to keep my jewelry organized and at arms reach.
Here is what you will need:
- White Peg Board
- White Baseboard
- Measuring Tape
- 2 1×2’s measured (shorter than the vertical length of the board
- A can of spray paint
- White paint
- A hammer and nails
- A drop cloth to paint on
- A paint brush
- Everbit Peg Board Hooks
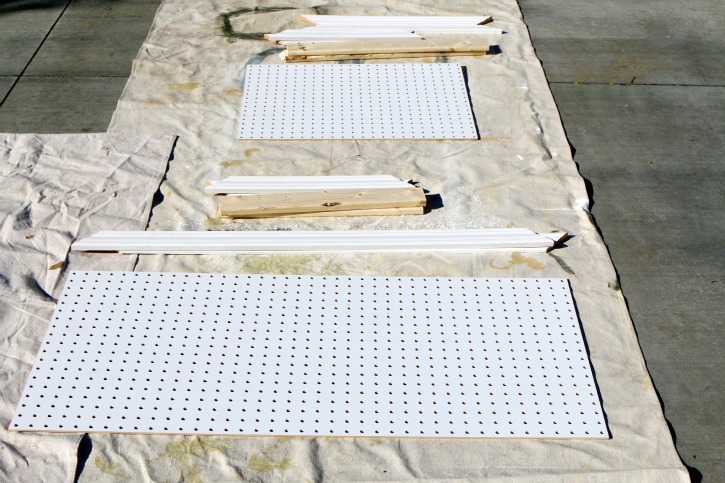
This project, does take some planning ahead, but it will make for a great Christmas gift for you daughter, or family member. I purchased all products at Home Depot. In order to start the project you have to figure out where you will be placing the jewelry board. Measure the space and then go to Home Depot or your local hardware store to purchase the supplies needed for this D.I.Y. Girls Jewelry Board. I measured my daughter’s space along with both of my friends, leaving a bit of room around the area for the baseboard that surrounds each of these pegboards. I went with my husband to make sure the measurements were correct. Home Depot allowed us to cut the pegboards and baseboards in store to match the measurements we needed.
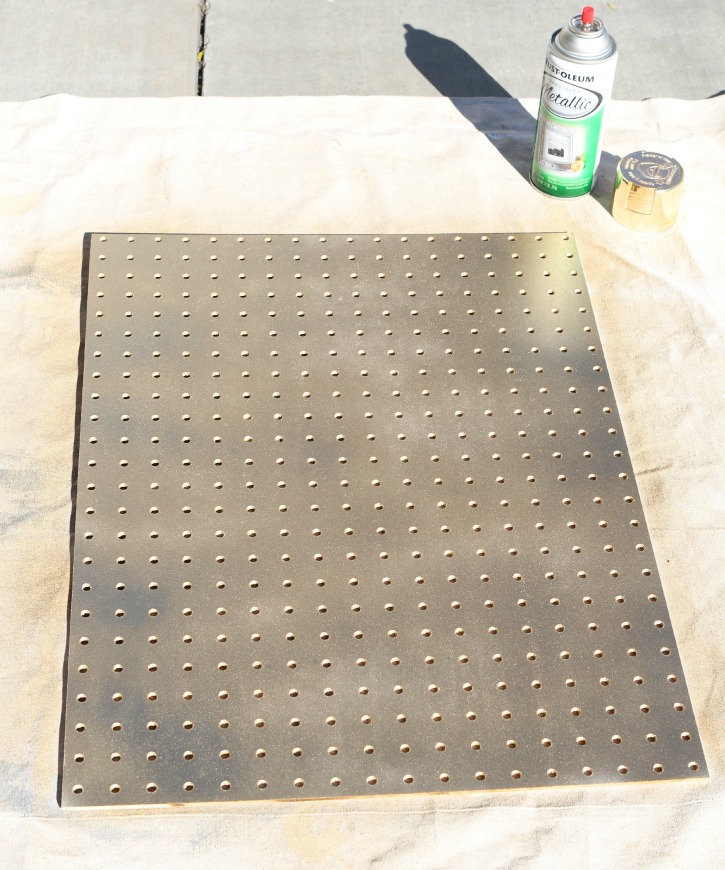
I chose to use white peg boards making it easier to spray paint them gold.
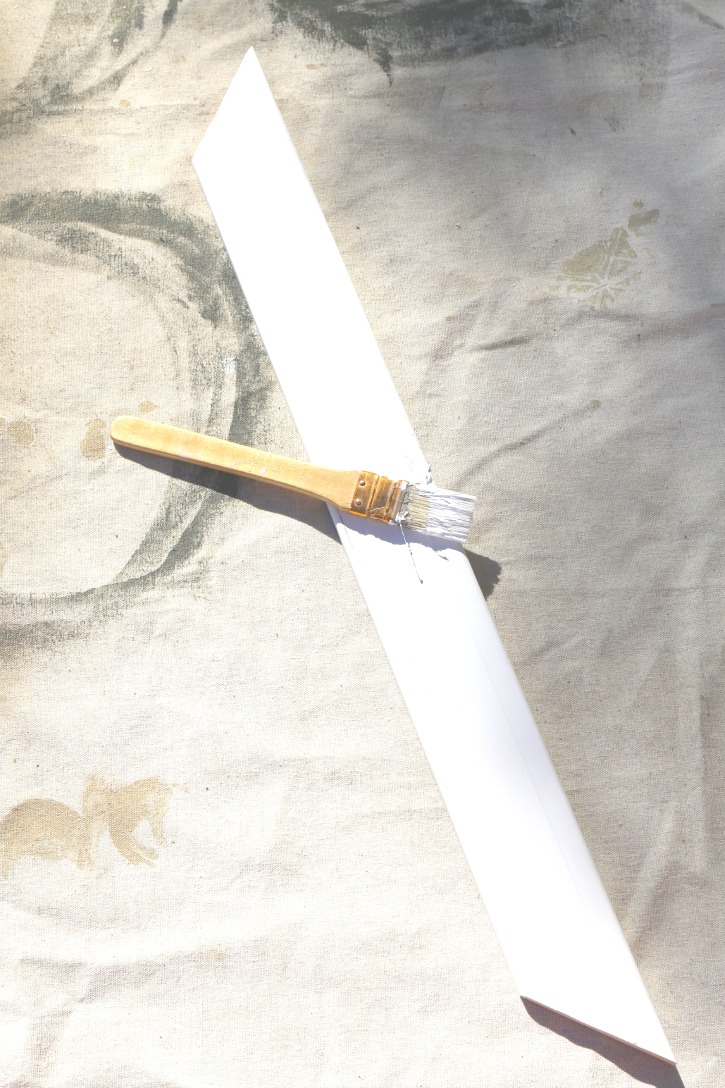
Then I painted the already white baseboards with a couple coats of white paint.
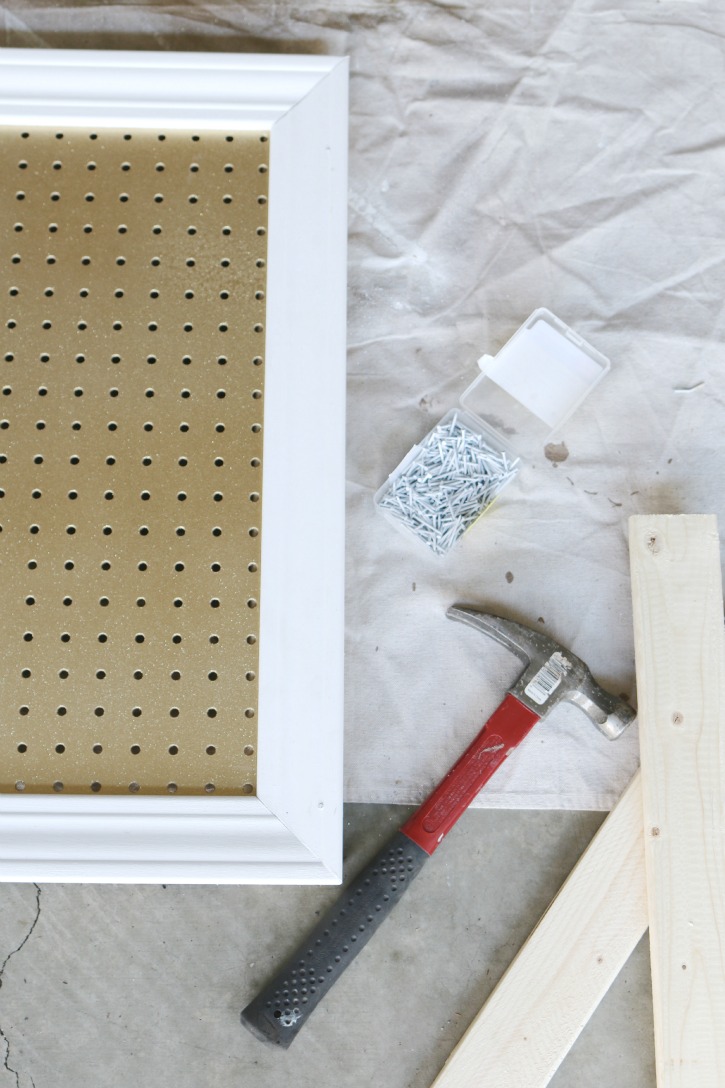
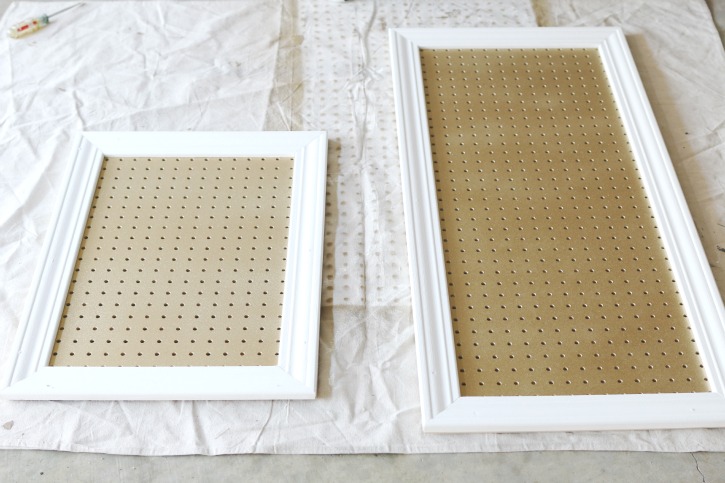
After the paint dried (a few coats later) we nailed the baseboards over the peg boards. We also purchased a couple 1×2 planks as seen to the right that we drilled into the wall to support the jewelry board as well to give space for the peg board hooks used to hang the jewelry in place with out taking out your wall from behind.
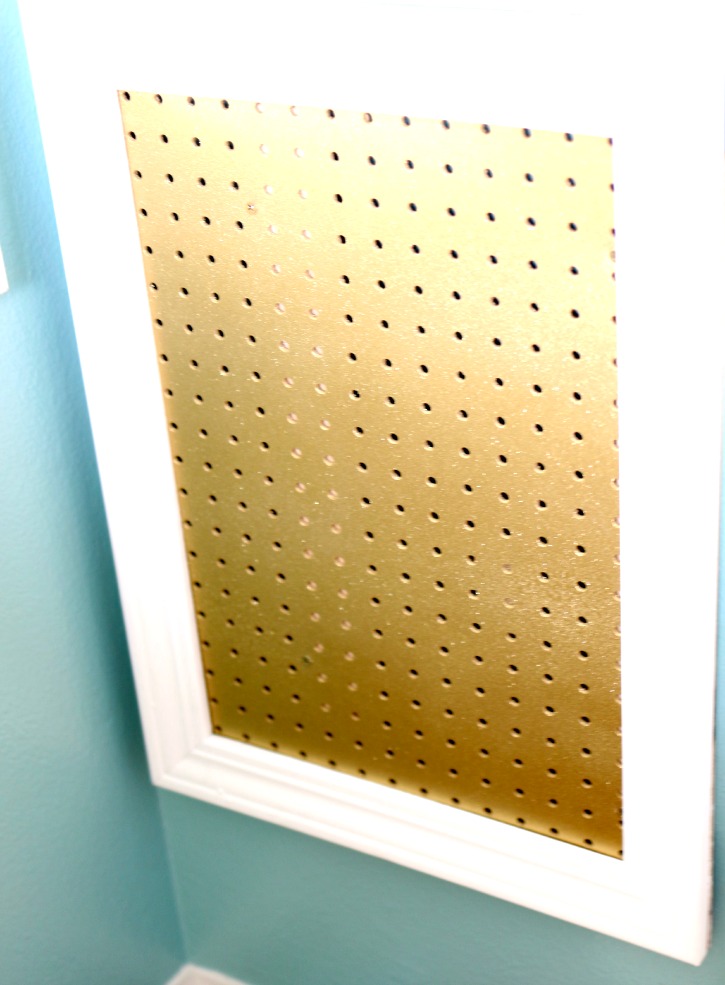
Once finished, you hammer or drill in the 1×2 wood in place. I placed two vertically on either side of the board, making sure you find where your studs are before you drill. Then you place the board up and hammer/drill the board in place over the 1×2 wood.
Place your peg hooks and add jewelry and headbands. For more information and how to make this jewelry board check out our D.I.Y Jewelry Board over at Simply Happenstance.
There you have a useful yet pretty handmade gift. We hope you all have a blessed and safe holiday season full of family, friends, and lots of fun!

Leave a Reply