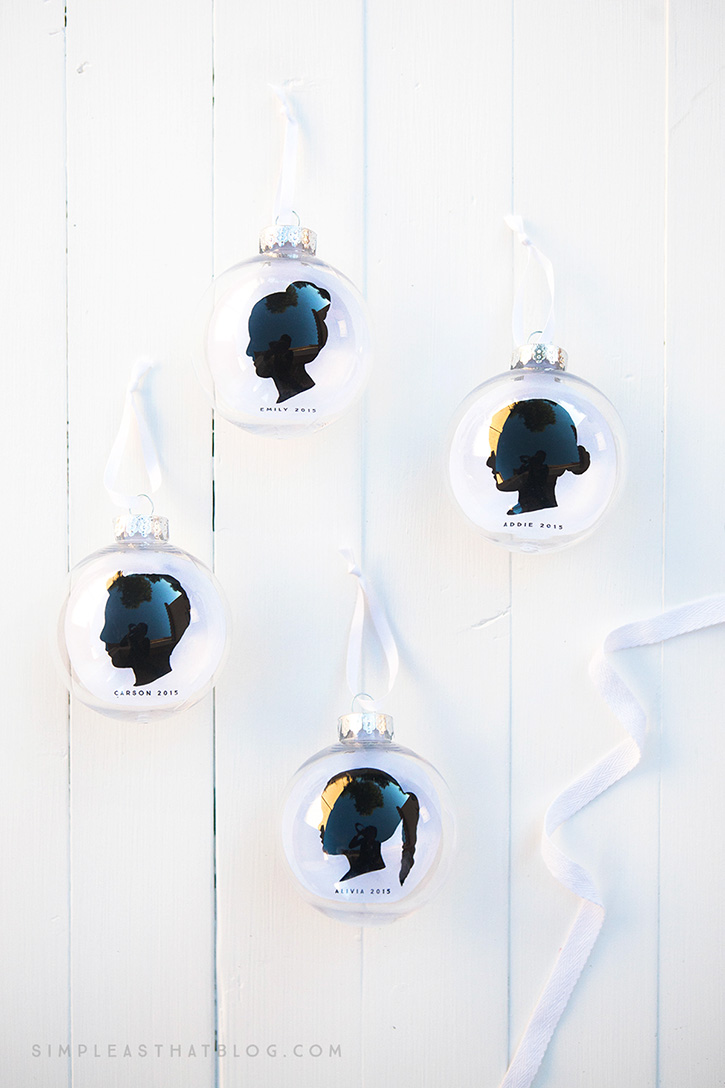
As a parent, have you ever wanted to freeze time? These simple, DIY, silhouette keepsake ornaments may not help you freeze time, but they will at least allow you to capture it—as you display your children’s profiles year after year on your Christmas tree.
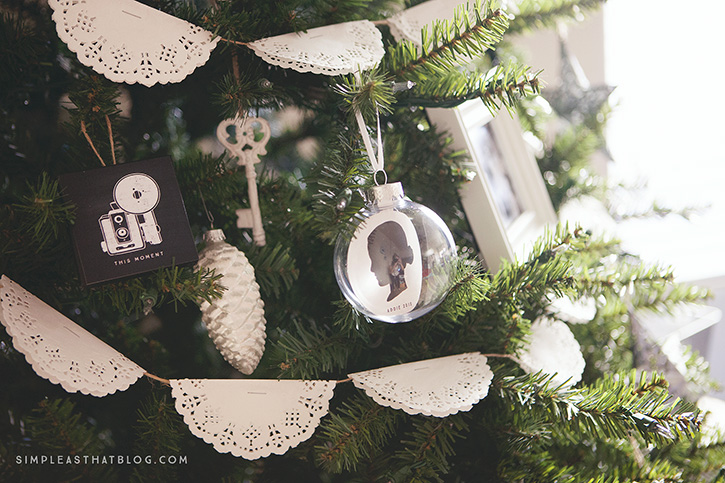
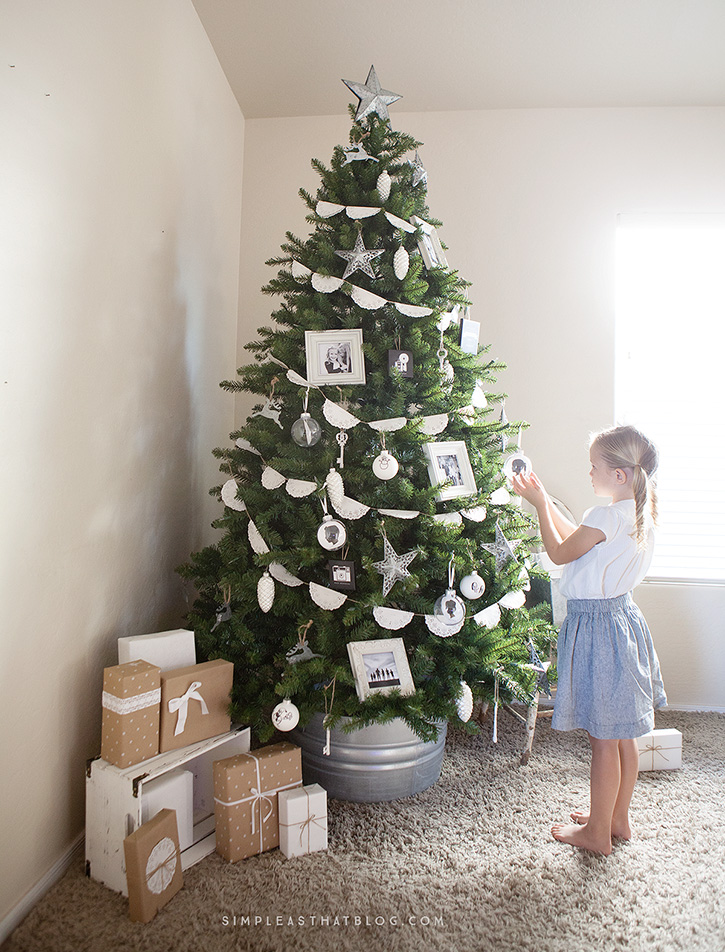
These simple, silhouette keepsake ornaments are some of my most treasured ornaments hanging on our Christmas tree this year.
Not only do they make beautiful ornaments for your own tree, they would make a perfect gift for grandparents. Below you’ll find step by step instructions, including a quick video tutorial, to help you create your own silhouette ornaments.
I hope yours bring a smile to your face like ours do for me!
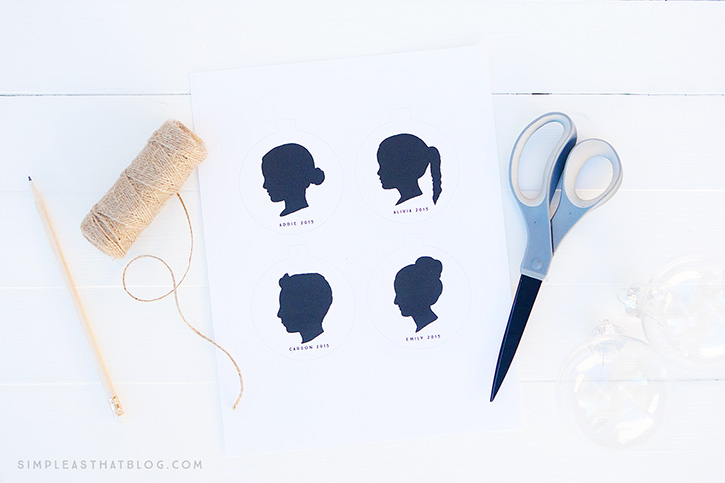
Supplies
How to Create the Silhouette
- Take a photo of the side profile of your subject. This photo doesn’t need to be anything fancy, just make sure the edges are crisp and clear.
- Open your photo in Photoshop or Photoshop Elements.
- Select the pen tool and trace along the edge of your portrait. Use the zoom tool to get in closer on areas with more detail. Trace carefully so your lines are smooth.
- Once you’ve traced around the all the parts of the image that you want to be in your silhouette, right click your mouse and choose Make Selection.
- Click Edit –> Copy.
- Now create a new document the size you want your final silhouette to be when printed. Click File –> New, and select the size you want the document to be.
- Click Paste and paste the selection you made on the side profile image into the new document.
- When the selection is pasted in the new document, fill it with black by clicking Select –> Load Selection –> Edit –> Fill –> Black.
If you’d like, you can add the child’s name and/or date underneath the image.
The video below shows how I created one of our silhouettes from start to finish.
How to Create the Ornament
Once your silhouette is finished, you’re ready to create the ornament itself. Print out the silhouette on a piece of white cardstock.
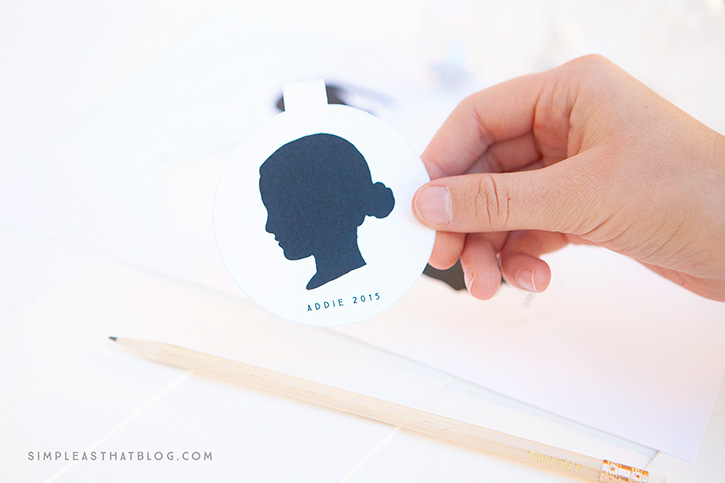
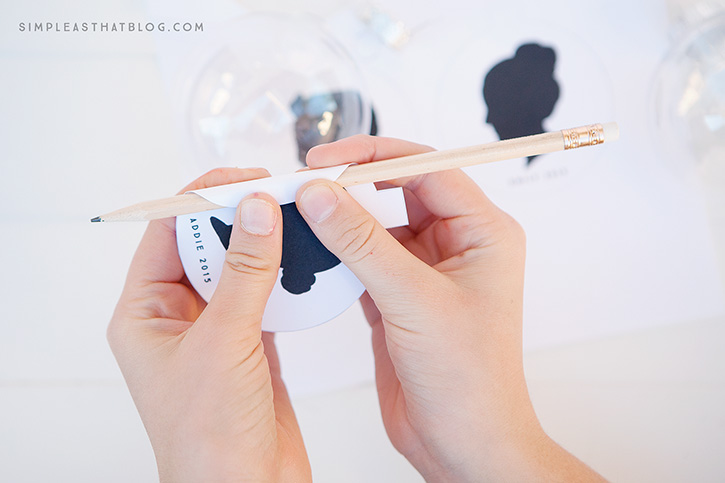
When cutting out your silhouette, cut in a circle and leave a small tab at the top (pictured below.) This tab will help when positioning the silhouette inside of the ornament and will anchor it so it stays in place once inside.
For reference, the width of my silhouettes when printed and cut out measured approximately 72mm (just shy of 3 inches), and they fit perfectly inside an 83mm plastic ornament.
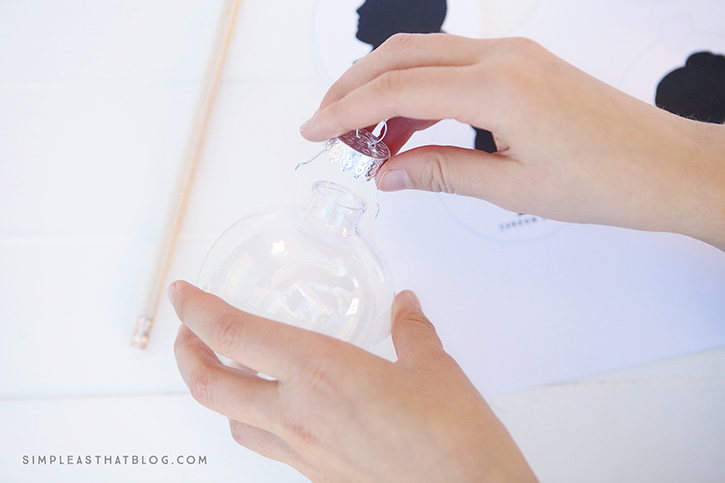
Remove the top portion of the ornament. It comes off easily.
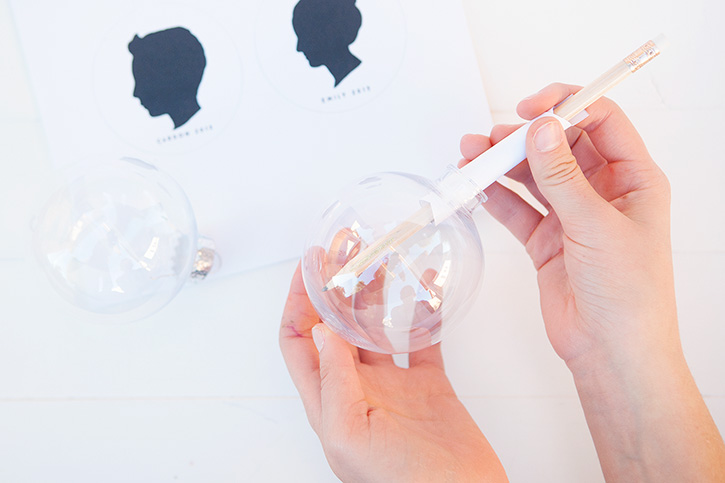
Gently roll the cardstock silhouette around a pencil.
Place it inside the ornament. Use the pencil or your finger to carefully flatten out the cardstock so it lays nicely inside the ornament. Replace the top. Tie a piece of ribbon or twine to the top to hang the ornament, and you’re finished!
I love seeing our children’s sweet profiles on our tree, and in black and white, I think they add a nice classic but modern punch to our holiday decor.
In fact, we’re enjoying our ornaments so much that I could see this becoming a new tradition! Imagine how much fun it would be to watch their profiles change year after year.
Enjoy!
MORE SIMPLE CHRISTMAS AND HOLIDAY INSPIRATION
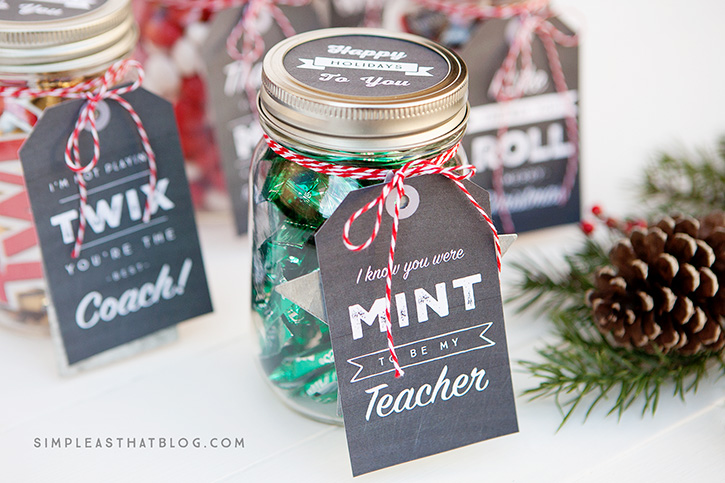
Simple Mason Jar Gifts with Printable Tags
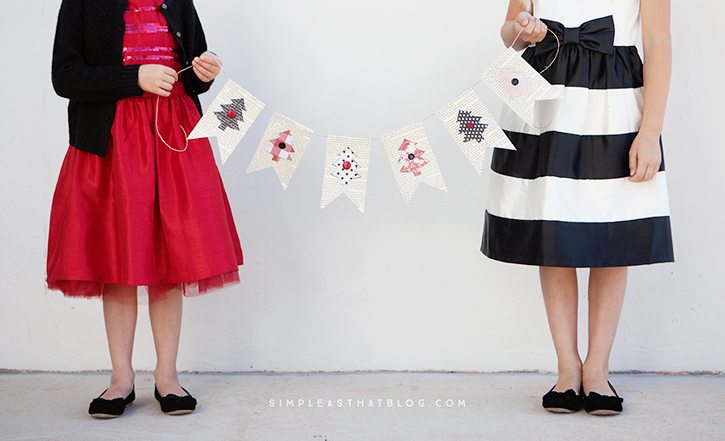
Christmas Tree Book Page Banner
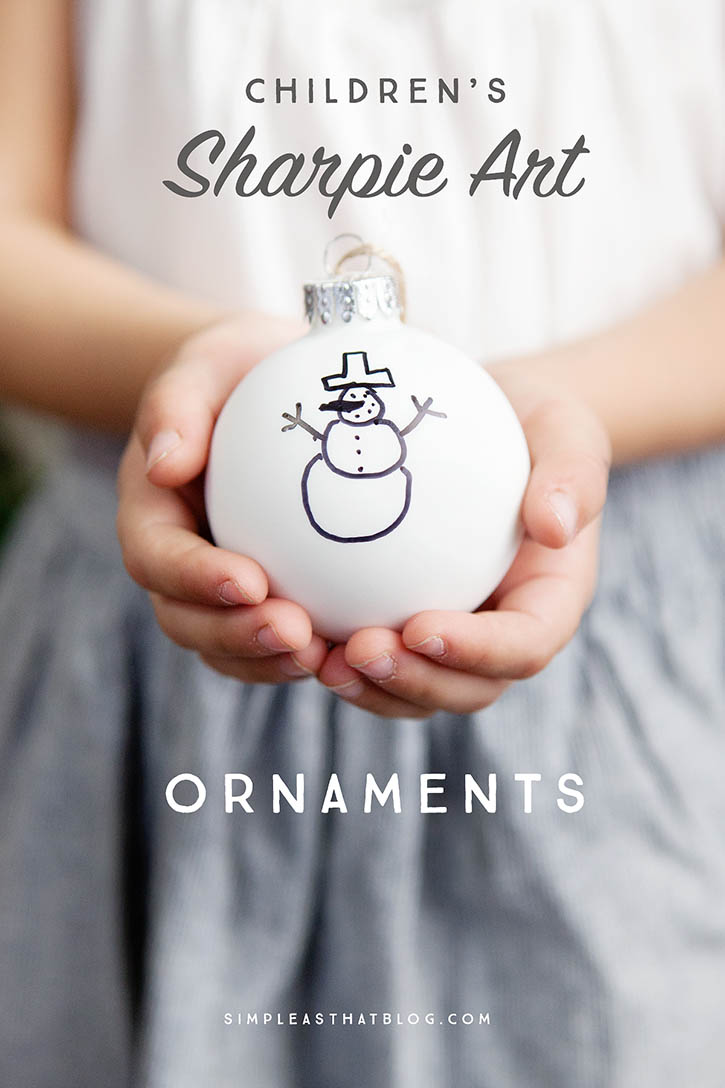
Children’s DIY Sharpie Art Ornaments
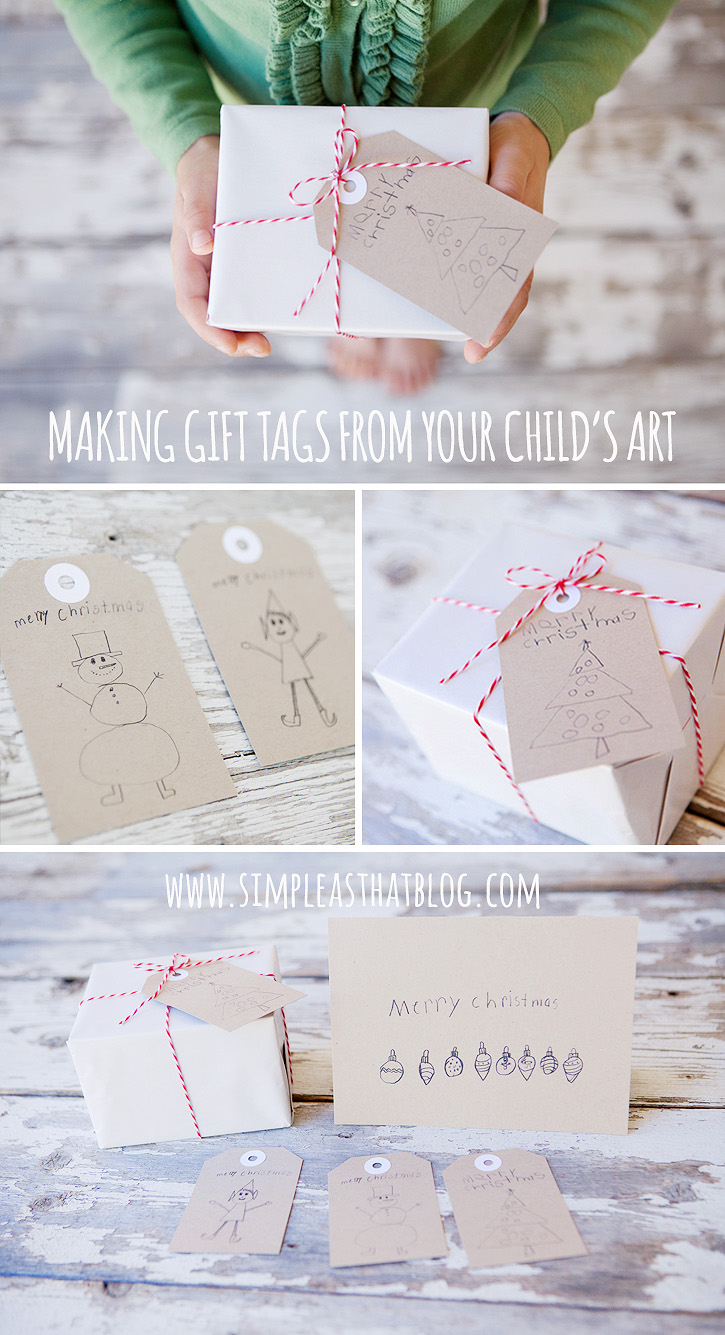
Simple Christmas Gift Tags from Children’s Art
50 Photos to Take this Christmas





Love all your great ideas! Thanks for sharing.
This is such a unique and creative idea. LOVE. Thank you so much for sharing!!
Hi! Great idea! I don’t use photoshop. ….I use lightroom. Do you have a tutorial for that?
Thx!
I have tried for the life of me to figure out how to uncurl the cardstock once it is in the ornament and cannot! Any tips on how you got it to uncurl?