• About
    • About Rebecca
    • Meet the Team
    • Media Kit
    • FAQ
  • Photography
  • Holidays
  • Recipes
  • Printables
  • 2019 Calendar
  • Write for Us
  • Beyond Snapshots

Simple as That

Making Everyday Beautiful

Naturally Dyed Easter Eggs Tutorial

Tuesday, March 22, 2016

Tired of keeping up with the holiday hustle? Enjoy a calm season filled with MORE memories & LESS overwhelm: Join us for 12 Days to a Simpler Holiday Season.

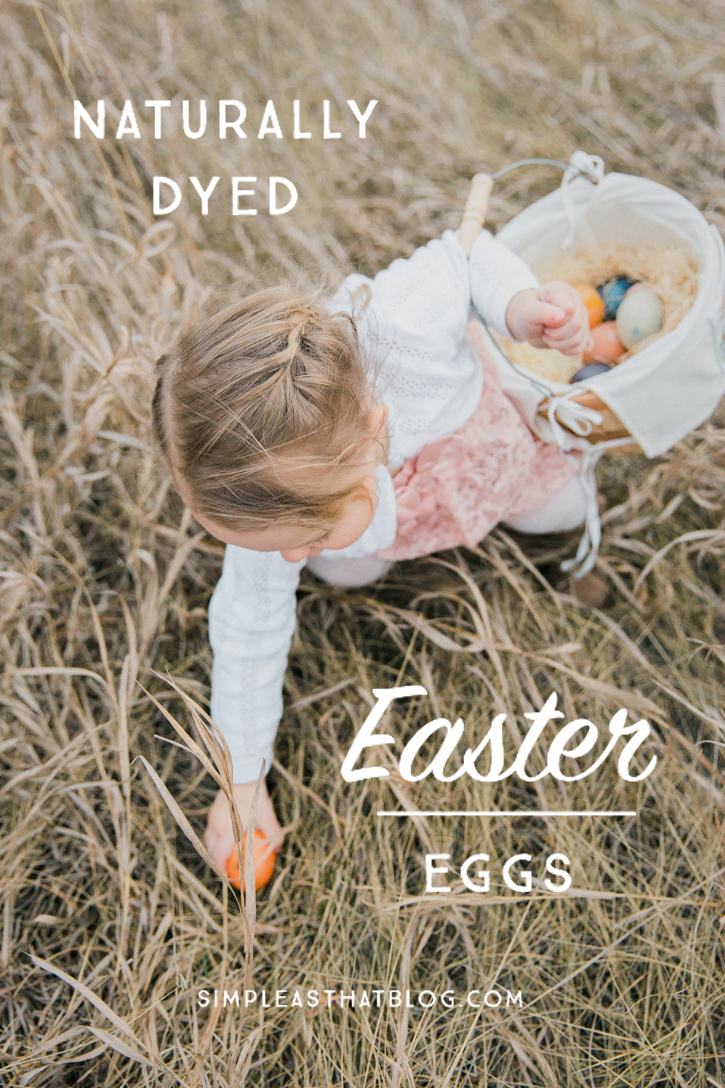
Naturally Dyed Easter Eggs Tutorial – learn how to get beautiful, rustic colored Easter eggs by dying with all natural ingredients. Follow along for a list of household ingredients and step by step instructions to help you create pretty Easter eggs in a variety of natural shades and the best part is, it’s safe for kids.

Learn how to get beautiful, rustic colored Easter eggs by dying with all natural ingredients. Follow along for a list of household ingredients and step by step instructions to help you create pretty Easter eggs in a variety of natural shades and the best part is, it's safe for kids.

Hello Simple as That readers!  I’m Jennie and I’m a lifestyle photographer at Guenard Photography and full-time Mommy.  I started photography long before having children, and have always loved capturing real moments and emotions, which easily transitioned over to taking pictures of my family’s adventures.  I’m so grateful for the ability to capture beautiful moments of our everyday lives.  I have a love for creating things, especially with my family, because my two year old gets to feel that sense of accomplishment when she looks at something she helped to make.  It’s also great for bringing us closer together, and isn’t that what life is all about?

Follow along with Jennie’s work here:

Website | Instagram | Facebook | Pinterest | Twitter

Easter has always been a favorite time of year, and dying Easter eggs is a tradition that I wanted to carry on with my children.

Learn how to get beautiful, rustic colored Easter eggs by dying with all natural ingredients. Follow along for a list of household ingredients and step by step instructions to help you create pretty Easter eggs in a variety of natural shades and the best part is, it's safe for kids.

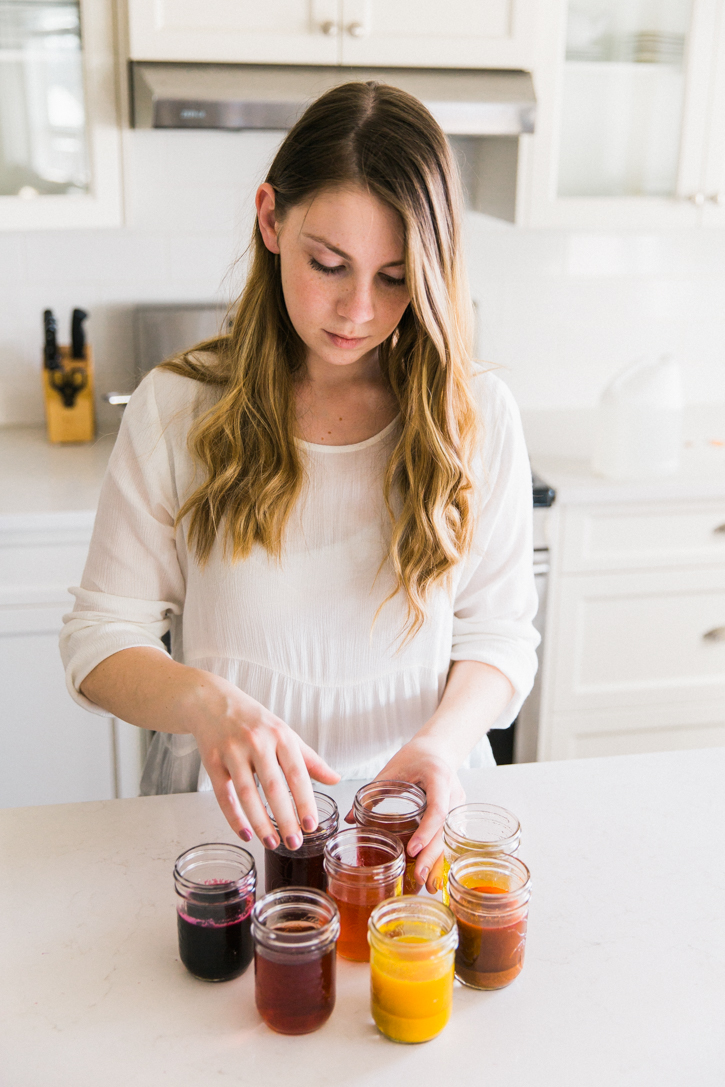
My love for all things natural and homemade led me to making dye out of food and plants that I already had in the house.

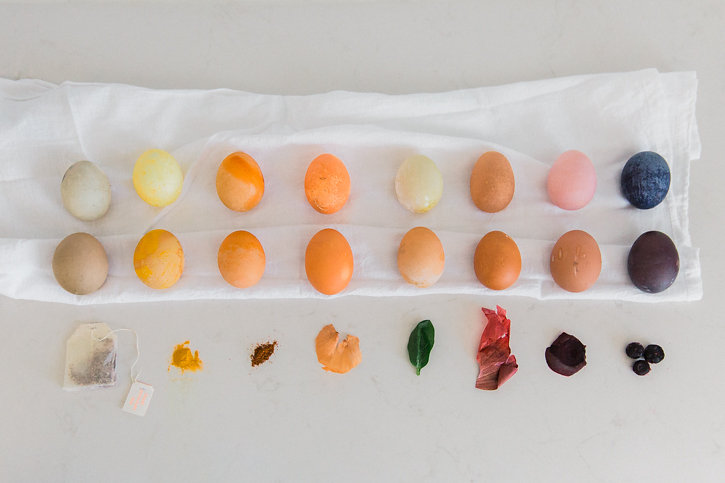
Most of the items we used were leftover from meals I had made throughout the week, and the colors we created are so pretty!

Learn how to get beautiful, rustic colored Easter eggs by dying with all natural ingredients. Follow along for a list of household ingredients and step by step instructions to help you create pretty Easter eggs in a variety of natural shades and the best part is, it's safe for kids.

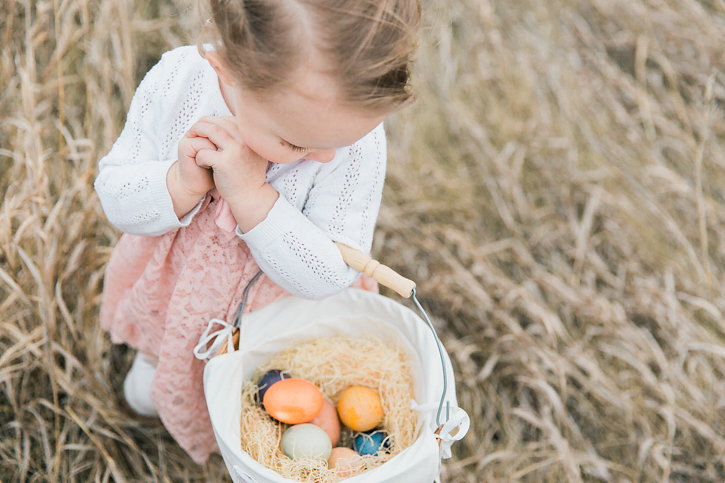
I love the natural tones, they have such gorgeous depth and texture, and just knowing you made something right from scratch makes it satisfying and beautiful all on it’s own.

Learn how to get beautiful, rustic colored Easter eggs by dying with all natural ingredients. Follow along for a list of household ingredients and step by step instructions to help you create pretty Easter eggs in a variety of natural shades and the best part is, it's safe for kids.


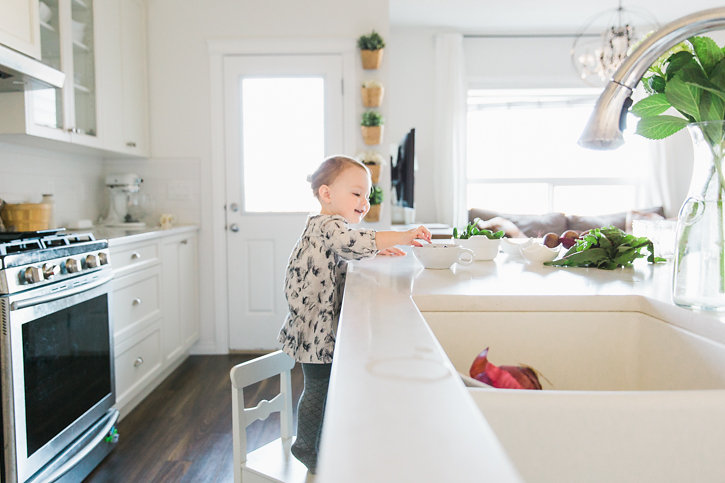
I’m glad I could share that feeling with my daughter, here’s to the start of new holiday traditions.
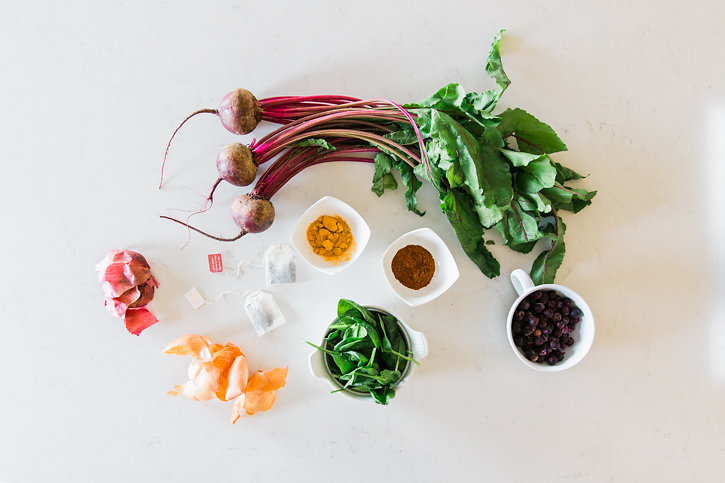
Supplies

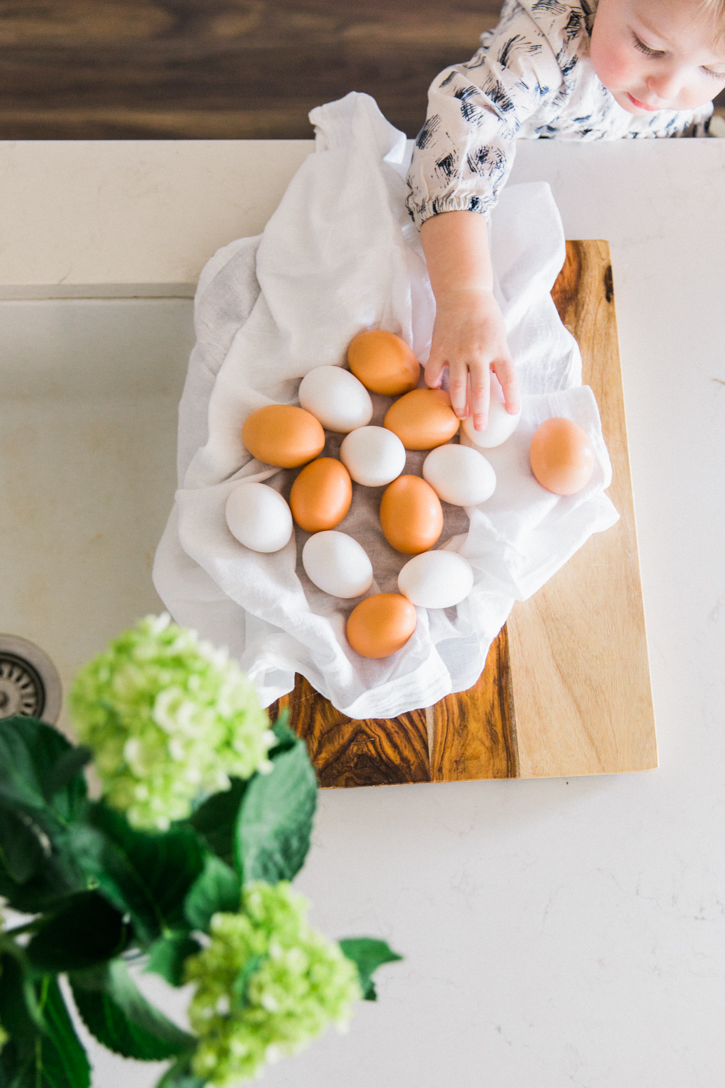
Eggs (brown or white)

Yellow Onion

Red Onion

Spinach

Beets Blueberries

Turmeric

Chili Powder

Red Tea (acai, red raspberry, etc.)

Glass Jars for Dye

Cooling Rack for drying

Learn how to get beautiful, rustic colored Easter eggs by dying with all natural ingredients. Follow along for a list of household ingredients and step by step instructions to help you create pretty Easter eggs in a variety of natural shades and the best part is, it's safe for kids.

Instructions

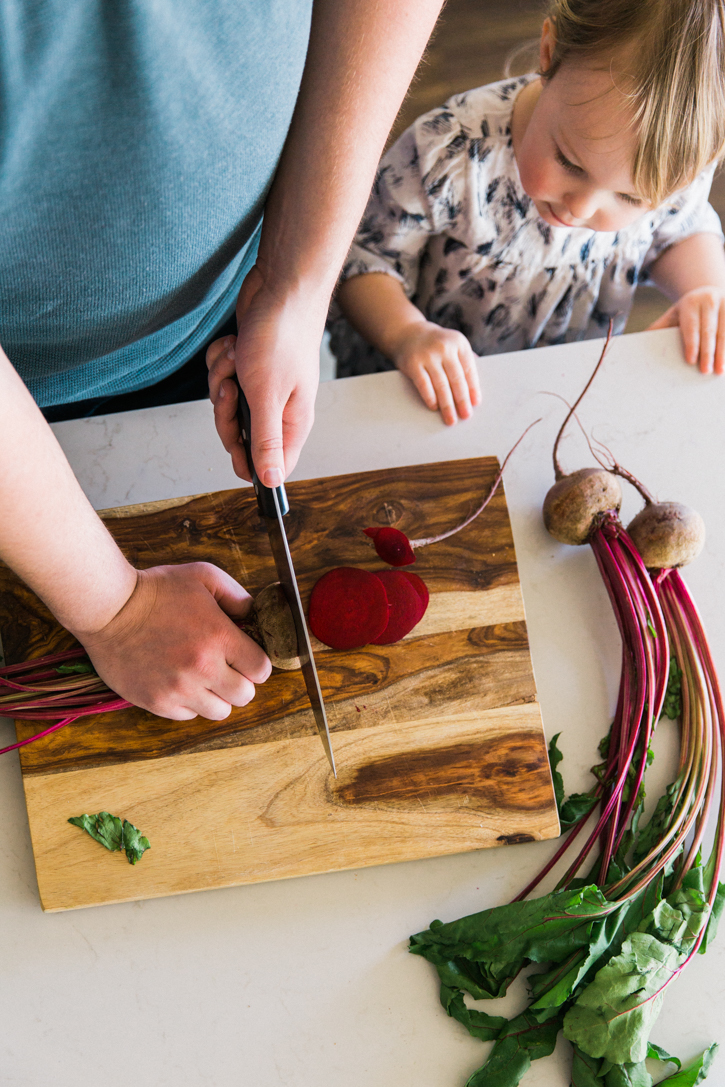
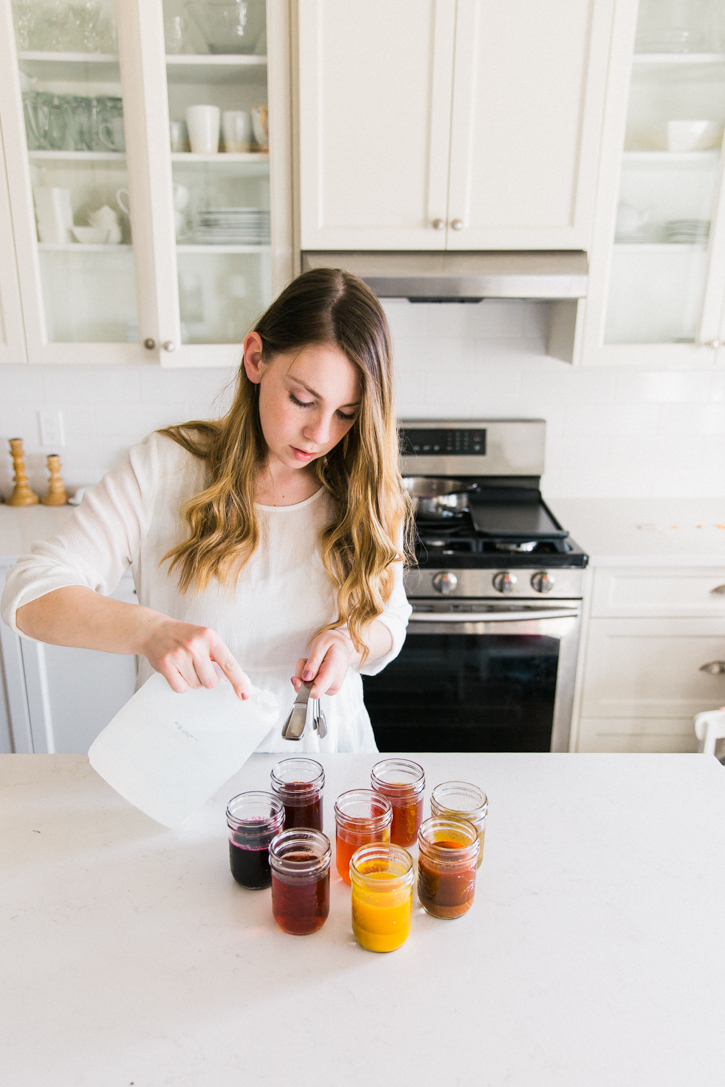
1. Gather the supplies you are using to make the dye. Chop up the beets, peel the onions and save the peel, and boil water for tea.

Learn how to get beautiful, rustic colored Easter eggs by dying with all natural ingredients. Follow along for a list of household ingredients and step by step instructions to help you create pretty Easter eggs in a variety of natural shades and the best part is, it's safe for kids.

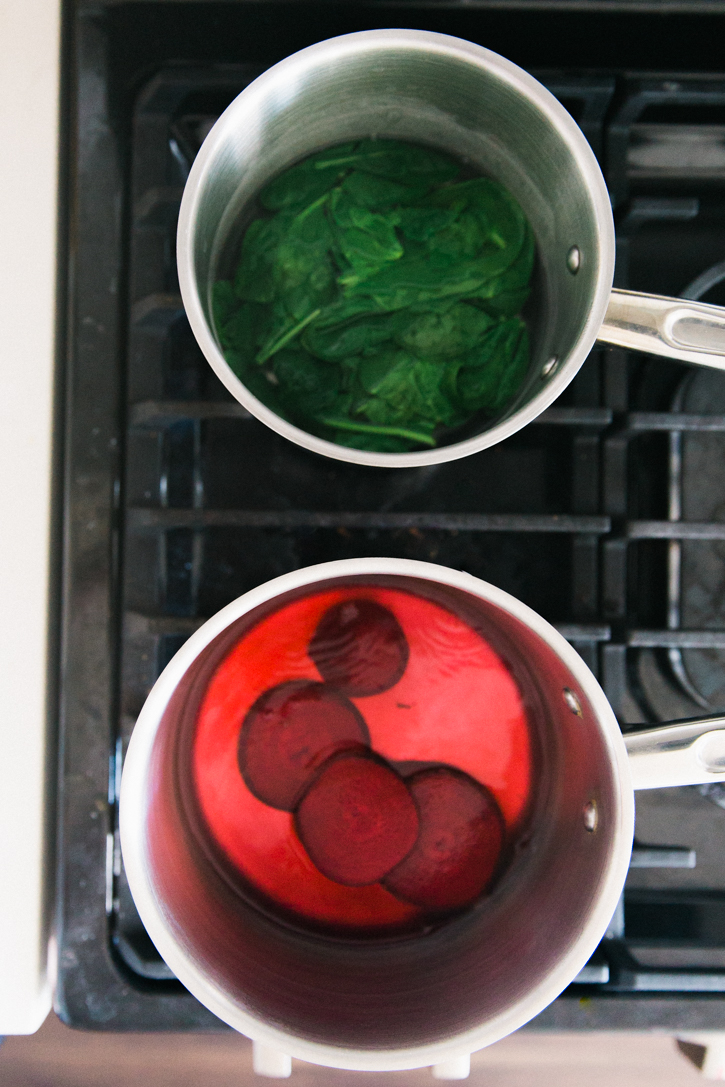
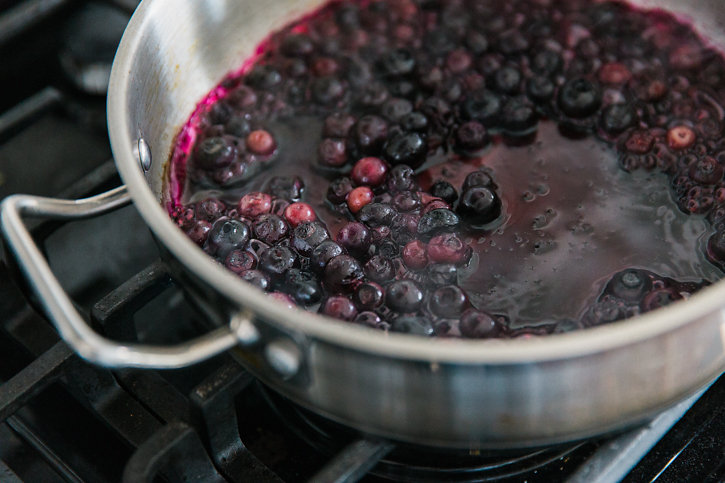
2. Boil the ingredients in seperate pots, simmering each fruit or vegetable until the color of the water is quite deep in tone, or until the spices have dissolved. Steep the tea.

Learn how to get beautiful, rustic colored Easter eggs by dying with all natural ingredients. Follow along for a list of household ingredients and step by step instructions to help you create pretty Easter eggs in a variety of natural shades and the best part is, it's safe for kids.

1V6A14253.

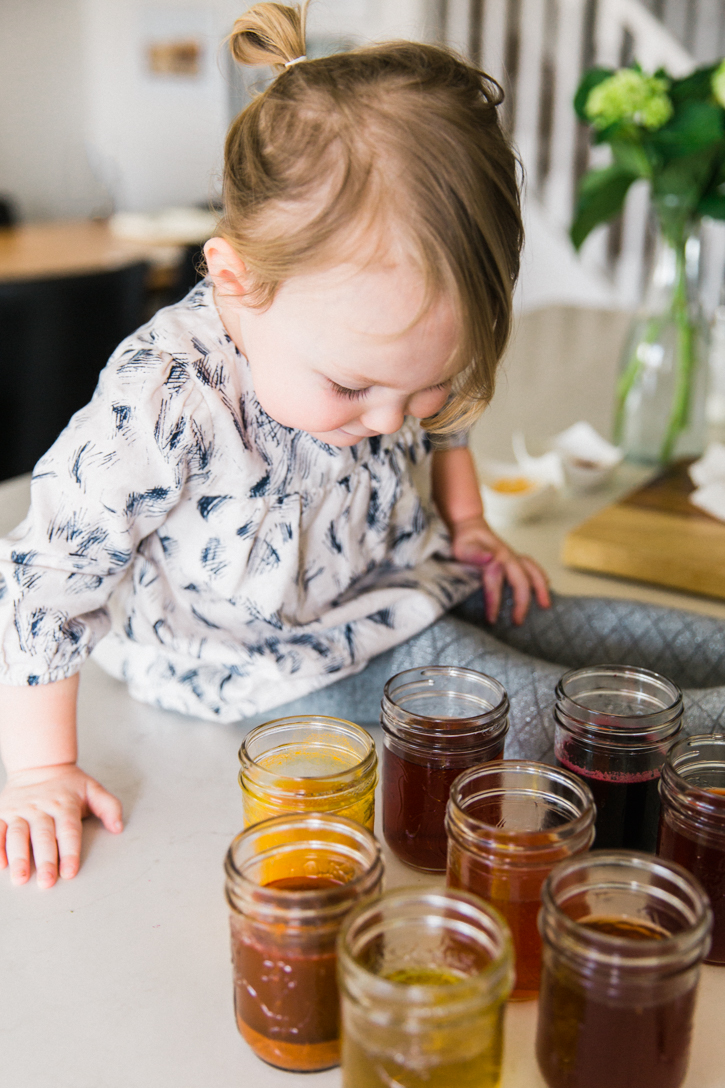
Strain the ingredients from the (now colored) boiling water and pour it into jars. Add a tablespoon of vinegar to each color.

Learn how to get beautiful, rustic colored Easter eggs by dying with all natural ingredients. Follow along for a list of household ingredients and step by step instructions to help you create pretty Easter eggs in a variety of natural shades and the best part is, it's safe for kids.


4. Place eggs in the dye and wait a few hours, the longer you leave it in, the stronger the color will be. I left mine in for about two hours.

Learn how to get beautiful, rustic colored Easter eggs by dying with all natural ingredients. Follow along for a list of household ingredients and step by step instructions to help you create pretty Easter eggs in a variety of natural shades and the best part is, it's safe for kids.

5. Take egg out of the dye (we used a fork to scoop them out) and place on a cooling rack to dry. I put parchment paper underneath so that drips wouldn’t stain the counter.

Learn how to get beautiful, rustic colored Easter eggs by dying with all natural ingredients. Follow along for a list of household ingredients and step by step instructions to help you create pretty Easter eggs in a variety of natural shades and the best part is, it's safe for kids.

6. Let dry, and enjoy!

Learn how to get beautiful, rustic colored Easter eggs by dying with all natural ingredients. Follow along for a list of household ingredients and step by step instructions to help you create pretty Easter eggs in a variety of natural shades and the best part is, it's safe for kids.


Learn how to get beautiful, rustic colored Easter eggs by dying with all natural ingredients. Follow along for a list of household ingredients and step by step instructions to help you create pretty Easter eggs in a variety of natural shades and the best part is, it's safe for kids.


  • Bio
  • Facebook
  • Google+
  • Pinterest
  • Latest Posts
  • Instagram
Rebecca

Rebecca

Rebecca Cooper is a 42-year-old wife and mother of four from Alberta, Canada. As a photographer, crafter, author, and blogger, she finds joy and fulfillment in celebrating everyday moments. She loves to read and eat chocolate, and is a firm believer in afternoon naps. Rebecca shares her family’s adventures, photo tips, simple craft projects + more right here at Simple as That.
Rebecca
Rebecca

+Rebecca

Rebecca

Rebecca

Rebecca

Latest posts by Rebecca (see all)

  • Printable 2023 Calendar - Monday, December 5, 2022
  • SMART Goal Setting Bookmarks - Sunday, June 12, 2022
  • Free Printable 2022 Calendar - Thursday, September 9, 2021
Rebecca
@rebecca_simpleasthat on Instagram

Beyond Snapshots  - Mastering Mobile PhotographyBeyond Snapshots
A moment captured is worth more than a moment forgotten—no matter how imperfect the lighting or how basic the camera. In one week we’ll move beyond taking snapshots to capturing magical moments with your phone. Click to learn more.

Filed Under: Crafts / DIY, Holidays Tagged With: crafts, Easter, Eggs, Healthy Lifestyle, kids, Natural, spring

Reader Interactions

Comments

  1. Casandra B. says

    Wednesday, March 23, 2016 at 1:07 am

    My grandmother never used store-bought Easter egg dye. Every Easter, she would dye her eggs with boiled down onion peels. Thanks for bringing back the memories. 🙂

    Reply
  2. Loren says

    Thursday, March 24, 2016 at 3:39 am

    What a simple and sweet idea! I love this!

    xo Loren
    http://www.thinkelysian.com

    Reply

Leave a Reply Cancel reply

Your email address will not be published. Required fields are marked *

Primary Sidebar

Rebecca Cooper — Founder, Simple as That Blog

Hello, I'm Rebecca. Welcome to my blog, Simple as That. Come along as we embrace simplicity in crafting, photography, travel, and family life. Read more about me.

Newsletter

Get the latest updates from Simple as That delivered to your inbox.

Join for Free

Beyond Snapshots: Mastering the Art of Mobile Photography

Connect

  • Bloglovin
  • Facebook
  • Instagram
  • Pinterest
  • Twitter

Follow On Pinterest

Visit Rebecca - Simple as That Blog's profile on Pinterest.

Categories

  • Crafts / DIY
  • Holidays
  • Motherhood
  • Organization
  • Photography
  • Printables
  • Recipes
  • Simple Living
  • Travel
  • Wellness

Our Privacy Policy

Follow on Instagram

Instagram has returned invalid data.

Printable 2023 Calendar

Our printable calendars and organizational pages have been essential in keeping our home and my life in order and I guarantee they will be a help to you too!

Click here to learn more

© Simple as That Blog, 2017 · Design by Brian Gardner

Simple as That Blog

Facebook / Instagram / Pinterest / Twitter / Contact