This post was originally shared at theartofsimple.net in May 2013.
Since I was a child, Mother’s Day and handmade gifts went hand in hand. There’s something extra special about giving a gift that’s been created with love. Flowers for Mother’s Day always seem fitting, so this year why not give mom a bouquet that she could enjoy all year round?
Flowers for Mother’s Day always seem fitting, so this year why not give mom a bouquet that she could enjoy all year round? Using this inexpensive list of supplies, you can make some darling crepe paper flowers. Just follow along – it’s easier than you think!
What you’ll need
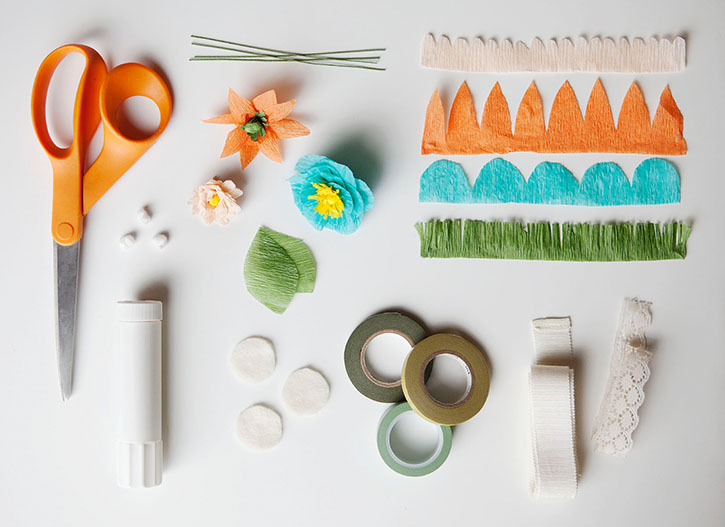
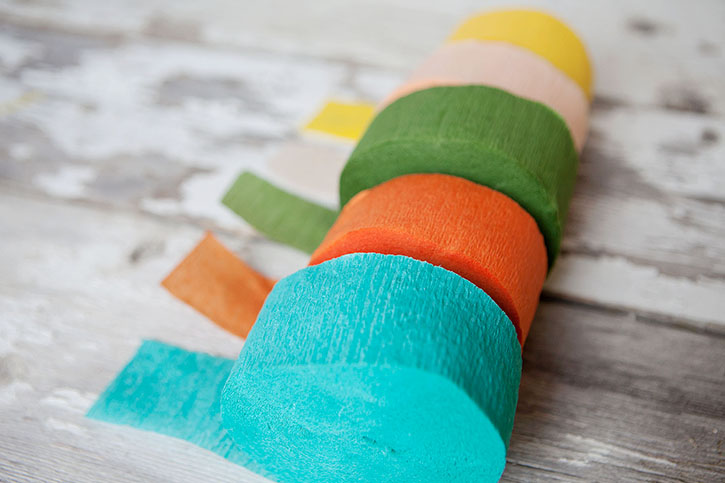
Crepe paper, scissors, gluestick or hot glue, floral wire, green washi tape or floral tape, scraps of ribbon or lace, scraps of felt, cotton balls.
Steps
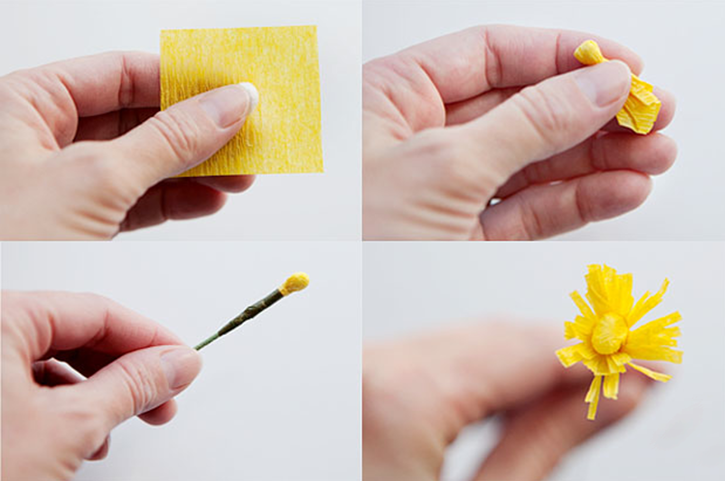
Start with the flower center. Cut a square piece of crepe paper. Roll a small piece of cotton into a ball. Place in the center of the paper. Twist the crepe paper around the piece of cotton as shown. Twist paper tightly to create a short stem. If you would like to create a long stemmed flower, use a piece of floral wire and twist the the crepe paper around the wire, then secure with green floral/washi tape.
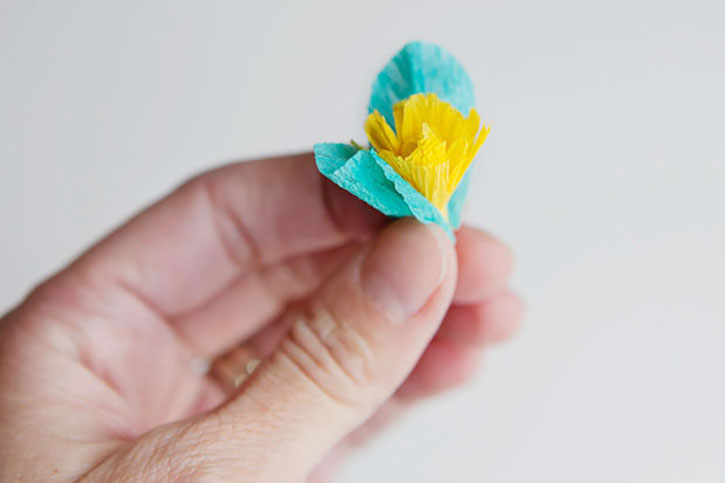
To add a little something extra to your flower center, create a fringe using a small length of crepe paper folded in half length wise. With your scissors, cut tiny slits along one edge. Attach the fringe to your flower center with adhesive, wrapping it around and around until you’ve added as much as you want, then snip off any extra, if needed.
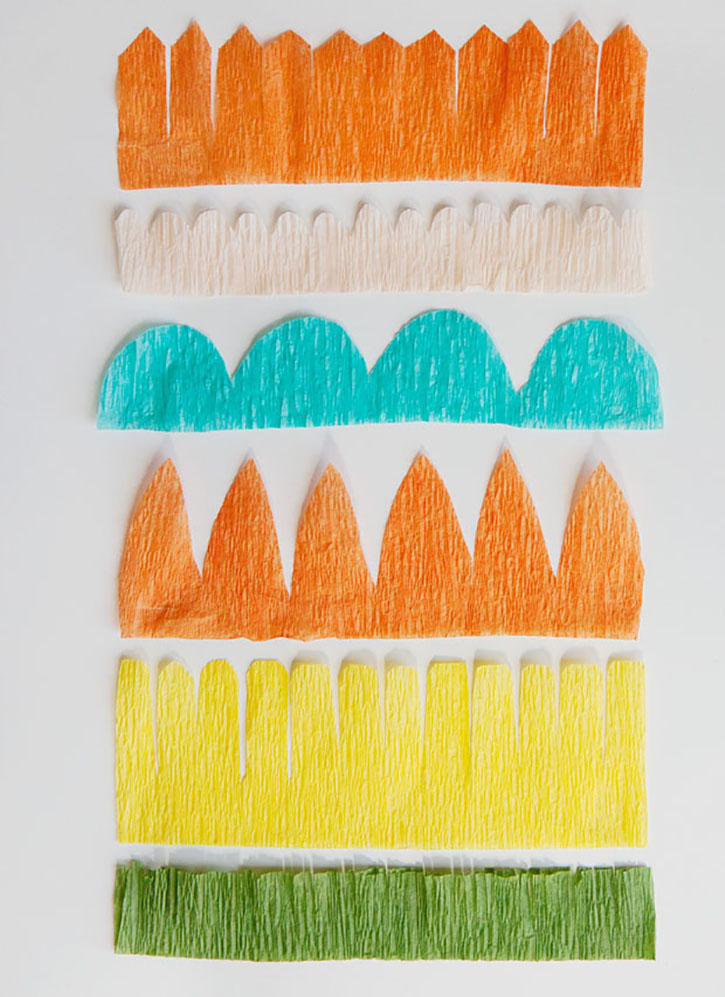
Now it’s time for petals. Using a short length of crepe paper (about 5-6 inches) and your scissors, create a strip of petals. The shape of the petals is up to you – I had fun experimenting with this. Don’t get too caught up on perfection. For shorter flowers, try folding your crepe paper in half length-wise and then cutting your petals; this also creates an extra layer of petals.
Now it’s time to add the petals to the flower center. You can attach the entire length of petals to the flower stem at once by wrapping it around continuously, like we did the center fringe. You can also cut off two or three petals from the strip and attach in smaller sections. When gluing to your stem/flower centre, you may need to pleat or gather the bottom edge of the petal for it to lay nicely. I used a glue stick for adhering all my petals. Be sure to use the gluestick with the grain of the crepe paper; it’s very fragile and can tear easily.
Continue adding layers of petals on top of one another until your flower is the size you’d like. If you’ve added a wire stem to your flower, you can attach a crepe paper leaf and then with your floral tape secure the petals and the leaf to the stem.
These cute little flowers can be used in so many ways. Make a bouquet, and add a pin to the back to create a one of a kind broach. They’d make a darling pencil topper, and would be a great addition to a card or other craft project.
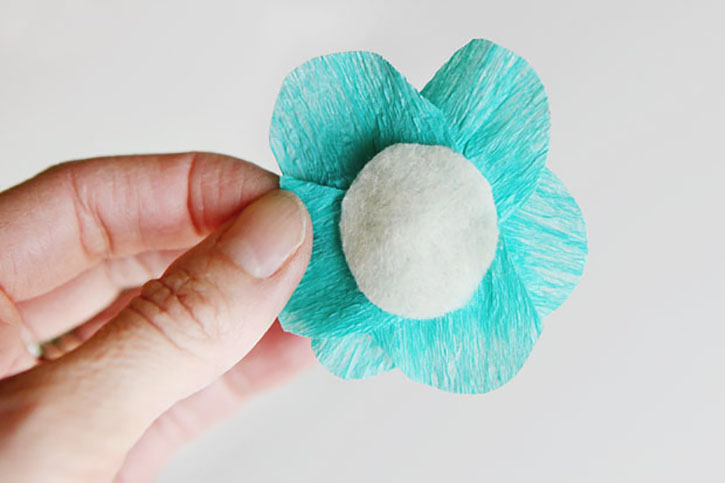
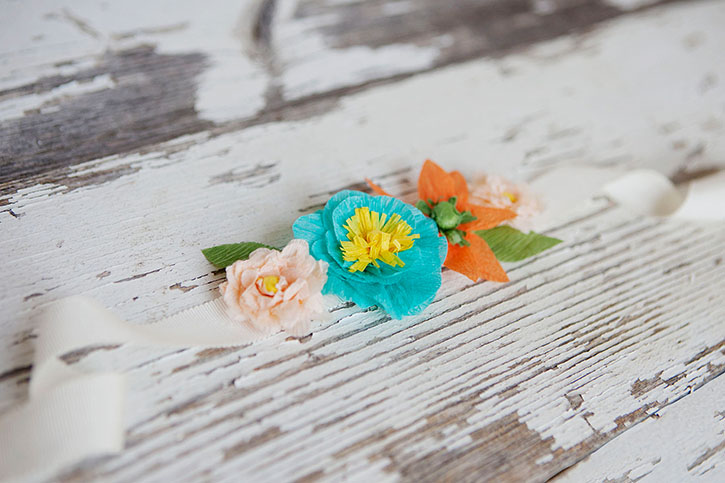
I added some of my flowers to a scrap of vintage ribbon (lace would be pretty also) to create a simple wristlet (or wrist corsage). I needed a flat surface on the back of the flower to attach to the ribbon, so I trimmed the stem off and attached a small circle of felt with hot glue. This secured the petals in place and made a flat surface to adhere the flower to the ribbon.
Have fun creating some crepe paper flowers of your own! Don’t forget to involve the kids in this fun activity, too. Just replace the floral wire with pipe cleaners and this would make a great craft project for the whole family.
For more ways to celebrate Mom this Mother’s Day, here are a few posts you might enjoy:
Personalized photo bookmarks for Mom
Show her you care with a handmade mini album
Simple, handmade Mother’s Day Cards




Leave a Reply