Hello, friends! I’m Rachel Gainer of RachelRebuilt.com: wife, mama, and NASM certified personal trainer. As the new fitness contributor for Simple as That, I’ll be popping in to share easy ways to improve your overall health. Today, I want to talk about strength training: why it’s important and how to get started.

Why Strength Train?
Strength training isn’t just for bodybuilders and gym rats. In fact, if you’re a busy mom, you probably spend half your day lifting children, diaper bags, and groceries and the other half squatting down to pick up toys or wipe milk off the floor. Yep, you’re already strength training, and you didn’t even know it!
Lifting at home 3 times a week is a great way to get some exercise, while increasing your ability to perform these everyday movements without hurting yourself. It also helps you maintain and build lean muscle. What’s so great about muscle? Muscle is metabolically active; it burns more energy at rest than other types of tissue, making it easier for you to achieve and maintain a healthy weight over time.
Strength training, also called resistance training, becomes increasingly important as you age, because inactive women (and men) naturally lose about 3–5% of their lean muscle mass each decade after age 30. Resistance training—which includes both bodyweight movements and weight lifting—can help counteract this muscle loss, supporting a stronger metabolism as you age. It also increases bone density, reducing your risk for osteoporosis, and improves stability and muscular endurance, both important for staying healthy and active throughout your lifetime.
Set yourself up for success with our free, printable, fitness planner.

How to Start Strength Training
You don’t need a gym membership or fancy equipment to begin strength training at home. All you need is a set of dumbbells and a safe area to move. Here are 5 tips to help you get started, and a 30-minute workout you can try today.
Tip 1: Learn the Lingo
Strength training has its own vocabulary. Once you understand the lingo, you’ll feel more comfortable choosing workouts that fit your needs. A repetition, or rep, is one complete movement of a particular exercise (for example, one squat or one bicep curl). A set is a specific number of consecutive repetitions (for example, 3 sets of 15 reps). A circuit is a sequence of exercises repeated in a cycle. There’s more to learn, but these are the basics for today’s workout.
Tip 2: Choose the Right Weight
To increase strength, you must tax the muscle. Lifting a weight that’s too light won’t require the muscle to adapt, which means you won’t make physical progress. Lifting a weight that’s too heavy will make it difficult to complete the specified reps and sets and may lead to injury. For best results, always work at the edge of your ability: the last two reps of every set should be challenging, but not impossible, to complete.
If you have access to multiple dumbbells, feel free to pick a different weight for each exercise to maximize effectiveness. If you’re just getting started and want to invest in a single set of dumbbells, I recommend choosing a weight you can bicep curl for 12–15 reps and squat for 15–18 reps (your legs will usually be stronger than your arms). This will provide a challenge with room to improve.

Tip 3: Practice Good Form
Choose a challenging weight, but always remember that it’s more important to have good form than to lift heavier or quicker. If your form starts to suffer, slow down, drop weight, or reduce reps. One universal key to good form is to keep your core tight. Your core includes your entire torso—everything except your arms and legs—not just your abs. Focus on strong alignment from your tailbone to your head. Hold your abs tight; don’t let your back arch or your shoulders slouch. As you maintain proper alignment and core strength, you will engage the correct muscles, generating more power and preventing injury.
Tip 4: Focus on the Working Muscle
All muscle movement in controlled by tiny signals between the brain and the body. When a muscle begins to burn, it’s tempting to divert mental energy away from that muscle to avoid discomfort. But doing so weakens the brain-body connection, reducing your ability to execute a move with proper form and maximum strength. Instead, stay fully present in each movement, and imagine recruiting more muscle fibers with each repetition.
Tip 5: Ease into Exercise, and Roll Out
It’s normal to feel sore for up to two days after a workout (three for newbies). But you shouldn’t be incapacitated. If you are, it’s okay to ease up a little. Start with 3 workouts a week, exercising every other day. Add days as your strength increases. To aid recovery, get a good night’s sleep, drink plenty of water (half your bodyweight in ounces), stretch sore muscles, and use a foam roller. Similar to a massage, foam rolling is a stretching technique that applies gentle pressure to sore muscles to break up knots and release muscle tension. Hold pressure on extremely sore spots for 30–90 seconds. This is especially helpful for sore legs.
Quick Home Workout
Today’s workout includes five compound movements. A compound, or multi-joint, movement involves more than one muscle group (for example, legs + shoulders). This total-body workout will challenge your muscular endurance and help you get familiar with how to lift weights. Read the training tips for each exercise, and watch the summary video carefully to observe proper form. Feel free to post questions in the comments. For more quick at-home workouts, visit my website RachelRebuilt.com or find me on Instagram @rachel_rebuilt.
Instructions
This circuit includes 5 exercises (explained below). Perform 15–18 reps of each exercise in the circuit, resting 30 seconds between each exercise. Complete 3 sets. Remember, the last two reps should be difficult, but not impossible. Aim for 15 reps; do 18 if it’s not hard yet. Maintain proper form.
Equipment Used
Ignite by SPRI® Chrome Hand Weights
Nike Women’s Flex Supreme Training Shoe
Summary Video
Individual Exercises

Squat + Internally Rotated Overhead Press
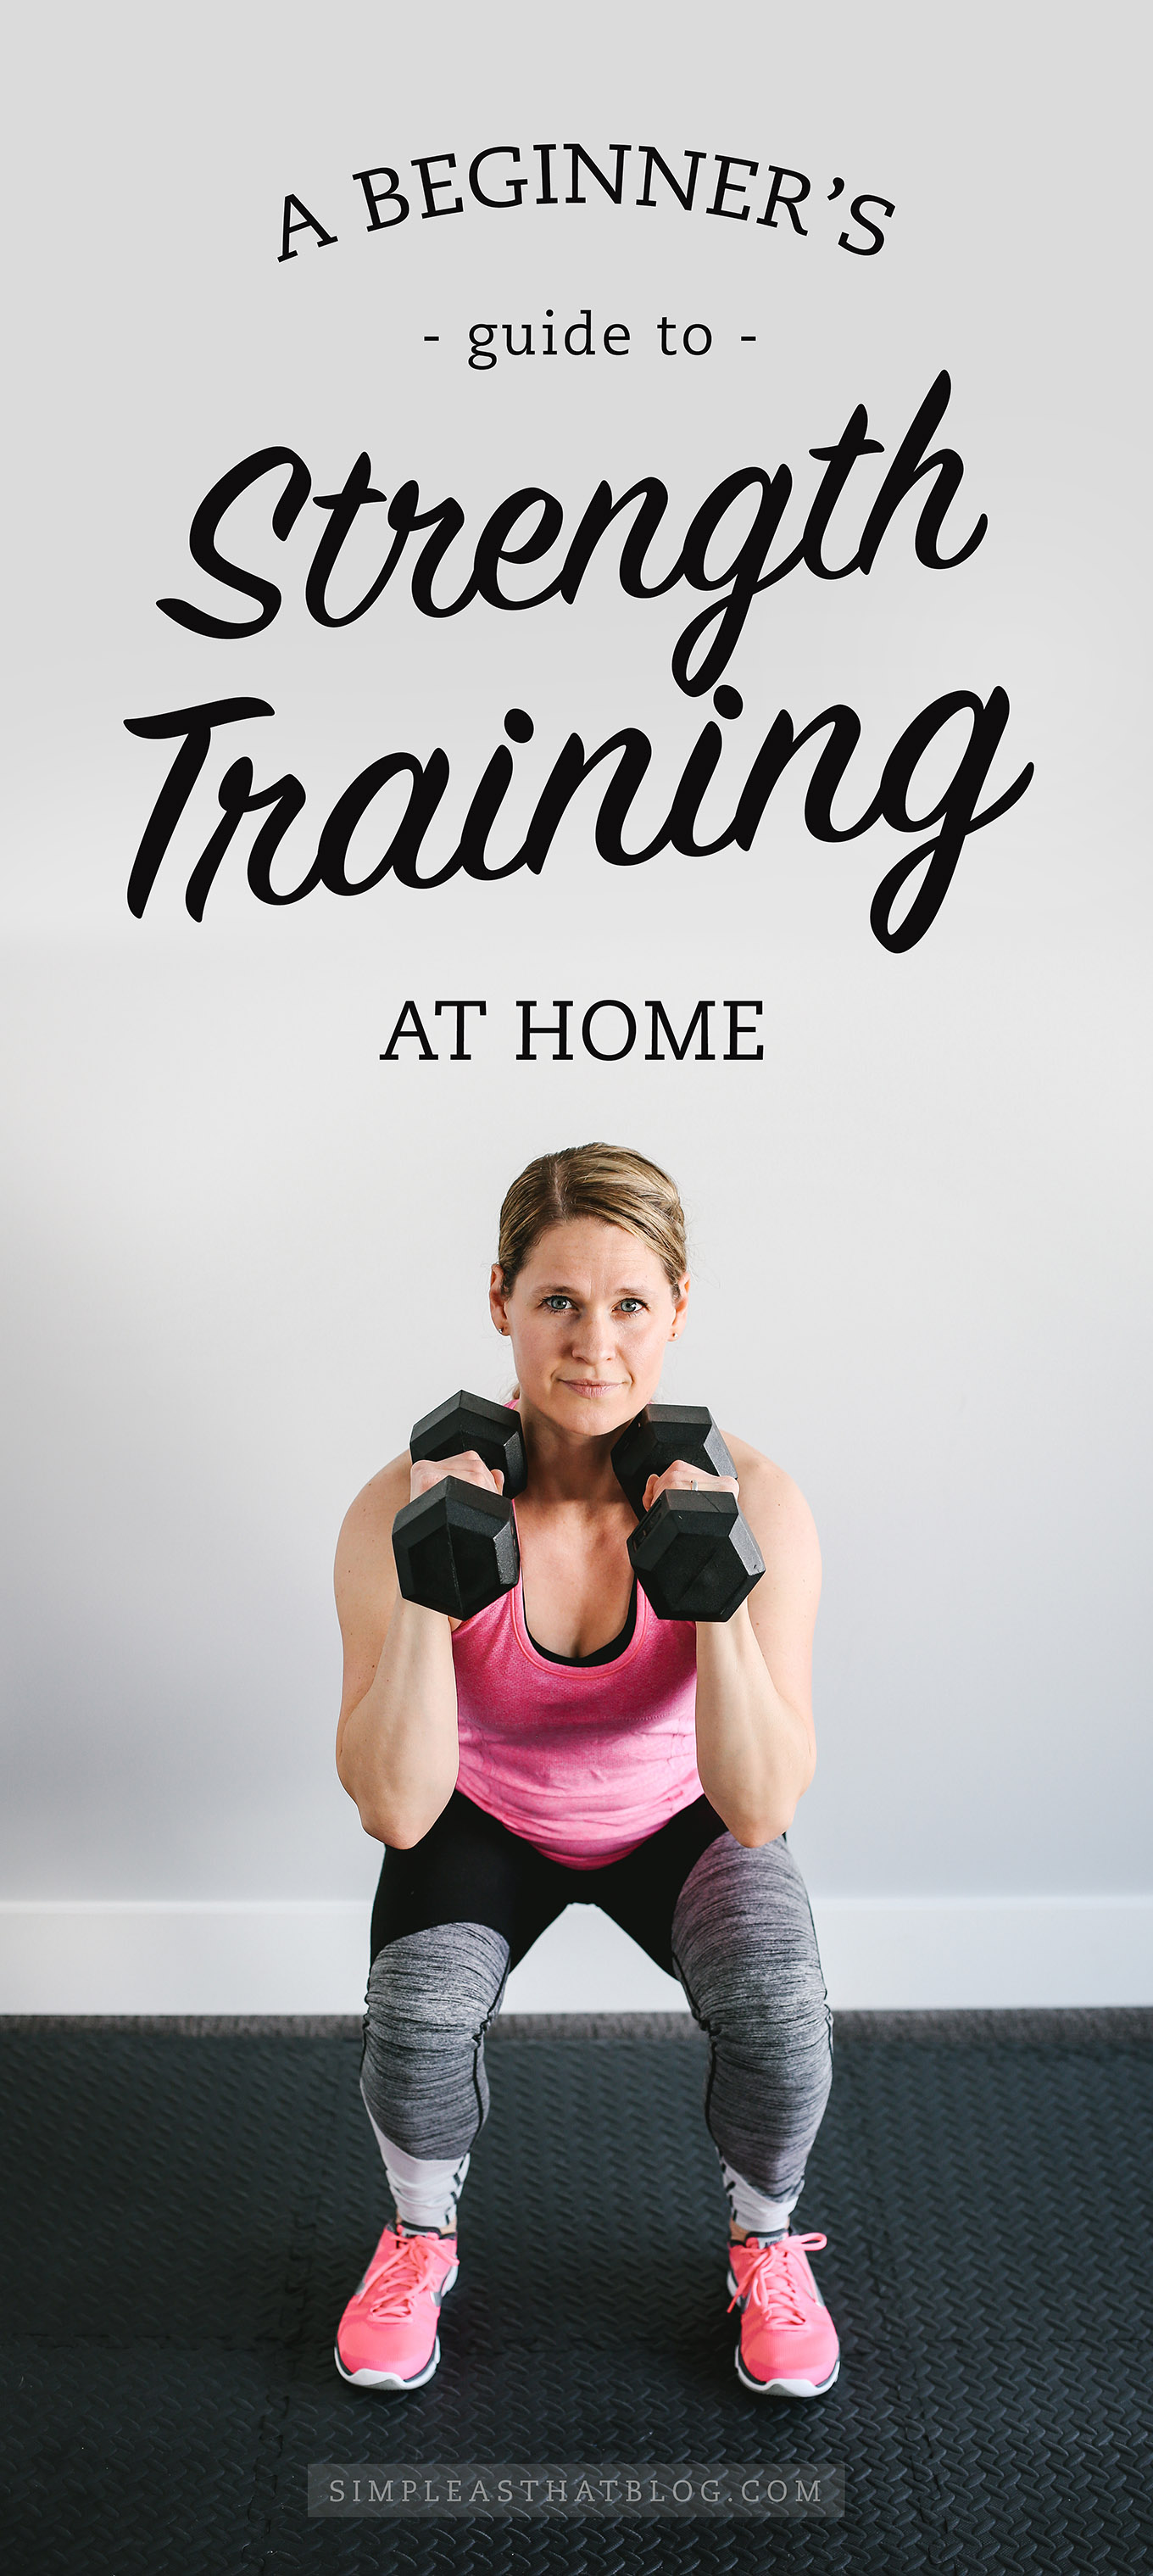
- Start in a standing position with your feet shoulder-width apart and your toes pointing forward.
- Hold a weight in front of each shoulder with the shafts parallel to each other.
- Bend your knees and drop your hips to lower yourself into a squatting position.
- Stand up powerfully, squeezing your glutes at the top.
- When your legs are fully extended, press the weights up overhead; then lower the weights back to your shoulders.
- Complete 15–18 reps.
Trainer Tips for Squats
- Reach your bottom back as if you are squatting over a dirty toilet. (You know what I mean.) Don’t let your knees drift forward over your toes.
- Don’t bend at the waist. Instead, keep your chest up, and look straight ahead.
- Keep your weight in your heels; you should be able to lift your toes slightly without falling over. (But don’t try to do all of your squats with your toes raised.)

Alternating Curtsy Lunge + Hammer Curls
- Start in a standing position with your feet shoulder-width apart.
- Hold a weight in each hand with the shafts parallel to each other.
- Perform a curtsy lunge by stepping back with your right leg and crossing it behind your left leg. Lower your body toward the ground until each leg forms a right angle.
- As you lower into the lunge, curl both weights toward your shoulders, keeping the shafts parallel.
- Press off your right toe, and stand up powerfully, returning to the starting position.
- Repeat movement with left leg. This equals 1 rep.
- Complete 15–18 reps.
Trainer Tips for Curtsy Lunges
- Step back far enough that both legs have room to bend and form right angles. Don’t let your front knee drift forward over your toes.

Renegade Rows
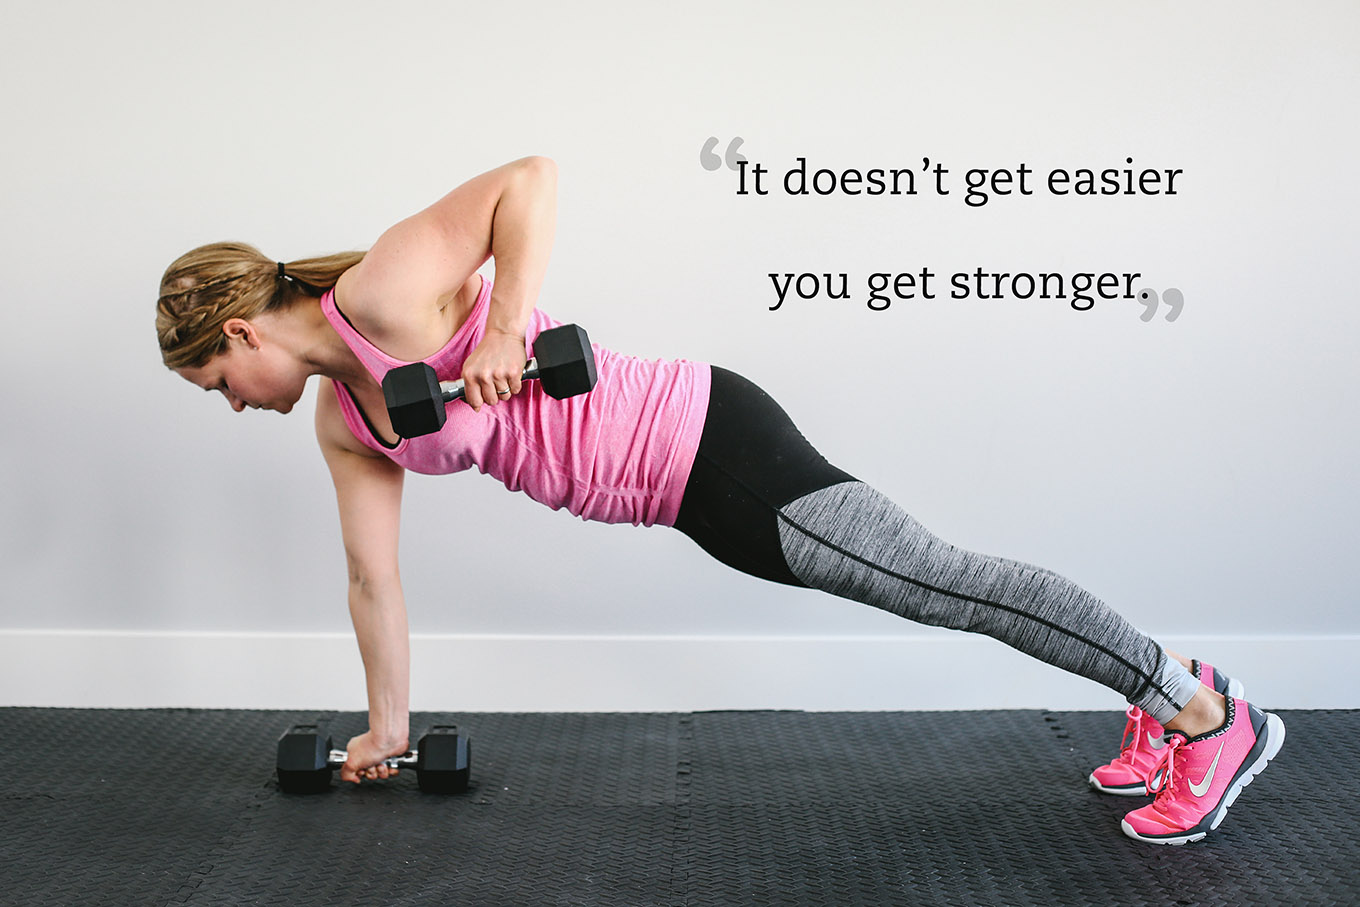
- Start in plank position with a weight in each hand and hands shoulder-width apart.
- Without twisting your torso or arching your back, pull the weight in your right hand toward your rib cage with your elbow pointing toward the sky. (You should feel your right shoulder blade shift toward the midline of your back.)
- Lower the right weight to the ground.
- Repeat movement with the weight in your left hand. This equals 1 rep.
- Complete 15–18 reps.
Trainer Tips for Renegade Rows
- Maintain a straight line from your head to your heels; tuck your hips so that you feel your lower abs and glutes squeezing tightly.
- Don’t look straight down. Instead, look at the ground about 1 foot in front of you.
- To increase stability and prevent twisting, move your feet further apart.
- If maintaining a strong plank is too difficult, perform rowing motion on your hands and knees.

Isometric Glute Bridge + Chest Flies
- Start by lying on the ground with your feet 1 foot apart and your knees bent at 45-degree angles.
- Press your heels into the ground, and lift your hips toward the sky until you feel your glutes engage.
- Hold a weight in each hand with the shafts parallel to each other. Extend your arms toward the sky, directly above your chest.
- While holding bridge, move both arms away from each other until they are just 1 inch off the ground. Keep arms fully extended, but don’t lock your elbows.
- Engage the pectoral (chest) muscles to bring the weights back together above you.
- Complete 15–18 reps.
Trainer Tips for Bridge
- Lift your hips until you feel your glutes engage. Brace through your core to maintain stability.
- Imagine forming a straight line from your shoulders to your knees. Nothing should sag or overextend.
- If you can’t maintain a strong glute bridge while moving your arms, lower your back to the ground and continue with chest flies only.

Tricep Dips
- Find a sturdy chair with a seat that is about 18 inches above the ground. Place the chair behind you, and step forward about 2 feet.
- Place your palms on the front edge of the seat with your fingertips hanging off the edge. Grip the edge, if desired.
- Simultaneously, lower your body until you are “seated” mid-air about 1 inch in front of the chair.
- Position your feet about 1 foot apart, and form a 90-degree angle with your legs.
- Using your triceps to bare your weight, lower your body toward the ground.
- Press up powerfully.
- Complete 15–18 reps.
Trainer Tips for Tricep Dips
- Keep your elbows tucked and pointing toward the back of the chair. Don’t allow them to flare to the sides.
- Focus on your triceps, and avoid using your legs to lift your body.
- To increase intensity, move your feet farther away from the chair.


I can definitely see how strength training importance would increase as you age. I have started to lose a lot of muscle mass recently and I’m very concerned. I definitely think that I should consider finding a strength training program that could help me to get in better condition.
How many times a week do you recommend these routines?
I have multiple sclerosis but I’m still pretty mobile but I’ve recently decided that I’m not going to end up in a wheelchair! I’m fine around my house but outside I need a cane or if I’m going to walk a long time I need my walker. I’ve recently decided to add weights and I like it though I don’t know how to increase stuff and you just made it much easier for me! Thank you so much!!
I haven’t done any weight bearing exercises in quite a while . I am active as far as walking and working. My knees are tender and squats and lunges are not my favorite because of pain.I have not had any injury or replacements to my knees. Should I do them as “far ” as I can and hope for strength, or is there another option to do?