• About
    • About Rebecca
    • Meet the Team
    • Media Kit
    • FAQ
  • Photography
  • Holidays
  • Recipes
  • Printables
  • 2019 Calendar
  • Write for Us
  • Beyond Snapshots

Simple as That

Making Everyday Beautiful

Easy DIY – Children’s Accessory Board

Monday, February 13, 2017

Easy DIY - Children's Accessory Board

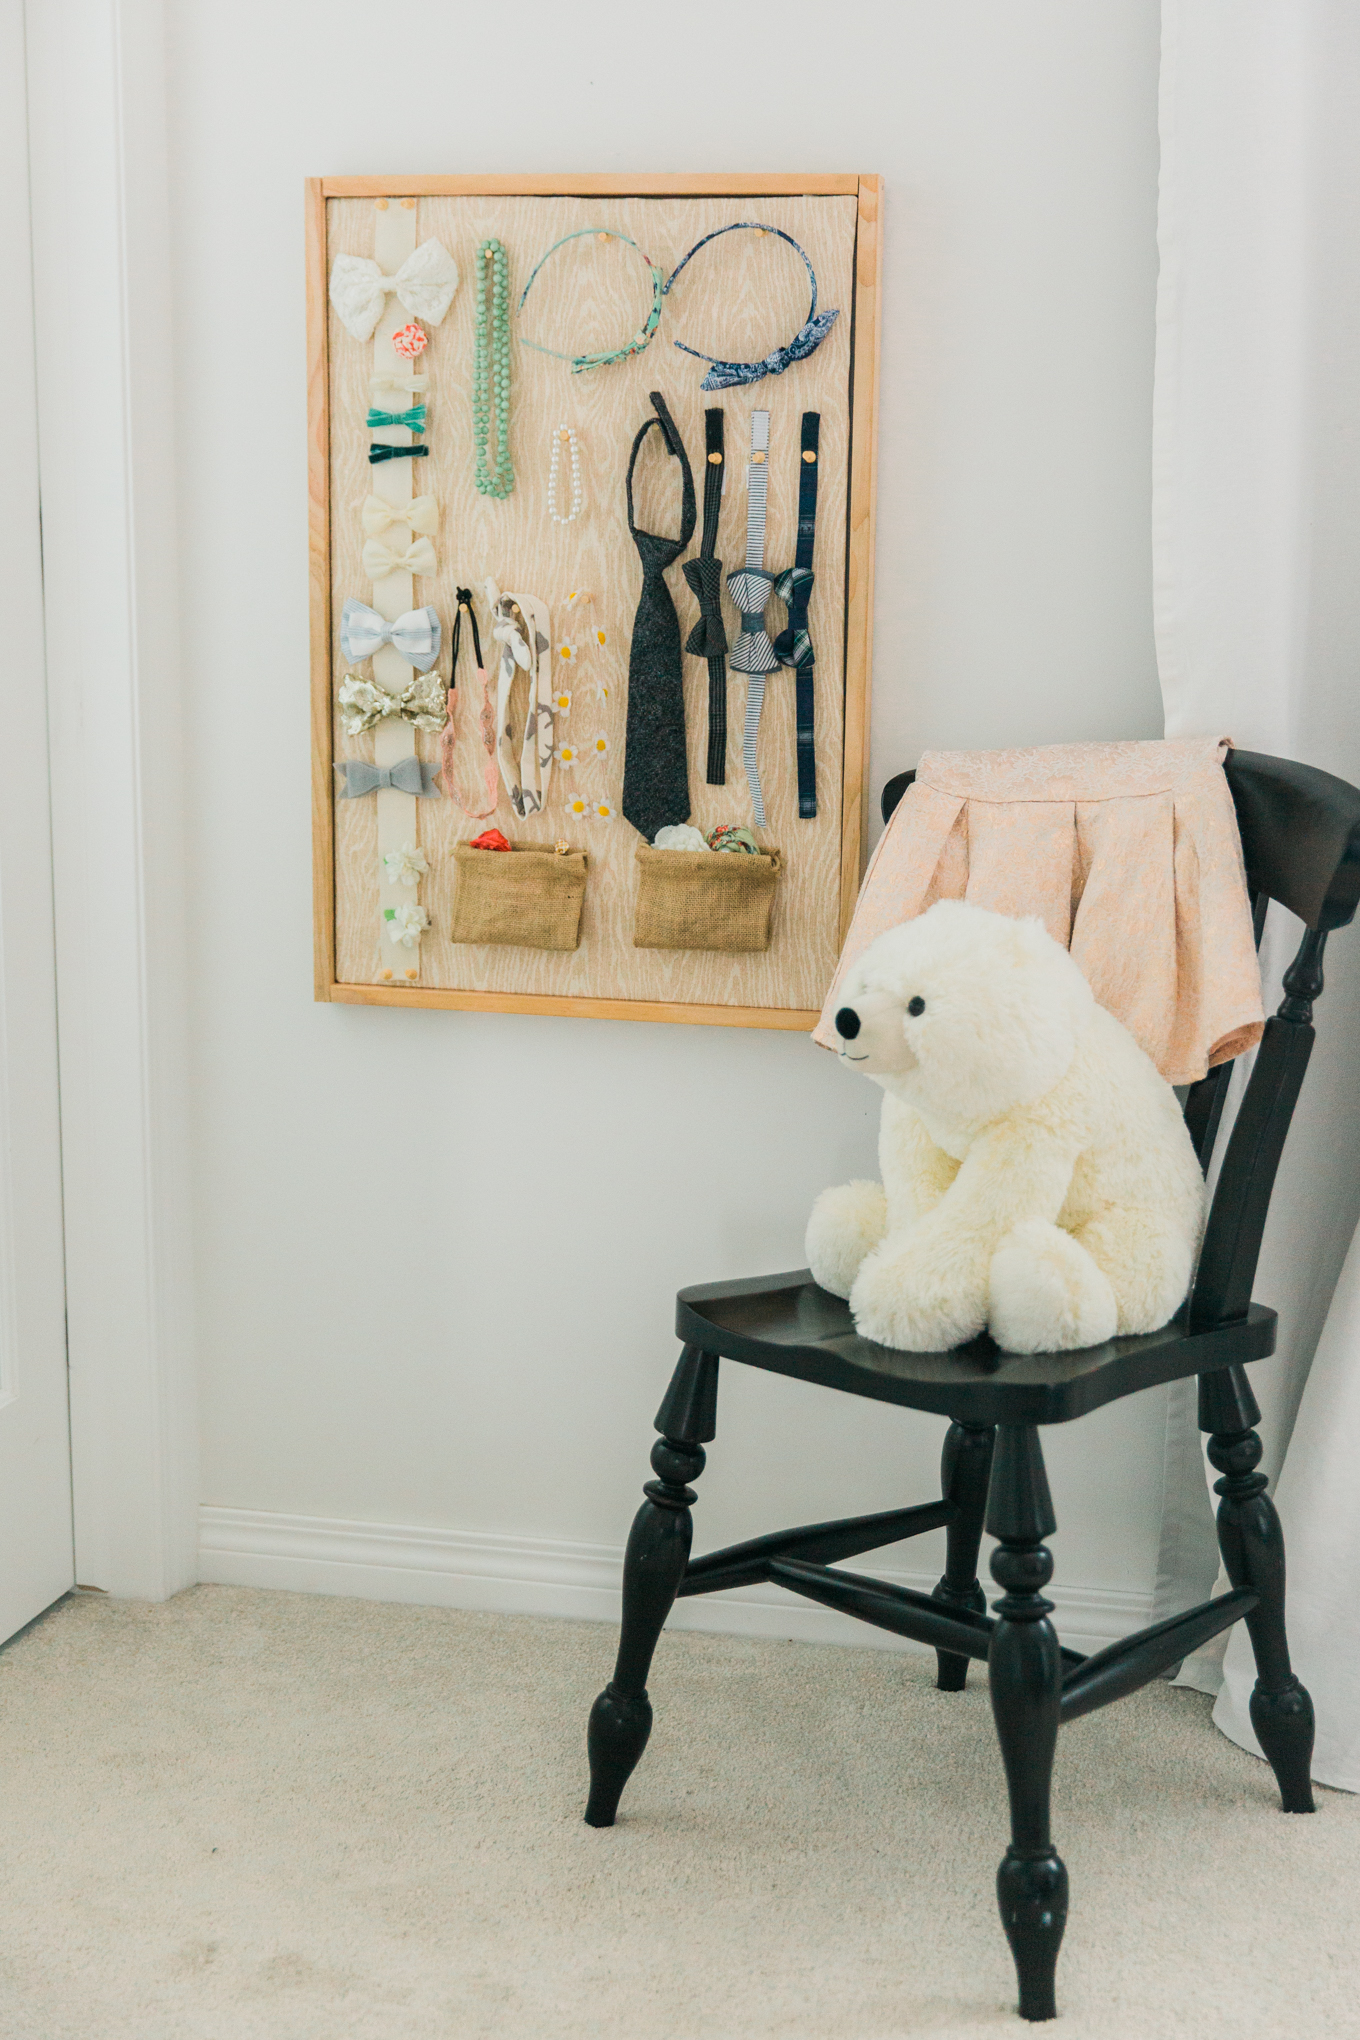
Hello everyone, it’s Jennie from The Lovely Little Nest with a cute yet simple way to display all of those darling bows, barrettes, and headbands.

 Organizing your children’s accessories can be both practical and adorable with this easy, DIY Children’s Accessory Board.

No more searching or digging trying to find just the right adornment. Putting them on display makes it easy to find just the right bobble to coordinate with what your child is wearing.

Easy DIY - Children's Accessory Board

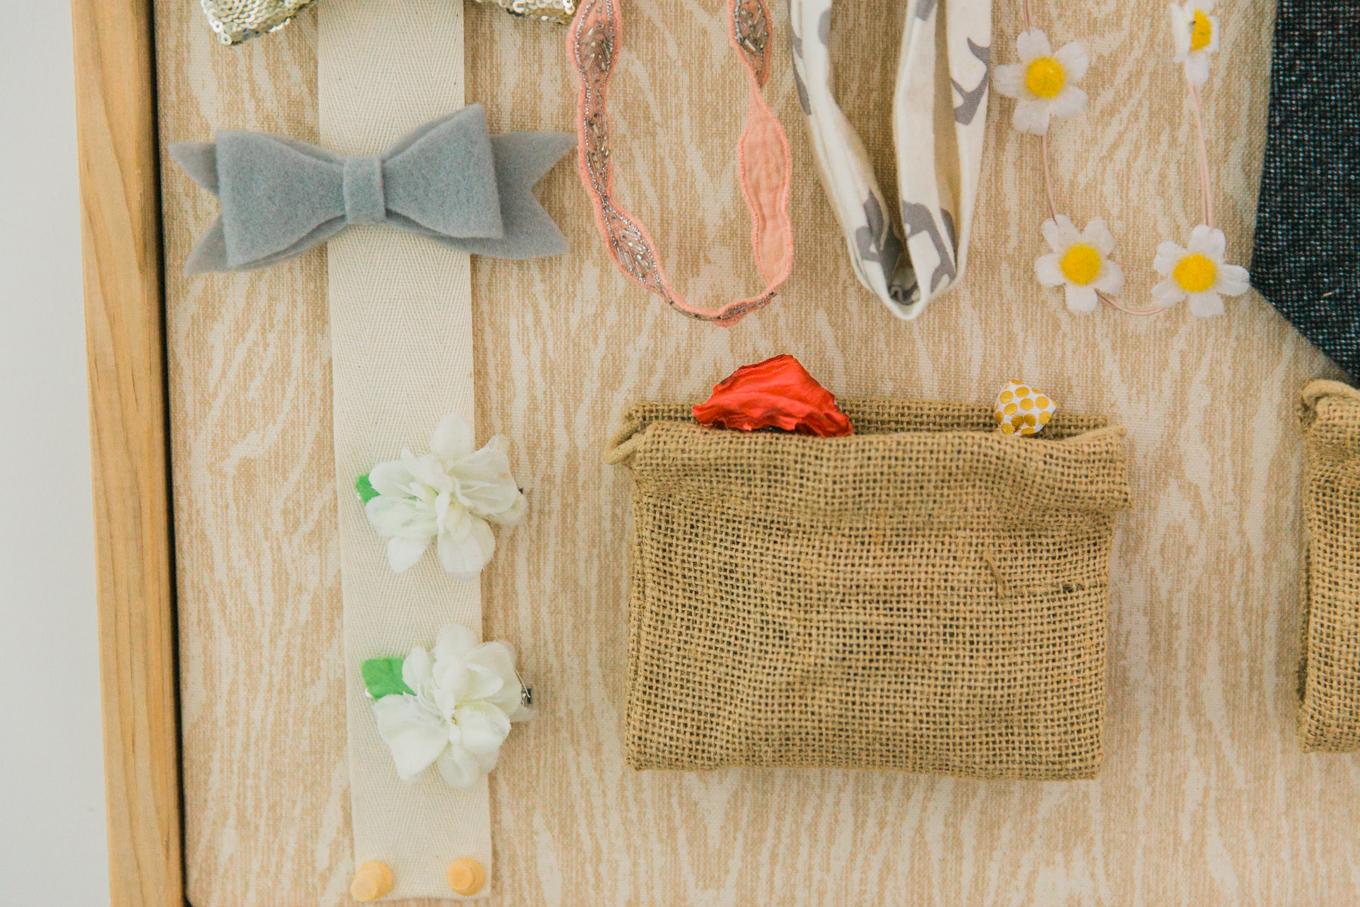
By using ribbon, pouches, and push pins you can hang, pin, clip, or pocket your accessories any way you like.

Easy DIY - Children's Accessory Board

With these simple instructions, you’ll be able to put one of these boards together in no time.
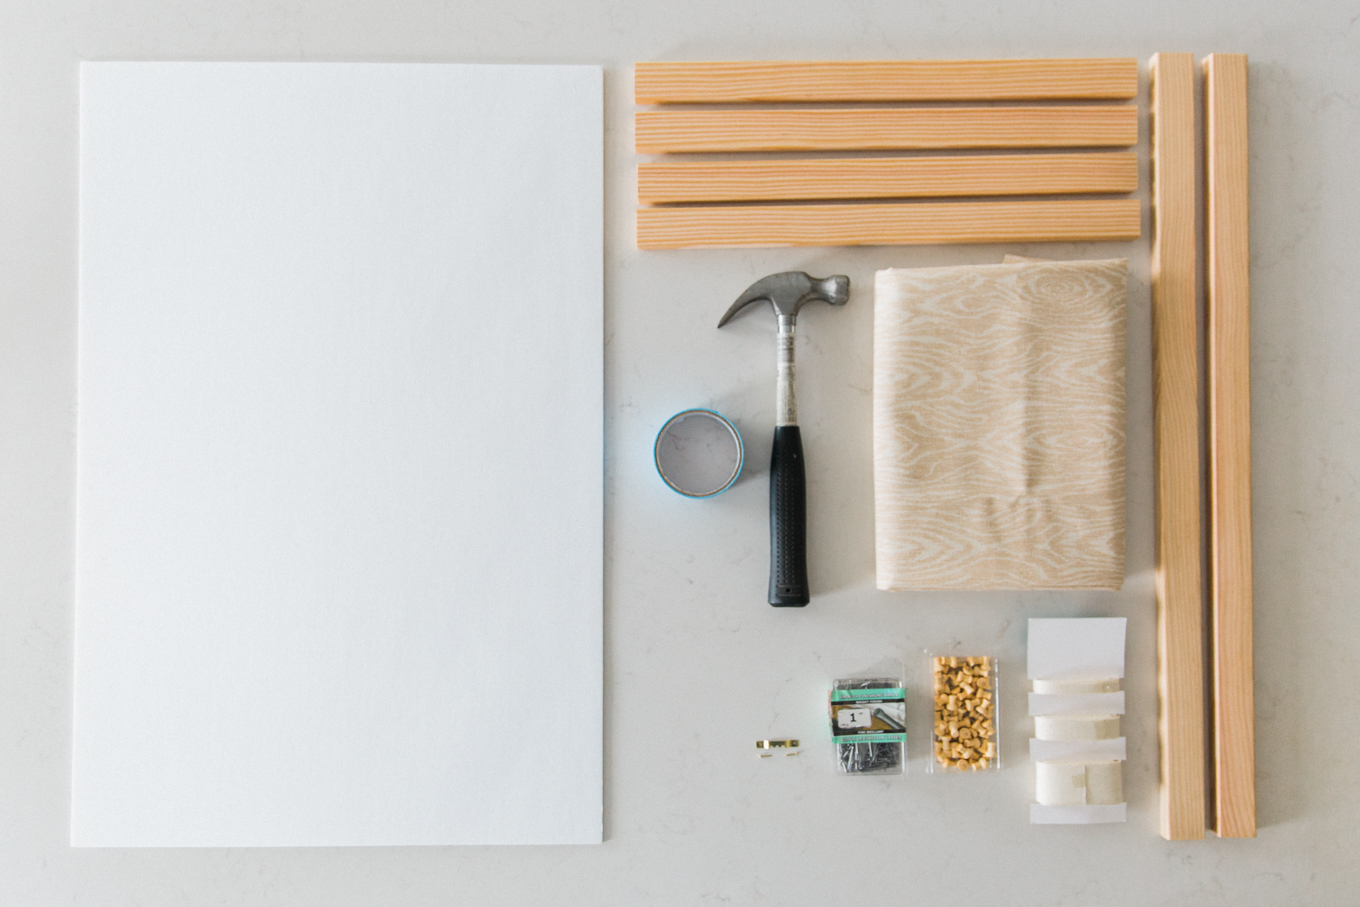
Easy DIY - Children's Accessory Board

Supplies:

  • 2 – 30” Pieces of 1” x 2”
  • 4 – 19” Pieces of 1” x 2”
  • 24 – 1” Nails
  • 1 – Sawtooth Hanger
  • Hammer
  • Wood Glue
  • 2 – 20” x 30” Foam Core Boards
  • 1 Piece of Fabric – 21” x 30”
  • Twill Tape or Ribbon 1 1/2“ wide
  • 2 Burlap or Fabric Bags
  • Push Pins
  • Duct Tape
  • Utility Knife
  • Pencil
  • Ruler

Easy DIY - Children's Accessory Board

Step 1:

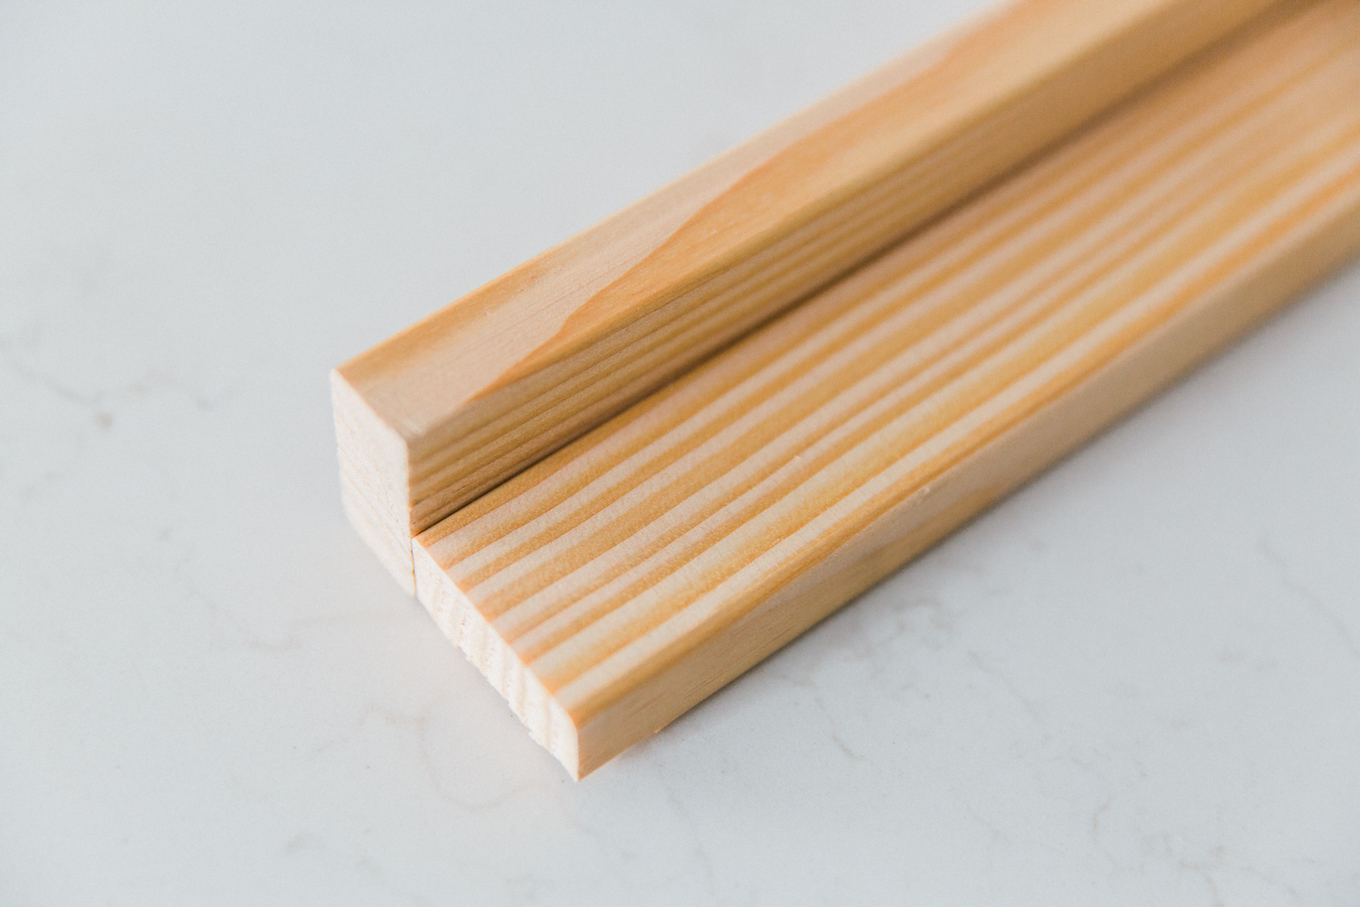
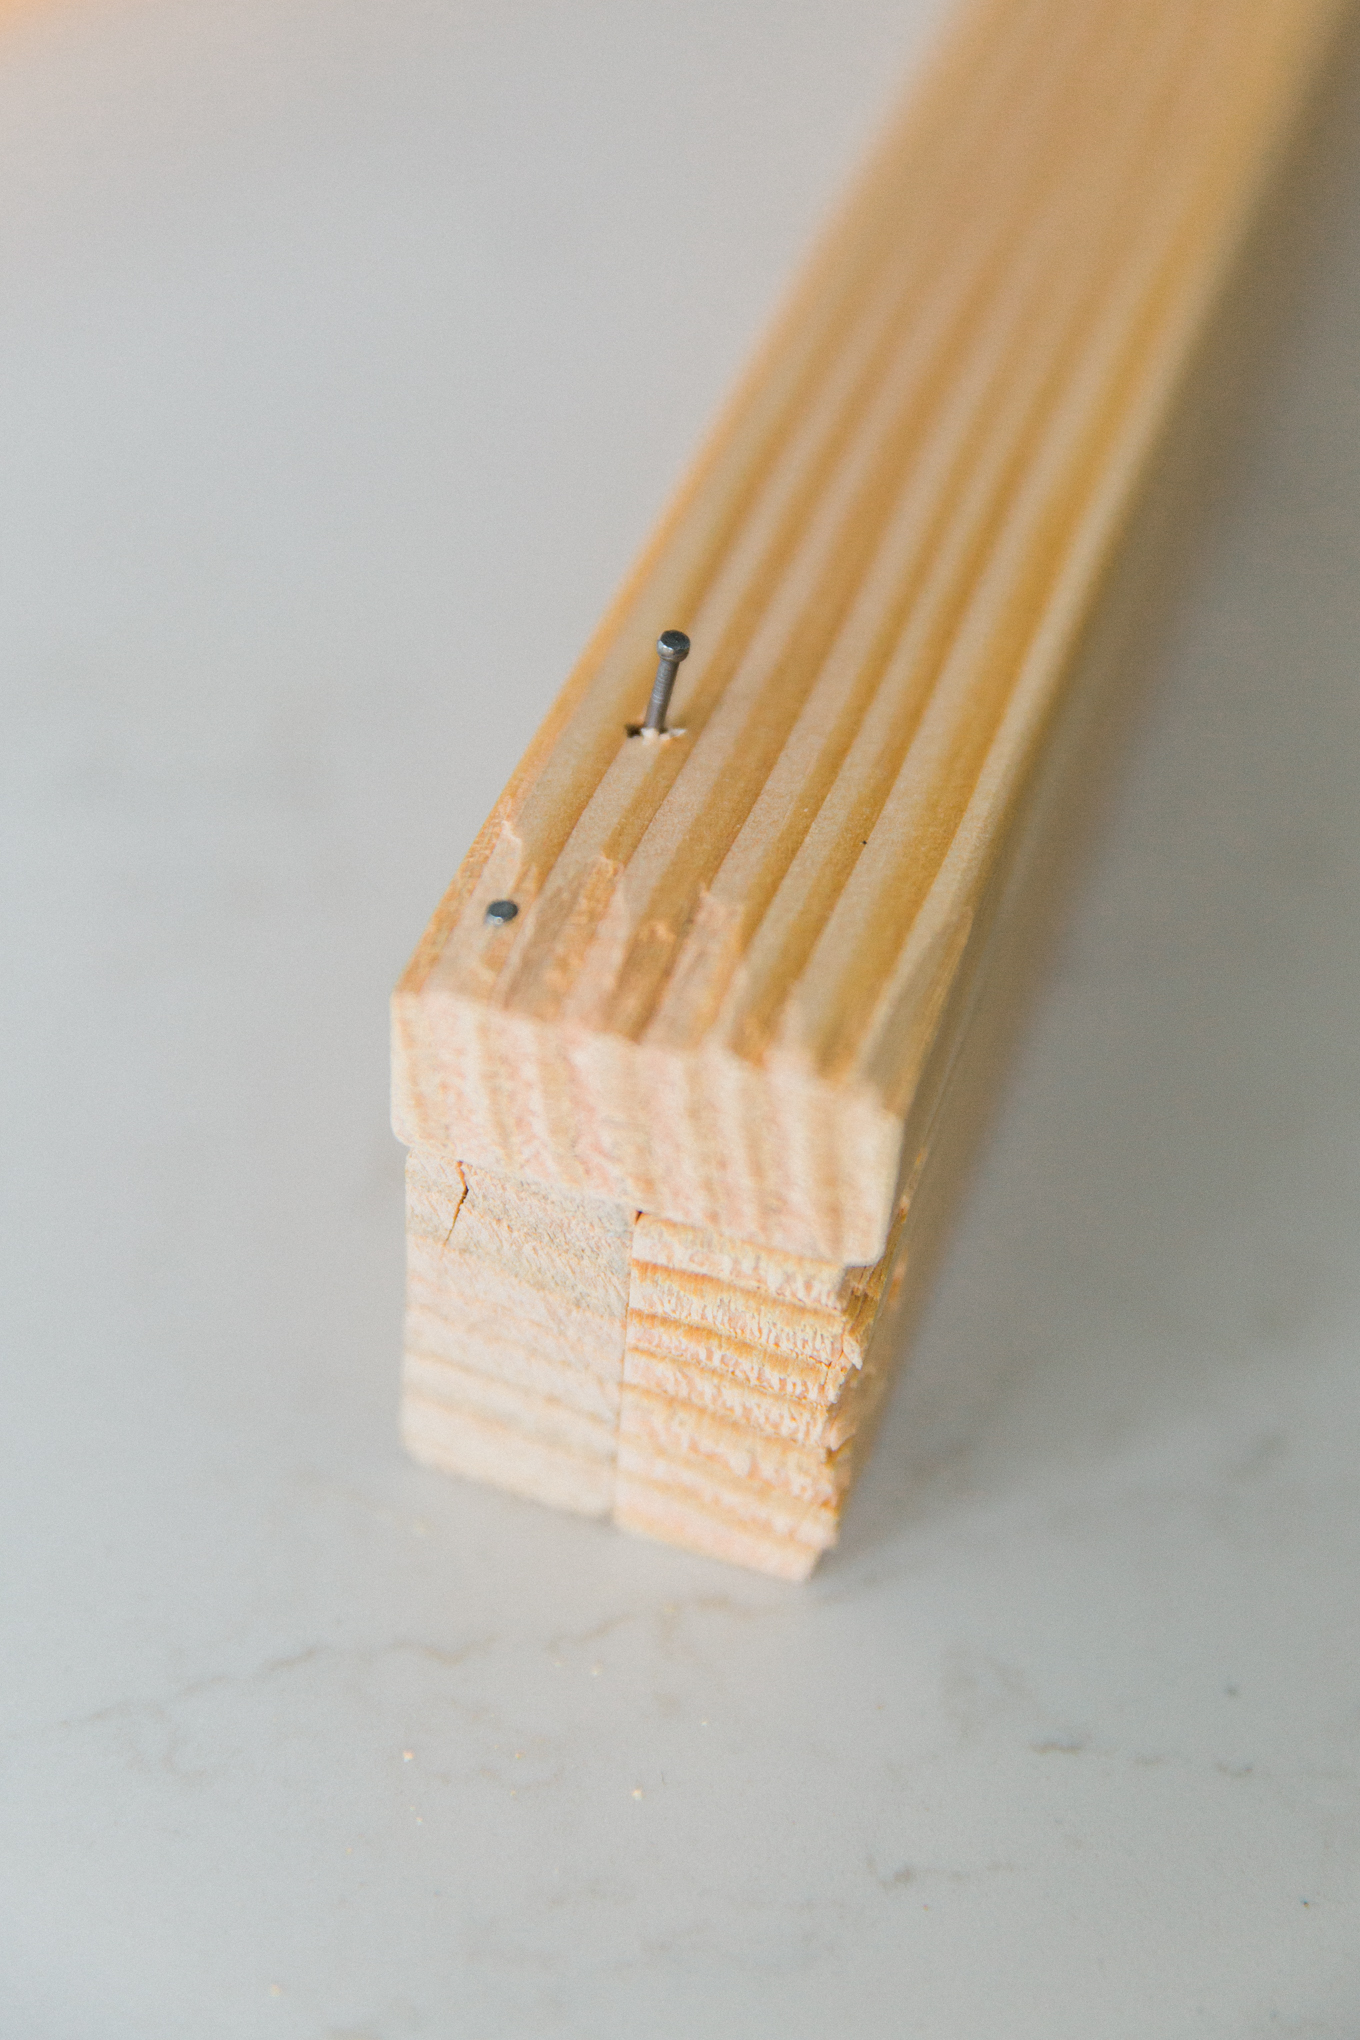
To begin, glue and nail two of the 19” pieces together in an L shape using two nails.  You can put a second piece of wood underneath for support while nailing.

Easy DIY - Children's Accessory Board

Step 2 –

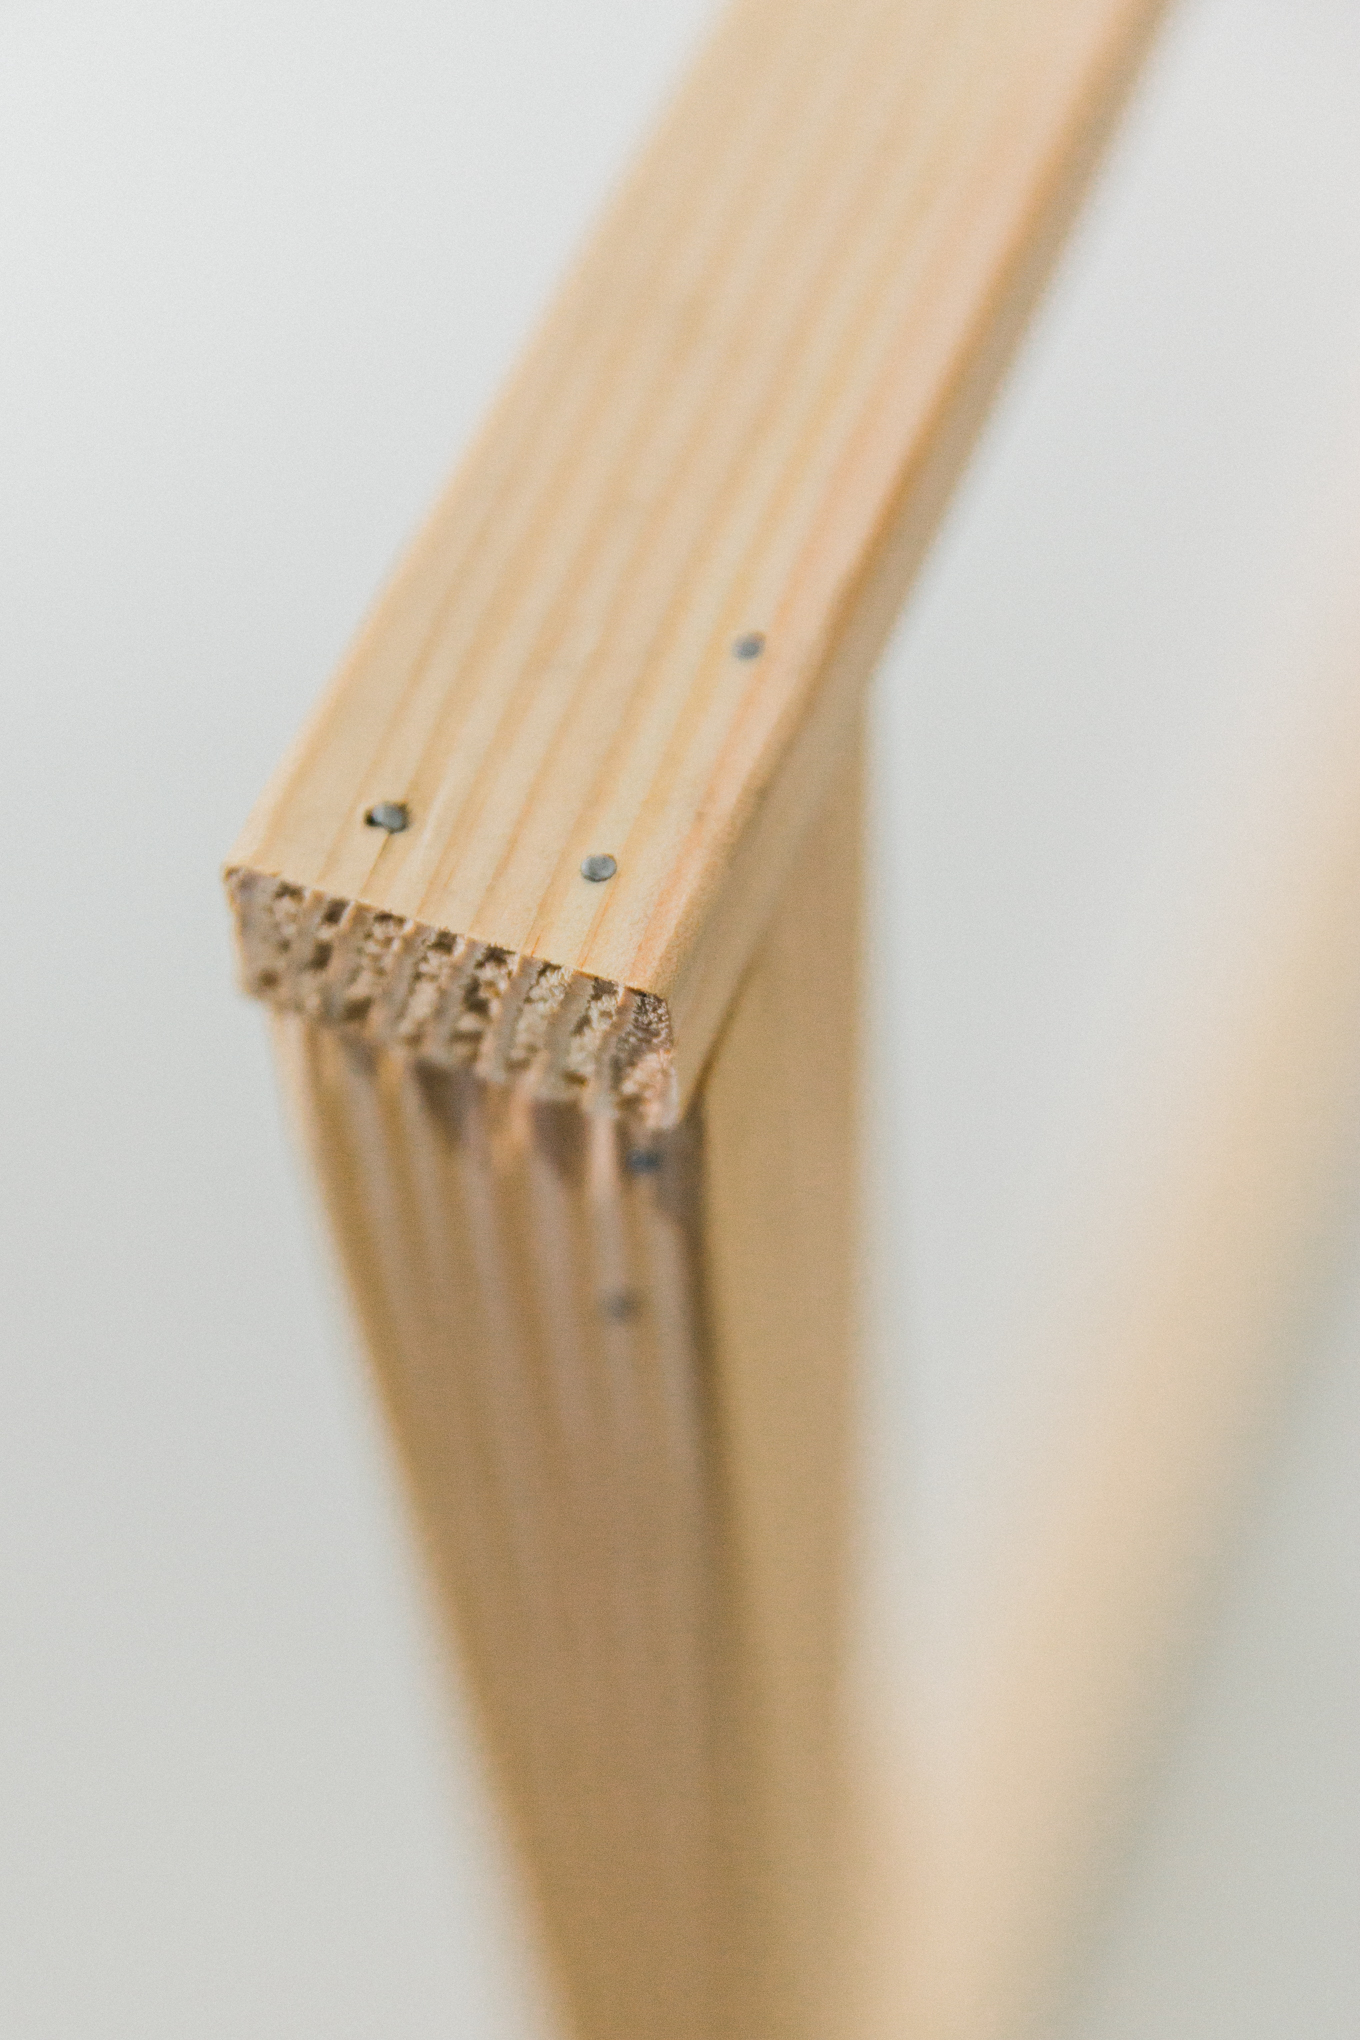
Glue and then nail the two 30” pieces of wood to the two L-shaped pieces to complete the frame.

Easy DIY - Children's Accessory Board

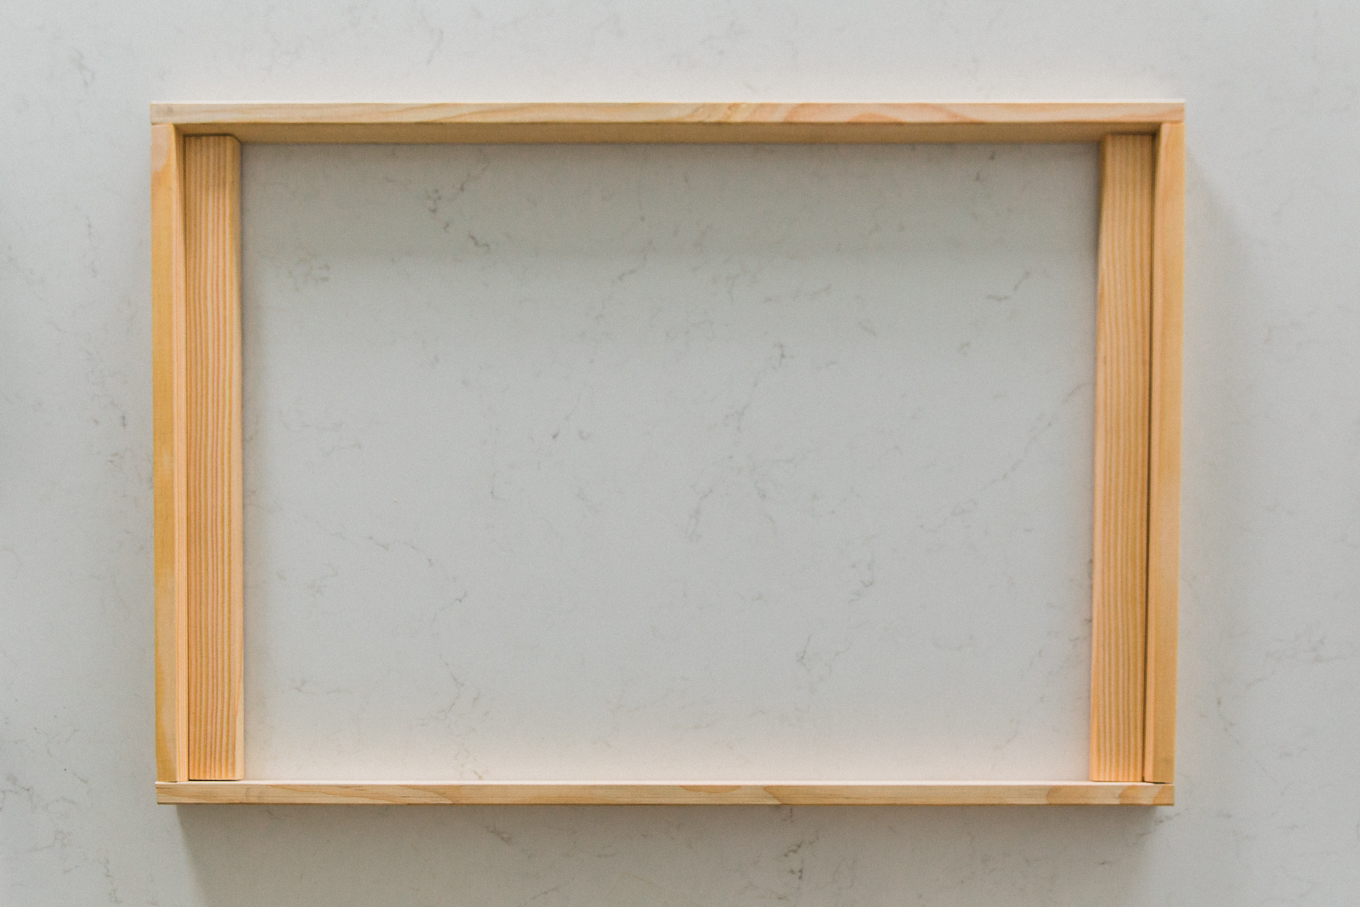
Using three nails adds stability.  Place two in the bottom board and one in the adjoining piece.

Easy DIY - Children's Accessory Board

Step 3 –

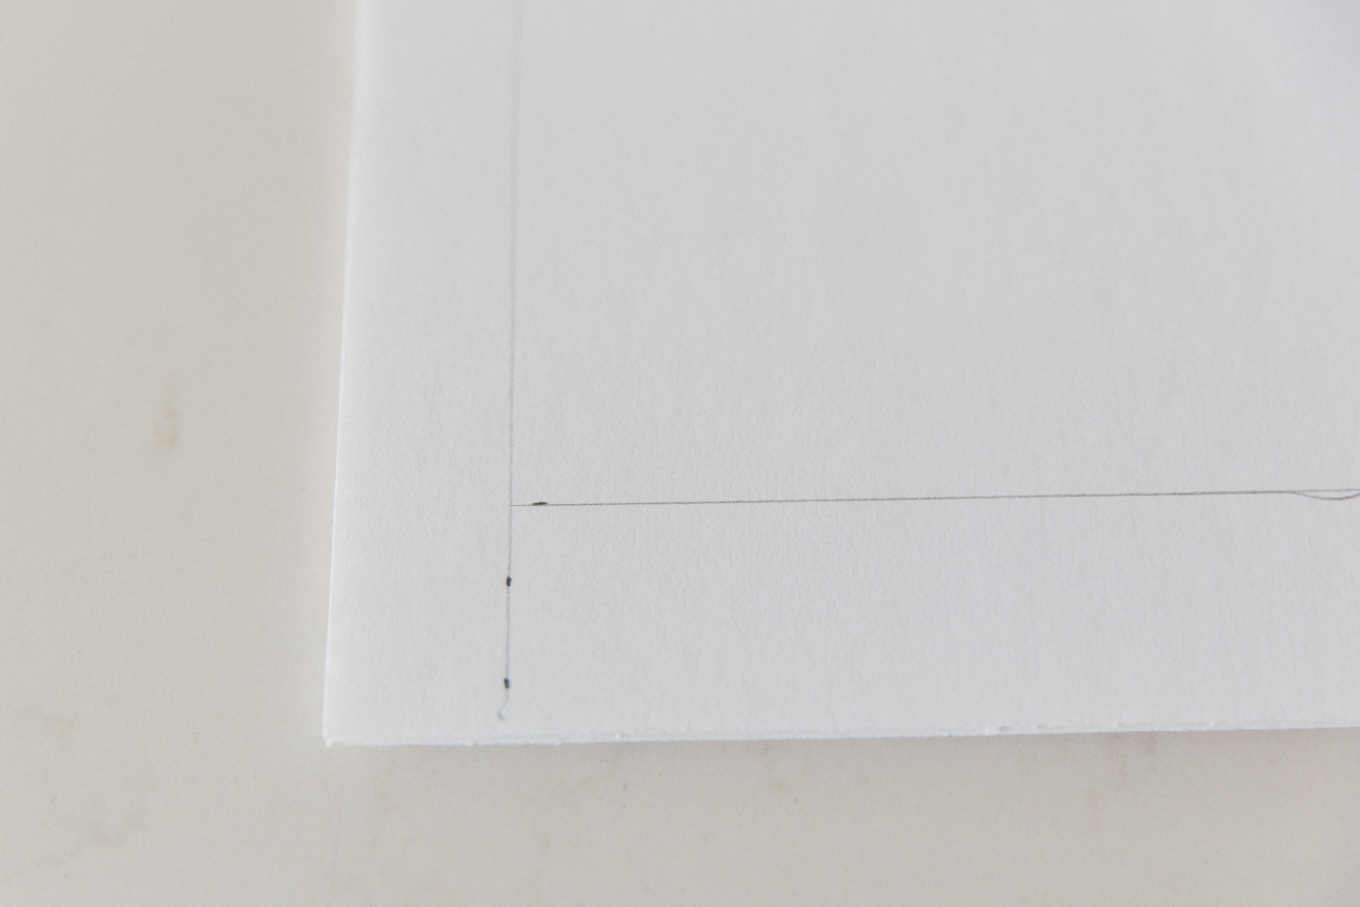
With a utility knife, cut the two pieces of foam core board to fit the inside measurements of the frame.

Easy DIY - Children's Accessory Board

Step 4 –

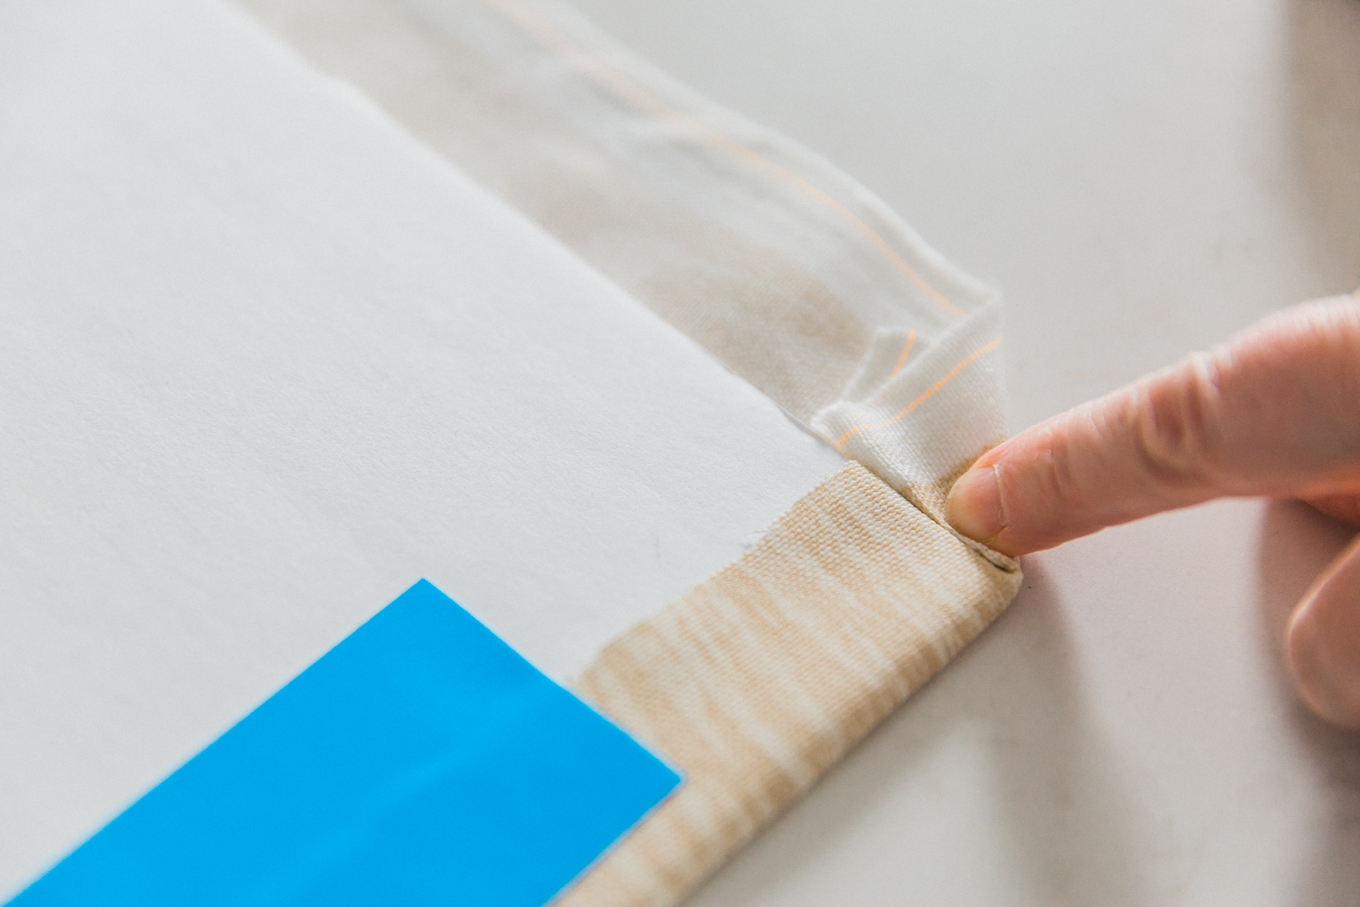
Iron the fabric.  Place the two foam core boards one on top of the other and then on the back side of the fabric (make sure you use two for stability).

Easy DIY - Children's Accessory Board

Fold the fabric over the edges of the boards, pulling tightly, and tape in place.  Place the fabric-covered foam core boards into the frame and secure to the top and bottom corners of the frame using 1” nails.

Easy DIY - Children's Accessory Board

Step 5 –

Attach the sawtooth hanger to the top of the frame on the back.

Easy DIY - Children's Accessory Board

Step 6 –

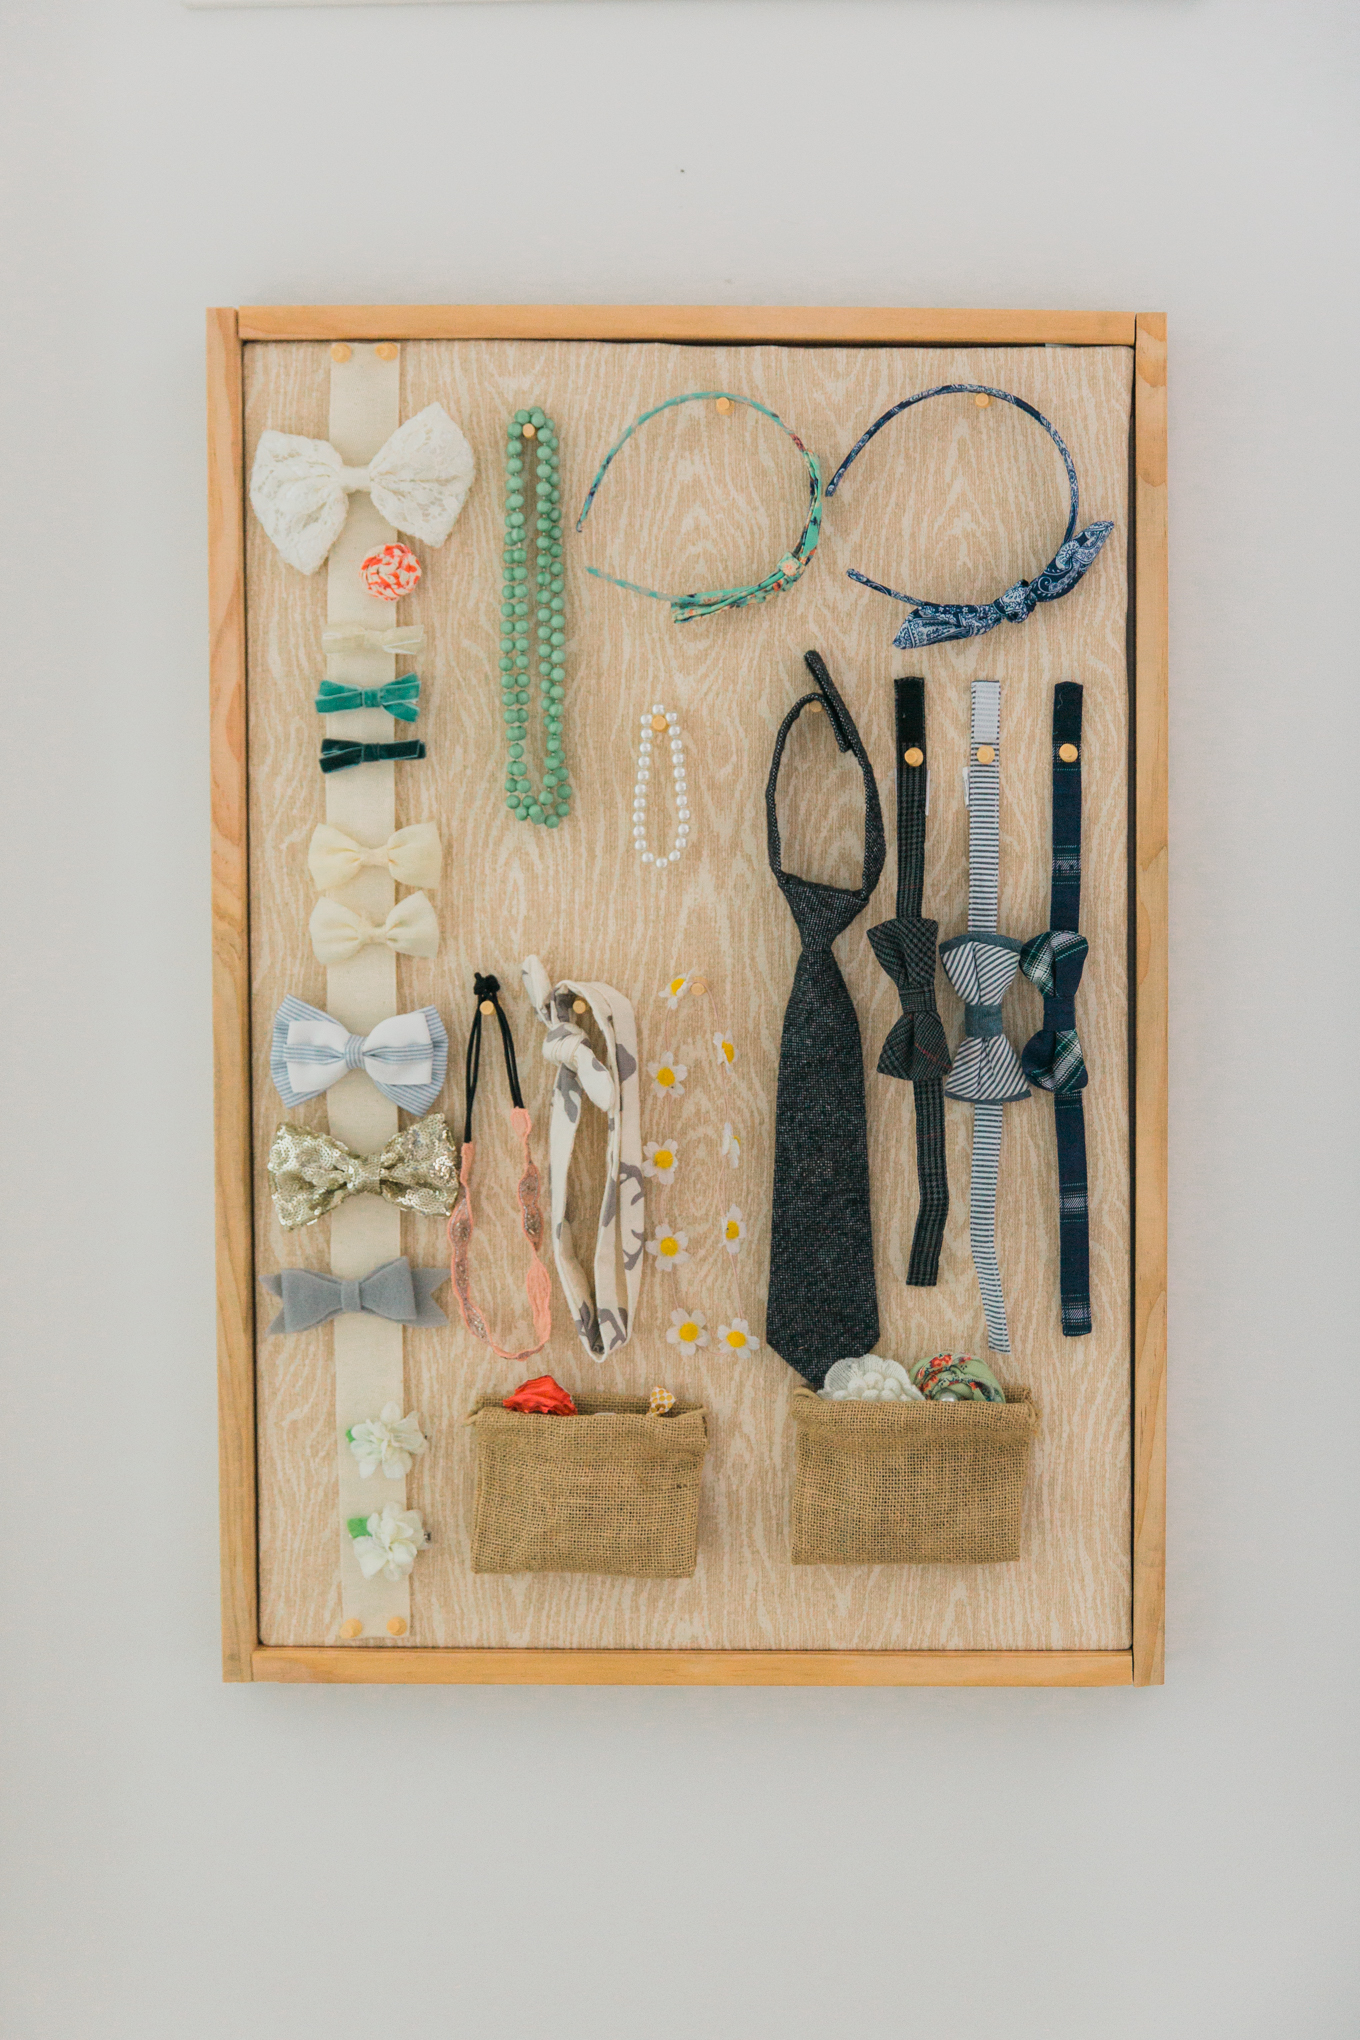
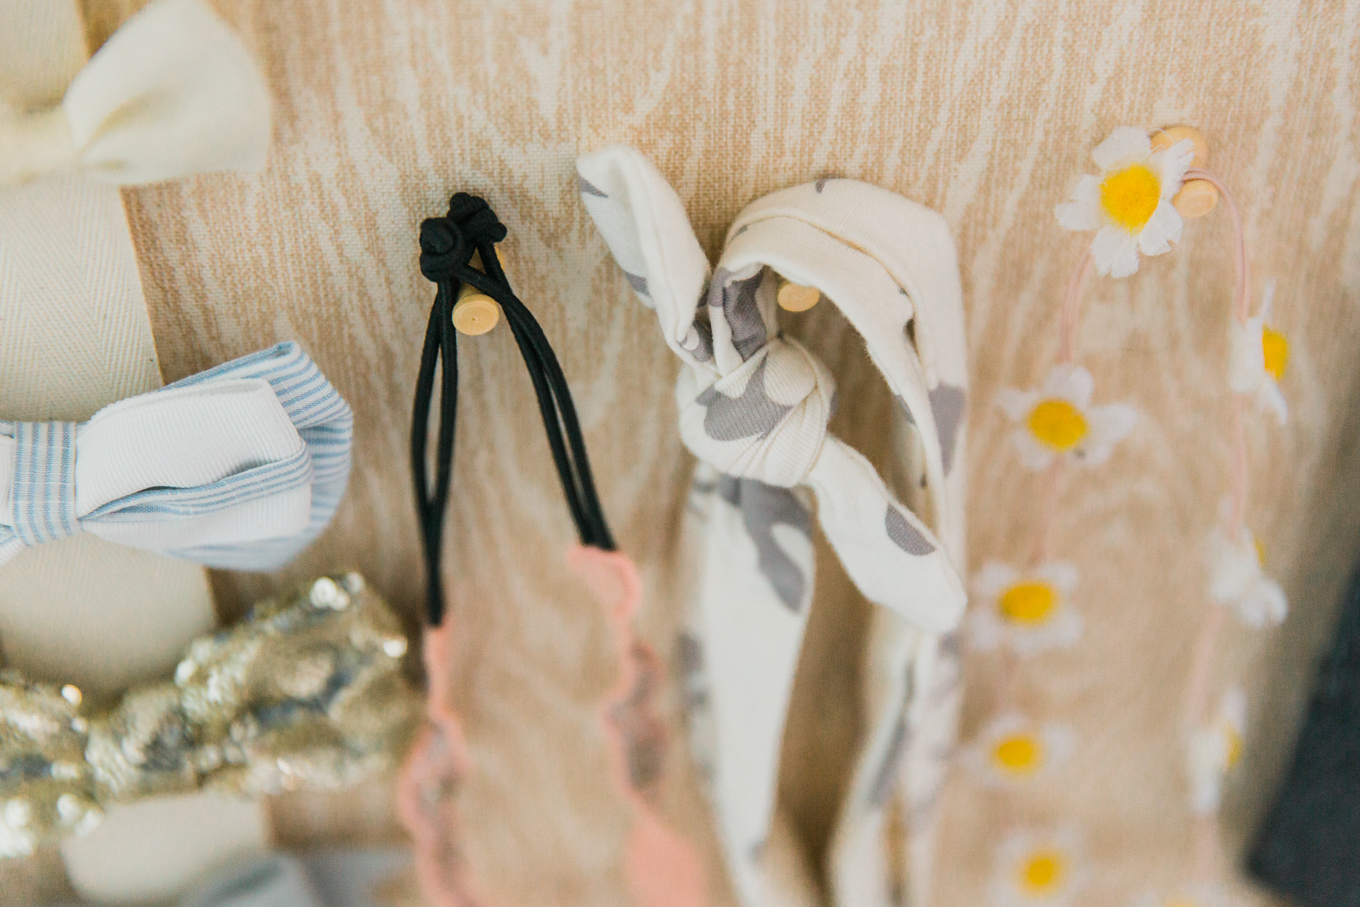
Using push pins, secure the twill tape (or ribbon) and bags in place.

Easy DIY - Children's Accessory Board

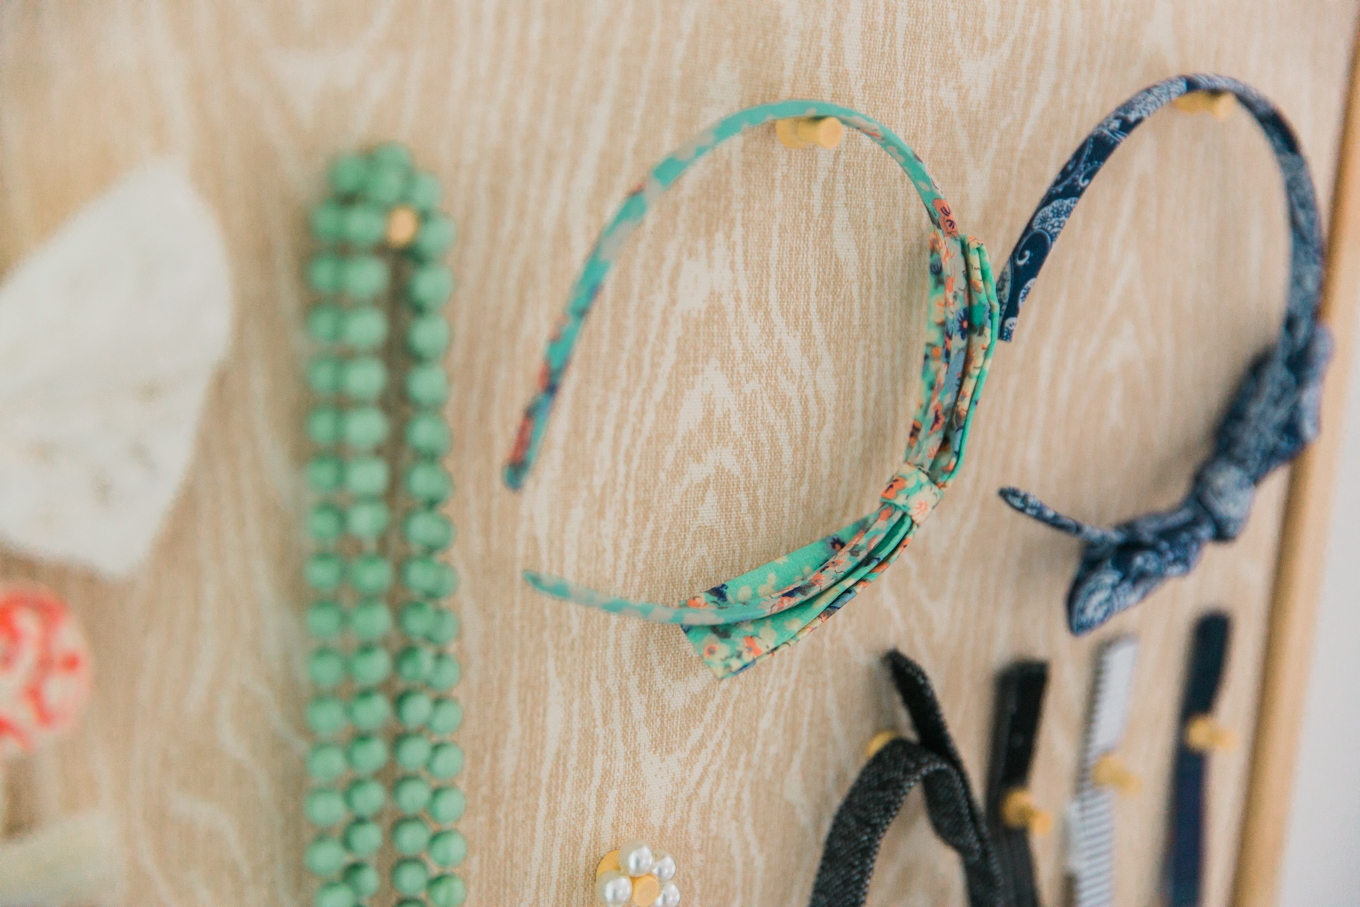
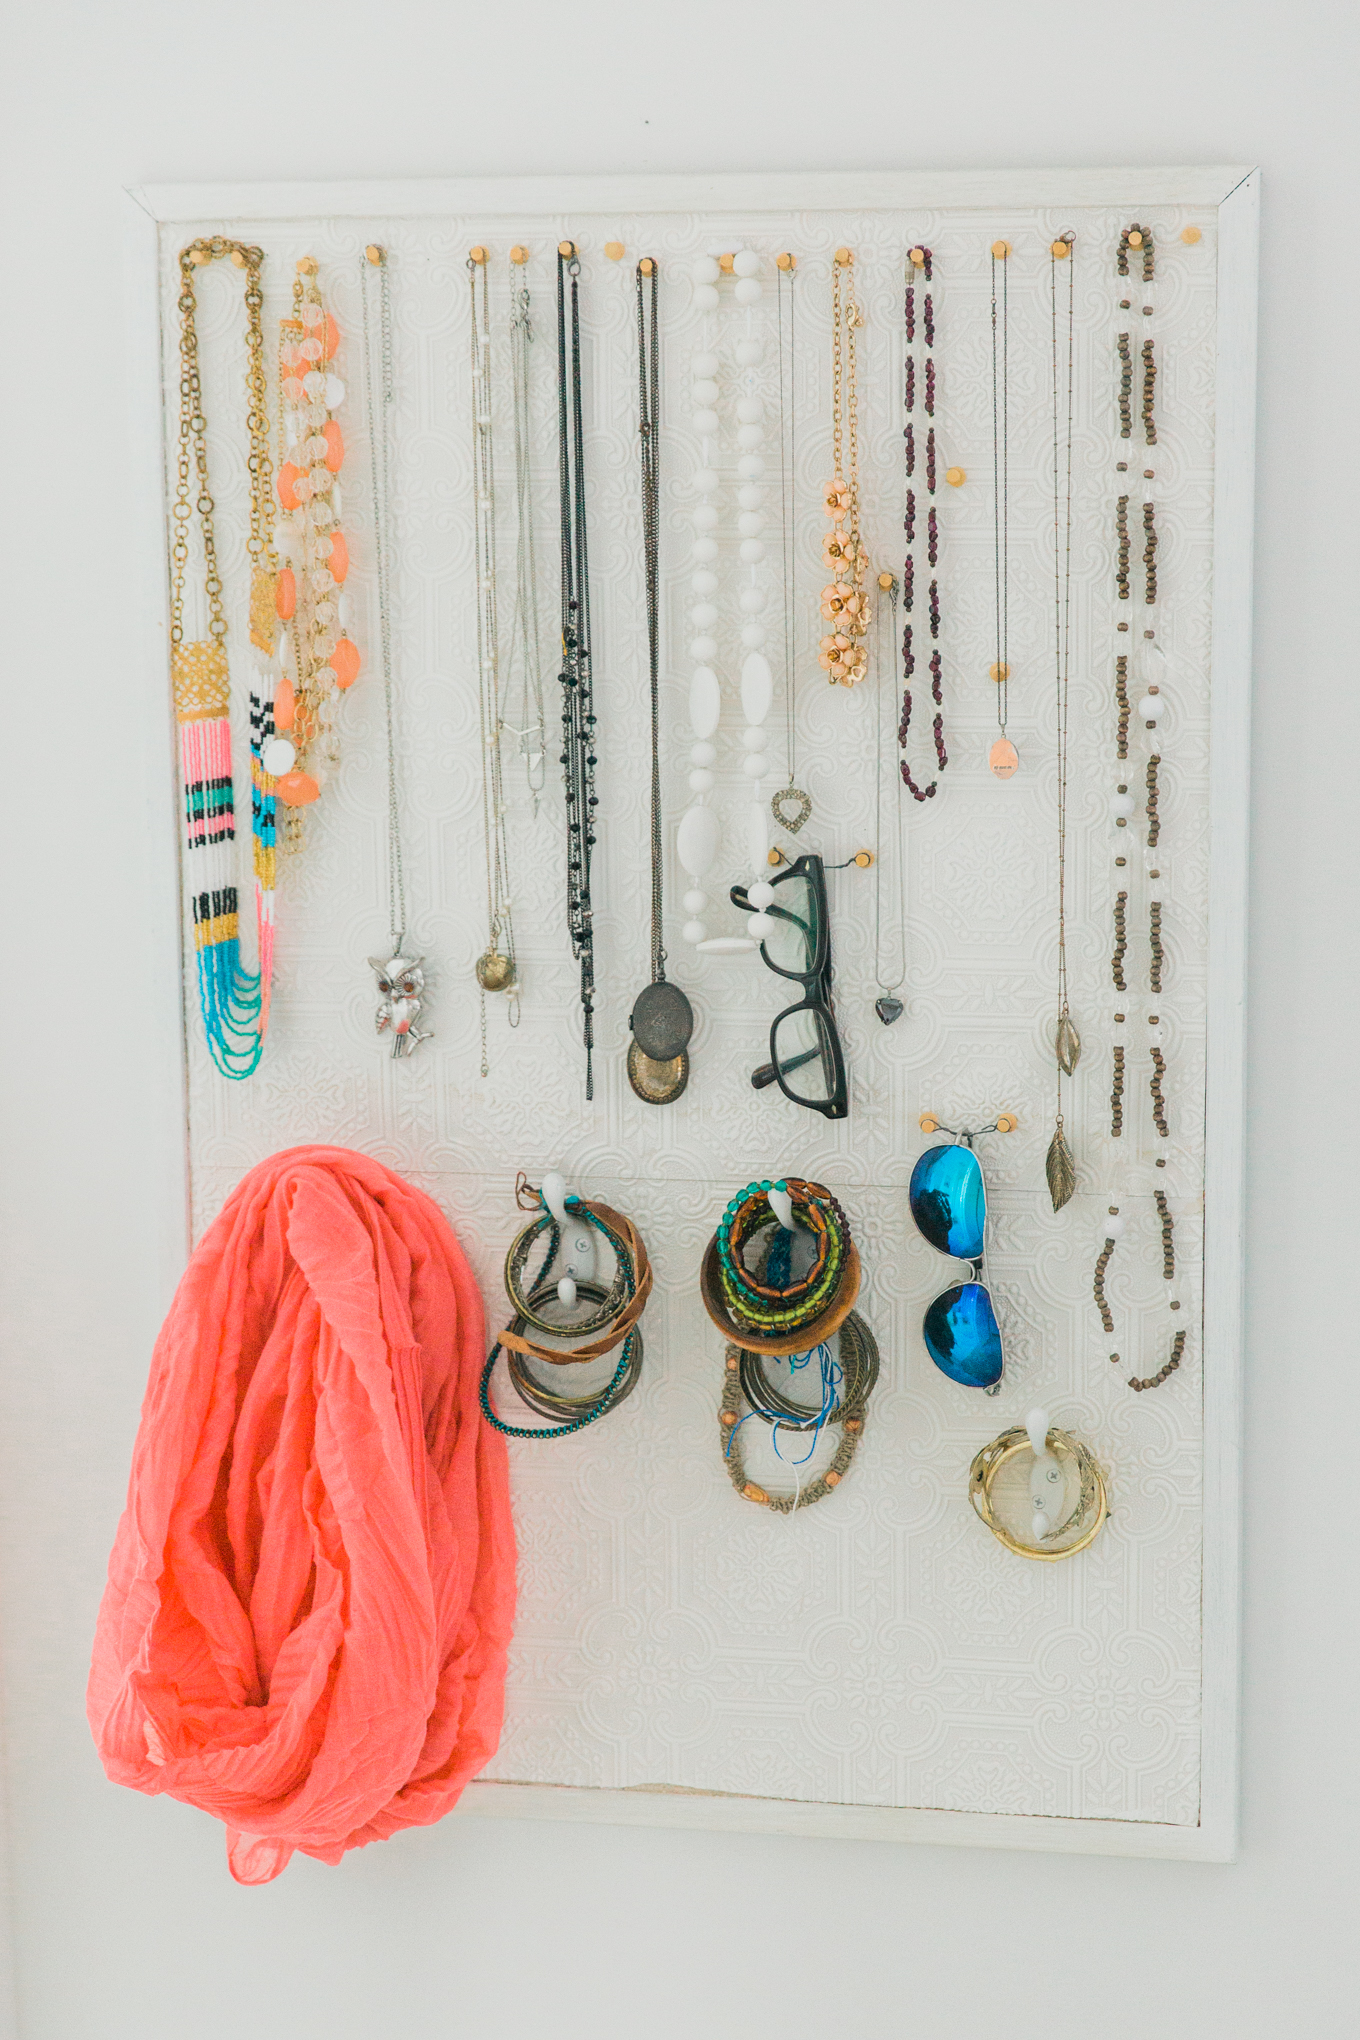
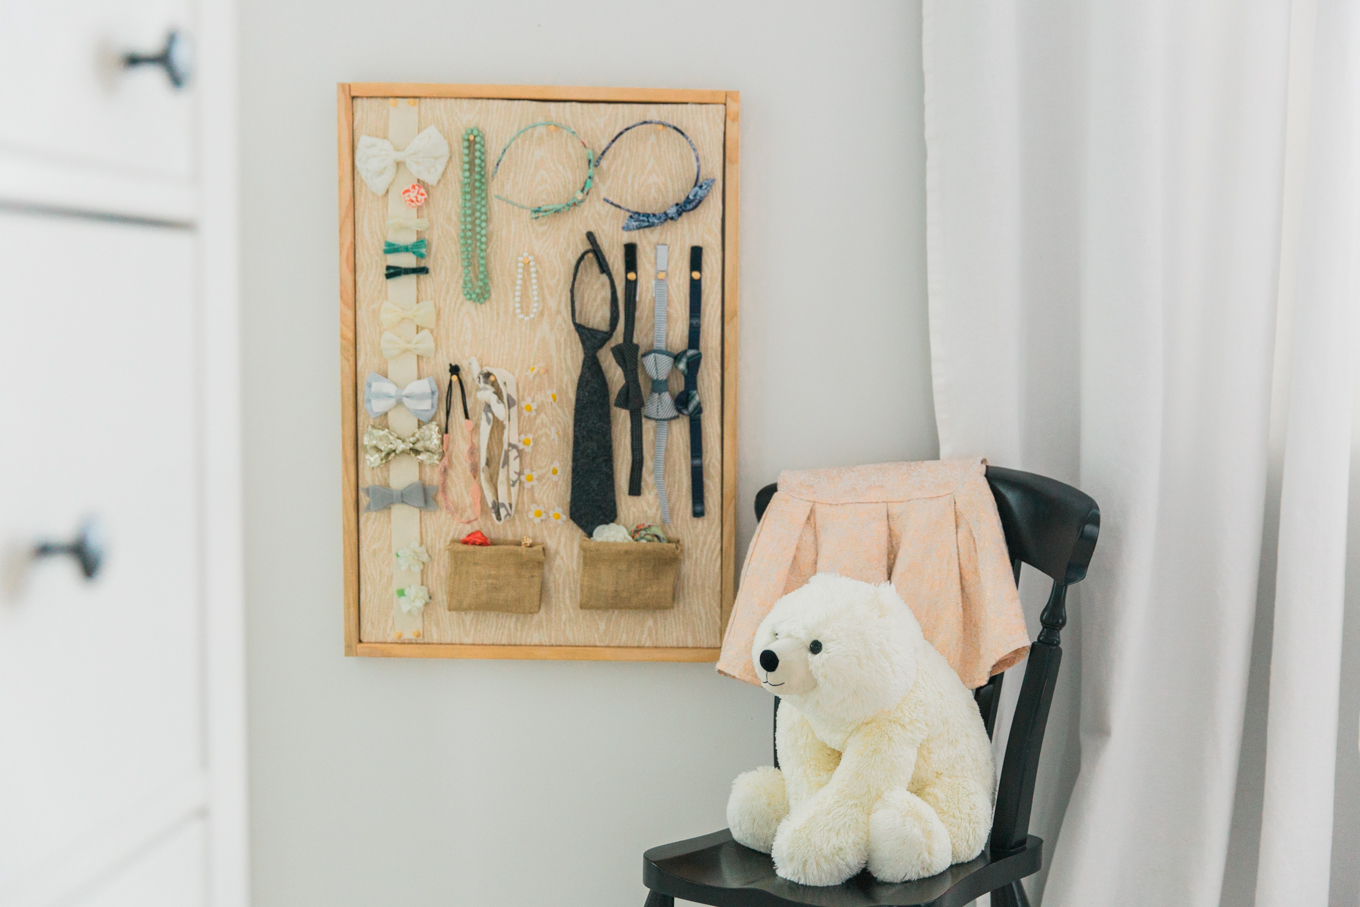
Now comes the really fun part, displaying all of those darling bows, barrettes, and headbands.  Your board will be so adorable you can use it help add decor to any room.

The best part about using pushpins is that it makes it easy to readjust the board as the accessories change, ensuring it grows with you child.  This is one that I use for myself, and I can change it around as much as my jewelry collection does.

Easy DIY - Children's Accessory Board

Enjoy this easy, DIY Children’s Accessory Board!

Easy DIY - Children's Accessory Board

Easy DIY - Children's Accessory Board

Easy DIY - Children's Accessory Board

  • Bio
  • Latest Posts
  • Instagram
Jennie Guenard

Jennie Guenard

Jennie Guenard

Latest posts by Jennie Guenard (see all)

  • DIY Old Fashioned Kite - Monday, September 11, 2017
  • Recycled Fabric Coiled Baskets DIY - Monday, July 31, 2017
  • Woodland Creature Pet Rocks Tutorial - Monday, June 19, 2017
Jennie Guenard

Beyond Snapshots  - Mastering Mobile PhotographyBeyond Snapshots
A moment captured is worth more than a moment forgotten—no matter how imperfect the lighting or how basic the camera. In one week we’ll move beyond taking snapshots to capturing magical moments with your phone. Click to learn more.

Filed Under: Crafts / DIY, Organization, Uncategorized

Reader Interactions

Leave a Reply Cancel reply

Your email address will not be published. Required fields are marked *

Primary Sidebar

Rebecca Cooper — Founder, Simple as That Blog

Hello, I'm Rebecca. Welcome to my blog, Simple as That. Come along as we embrace simplicity in crafting, photography, travel, and family life. Read more about me.

Newsletter

Get the latest updates from Simple as That delivered to your inbox.

Join for Free

Beyond Snapshots: Mastering the Art of Mobile Photography

Connect

  • Bloglovin
  • Facebook
  • Instagram
  • Pinterest
  • Twitter

Follow On Pinterest

Visit Rebecca - Simple as That Blog's profile on Pinterest.

Categories

  • Crafts / DIY
  • Holidays
  • Motherhood
  • Organization
  • Photography
  • Printables
  • Recipes
  • Simple Living
  • Travel
  • Wellness

Our Privacy Policy

Follow on Instagram

Instagram has returned invalid data.

Printable 2023 Calendar

Our printable calendars and organizational pages have been essential in keeping our home and my life in order and I guarantee they will be a help to you too!

Click here to learn more

© Simple as That Blog, 2017 · Design by Brian Gardner

Simple as That Blog

Facebook / Instagram / Pinterest / Twitter / Contact