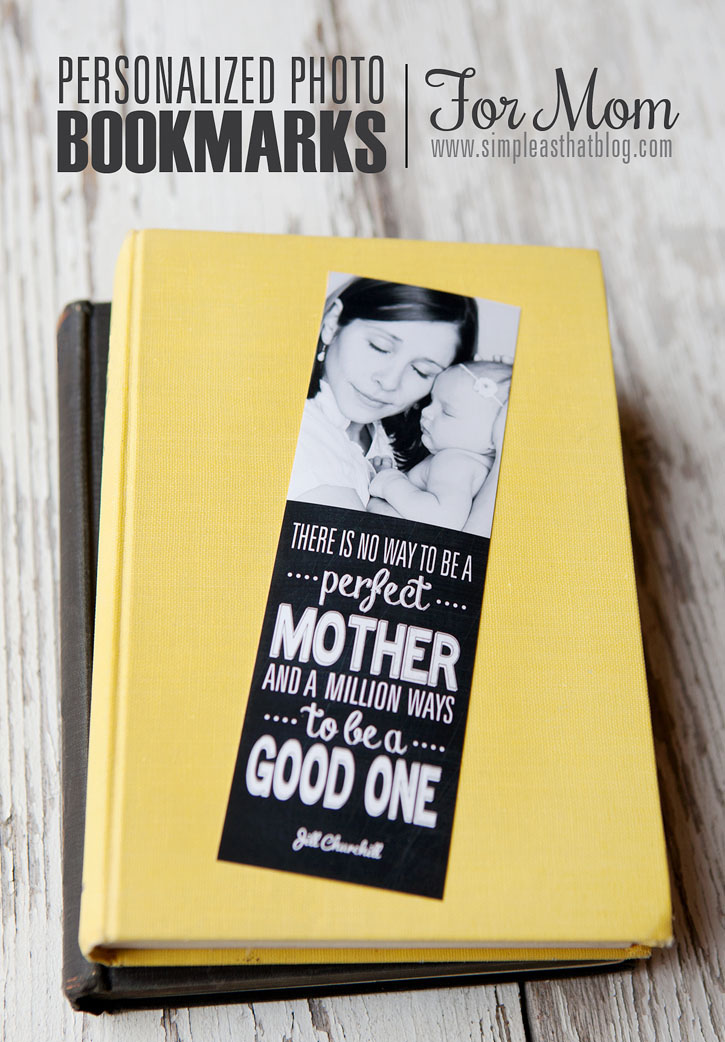
Mother’s Day is this Sunday and if you’re still looking for a unique, meaningful gift for Mom I’ve got a quick idea for you!
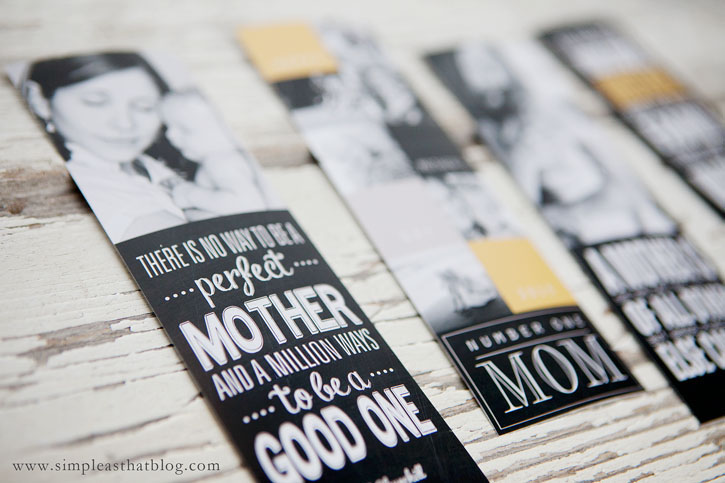
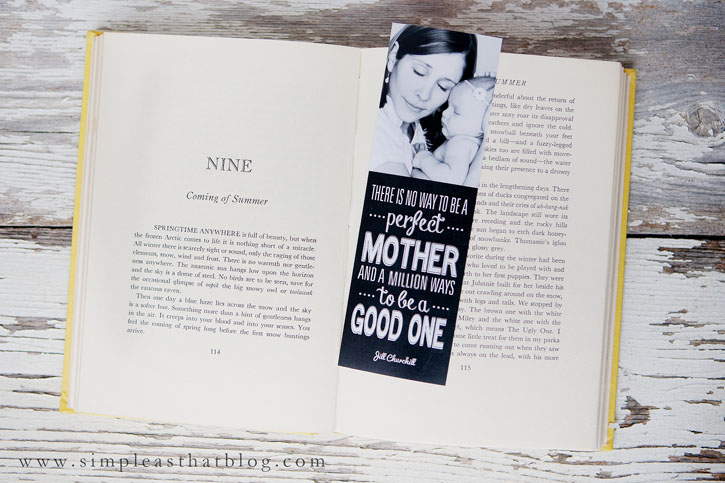
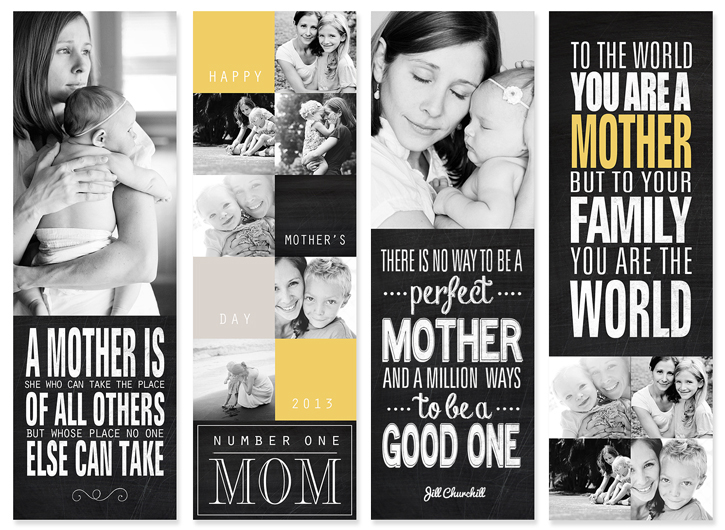
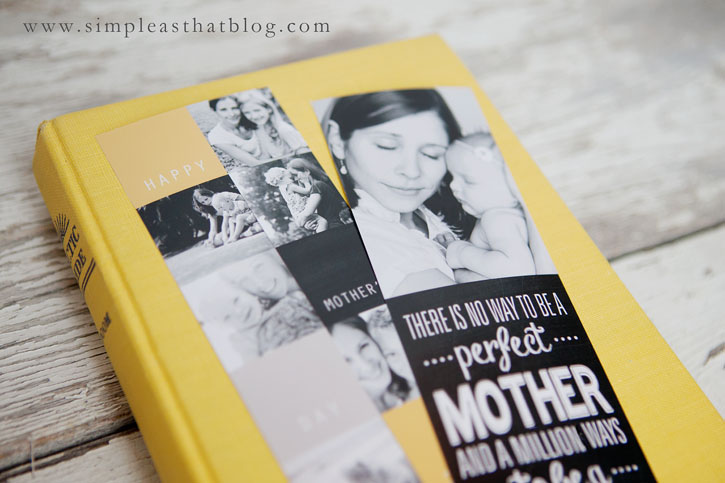
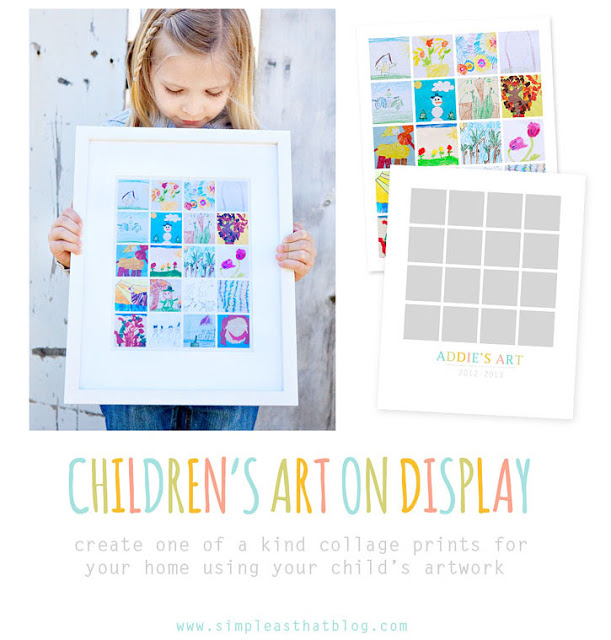
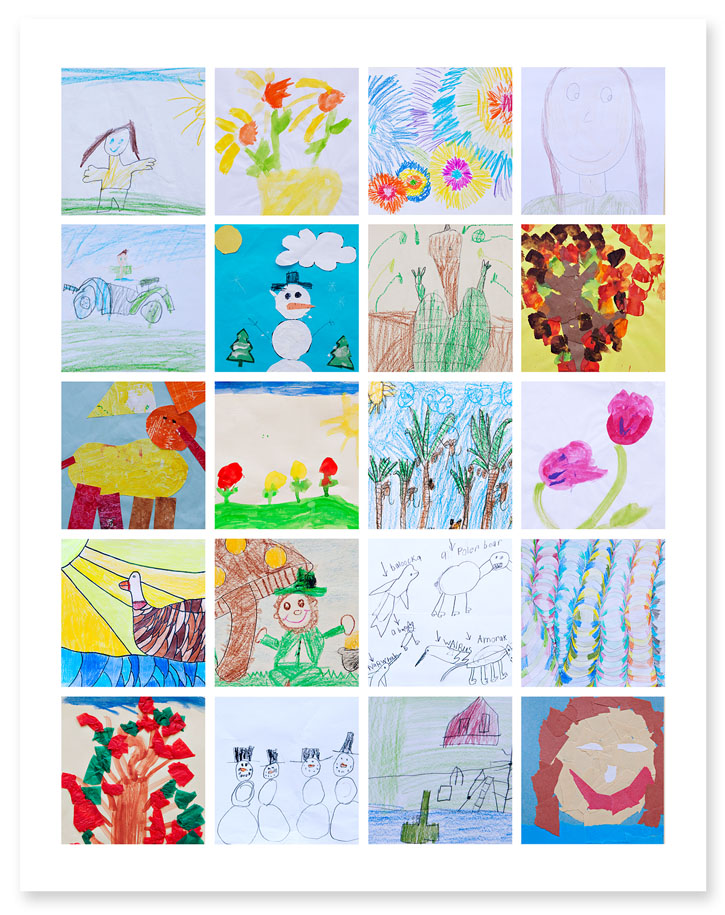
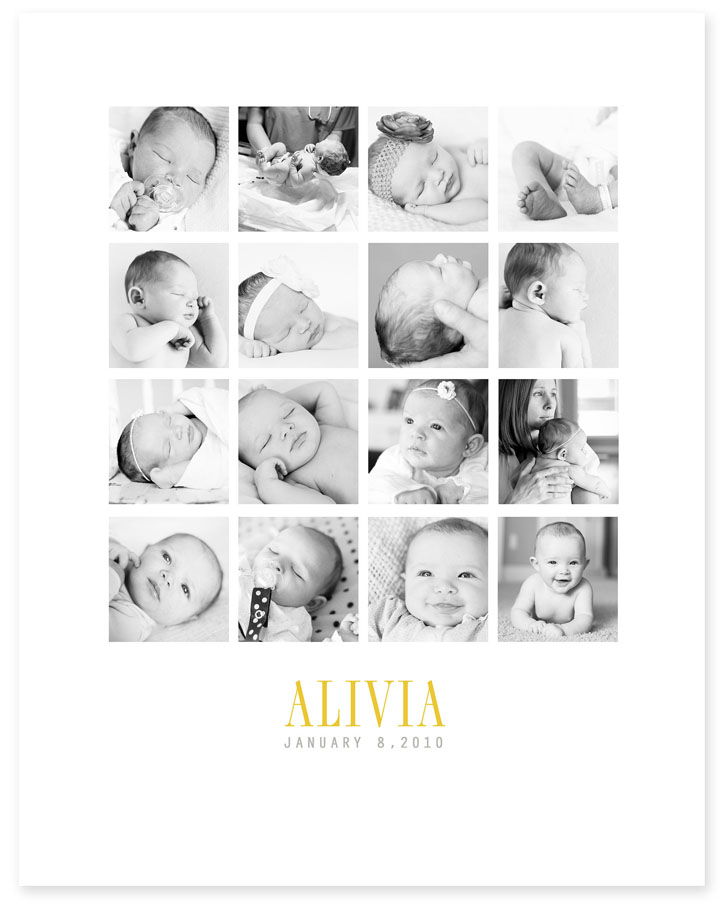
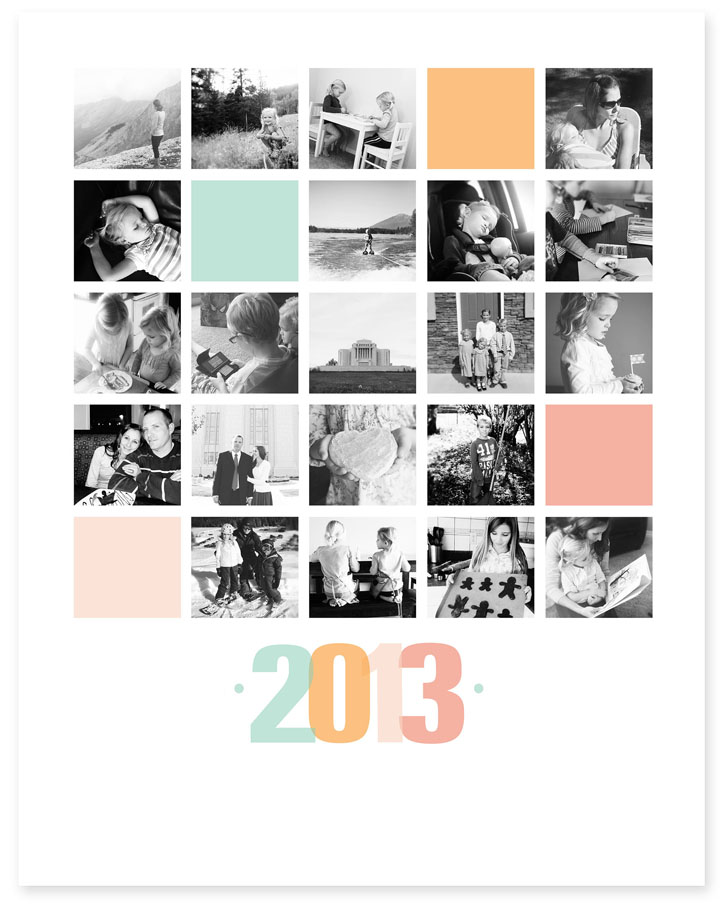
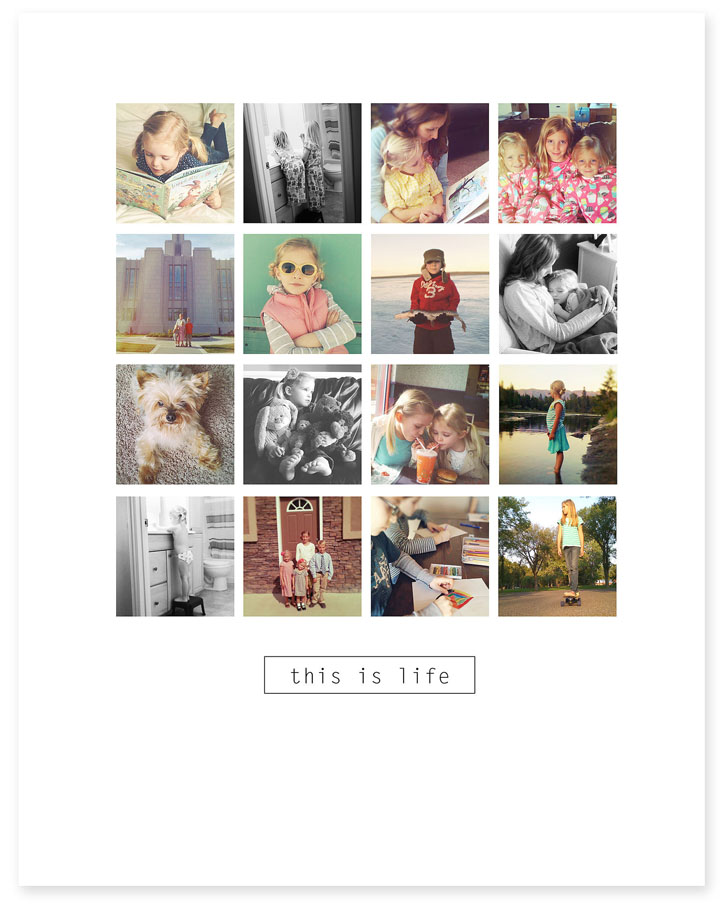
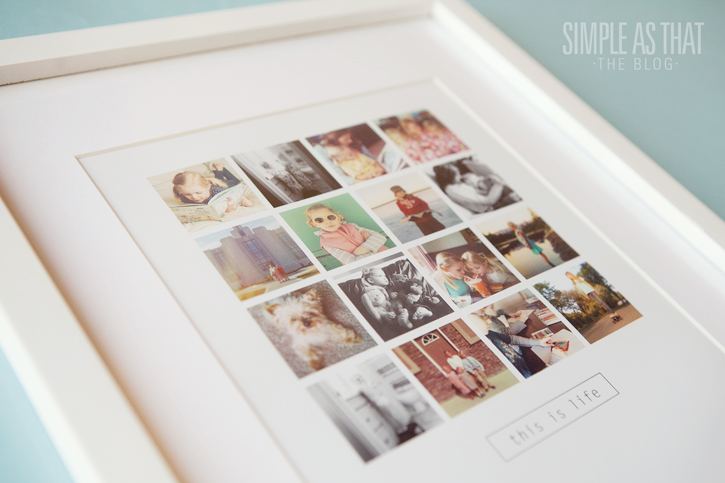
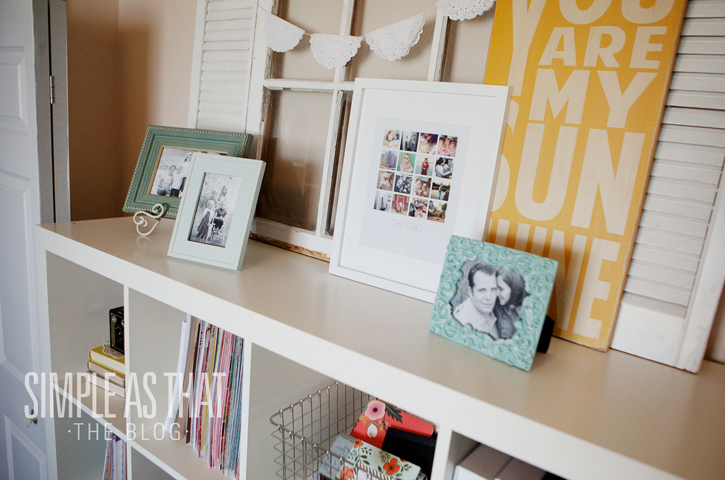
Create a photo collage filled with photos of Mom through the years! As a Mom, nothing is more precious to me than the photos I have of my me with my kids. I would love to have a framed print like this hanging in my home to remind me of all the special moments I treasure most as a Mother.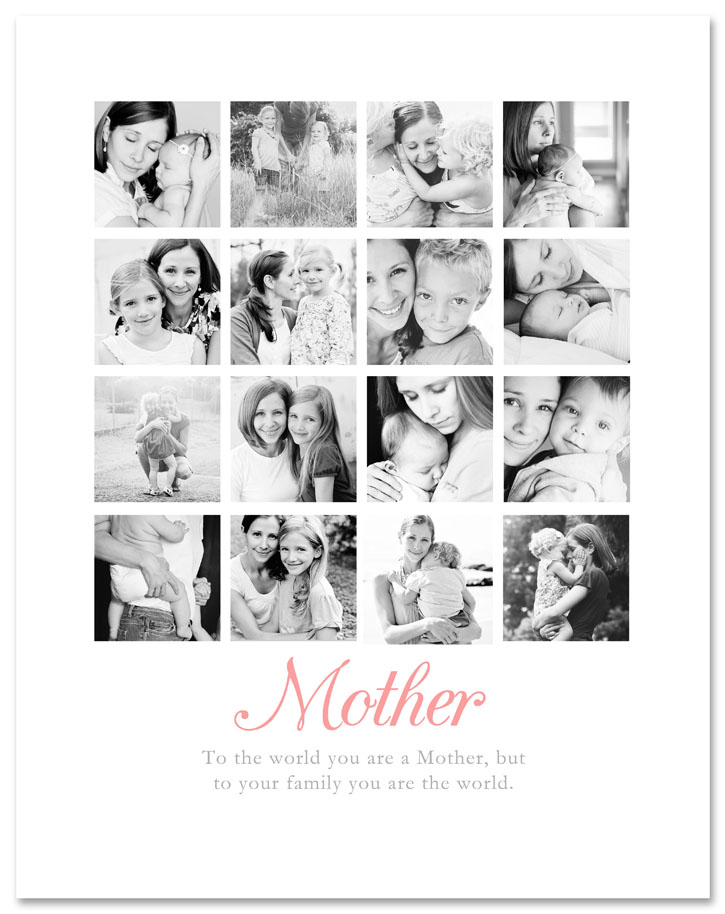
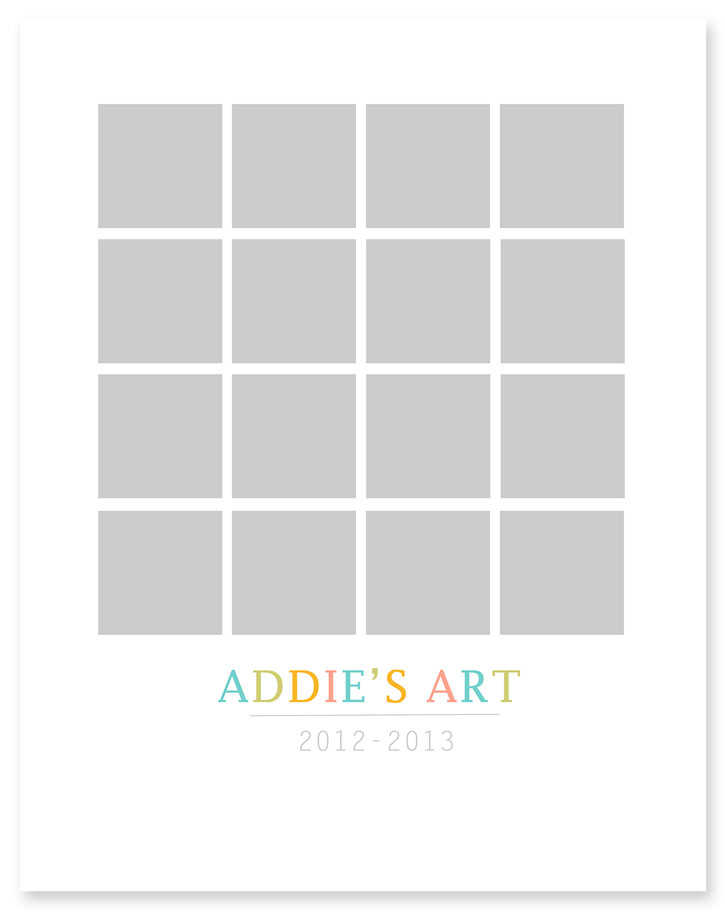
You can try your hand at your own collage or I’ve created a template set you can use in Photoshop/Photoshop Elements. You simply drop in your own photos, customize the colors to match Mom’s home decor and personalize the message however you’d like!
The set contains an 8×10 and an 11×14 template, perfect sizes for framing. I just love the way these photo collages look framed and displayed in my home and I know any Mom would be thrilled to get a handmade gift like this for Mother’s Day this year!
Simple as That Digital Shop Here.
We’re going to celebrate Mother’s Day this week with a super exciting giveaway!
Stay tuned, tonight at midnight when I’ll be sharing all the details!