For those of you considering making Easter Eggs, but dislike the hassle of using fresh eggs, these craft Easter eggs are a fun and creative solution for Spring.
Hello….I’m Nicole! I co-author the lifestyle blog Simply Happenstance with my dear friend Sara. We are excited and thrilled to be contributors to Simple As That. We look forward to sharing some of our family favorite crafts and recipes of the season. These Craft Easter Eggs are a family favorite and the perfect creative activity to get the kids involved in.
Easter is just around the corner. Raise your hands if you find decorating for the spring to be challenging? Once we have packed away the Christmas decorations, I am spent on decorating for the spring. What makes this harder for me is that I should be completely motivated to go all out for Easter as I delivered my daughter on Easter Sunday the year she was born, which makes these decorative eggs all the reason to decorate for spring.
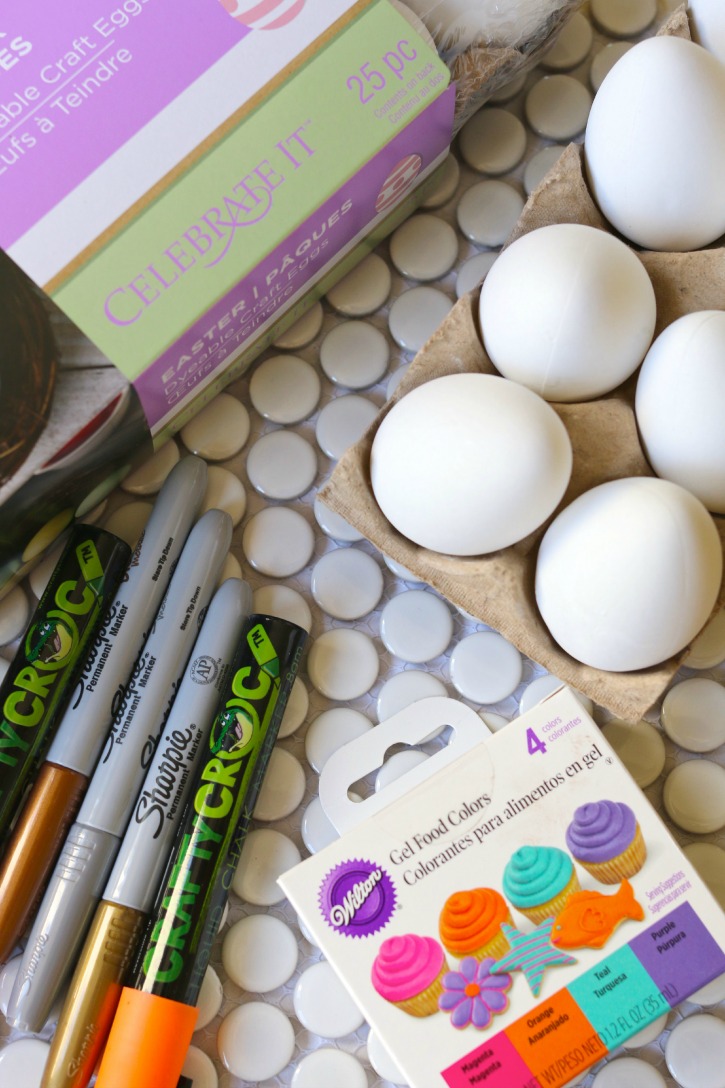
These Craft Easter Eggs are completely easy to make, and what makes them fun is that you can be as creative as you want with them. All you need is the following:
1-2 boxes of Easter Dyeable Craft Eggs- purchased at Michael’s.
Food Coloring
White Vinegar
Disposable plastic cups
Chalk Board Markers
Sharpies
Stickers
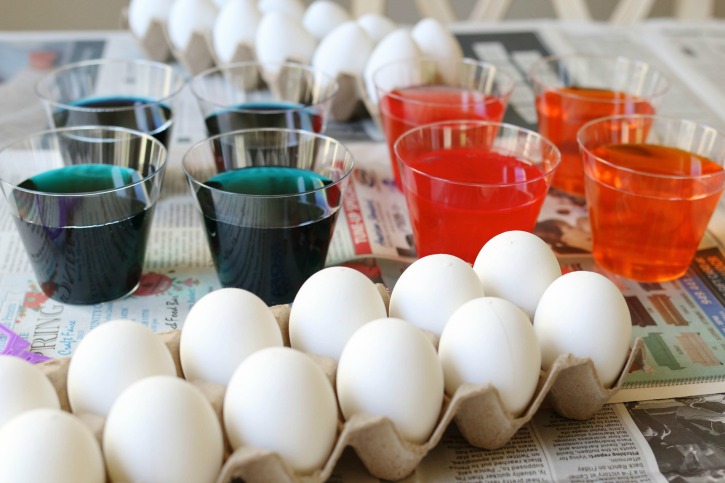
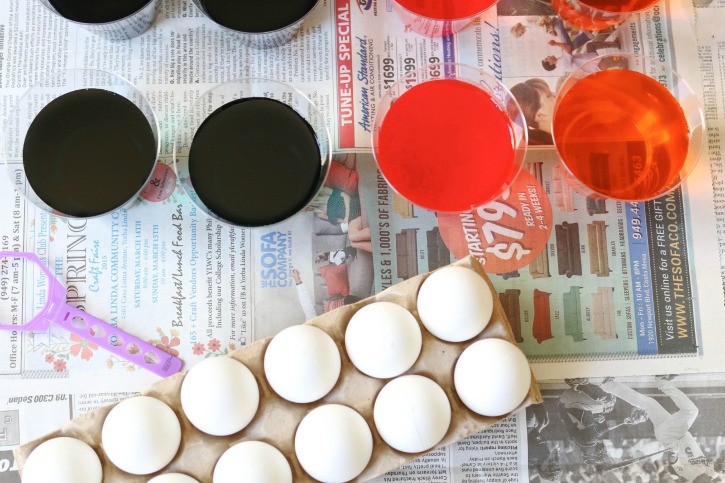
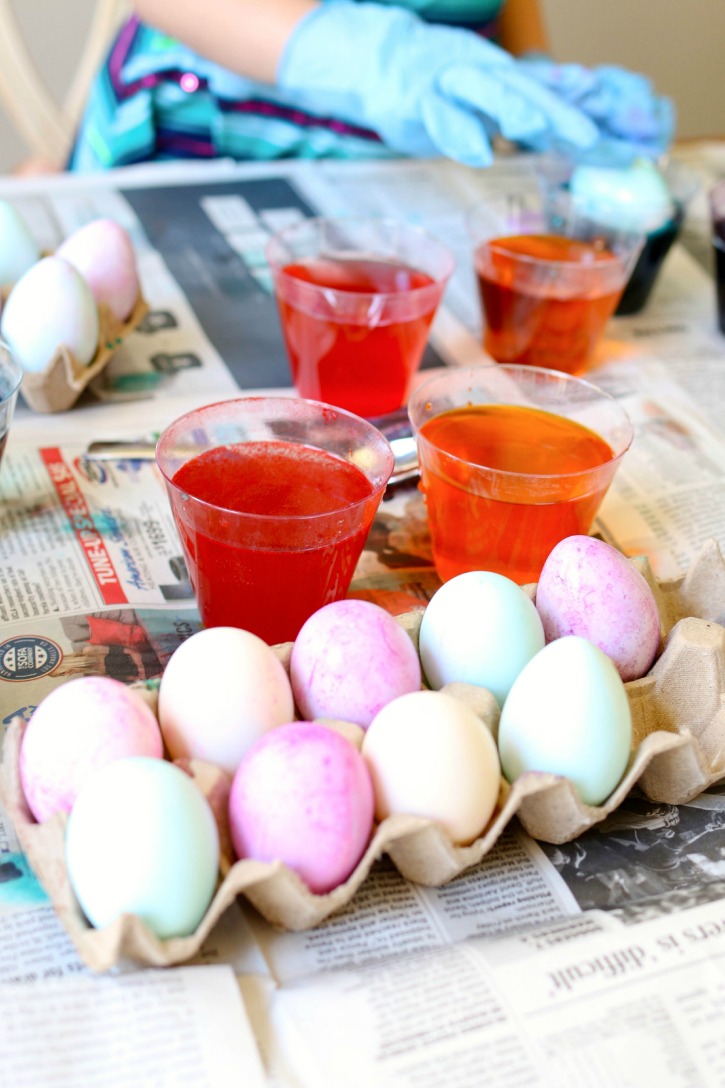
First I placed two drops of food coloring at the bottom of 8 small plastic cups. I gave each of my kids the chance to be able to dip their eggs in four different colors without fighting over their dipping stations. I filled the cups each with a half cup of white vinegar.
Next is similar to dying real eggs, dunk them in the dye and let them sit for a couple minutes until they are the color that you want. These eggs take a little longer as the material is not as porous as real eggs.
The Craft Easter Eggs do come with some decals and egg dipper tools, but my daughter and son decided they wanted to for go the plastic dippers and use disposable gloves so that they could dunk their eggs in the dye with out losing their eggs…remember that always seems to be the frustrating part of dying Easter Eggs.
Once you are done with coloring the eggs, place them back in their egg crates and let them dry. I rotated the eggs between drying times as to let the dye evenly coat the Craft Easter Eggs.
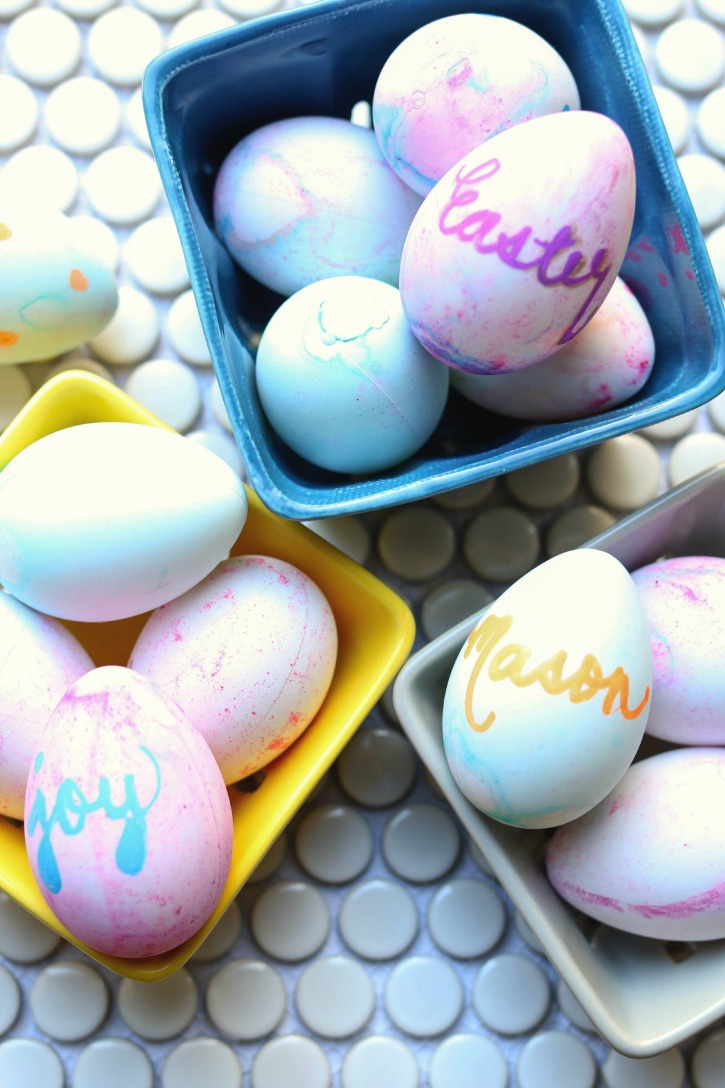
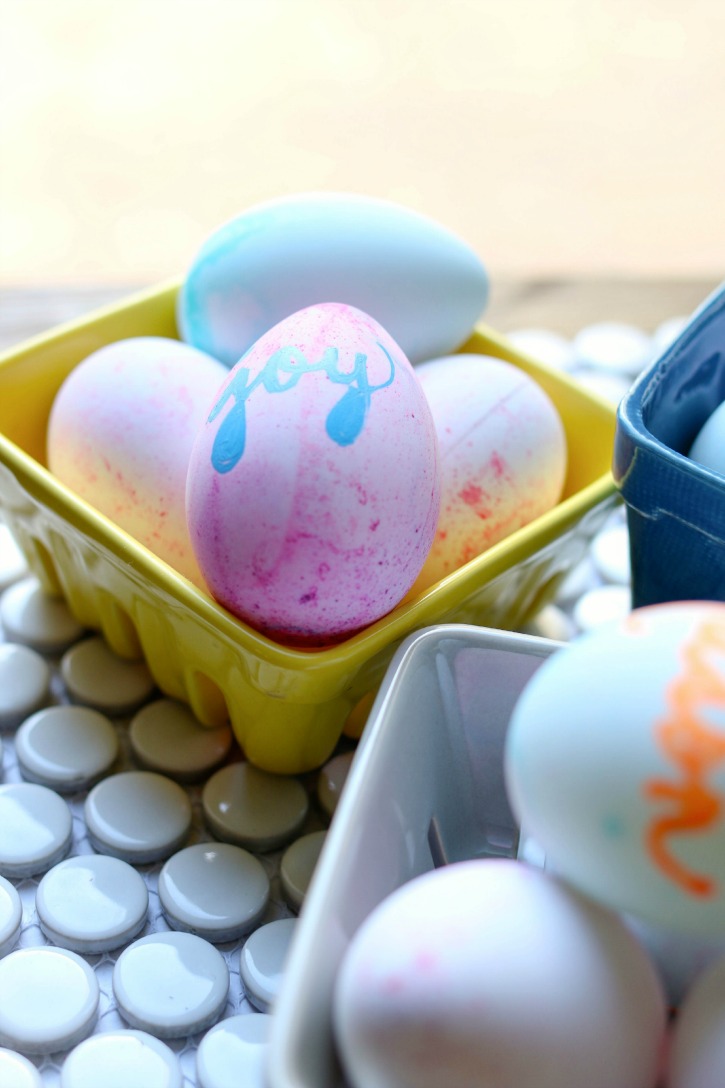
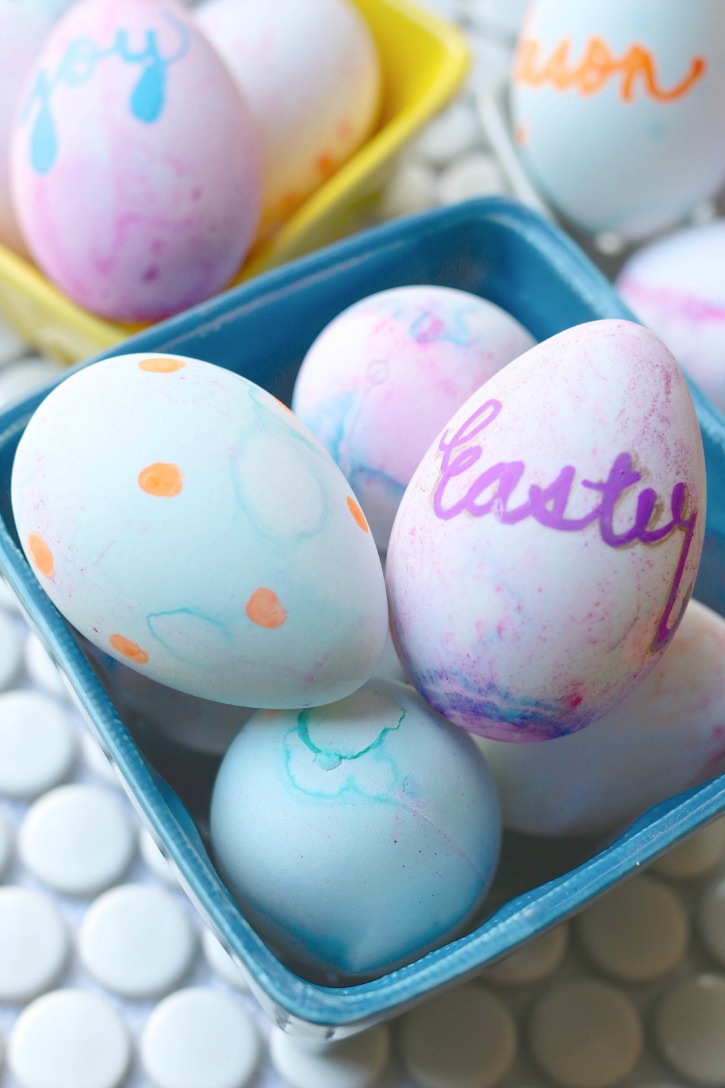
After the eggs are dried, we colored them with fun dots and simple Easter sayings as well as our names. Really it’s SIMPLE AS THAT. Let your creative juices flow with this fun spring project. The best part of all is that these eggs don’t go bad and they don’t break! You can place them in a decorative vase or bowl to display for Easter.
Enjoy!

[…] to the first day of spring! Sara and I are excited to be contributing over at Simple As That today with these fun Craft Easter Eggs. They are perfect for spring decorating around the […]