These DIY Chalkboard Matryoshka Nesting Dolls are an adorable, handmade toy your kids will love making! They can personalize the dolls again and again with nothing more than a piece of chalk.
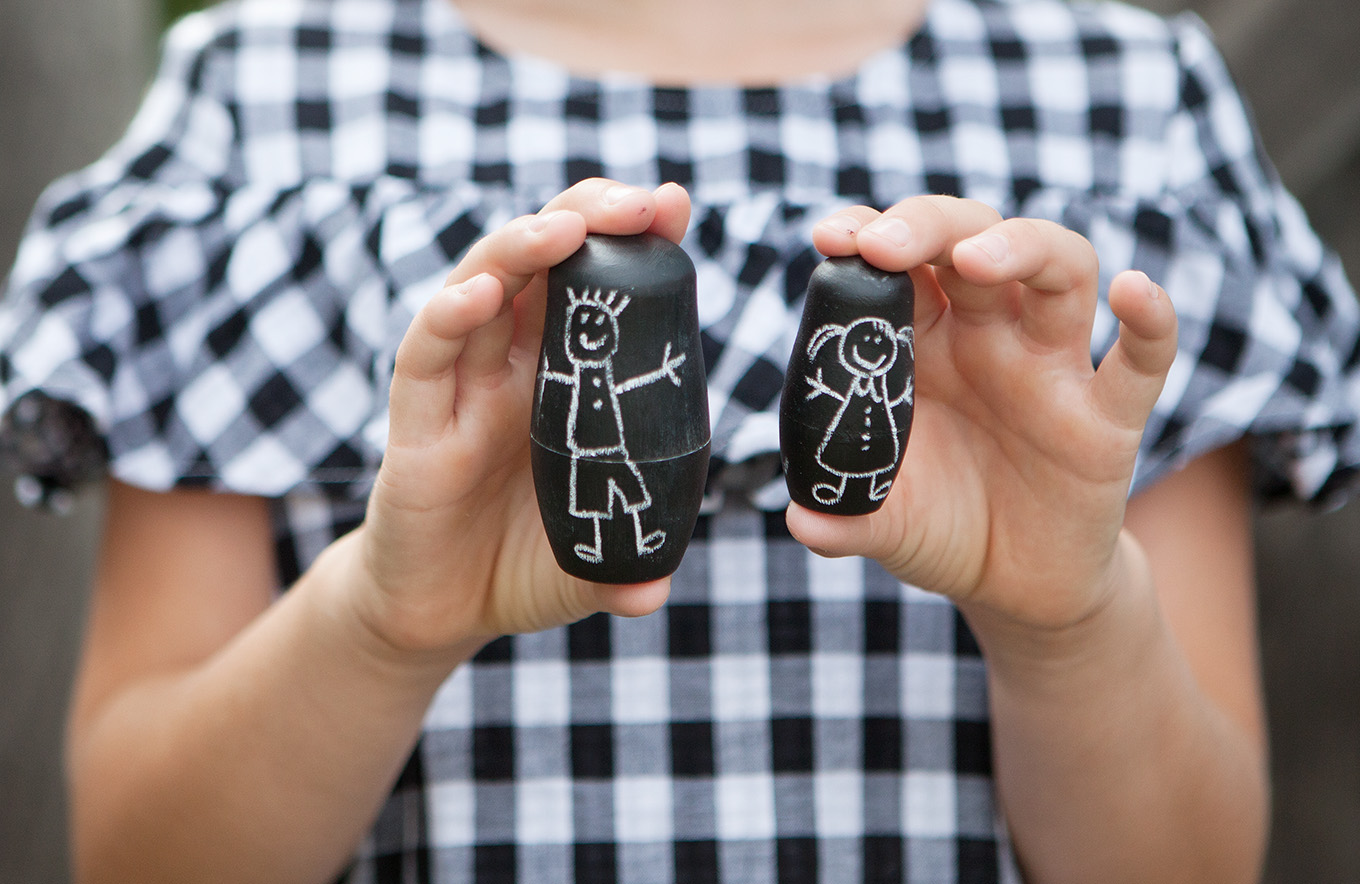
It feels like our kitchen table has been transformed into a makeshift craft studio on the daily this summer. We’ve been painting, making slime and coloring the afternoons away.
The mess you guys– oh the mess! But as a parent, I’ve come to realize the value of encouraging my kids creativity at home. I tolerate the glittery, colorful messes because of the vast range of skills my kids learn from crafting – fine motor skills, concentration, problem-solving abilities, following instructions to name a few.
For me, crafting with my kids is really about strengthening bonds. Meaningful conversations and laughter seem to come about naturally when we sit down to color, paint or craft. I know that when my kids are grown, some of my favorite memories will be of the times we sat at the kitchen table crafting
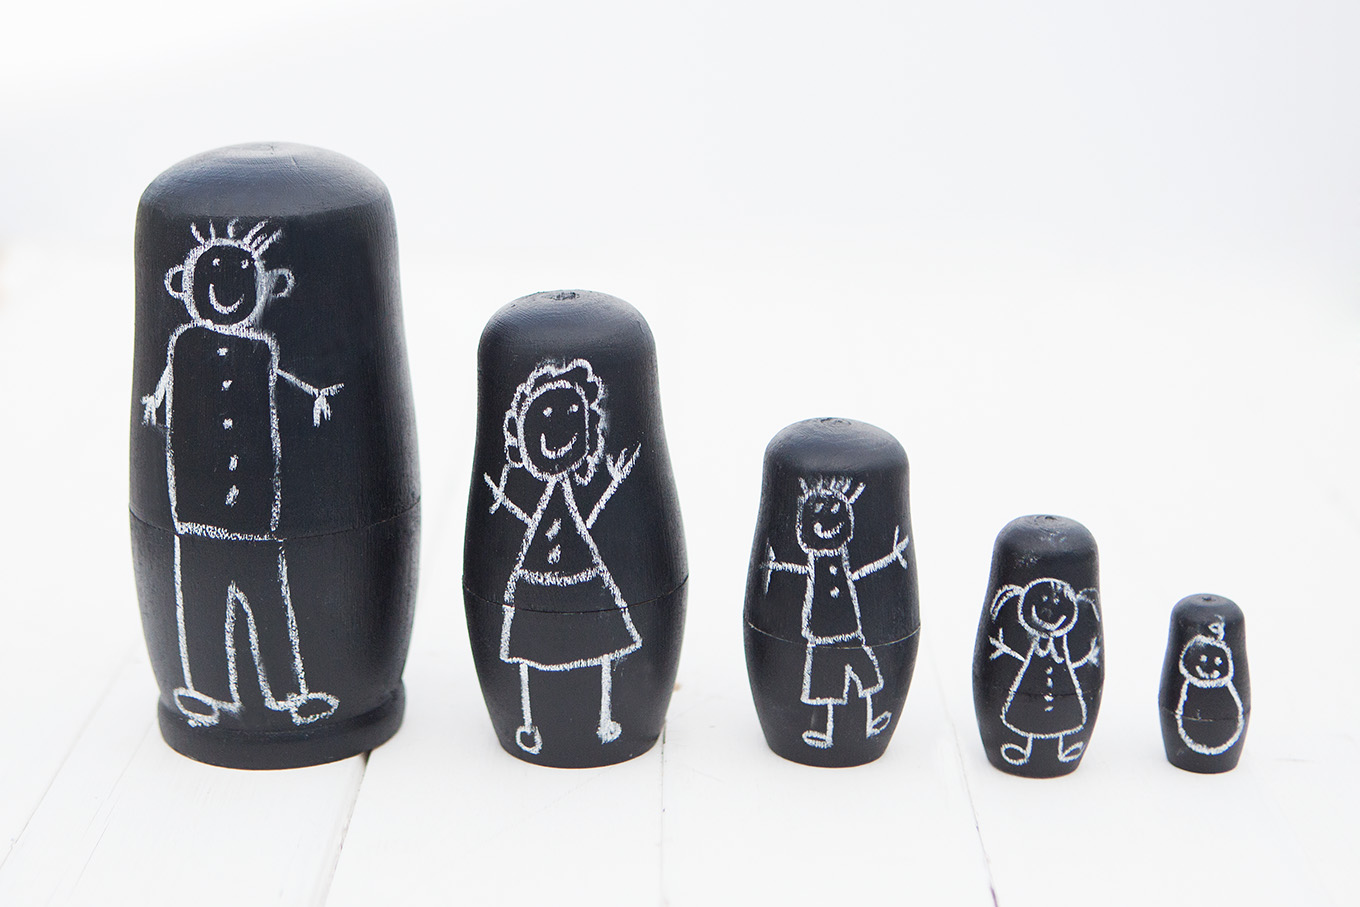
Make Your Own Chalkboard Matryoshka Nesting Dolls
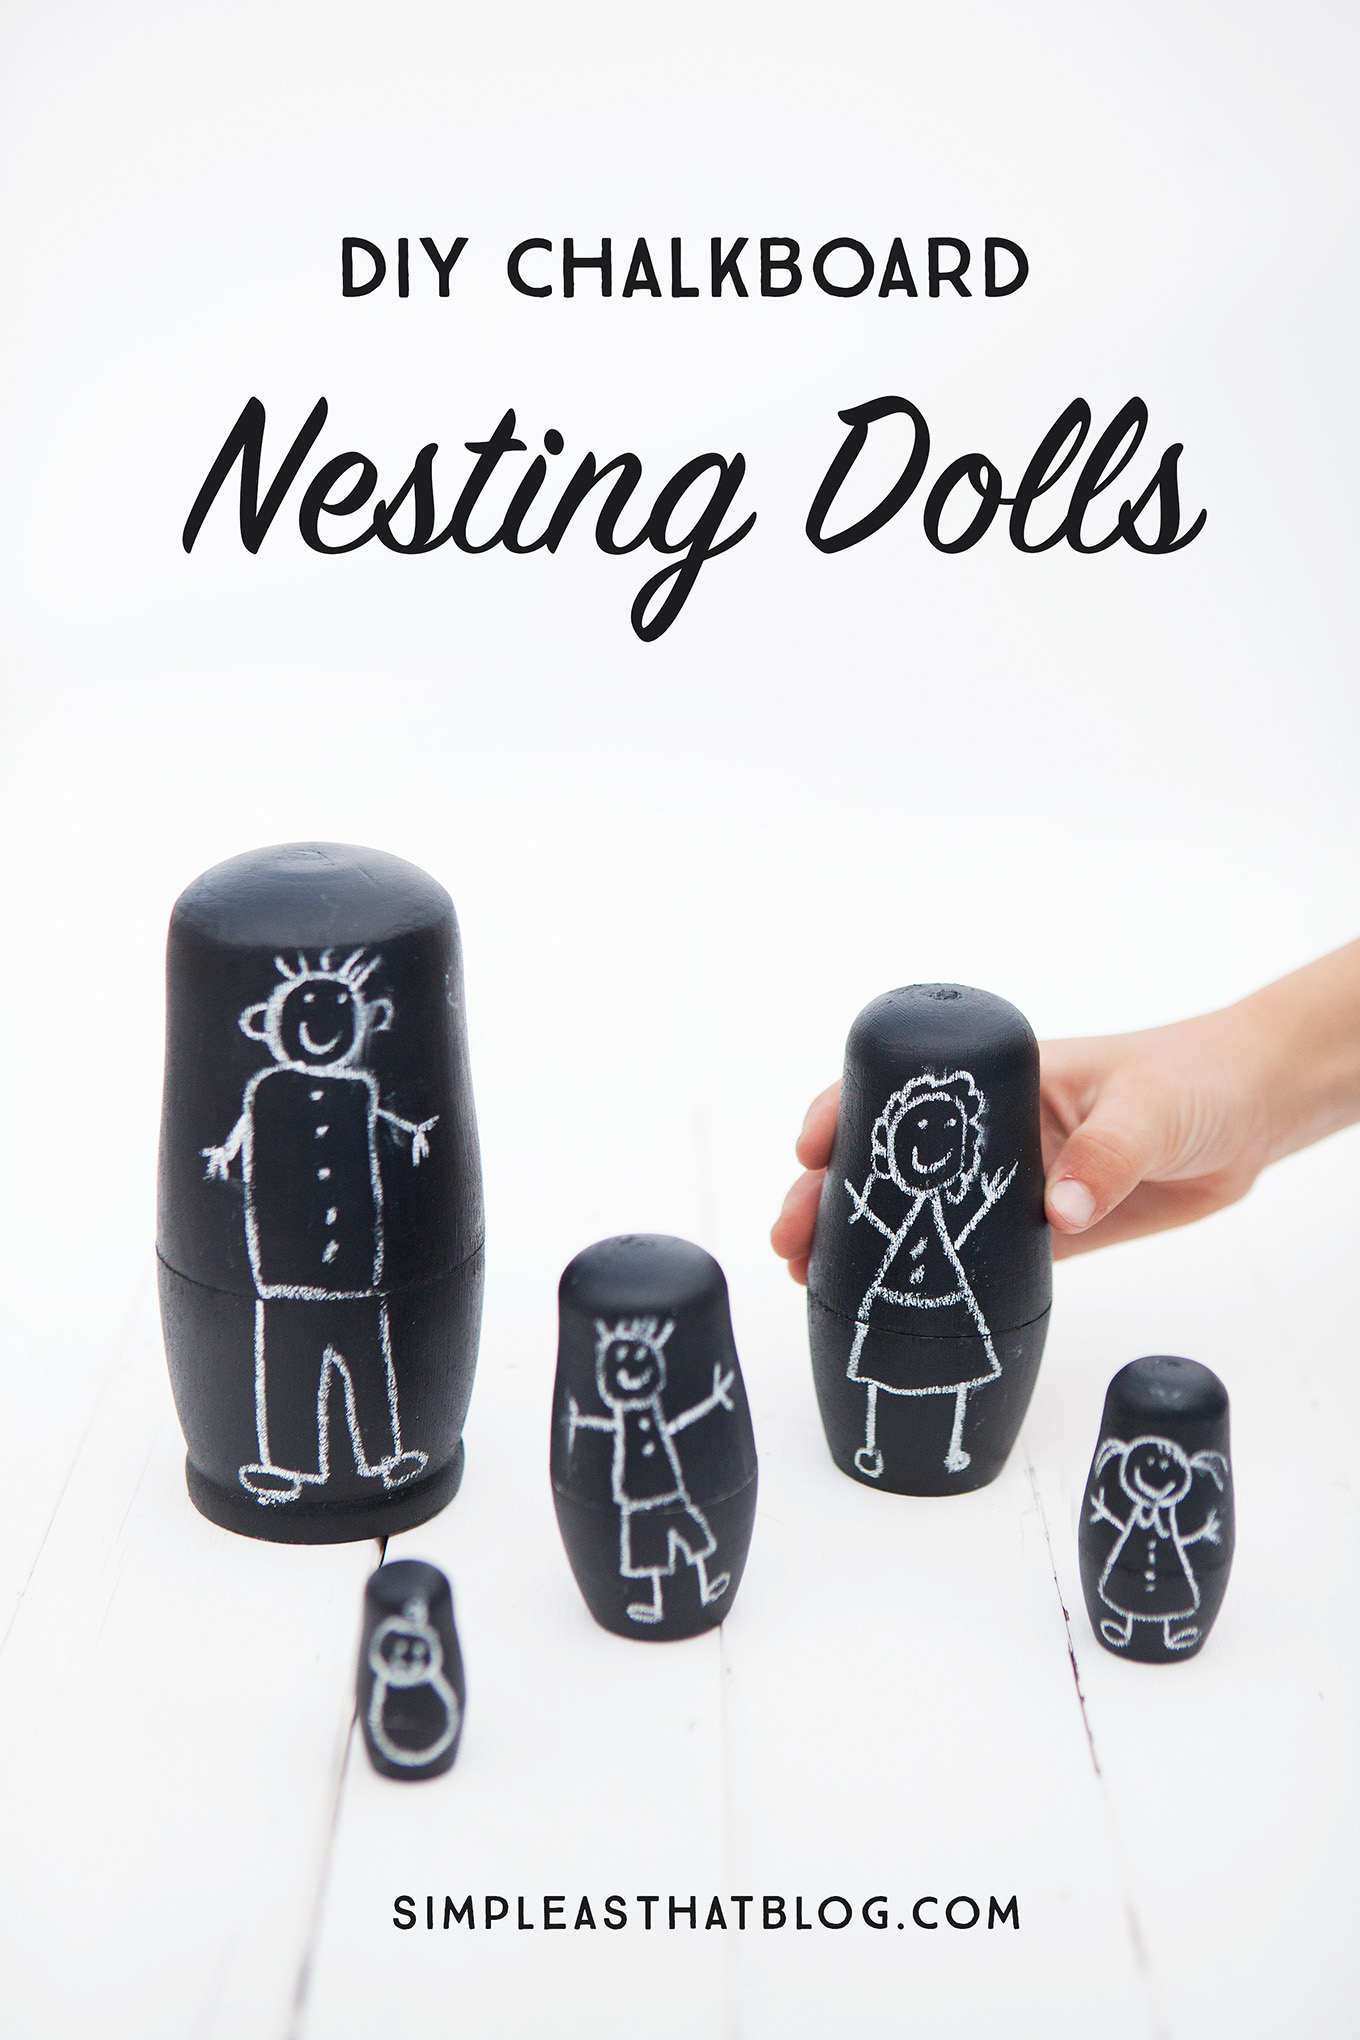
Last week we did a super fun and super simple craft project together. We made our own set of nesting dolls using chalkboard paint and they turned out so cute!
These easy to make dolls allow kiddos to create customized set of nesting dolls. Wipe clean and start again and repeat over and over again.
They really are so simple to make. Find the complete supply list below as well as step by step instruction and a short how-to video.
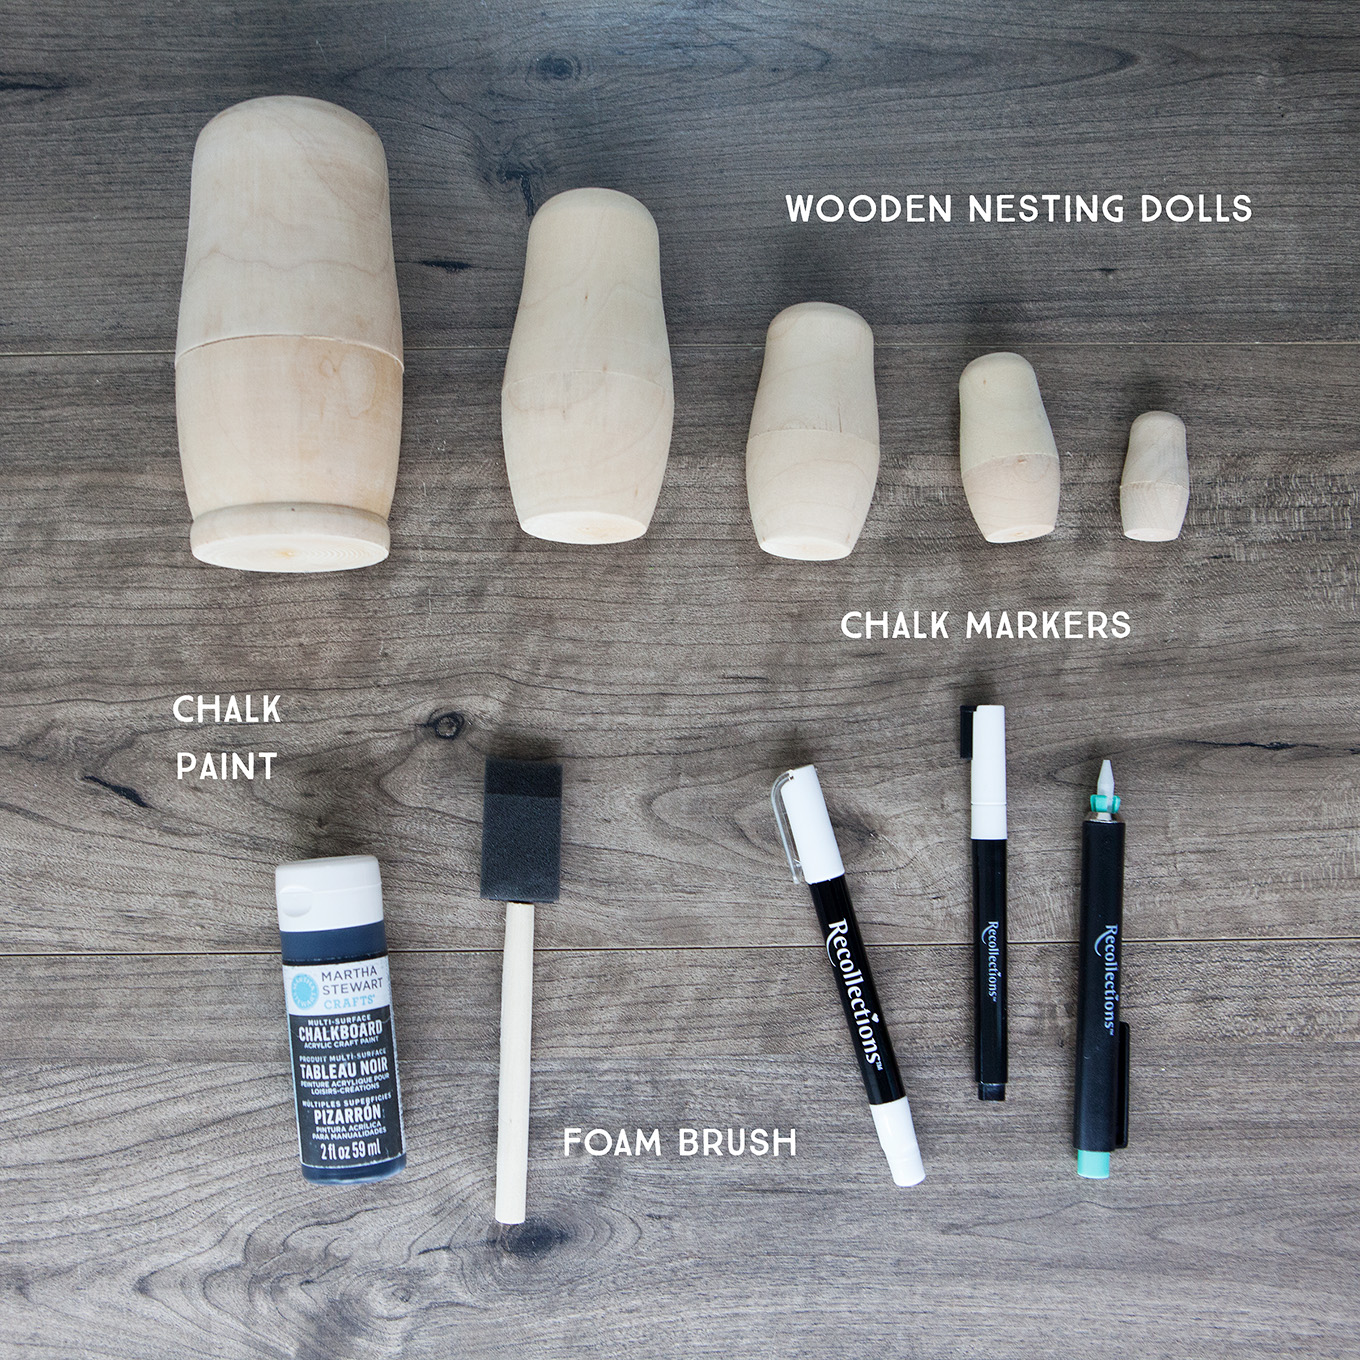
Supplies
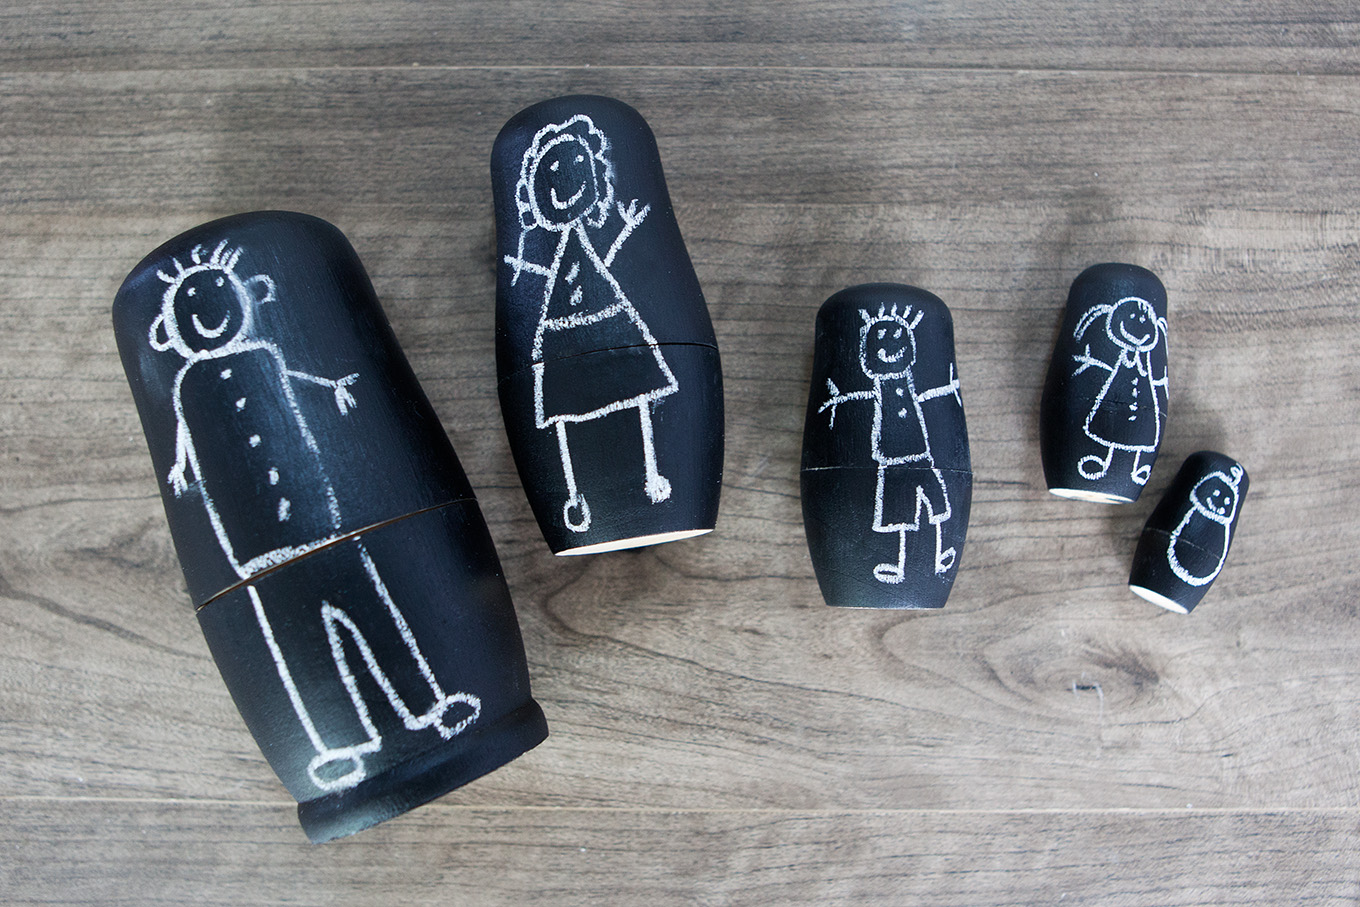
Instructions
First, open all of your nesting dolls and separate the parts of each doll.
Next, squirt a little bit of chalkboard paint onto a paper plate and begin painting with a foam brush.
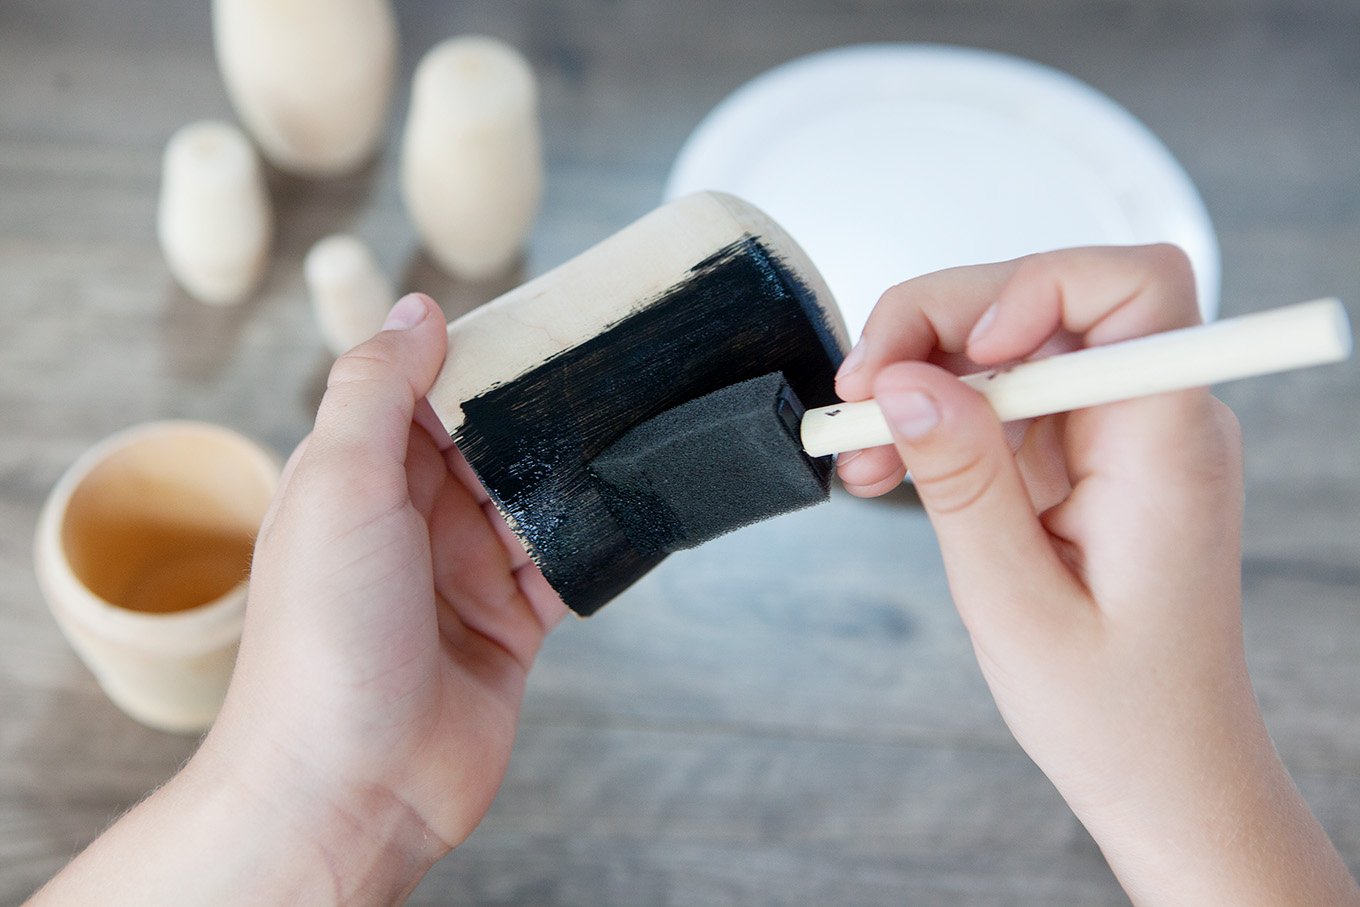
Make sure you don’t get any paint on the inside seals of each doll. This would make it difficult to open and close the dolls. You could tape things off with painters tape or if you accidentally get paint on the seals simply sand it off when dry.
You will need to apply more than one coat of chalkboard paint to fully cover each doll. We did three coats of paint on each one. This Martha Stewart paint was very forgiving and went on so smoothly.
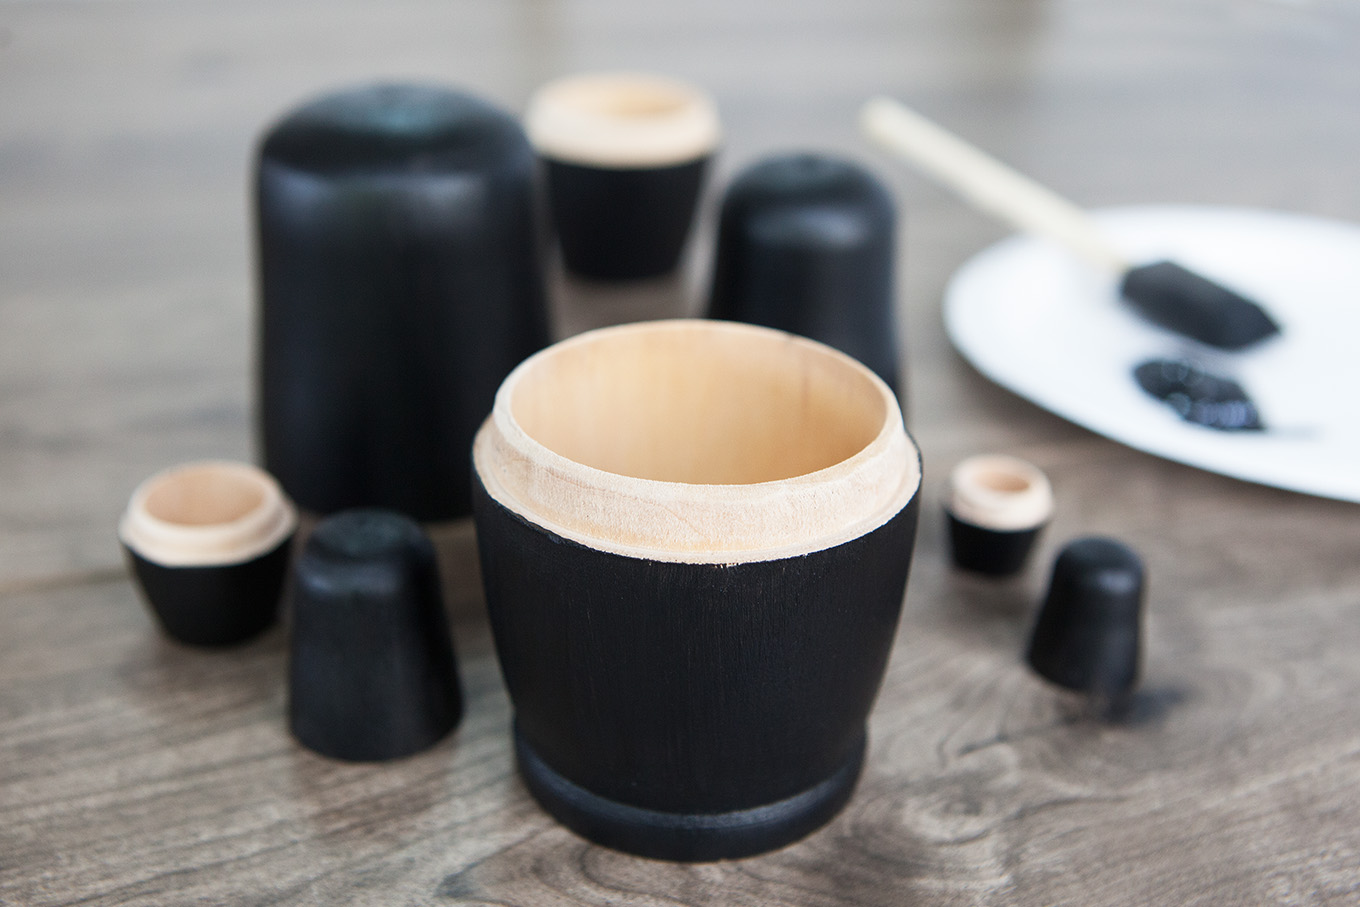
Allow the paint to dry completely.
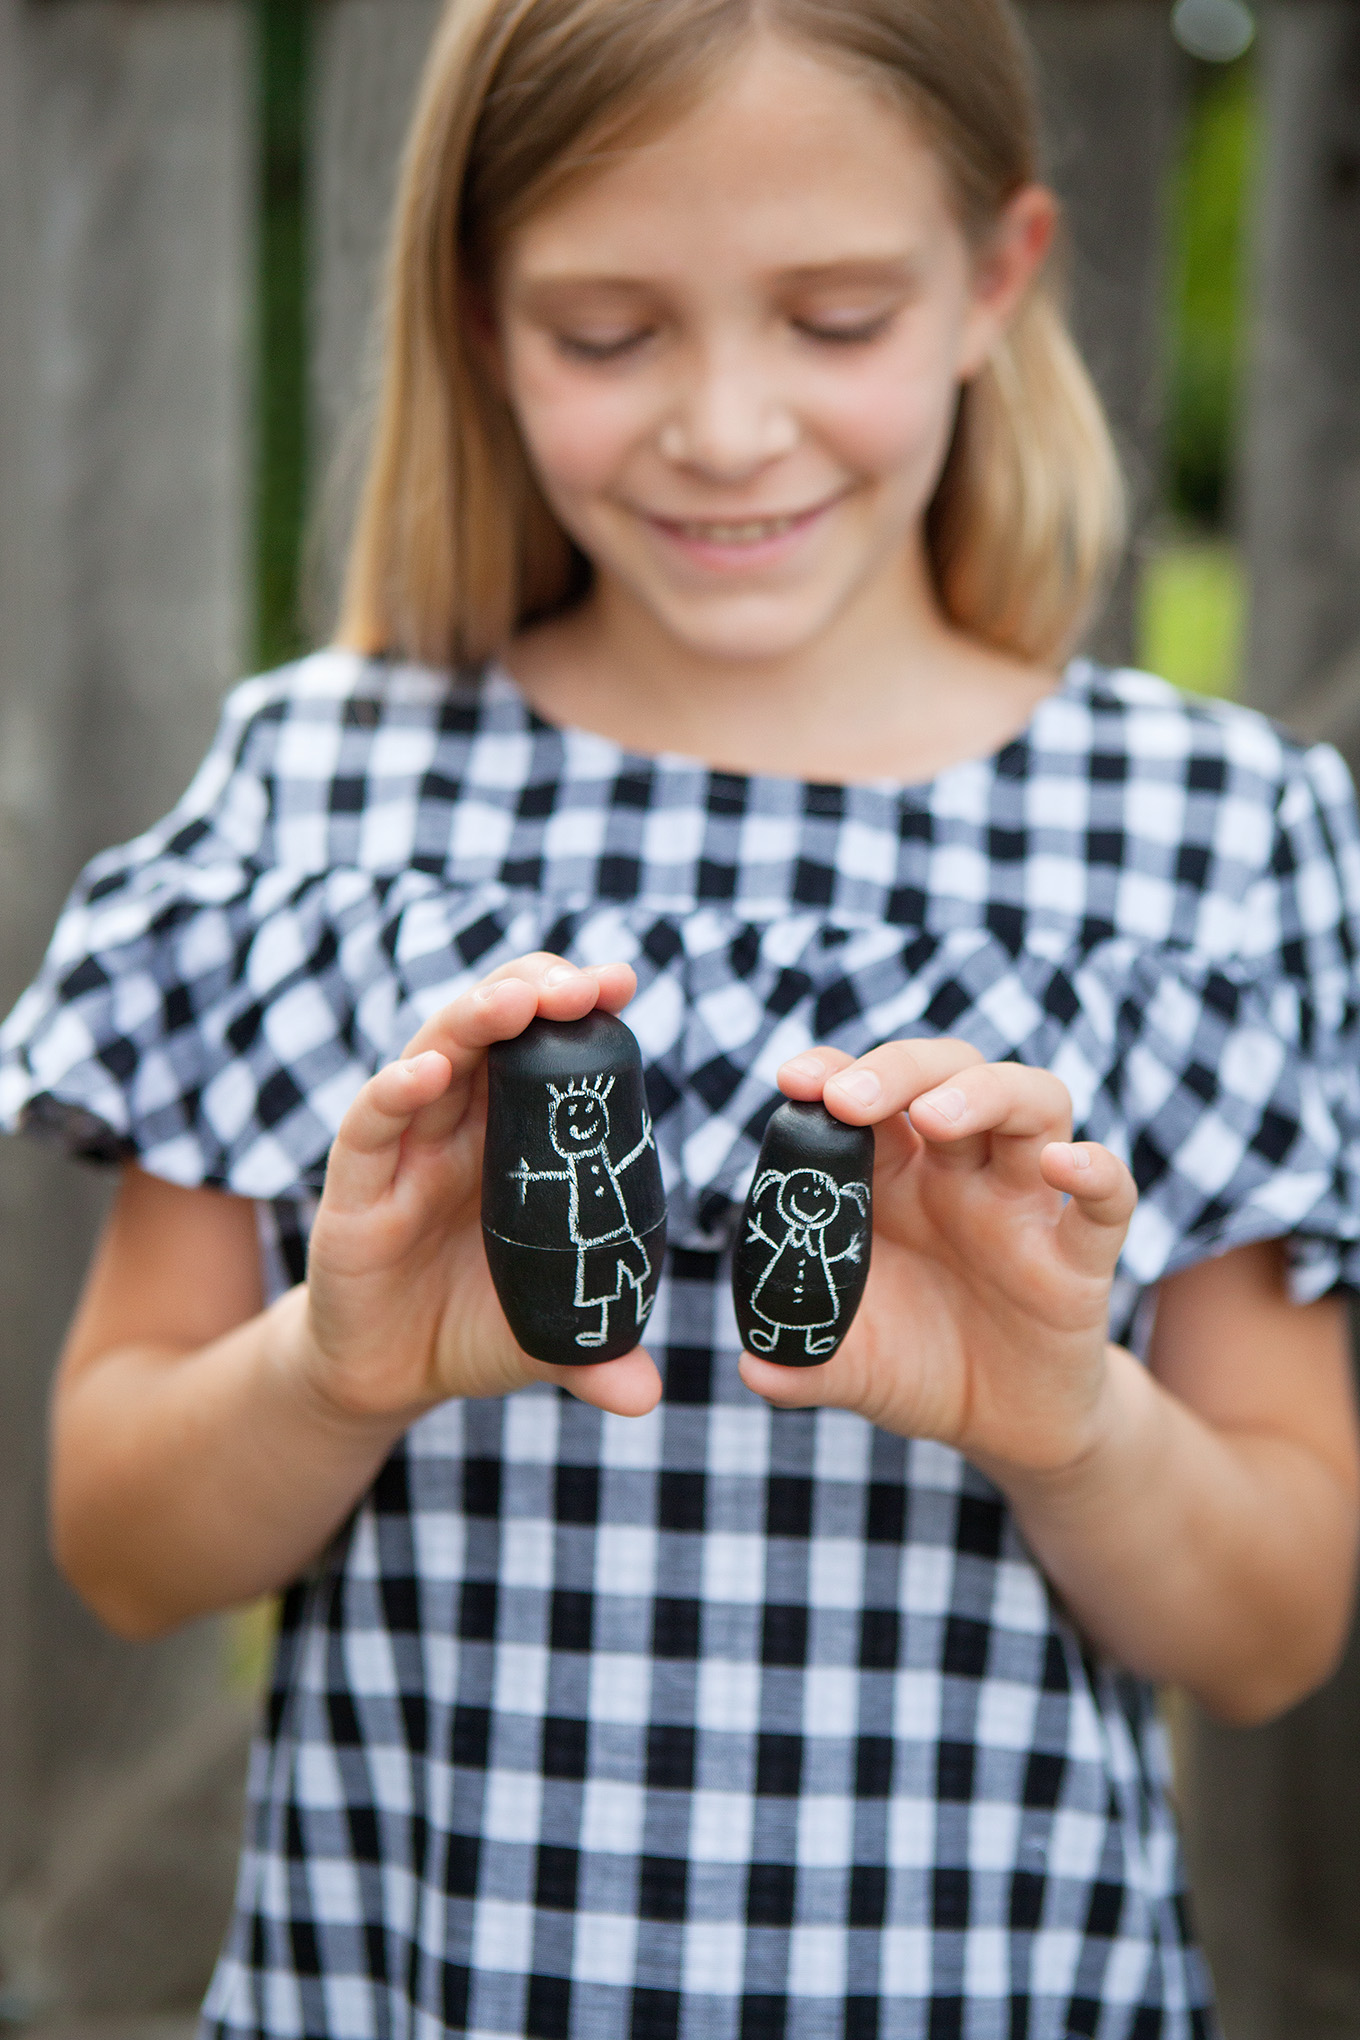
Customize each doll with chalk or chalkboard markers. Wipe off the chalk with a damp cloth or baby wipe and kids can customize their dolls over and over again for hours of creative play!
If you liked this post you might also enjoy…
- 25 Simple Screen-free Ideas for Kids
- A List of Traditional Children’s Games
- Printable Nature Scavenger Hunt Cards
- Woodland Critter Paper Cup Crafts


Such an adorable idea! I didn’t even know they made the raw wood Nesting Dolls.
It’d also be really cute to Mod Podge pictures to them too to teach little ones names of family. We’d have to include a picture of our dog on the 5th doll, since we’re a family of 4. 😉
Pinning this idea for later. Thanks.
I LOVE that idea Heather. 🙂