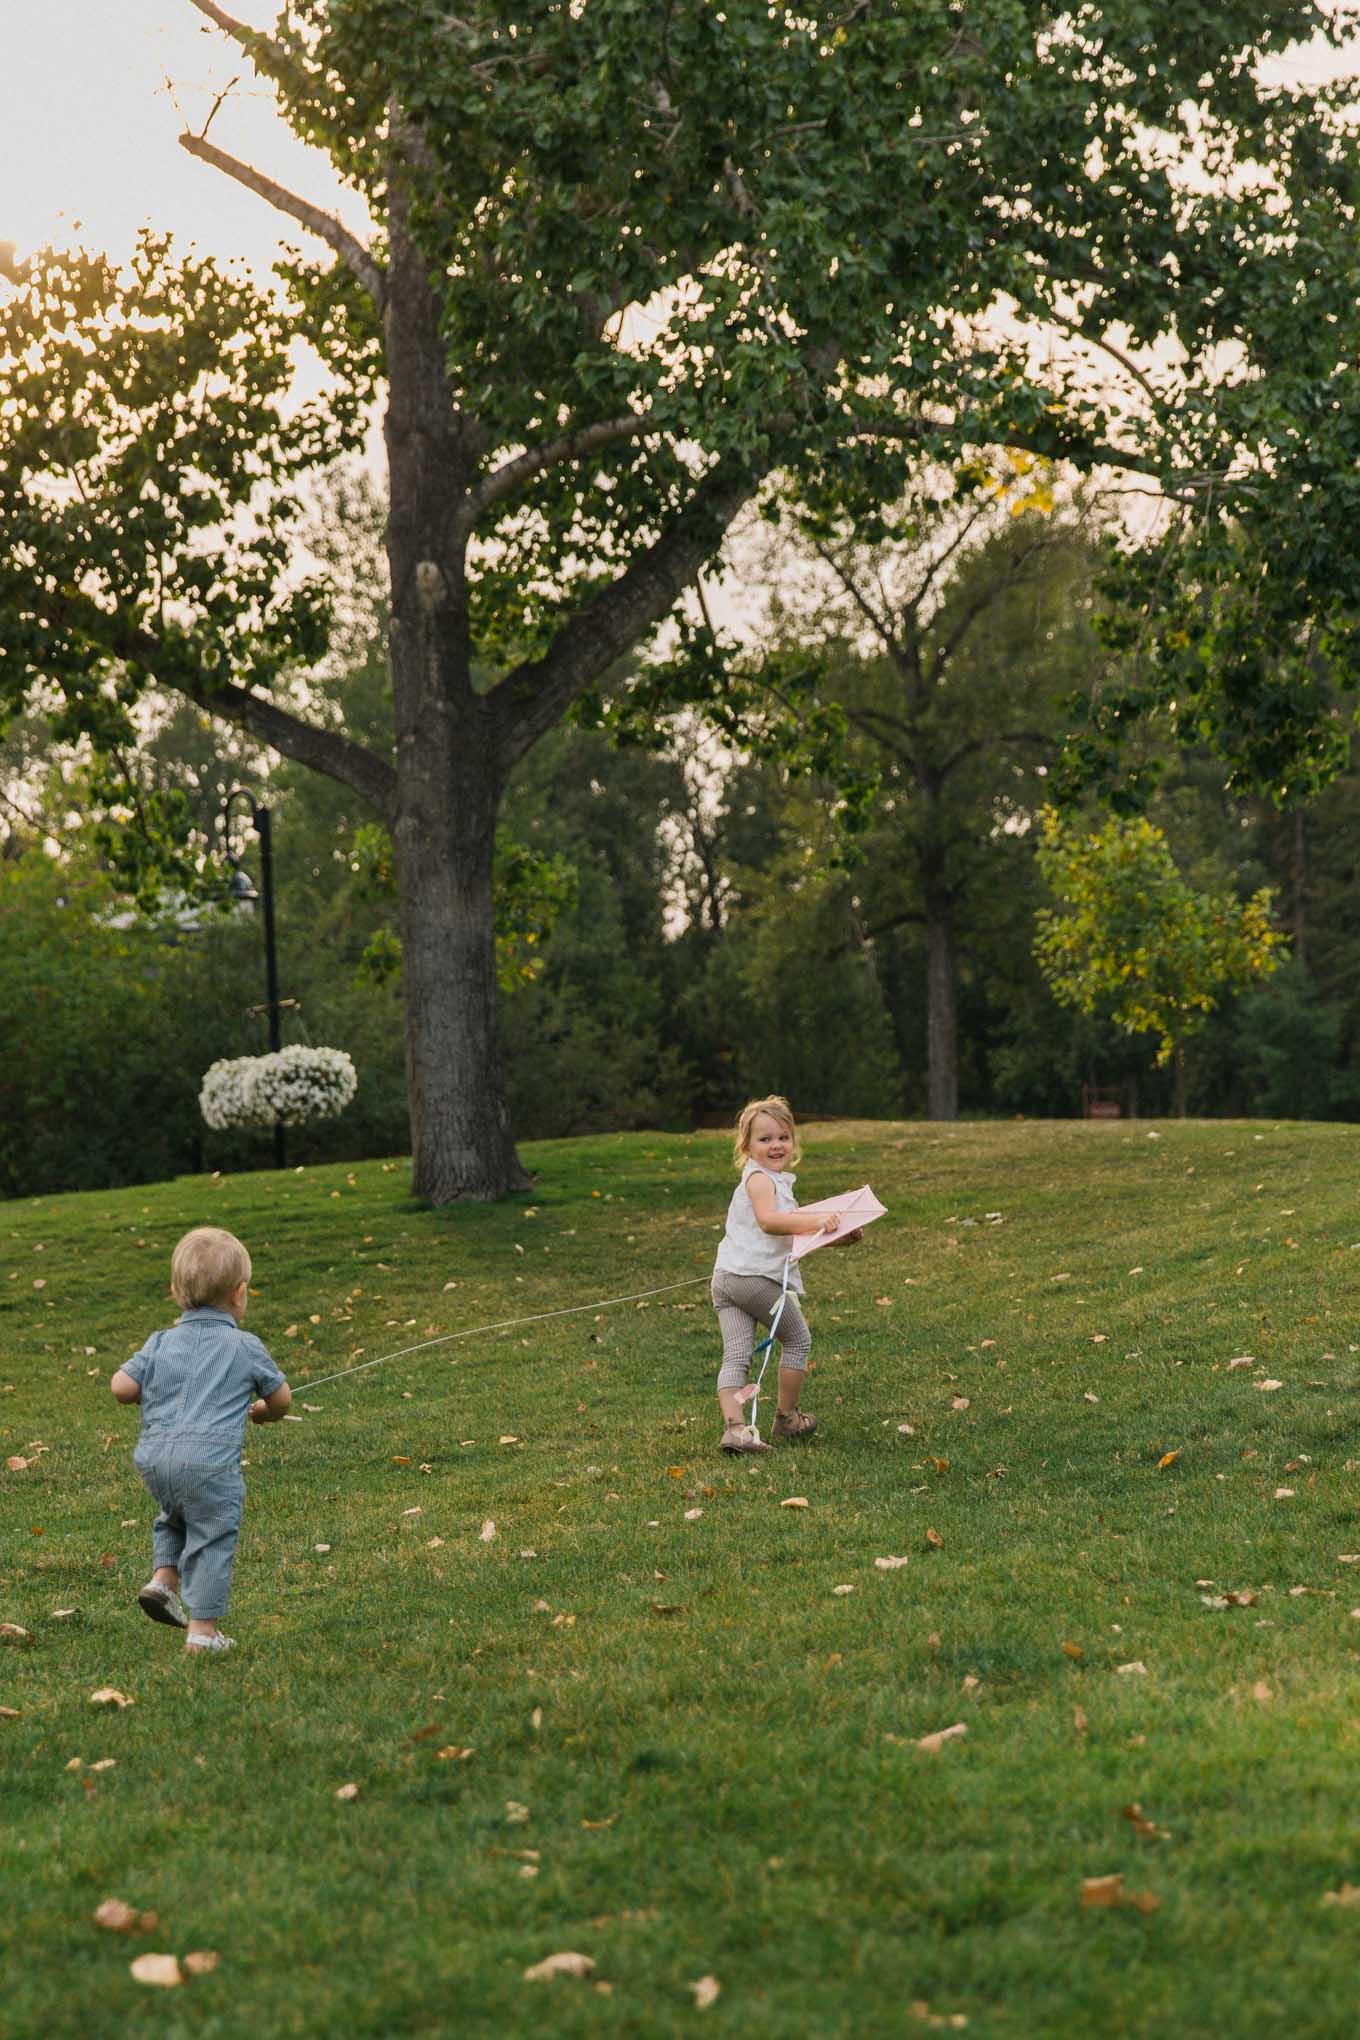
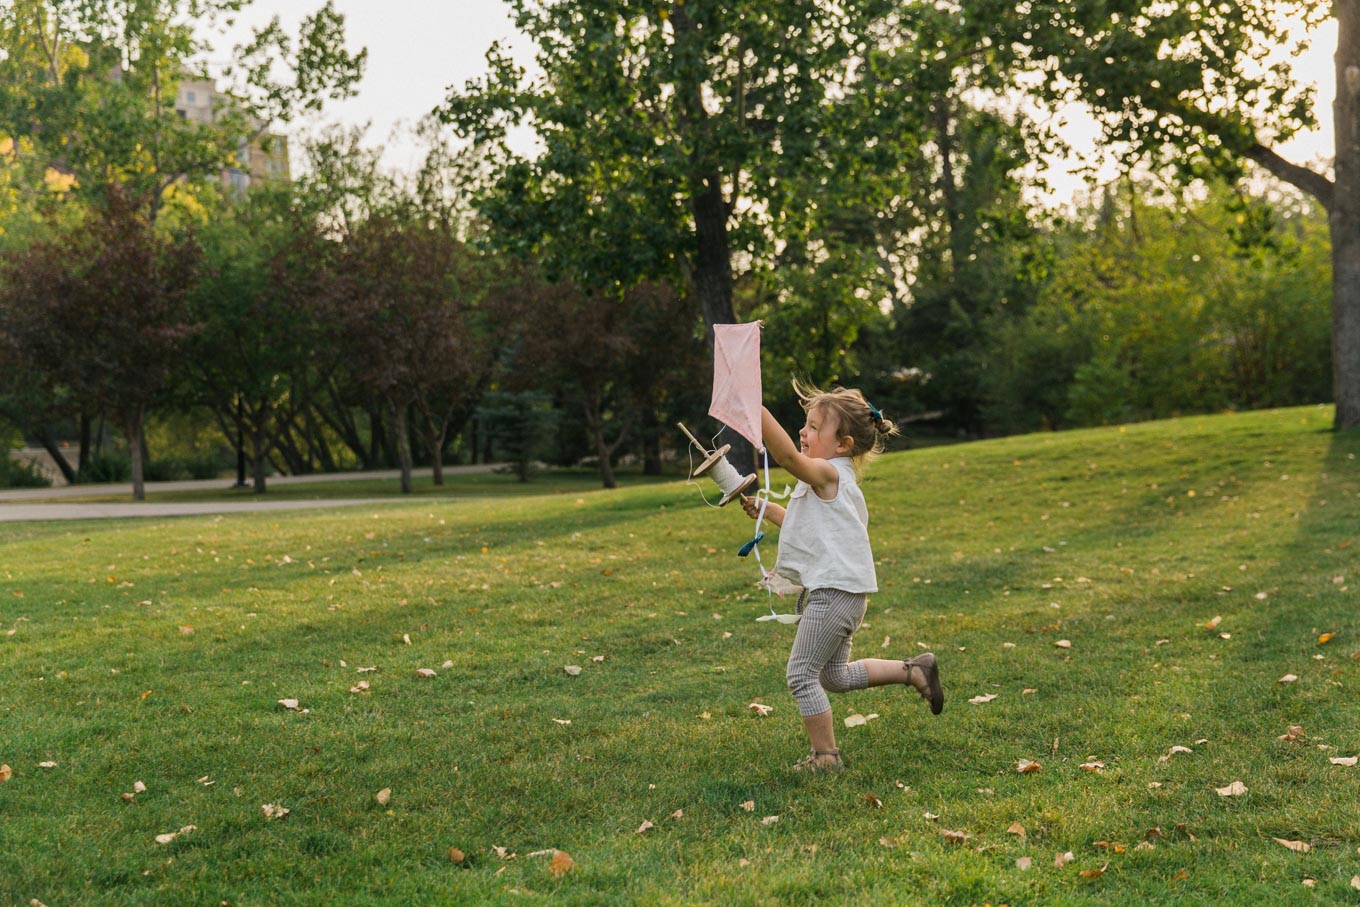
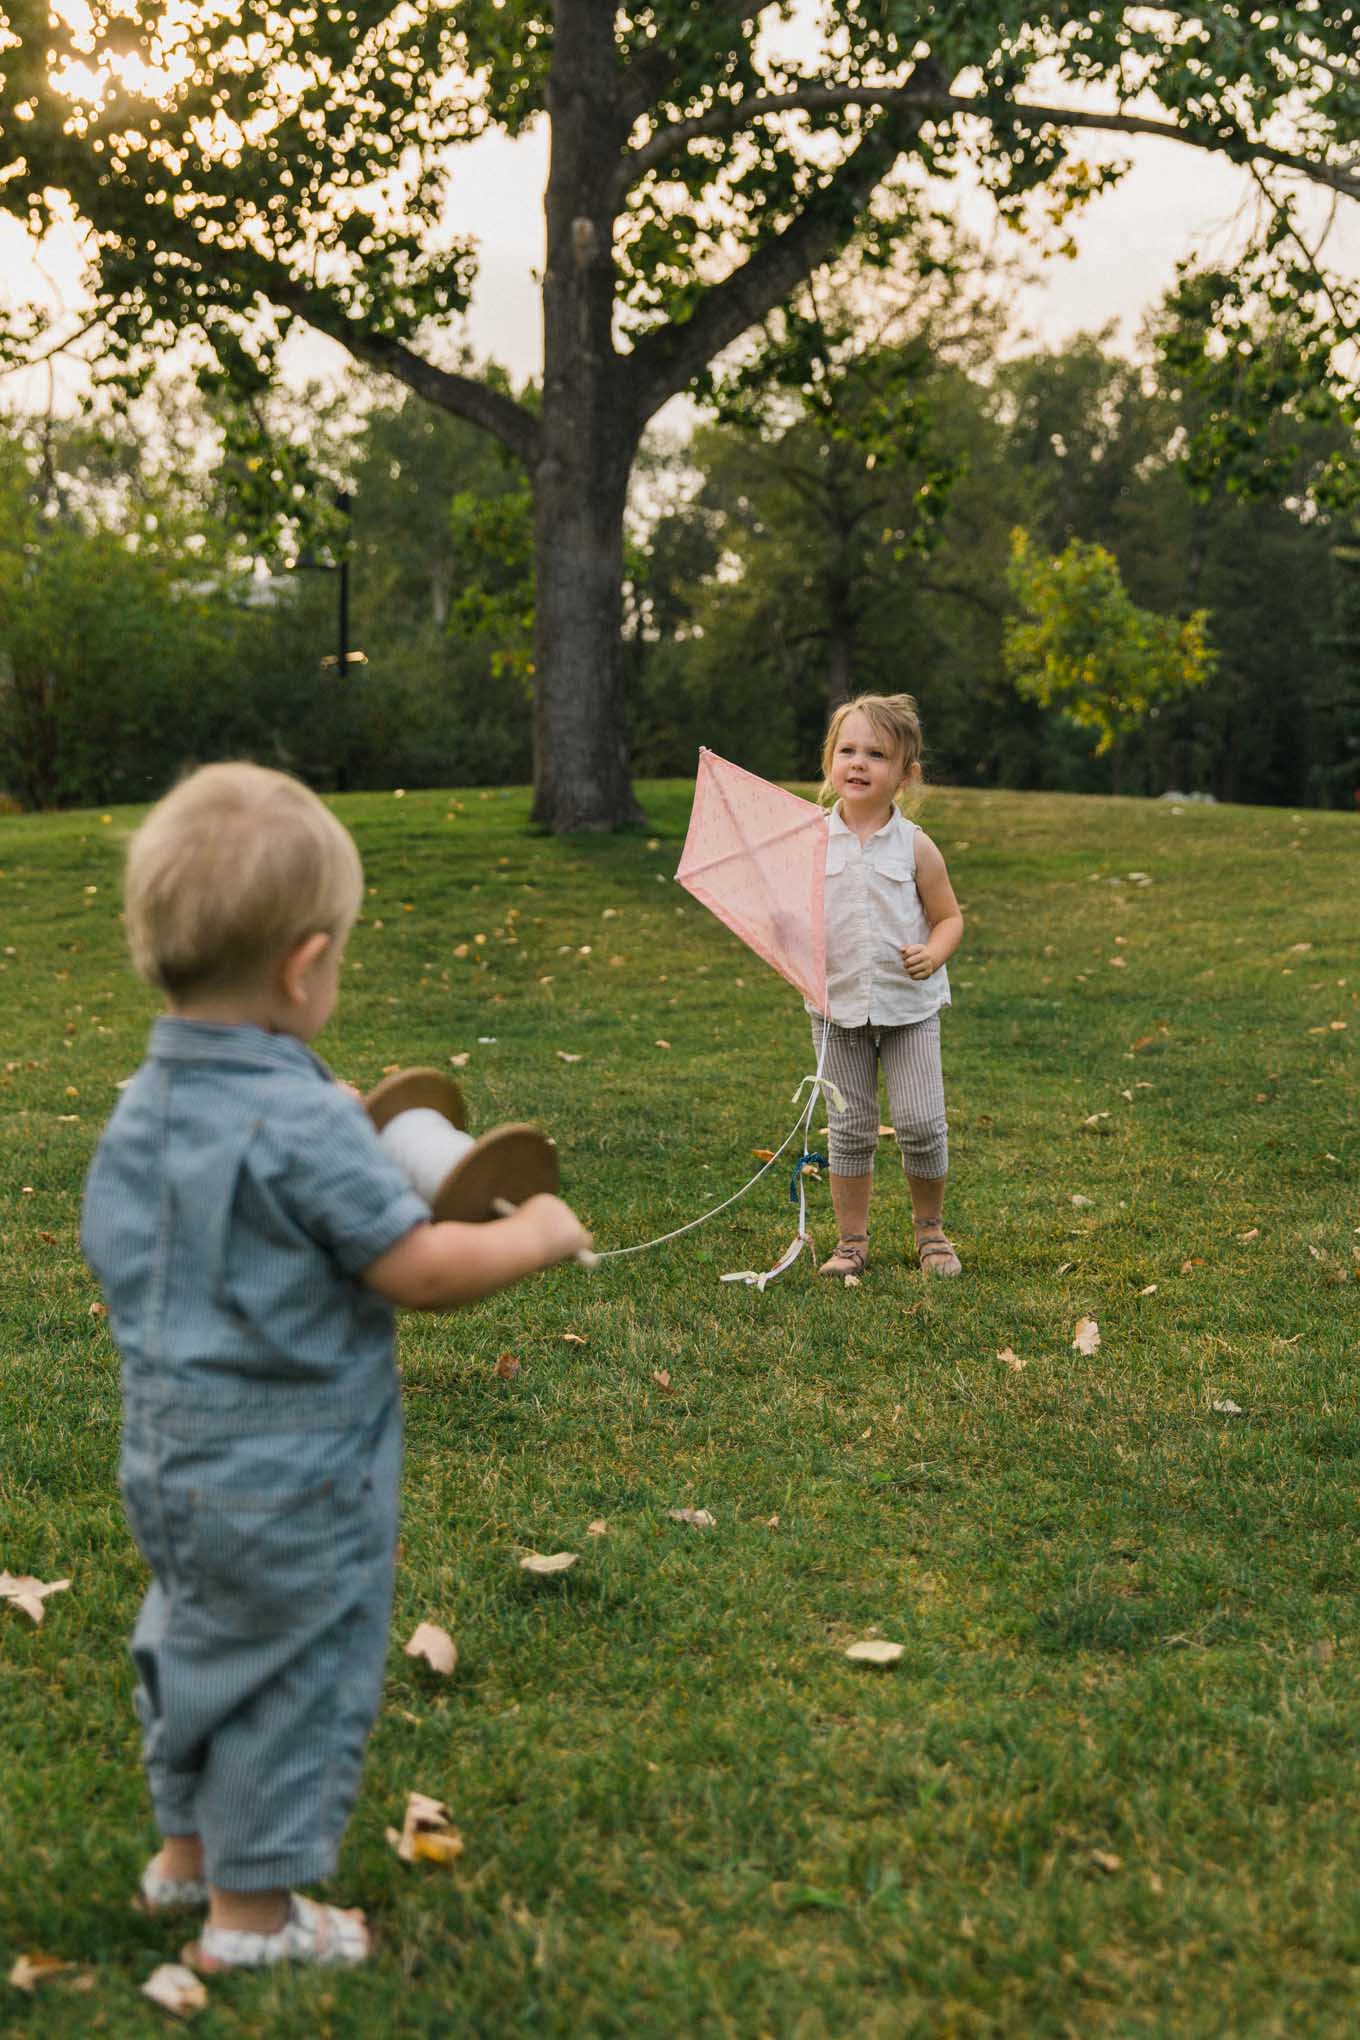
This DIY old fashioned kite is not only a great craft to do with your kids, young and old, it also turns into a memorable activity. If you need an excuse to spend more time with your family, this is a perfect opportunity.
Hello there, it’s Jennie again, this time with a tutorial to make a DIY Old Fashioned Kite. My daughter is currently on a Mary Poppins kick, and hearing her 3 year old voice singing “Let’s Go Fly a Kite,” provided me with some inspiration for some good, old fashioned, family fun.
I actually designed this old fashioned kite after the exact kites in the movie, which feels fun and nostalgic for me, and was very exciting for the children. I let my daughter pick out the fabric from my scrap collection, which she loved, and our kite ended up being pink, of course! We made ours on the small side because my kids are still small, but it’s not hard to adjust the measurements to make it larger. The tutorial is below, have fun making this old fashioned, DIY kite all your own.
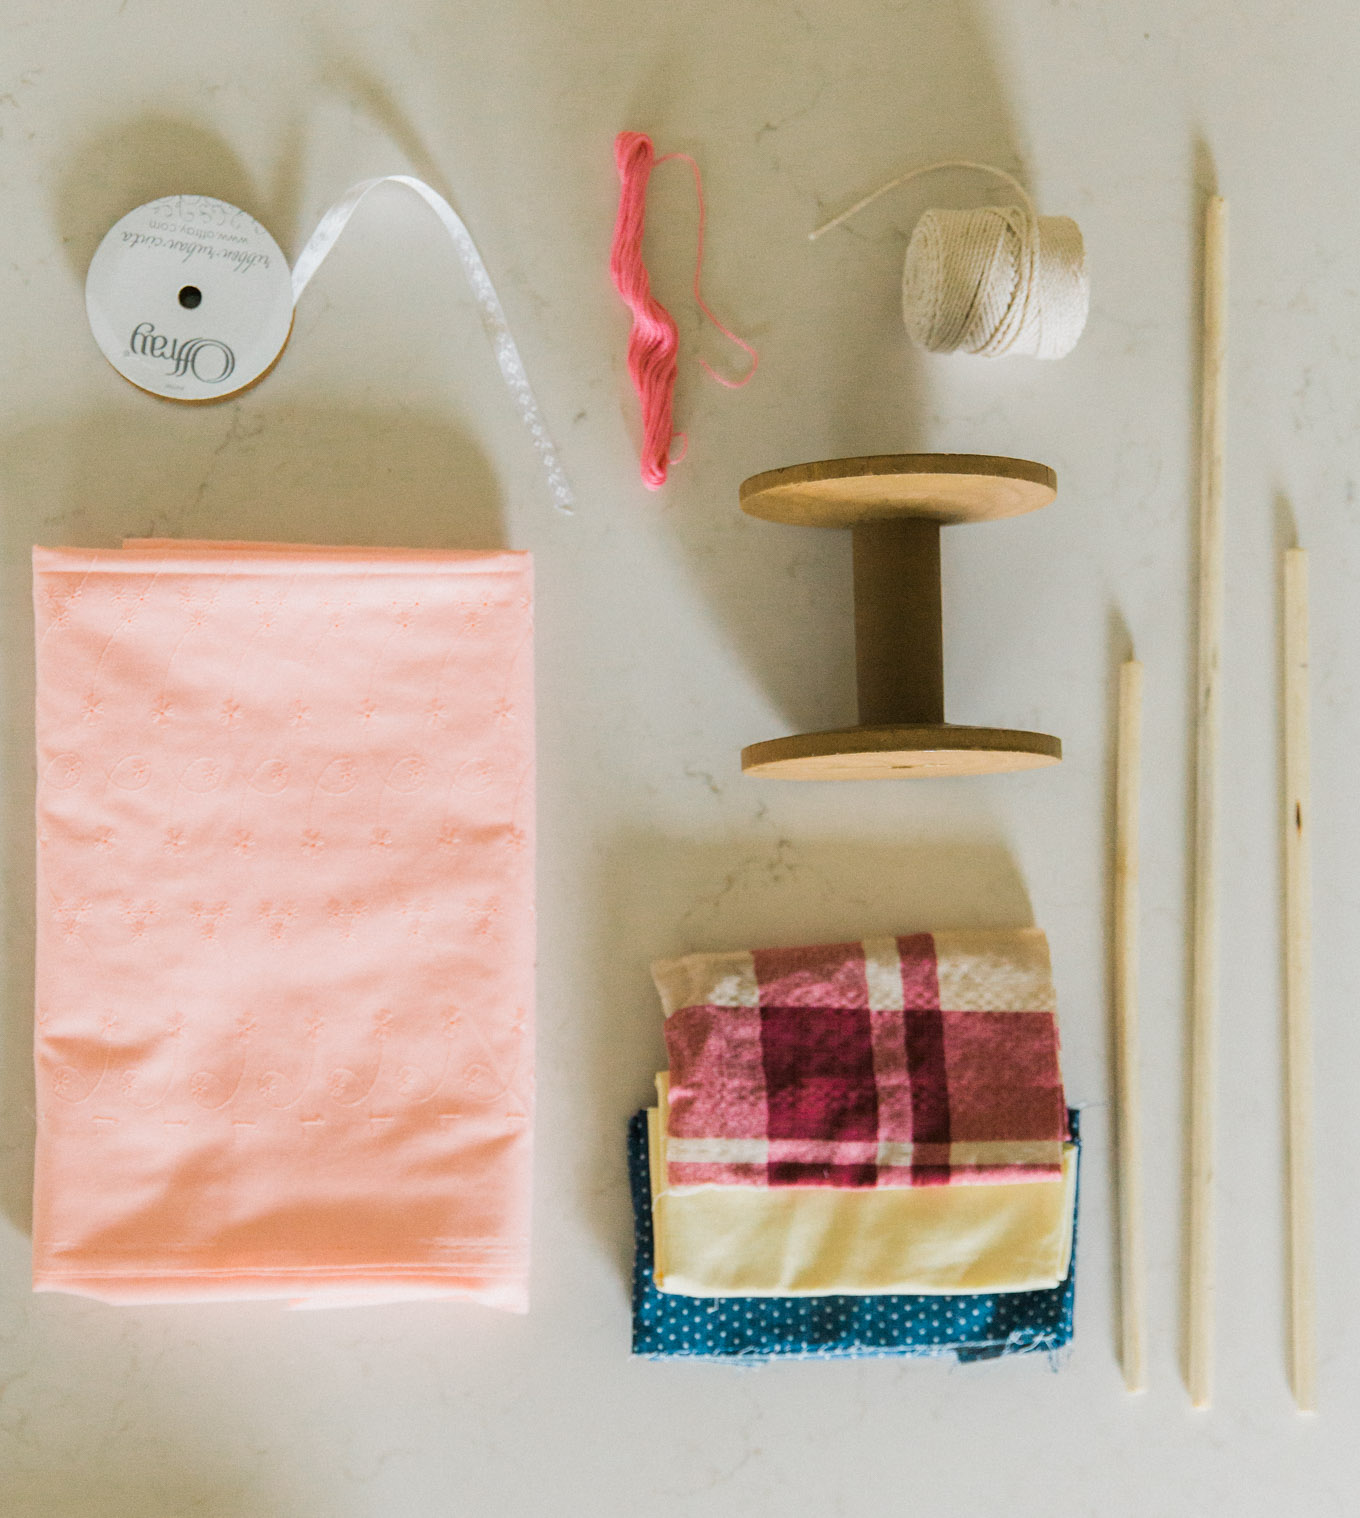
SUPPLIES:
- 3/8″ Dowel, cut in 3 pieces (12″, 20″, and long enough for the handle on your spool)
- School glue
- Embroidery thread
- Fabric (or paper)
- Fabric scraps for bows
- 24″ of ribbon
- Wooden spool (or some other kite spool)
- Lightweight string or fishing line
INSTRUCTIONS:
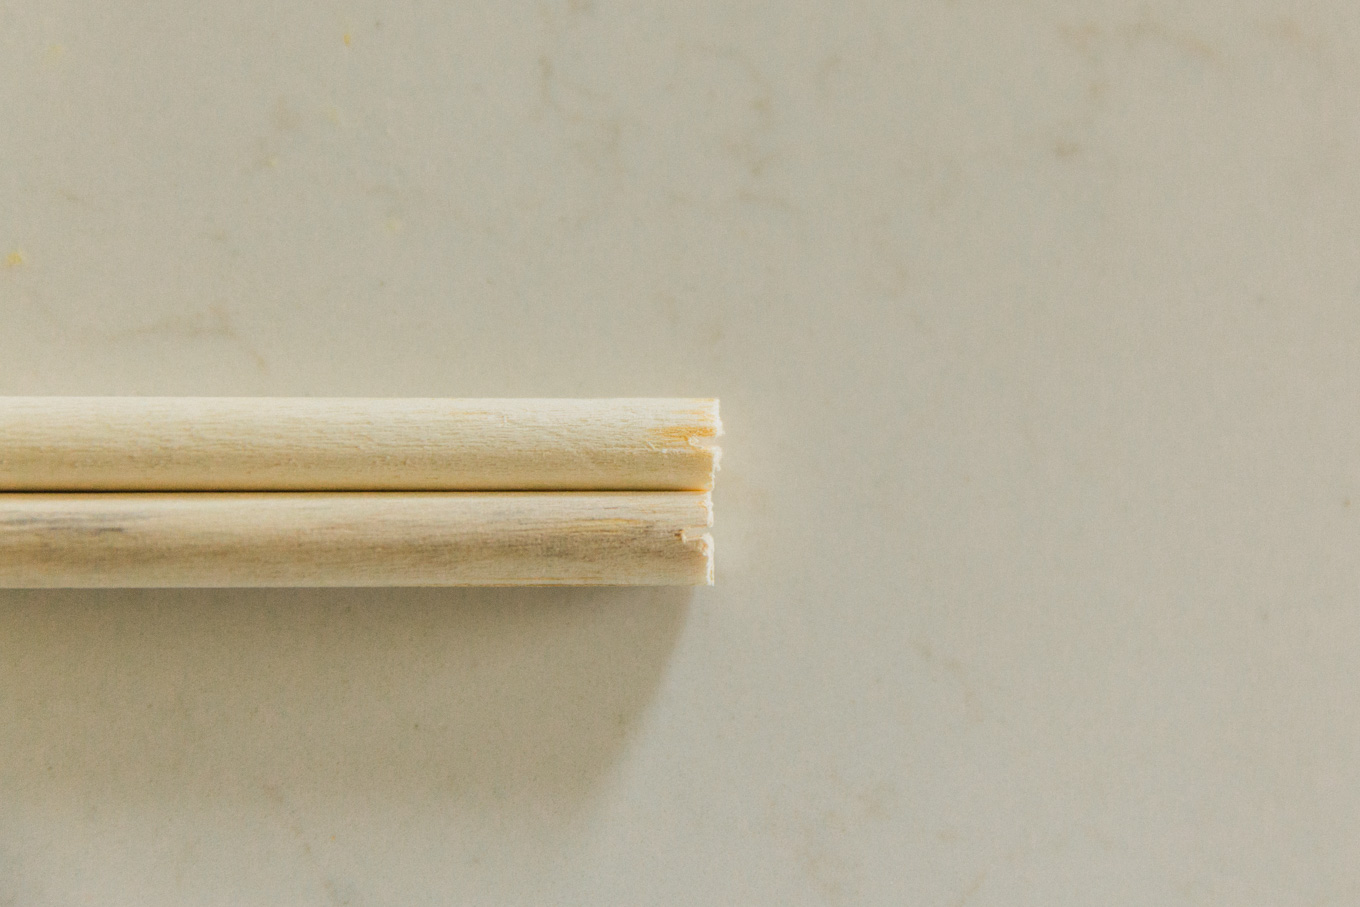
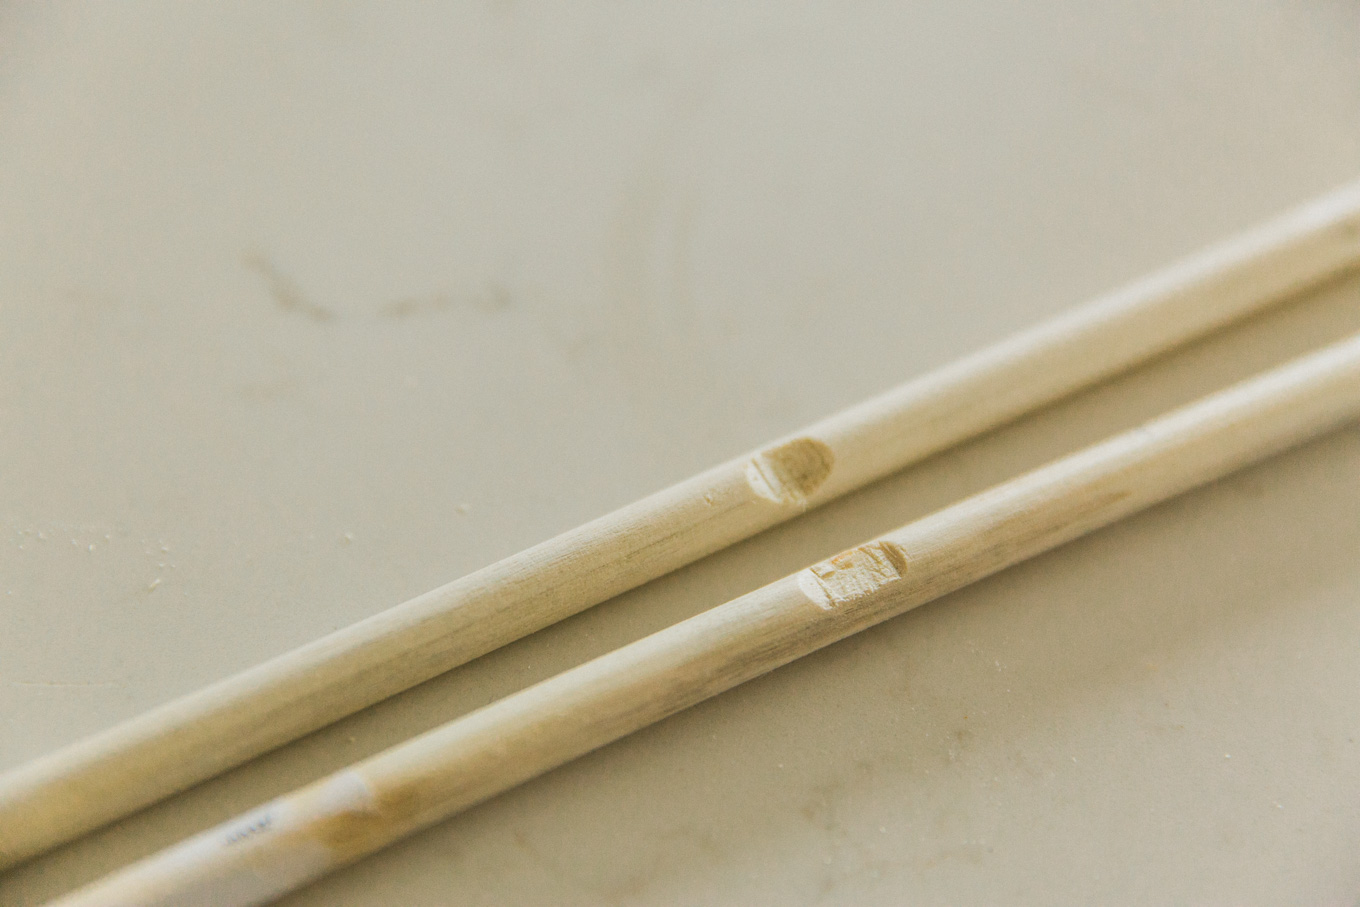
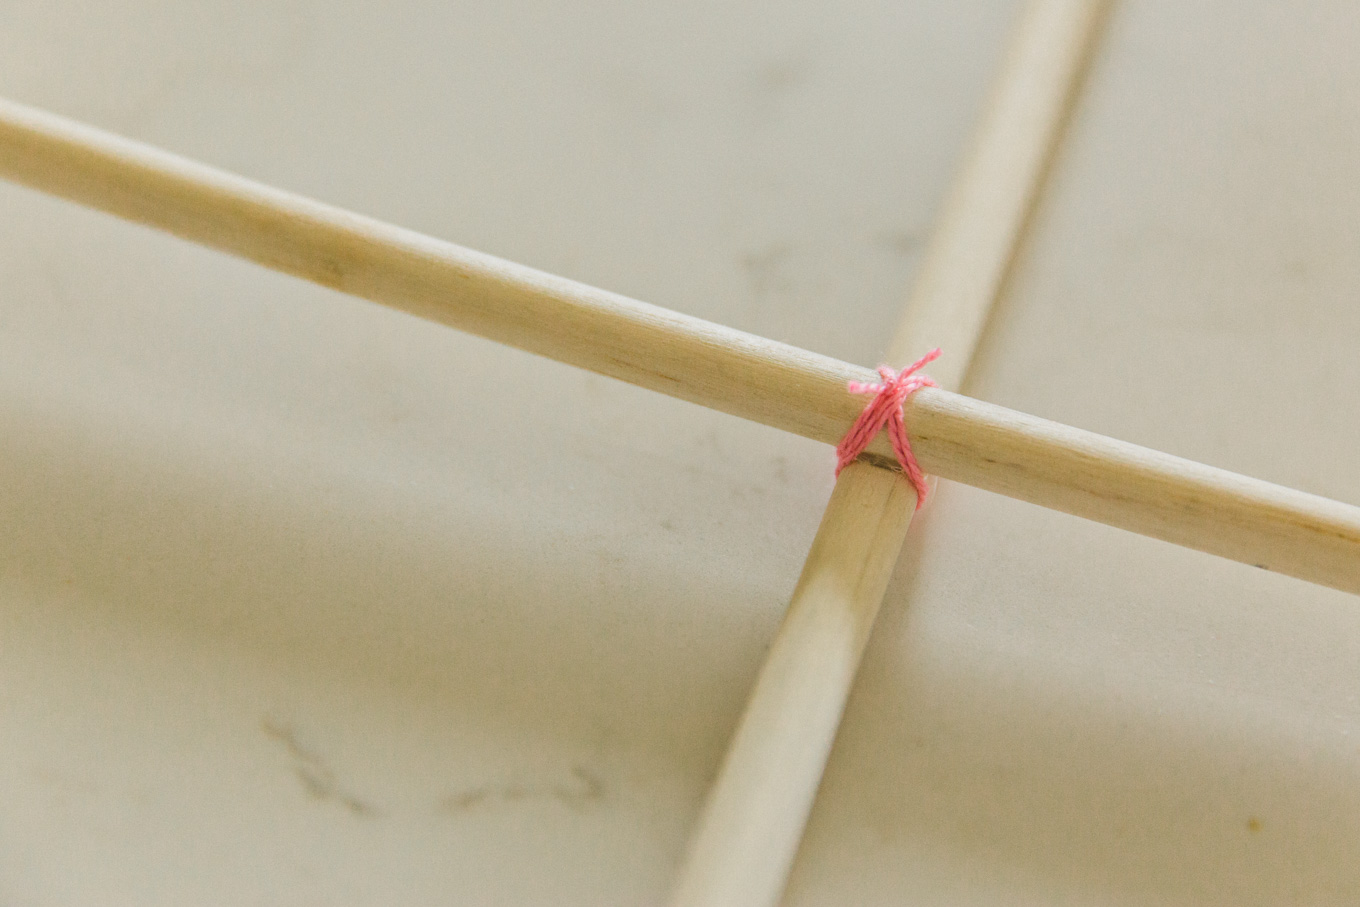
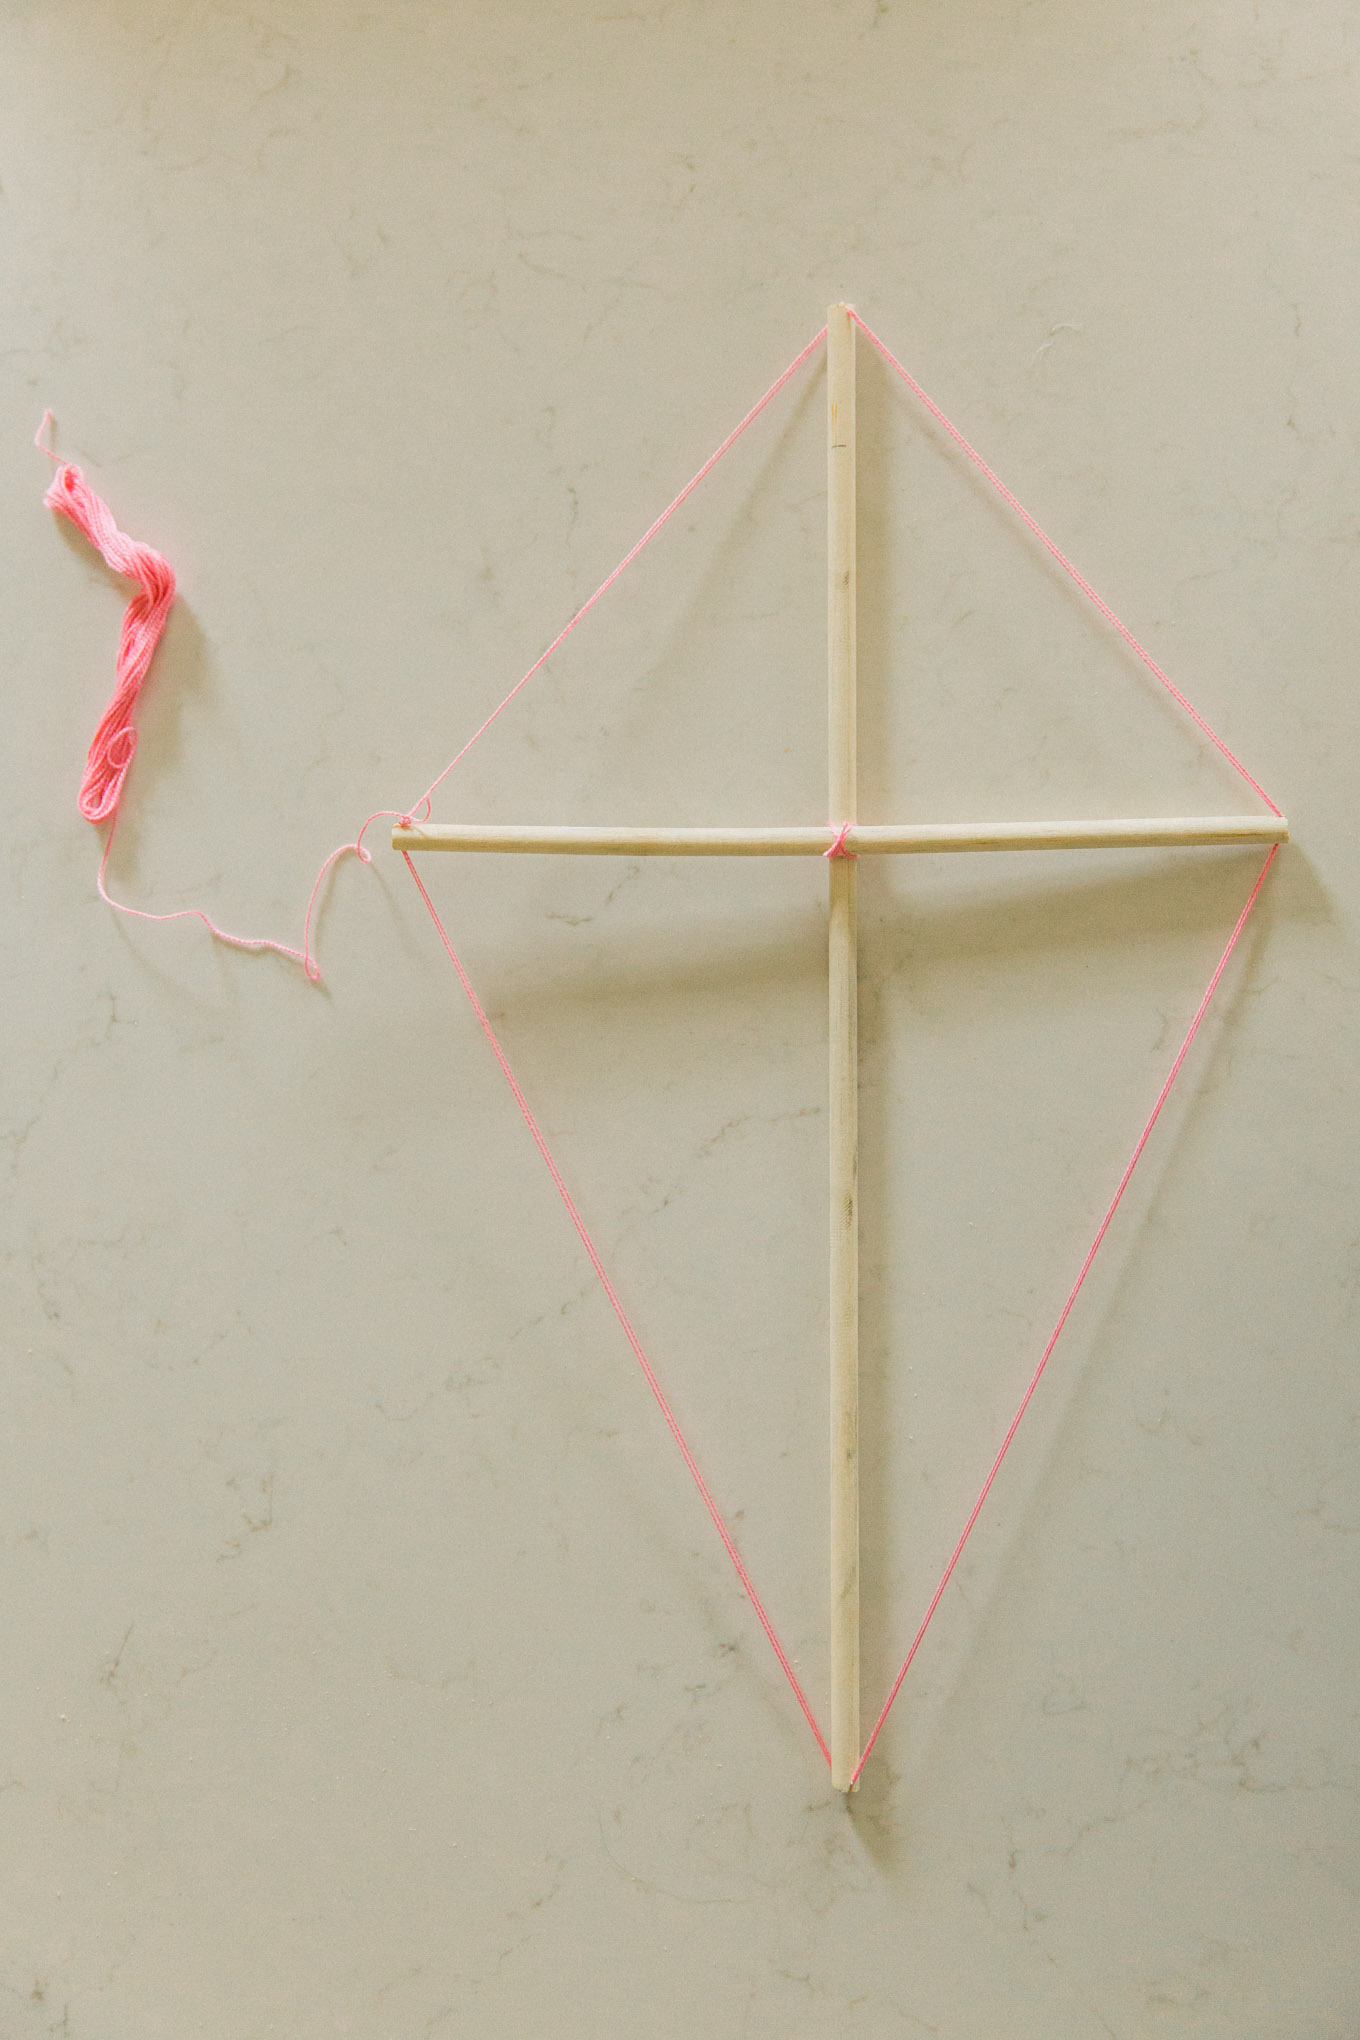
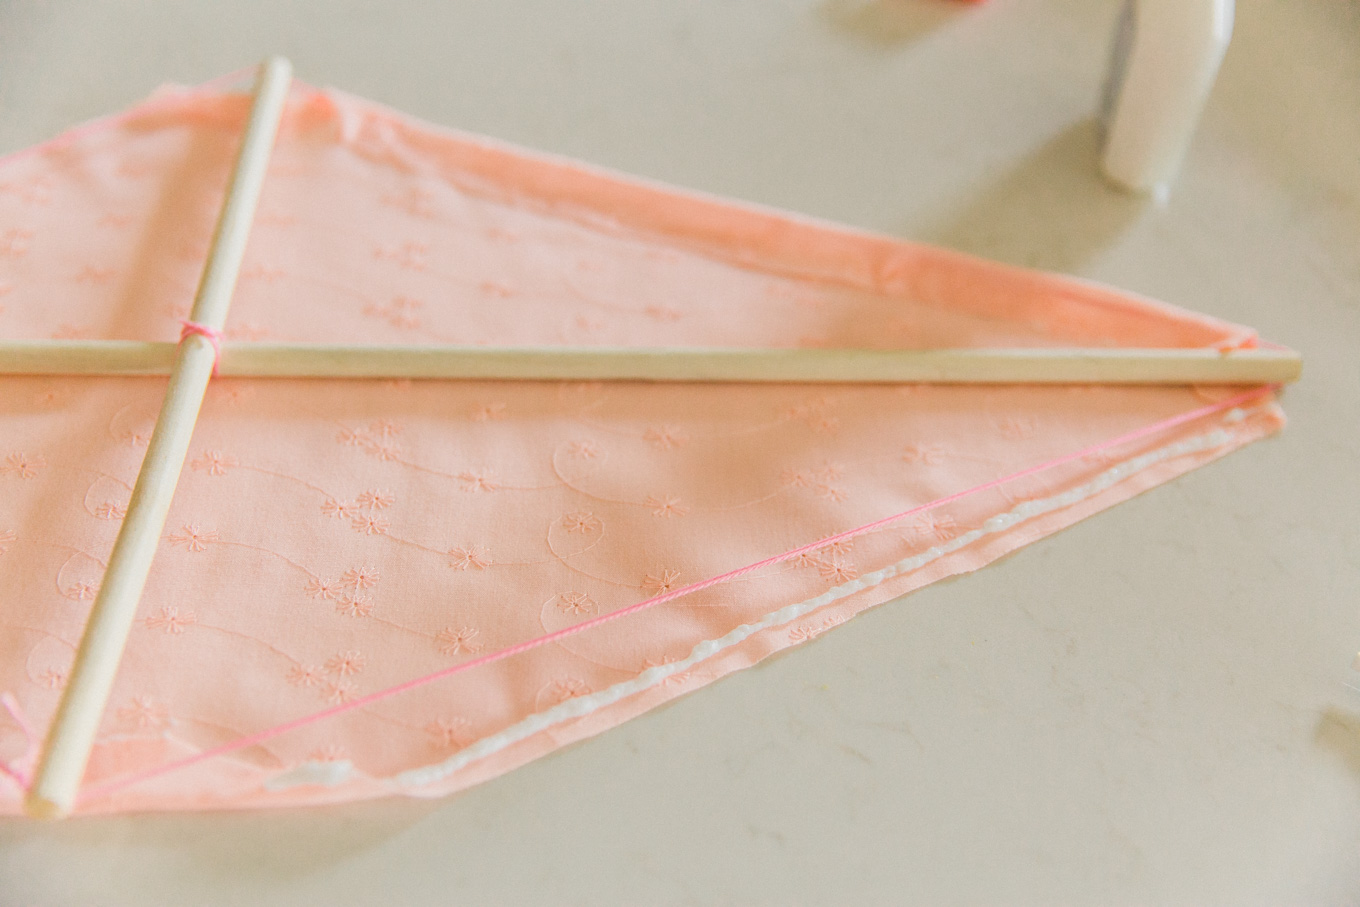
1. Cut small notches in both ends of your 12″ and 20″ pieces of dowel for your embroidery thread to sit in. Cut an indent at the halfway point on the 12″ piece, and one-third of the way on the 20″ piece, for the two pieces to fit together. Glue them together (with hot glue, super glue, etc.), making sure all the angles are right angles. Tie in place with embroidery thread for added security.
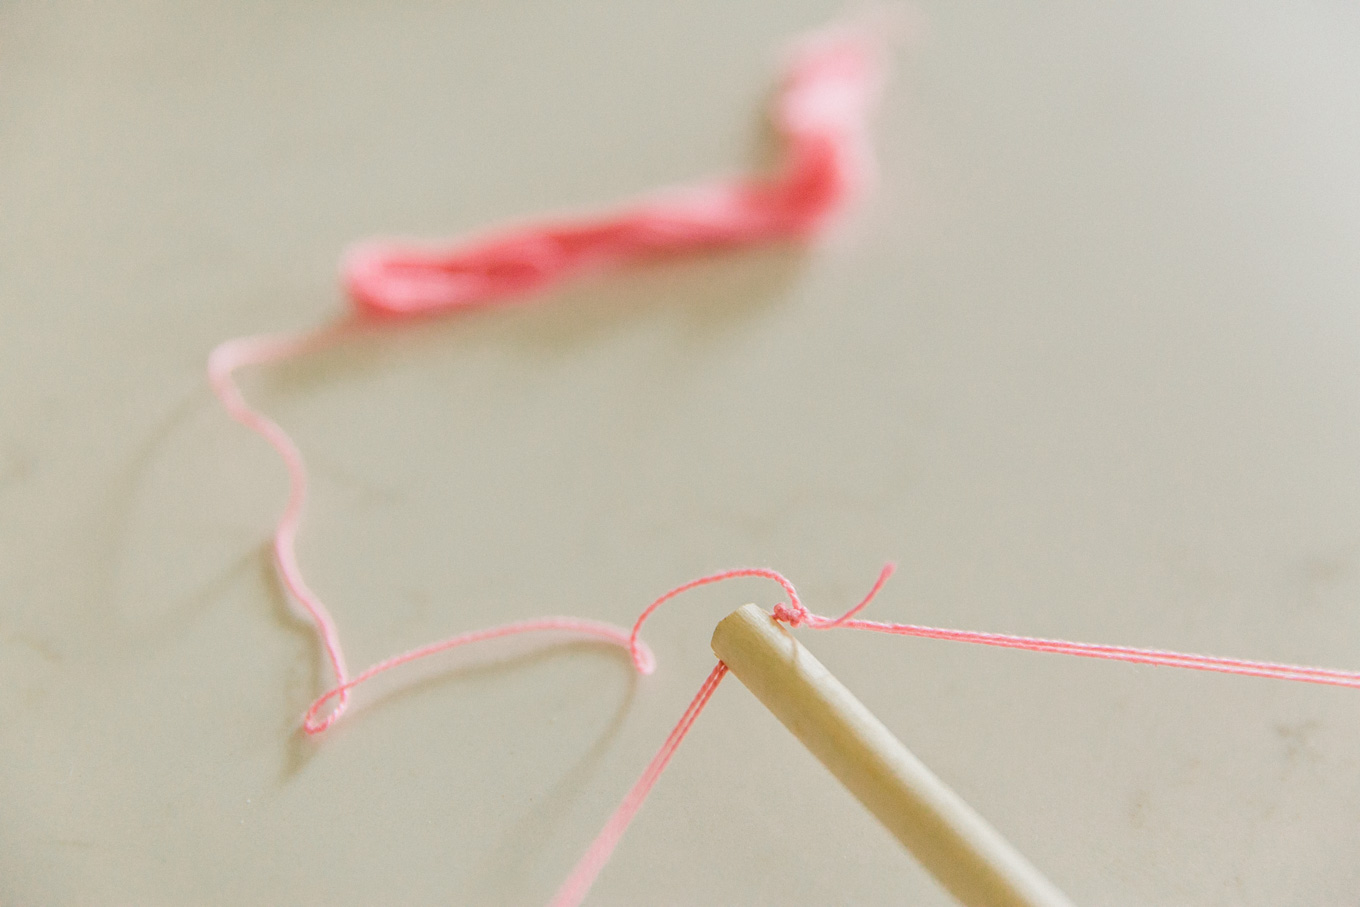
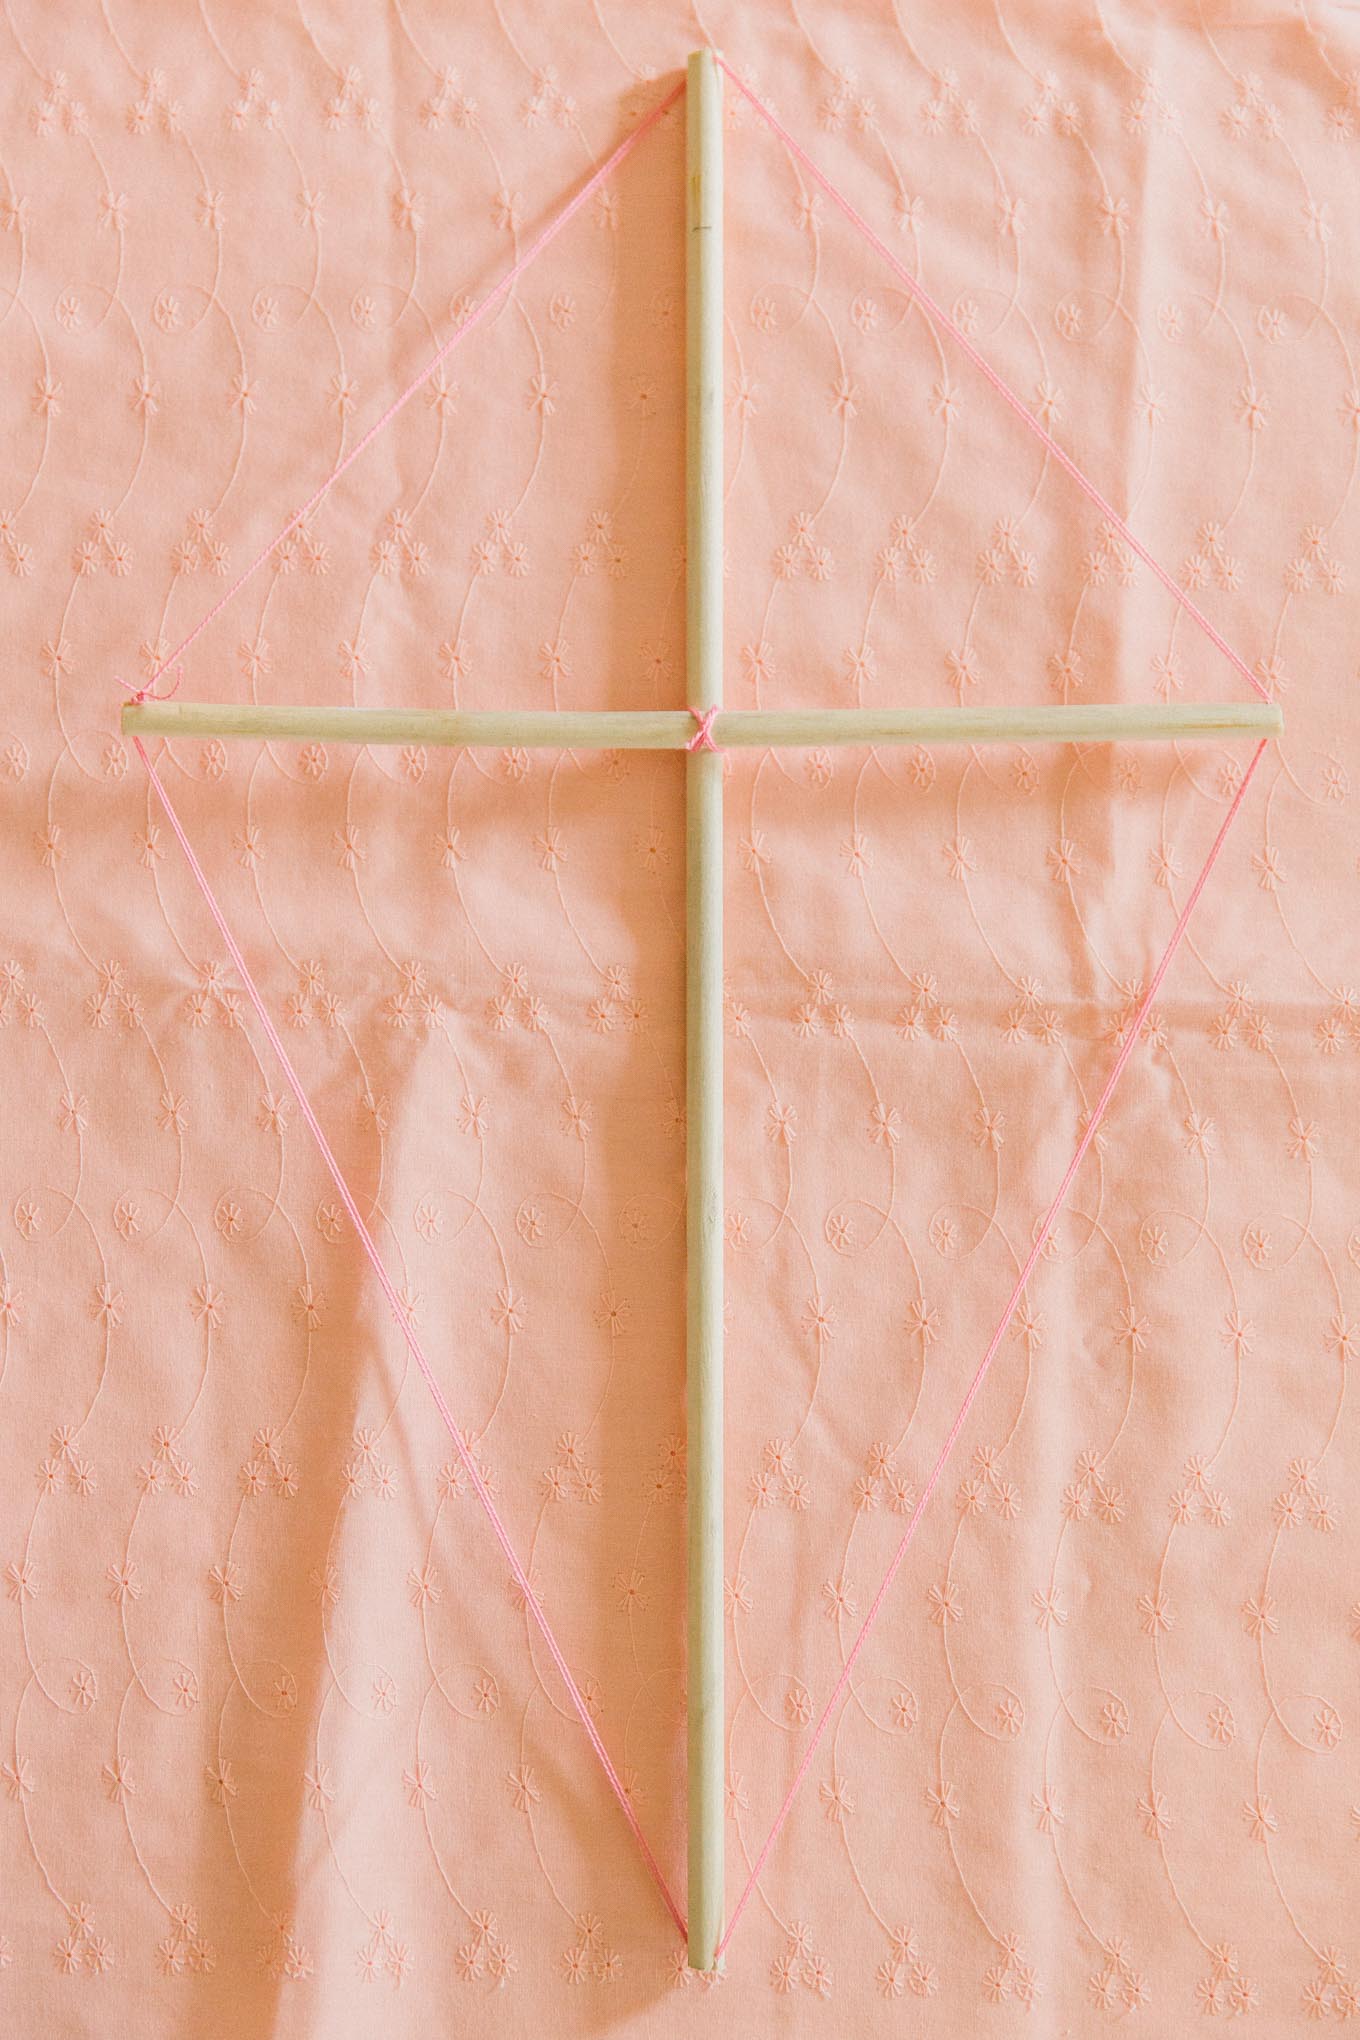
2. Wind the embroidery thread around the outside of the frame twice, making sure the thread is tight and in all the notches. This is the frame for the shell of your kite. Tie the thread in place and trim the ends.
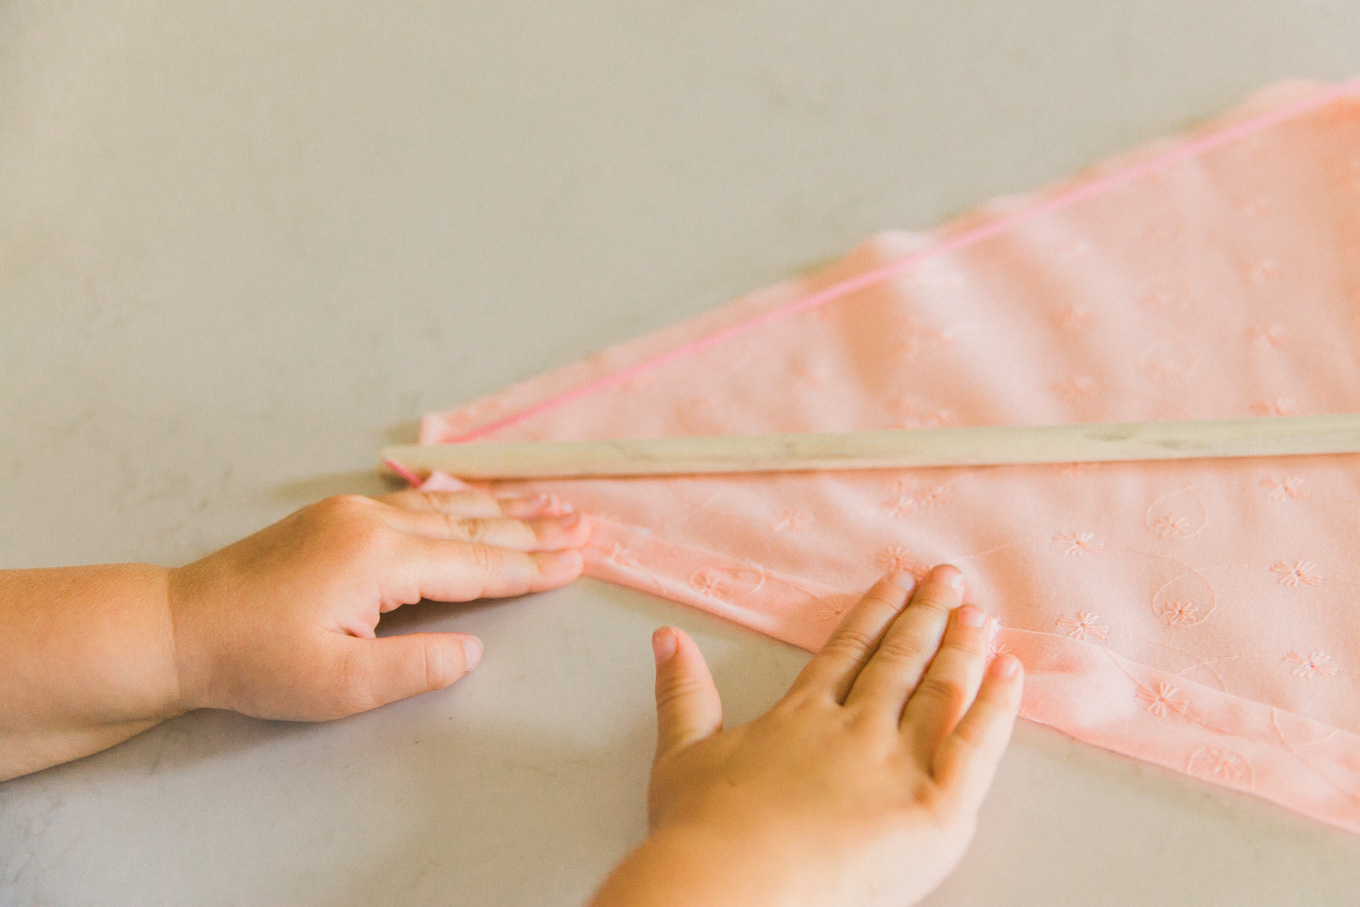
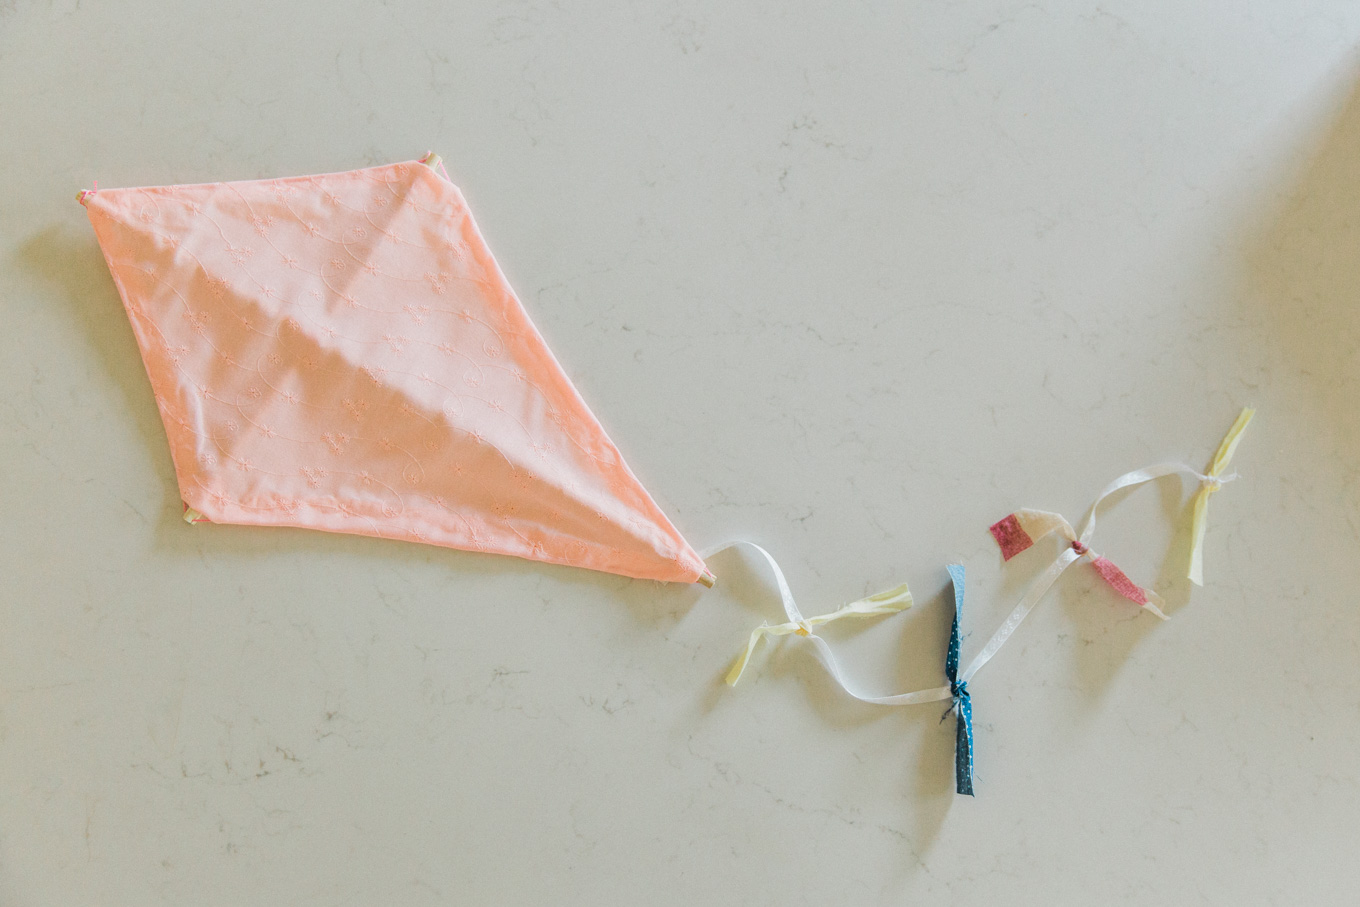
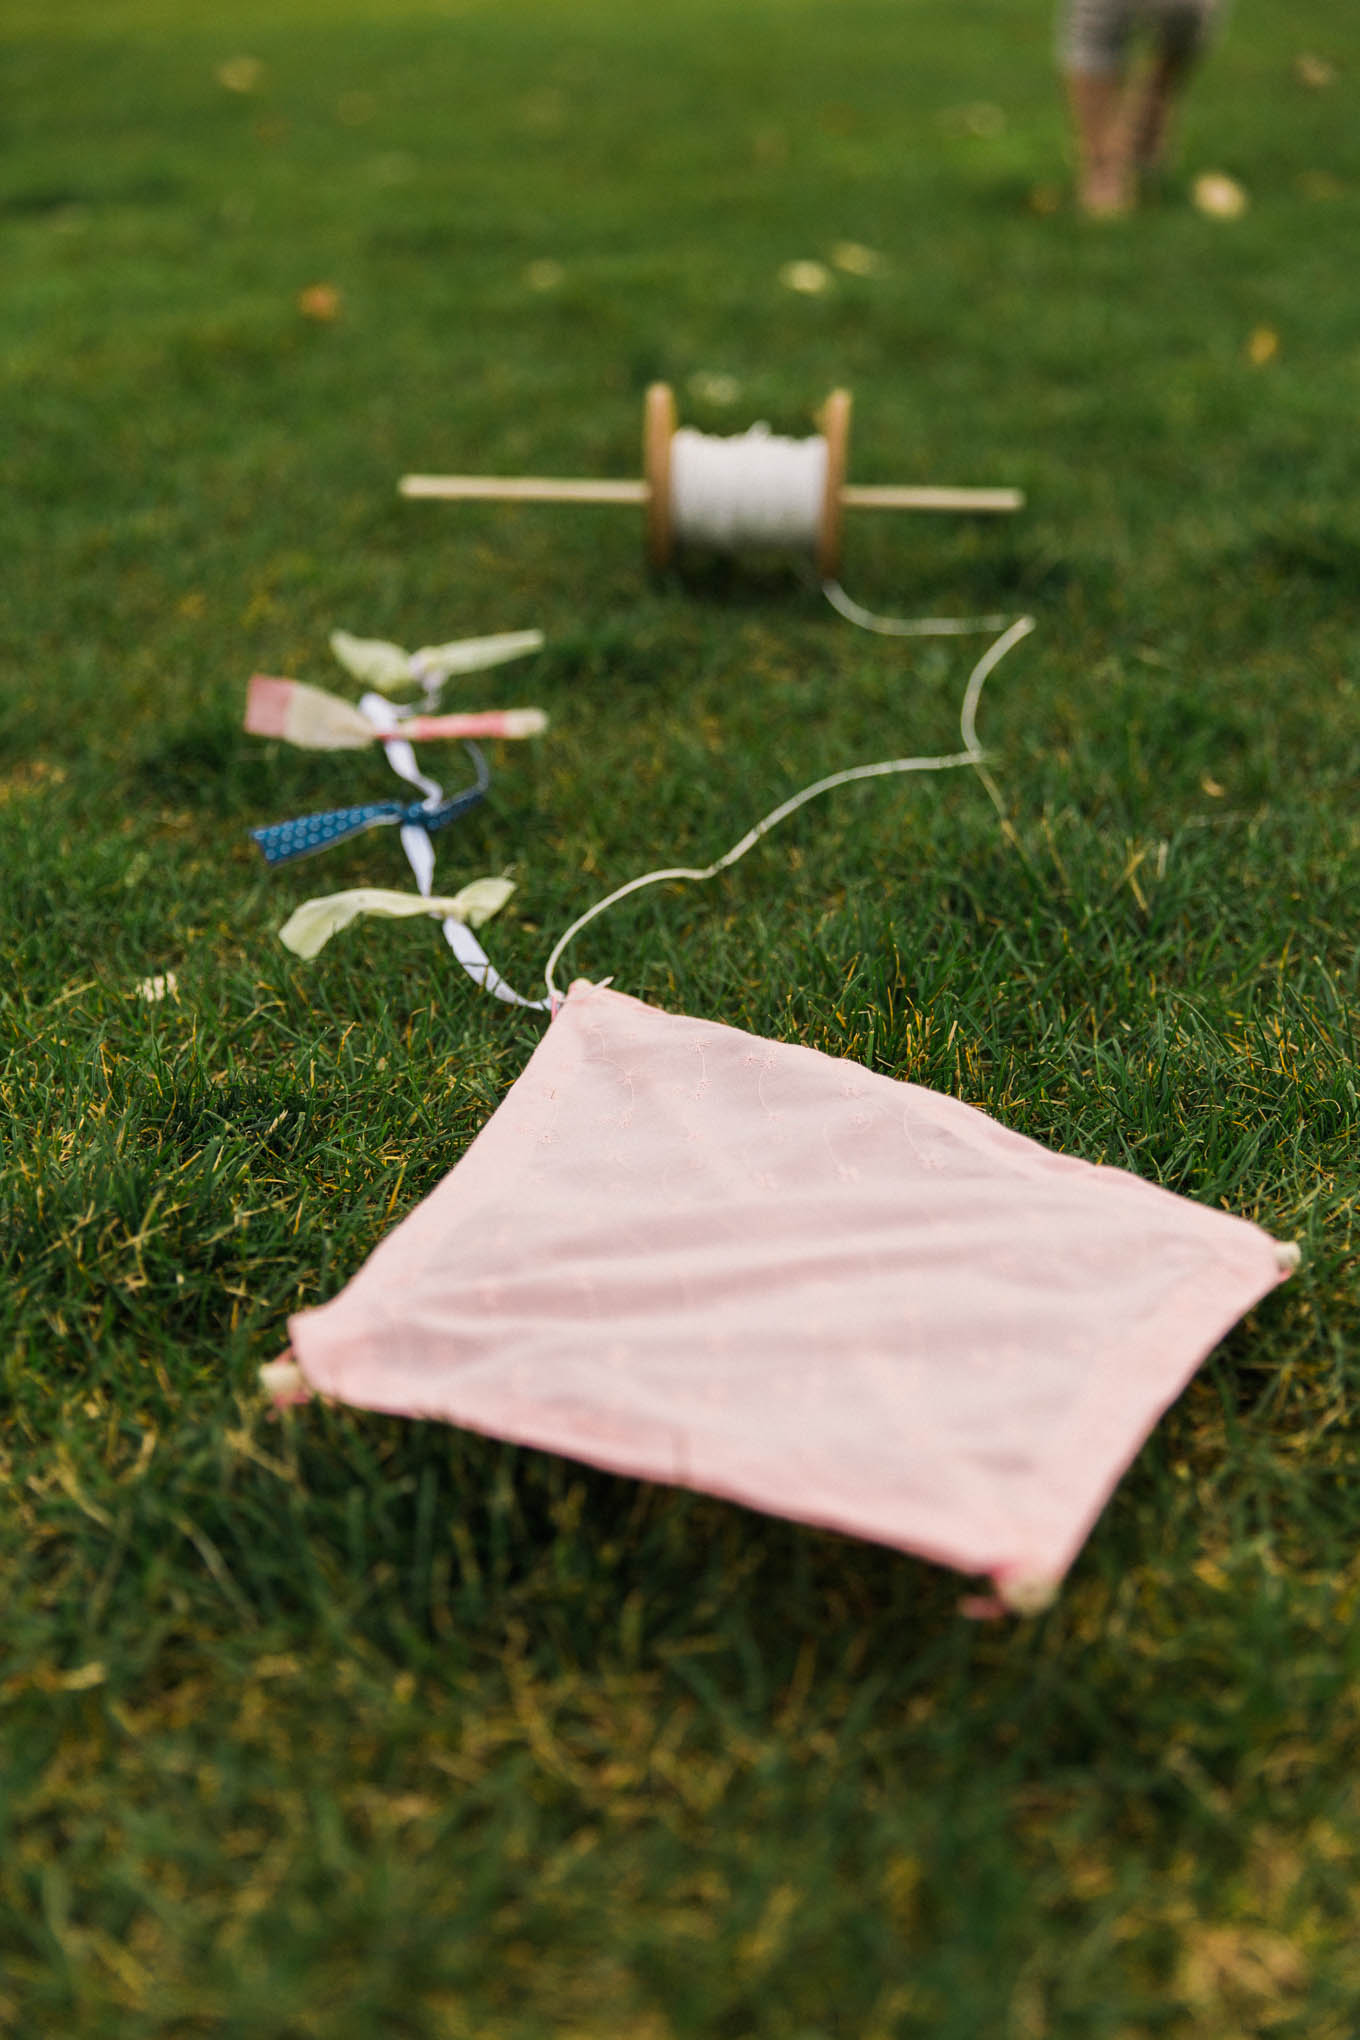
3. Place the frame on top of your fabric and cut around the whole thing, leaving an extra inch or so around the perimeter to fold over. Using your school glue to secure them, start with the four corners and fold them in enough so that the dowel frame will show past it just a bit. Now set the frame on the back of your fabric and glue all of the edges over the string. This DIY should be looking like an old fashioned kite by now!
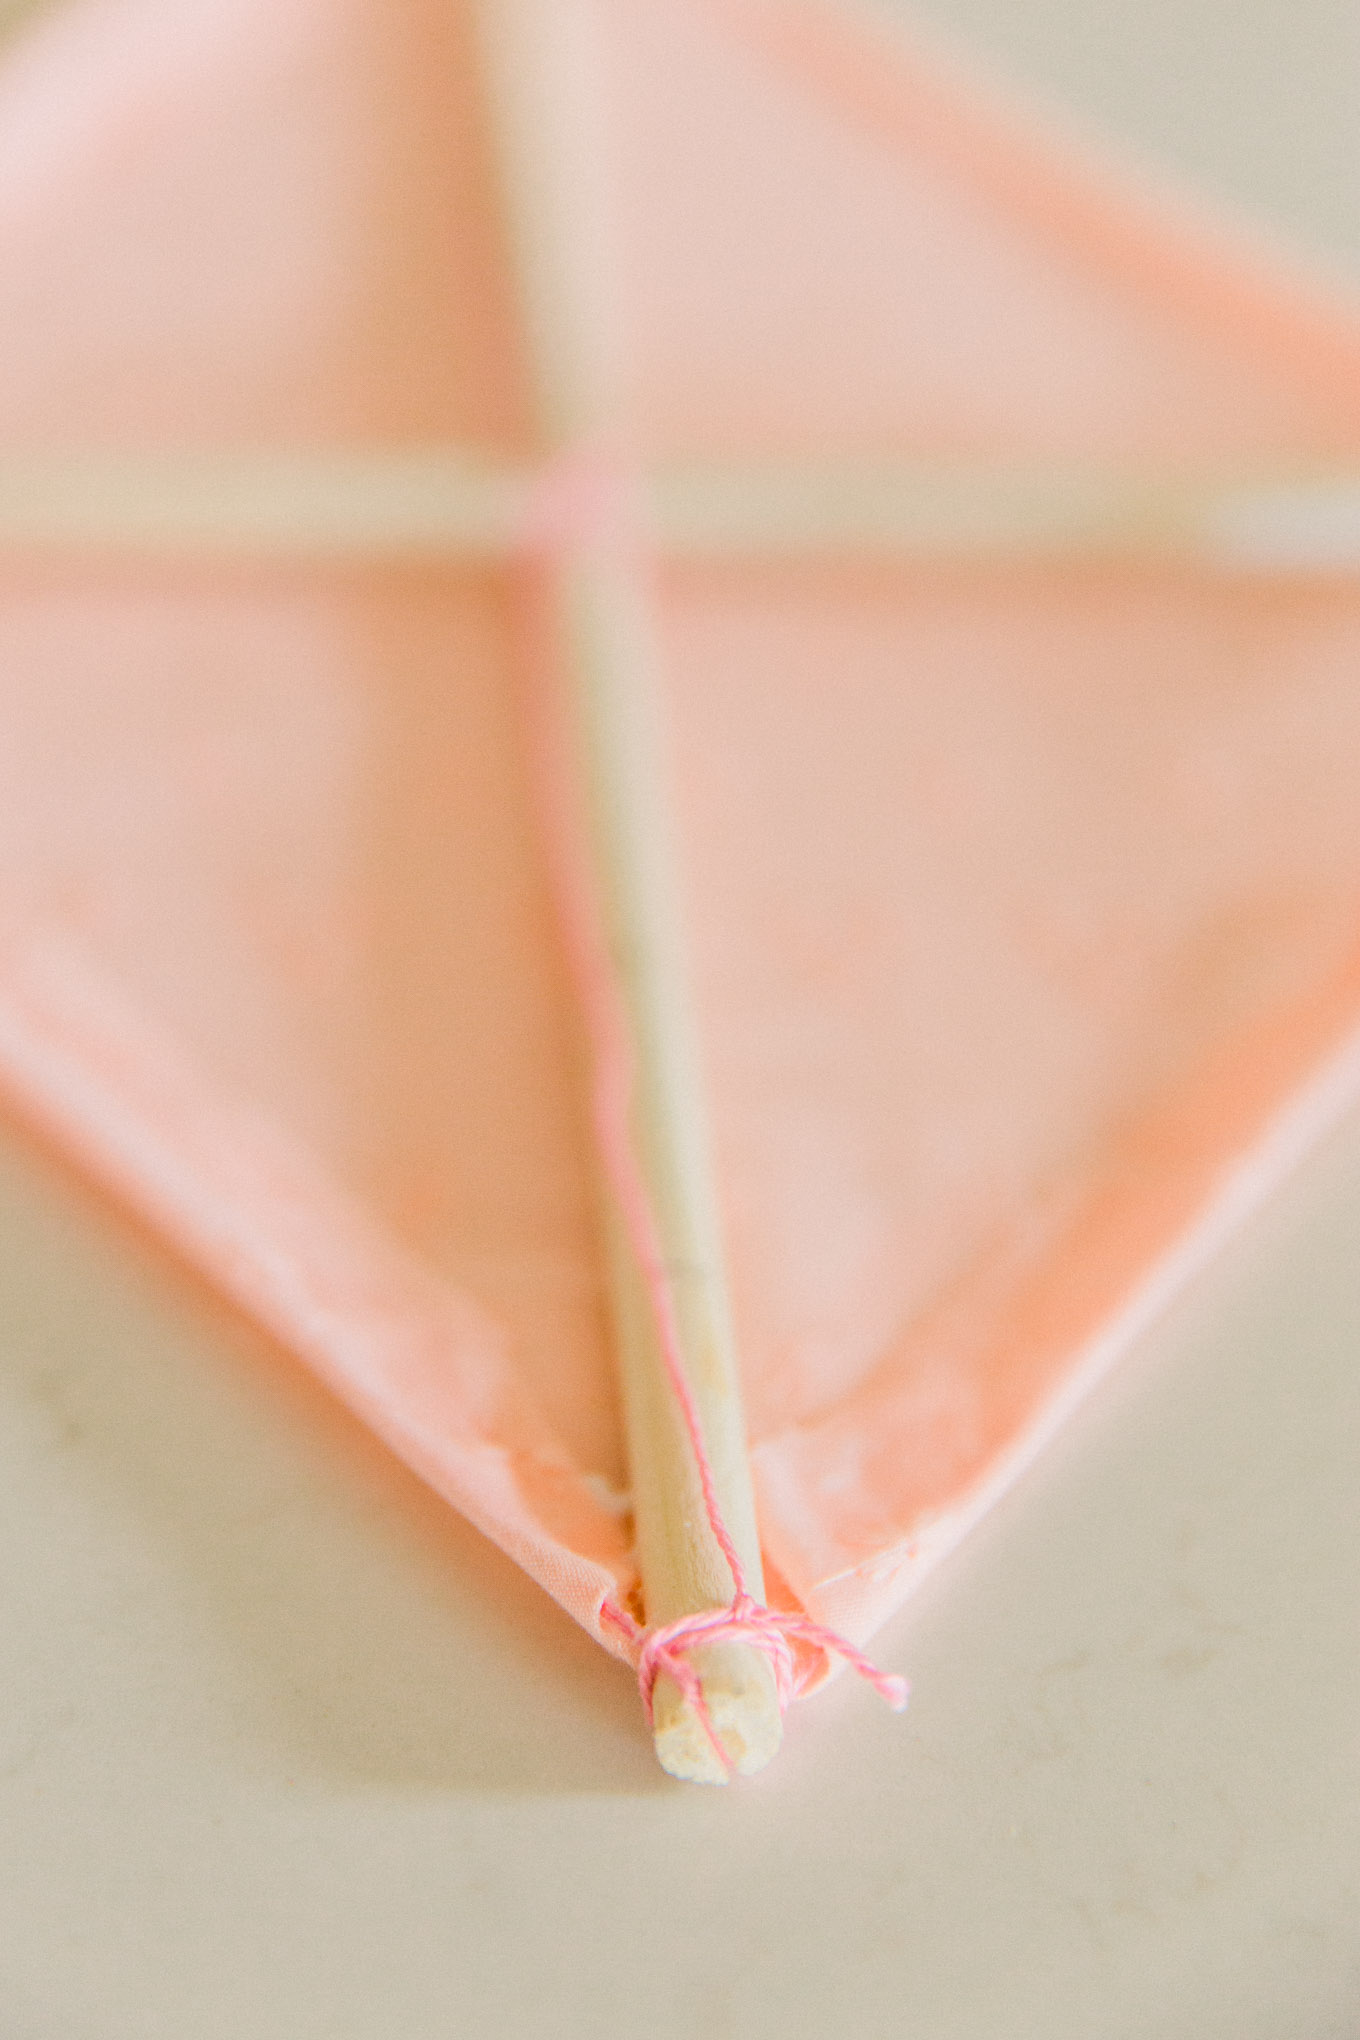
4. Tie some more embroidery thread at the top and bottom of the vertical dowel support. I secured mine through the notch to make sure the ends won’t slide around. This is what you will tie your kite string to.
Making the tail!
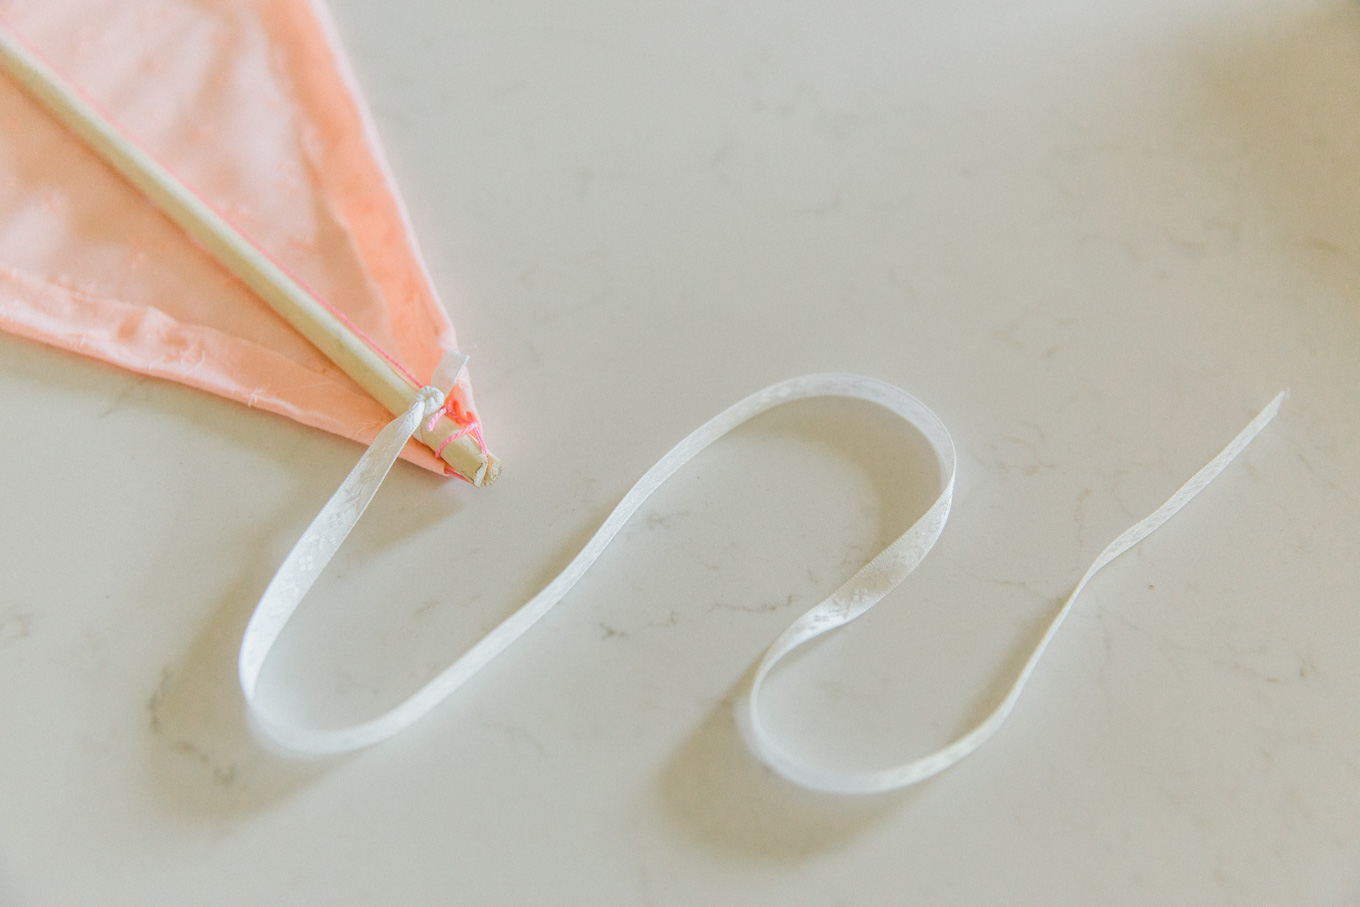
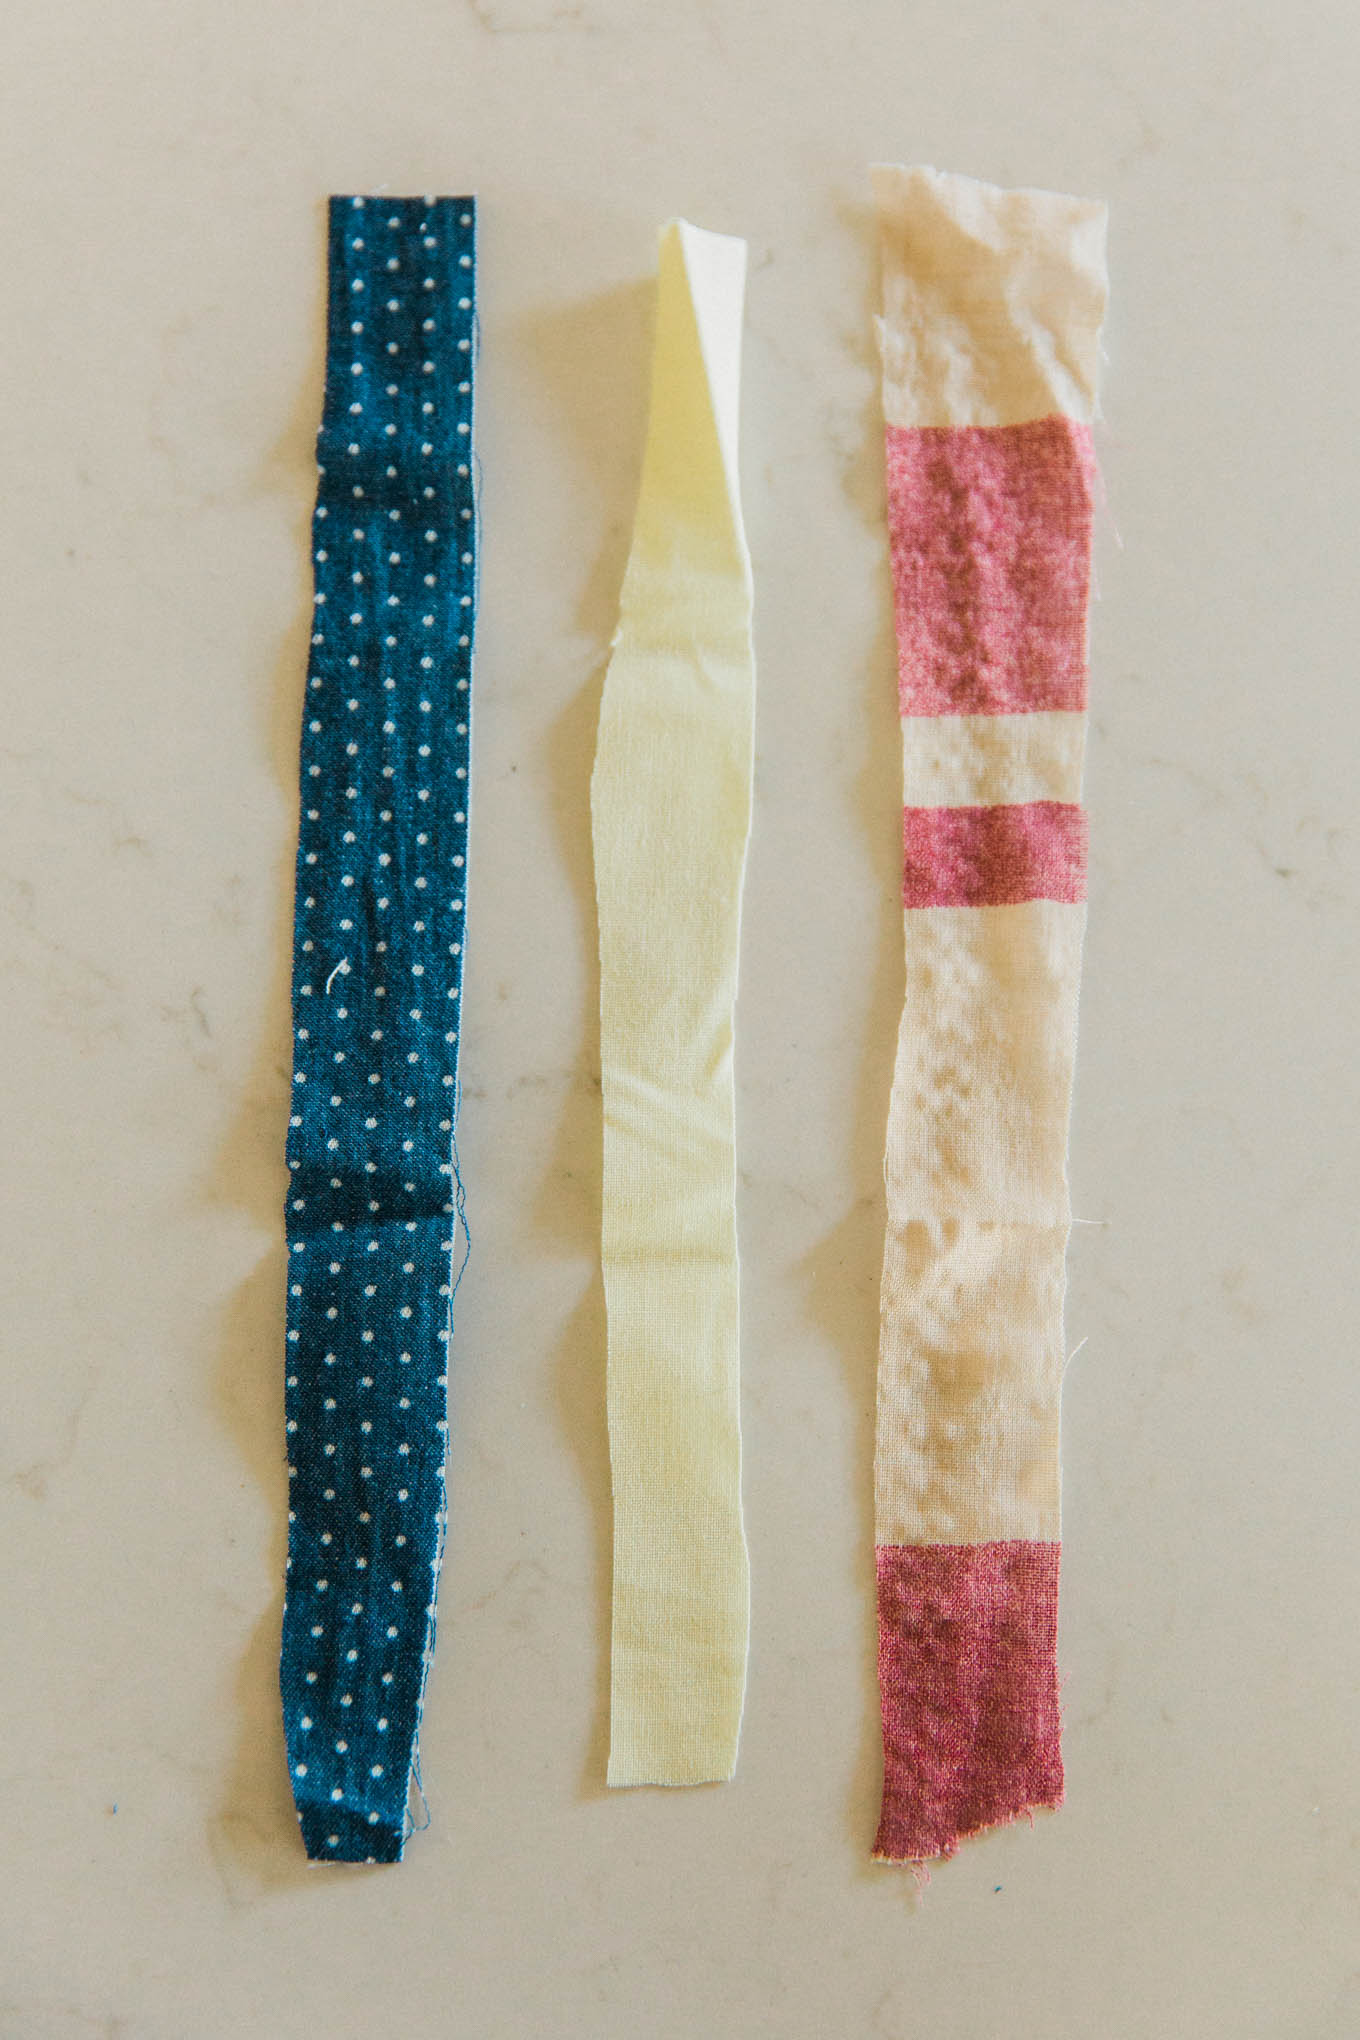
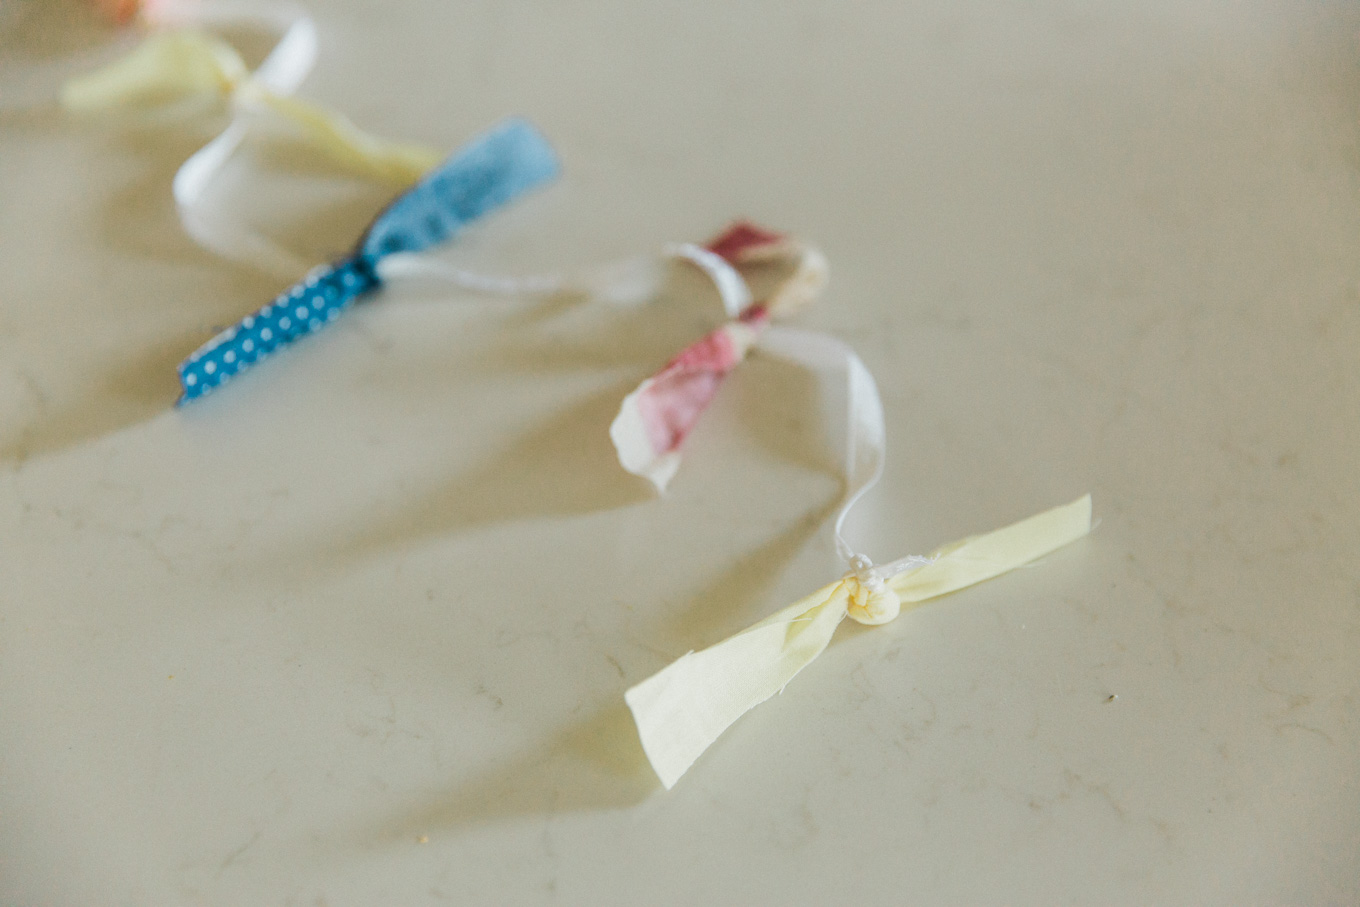
5. For the kite tail, tie your ribbon to the dowel at the bottom of the kite. Cut some fabric scraps into long skinny pieces (approximately 1″ x 9″) and double knot them around the ribbon. I tied on four at about 5″ intervals.
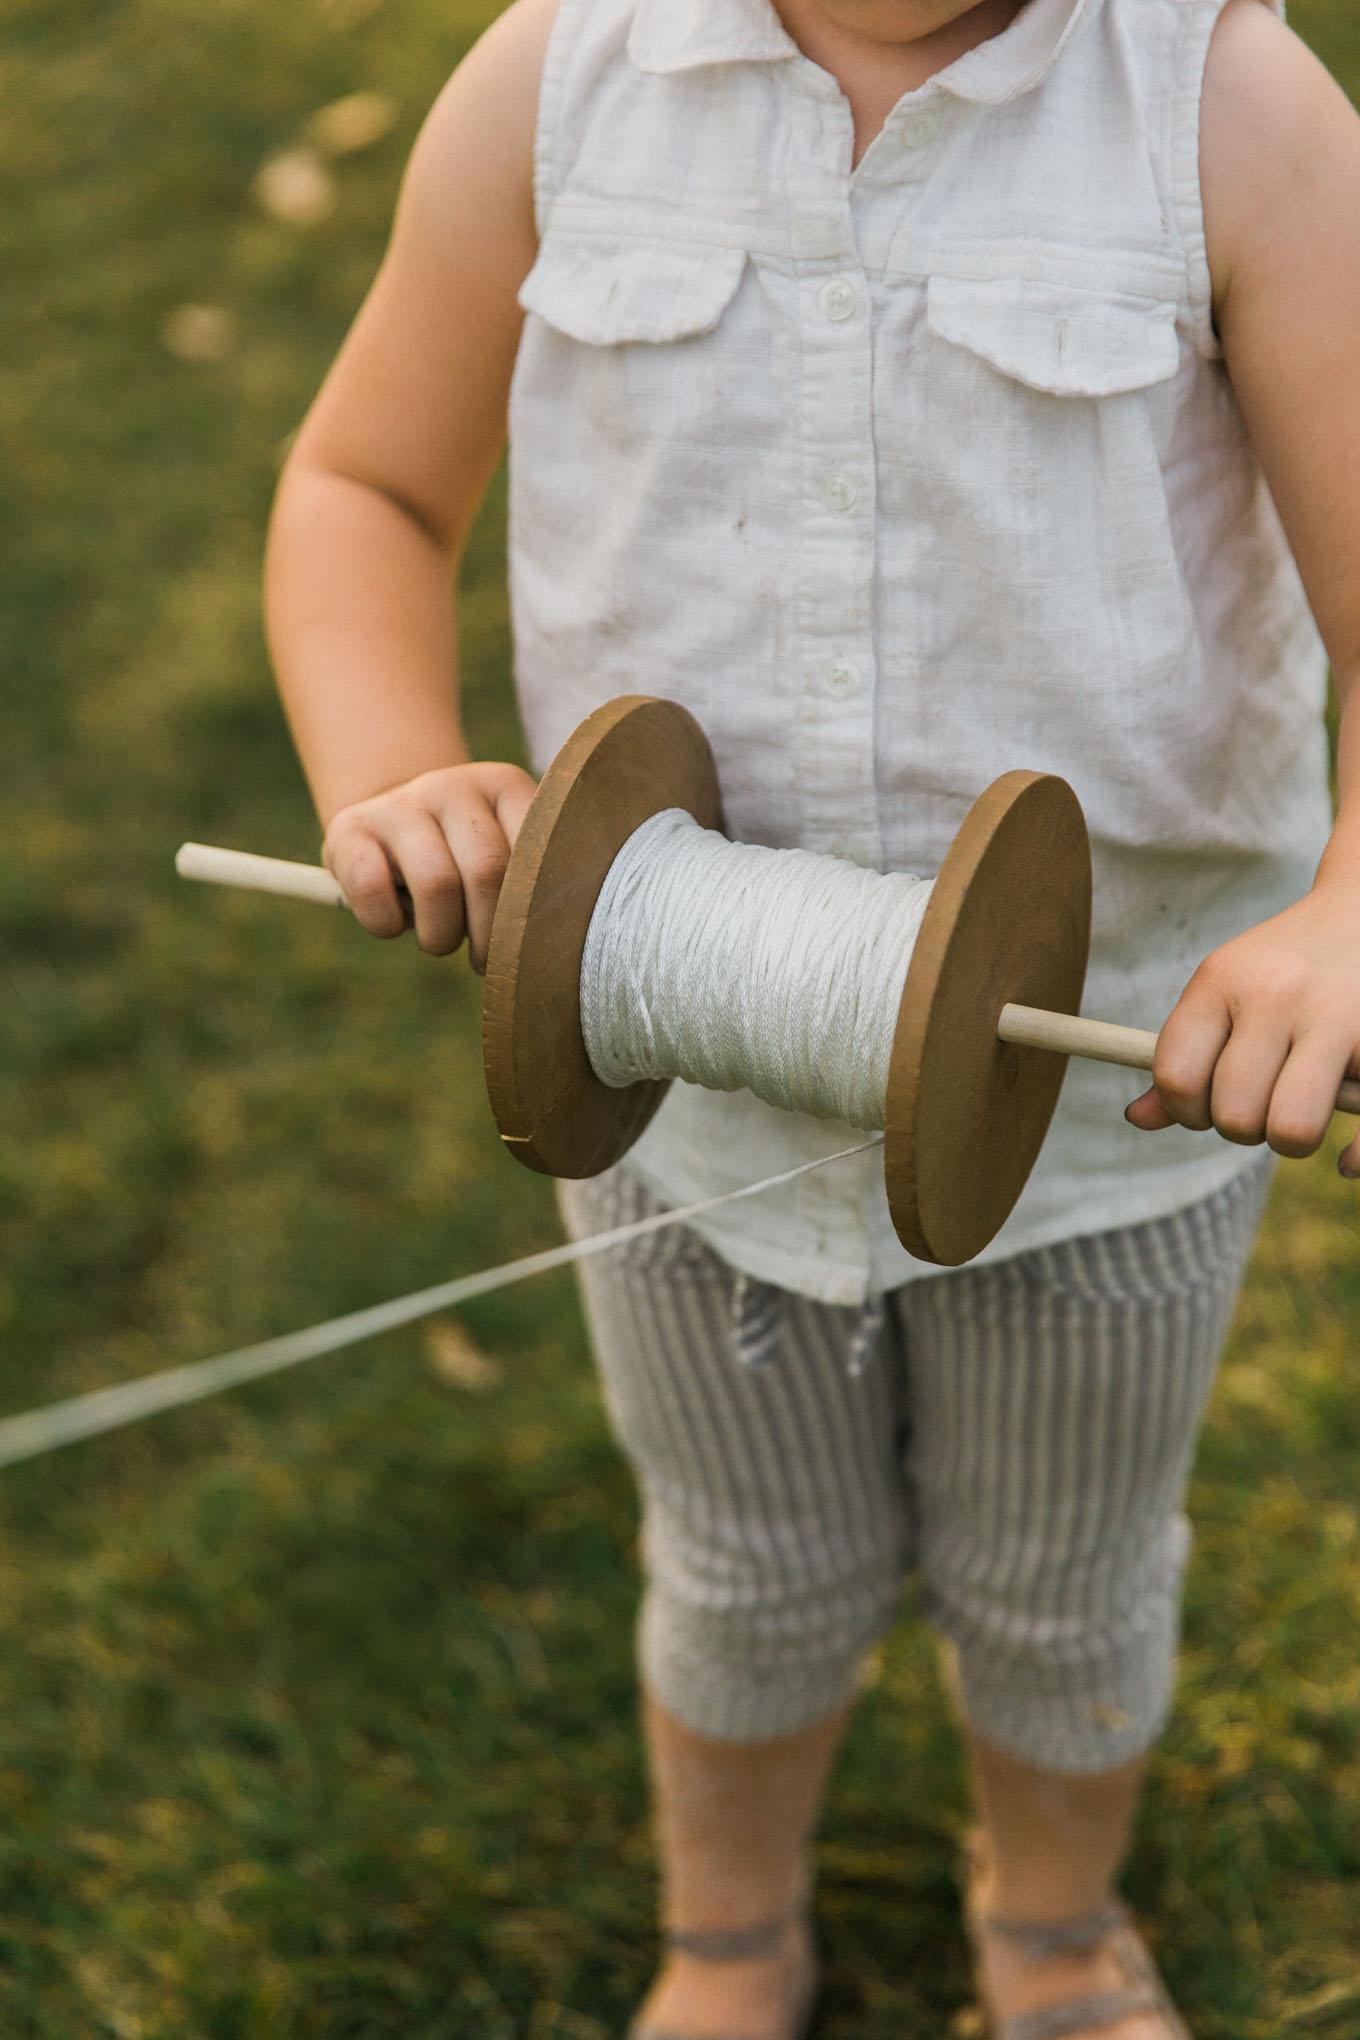
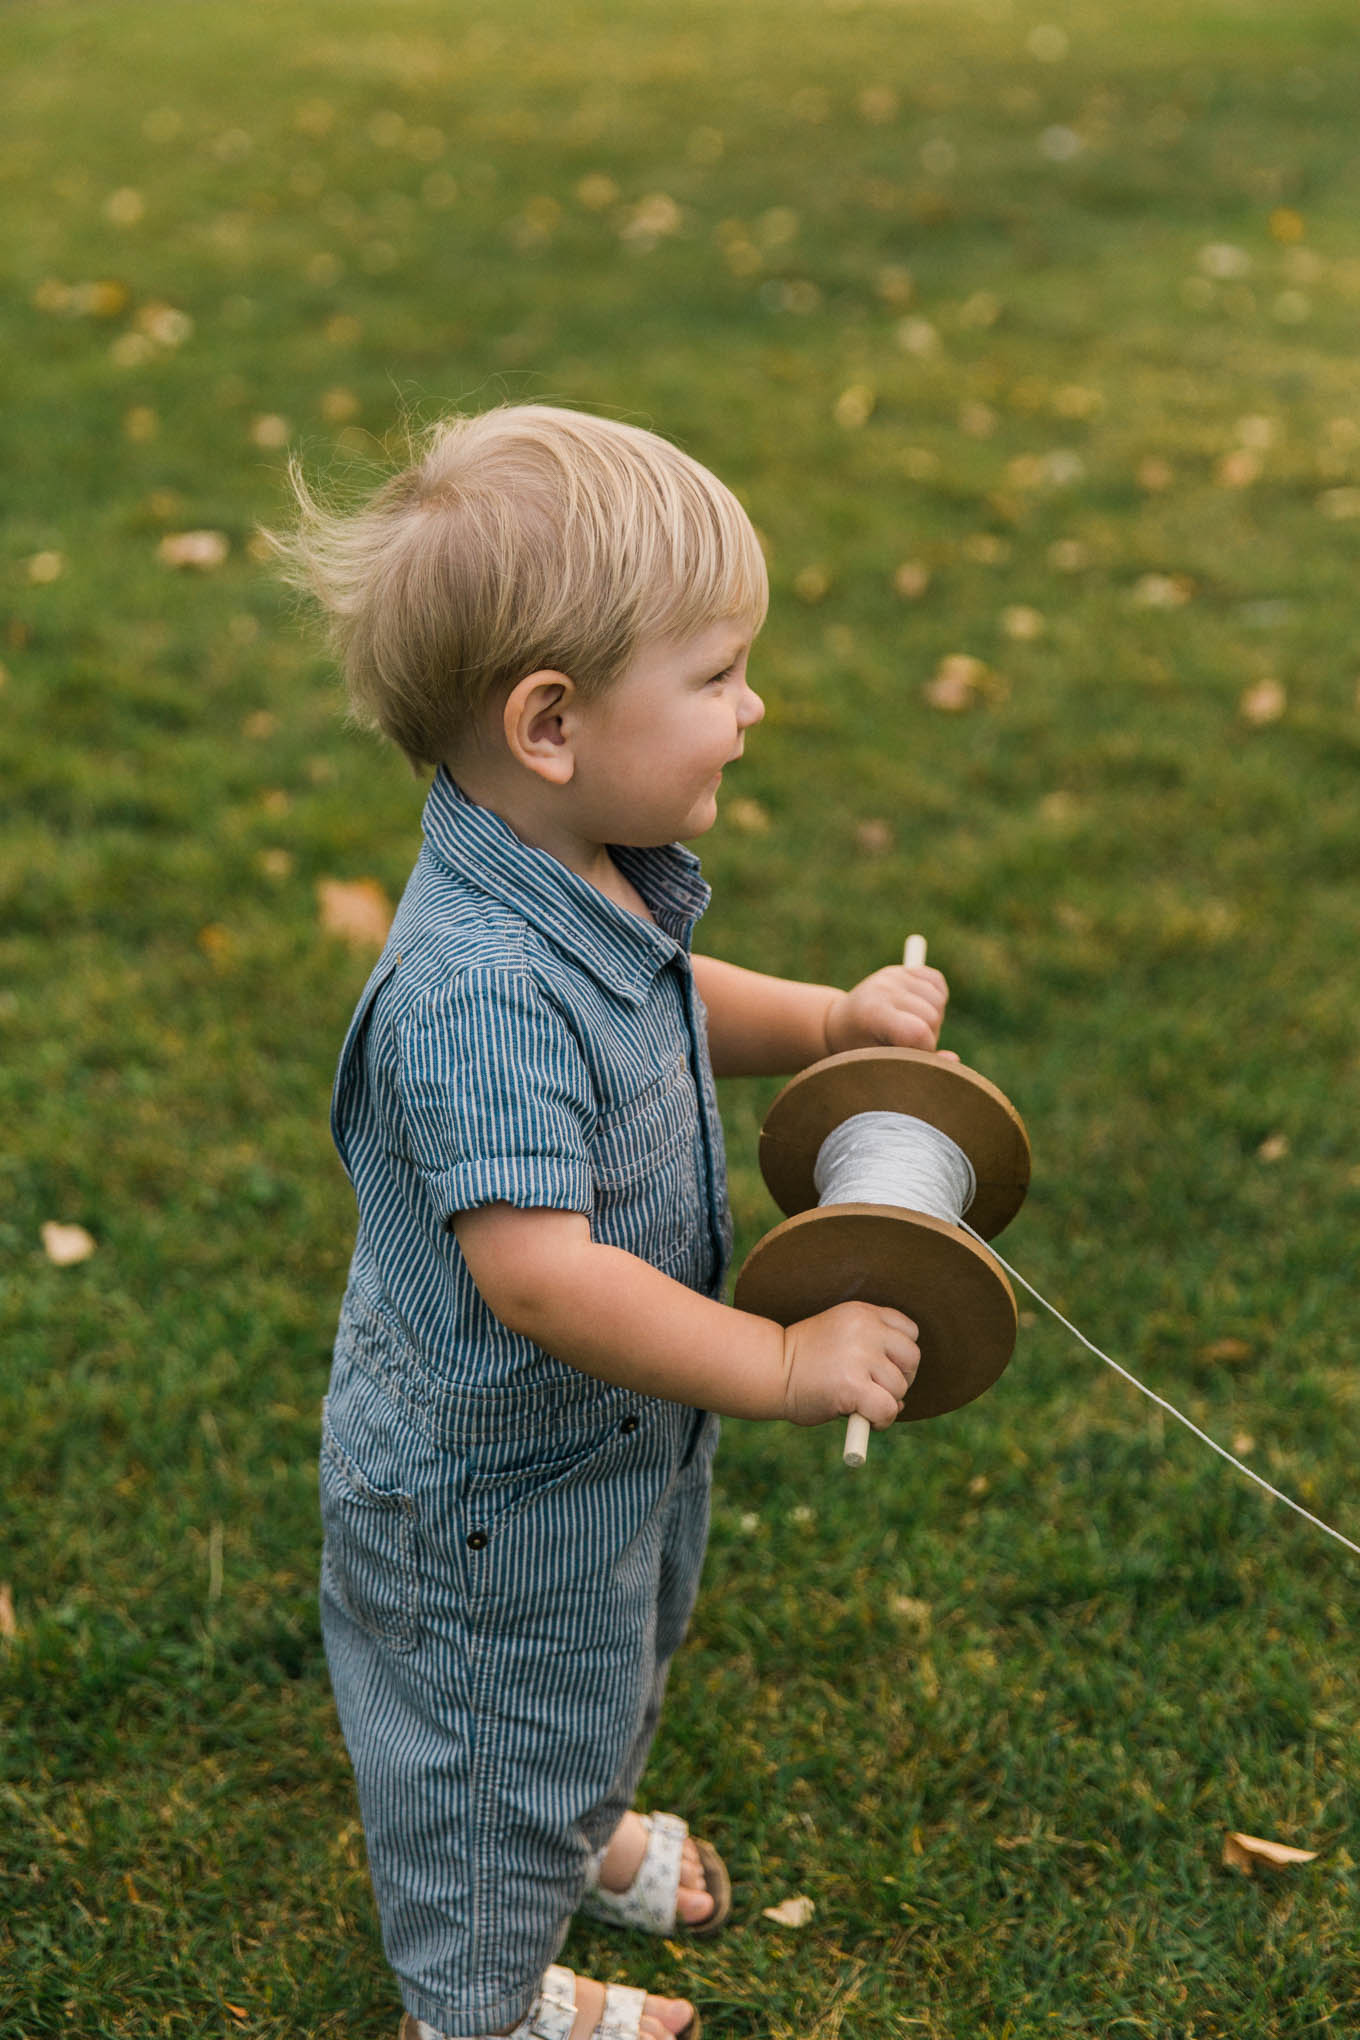
6. Put your remaining piece of dowel through your wooden spool and glue in place if it’s not snug enough. Tie your string onto your dowel and wind it all on. Tie the other end of your kite string onto the embroidery thread you previously attached to the kite, at the height where the dowels cross.
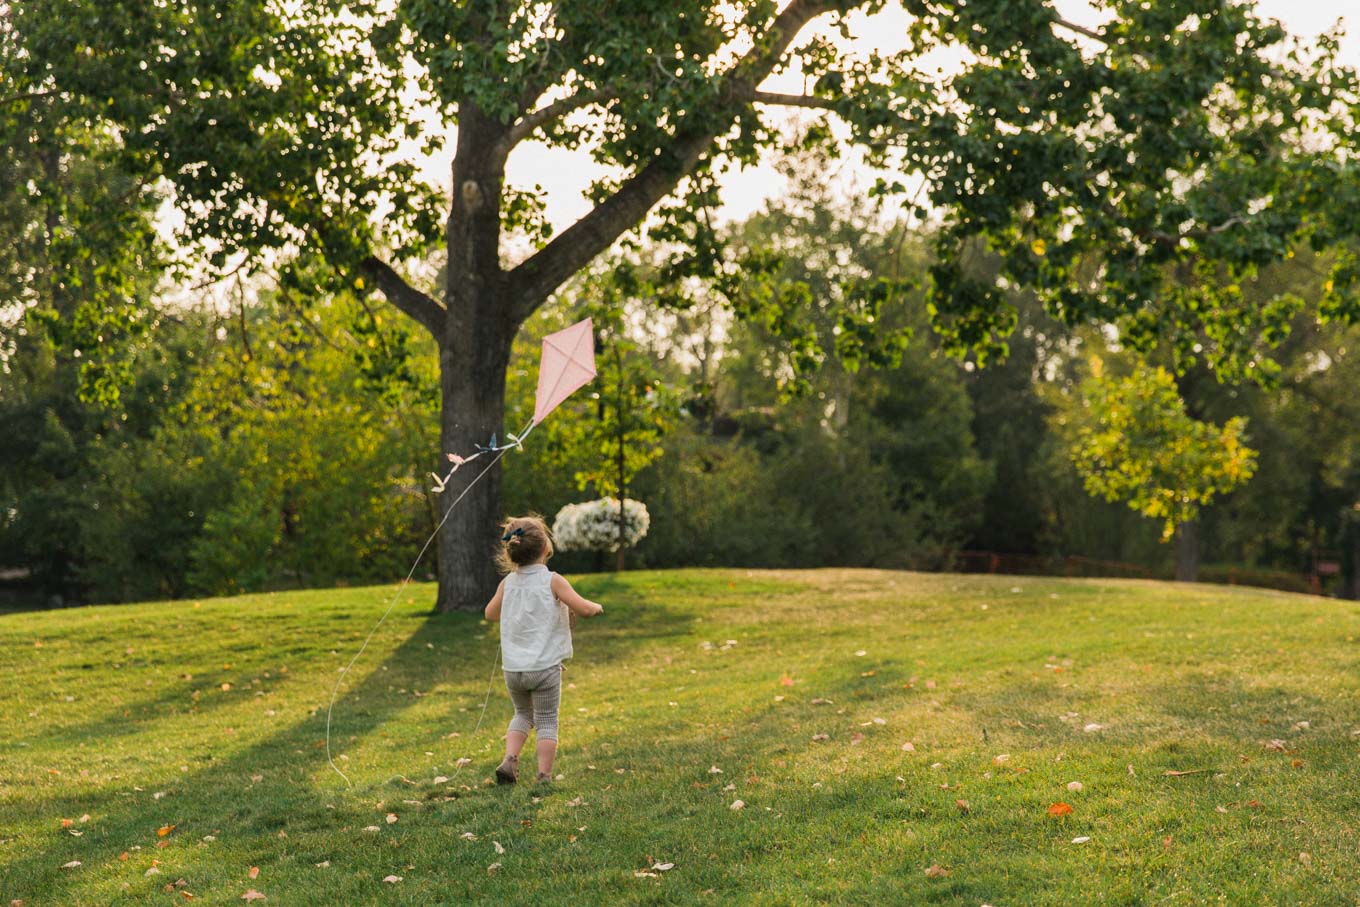
Go find a breeze and fly your DIY old fashioned kite!
We definitely made some memories, and can’t wait to do it again. I think we will be making a few more of these!



Hi Jennie. This is such fun! Love that children can enjoy this crafting project 🙂 We’ve shared it in our latest fall crafts inspiration roundup https://craftylikegranny.com/fall-crafts/ Cheers Emily