Today I’m excited to be teaming up with Oriental Trading Company to share a quick + easy back to school DIY as part of Back to School week here at Simple as That!
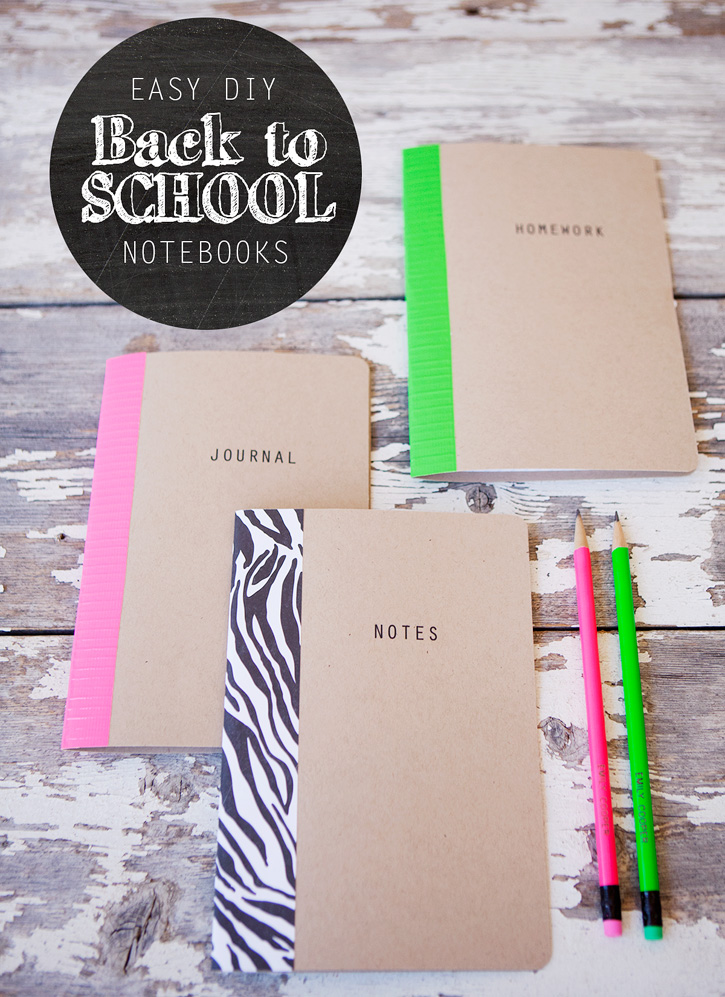
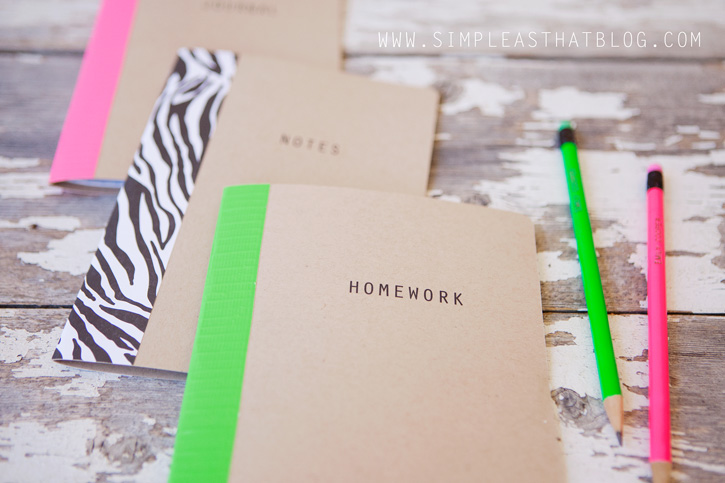
I’m officially the mother of a tween and this project was one that my daughter and I had a lot of fun working on together! We made these simple little notebooks help her keep track of homework and all her other school assignments during the school year. They were quick and inexpensive to make and can be personalized any which way you’d like!
What you’ll need to make your own Back to School Notebook:
-kraft coloured cardstock
-duct tape/pattern paper for binding
-graph/lined paper for inside pages
-scissors or paper trimmer
-corner rounder punch
-stamps to personalize your notebook
-sewing machine
-gluesticks
To start we trimmed our card stock to the size we wanted our finished notebook to be. We made ours in a variety of different sizes, but the ones pictured here are about 5.5″ x 7.5″
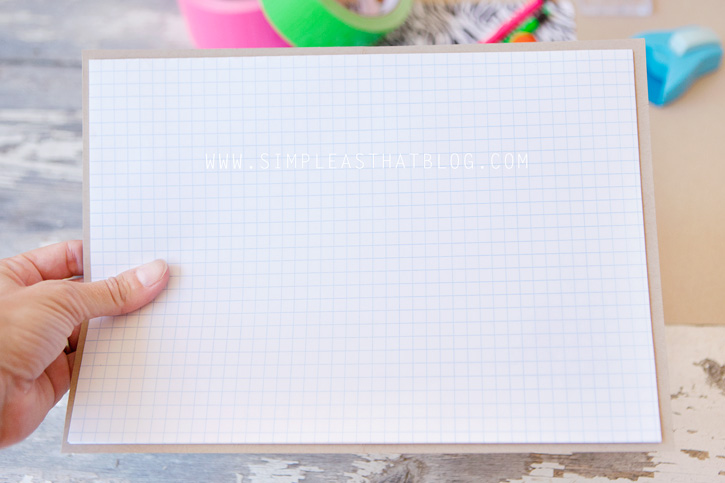
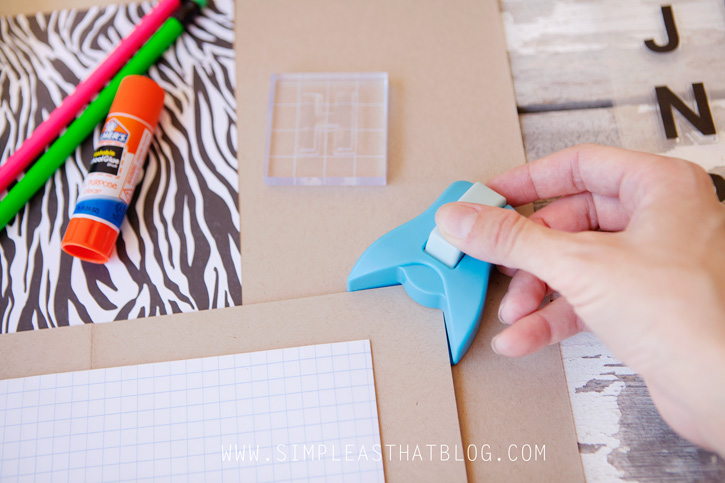
Next we measured and trimmed the inner notebook pages so they would fit inside the cover, leaving about a quarter inch margin around the edges. We then chose to round all the corners of the inner pages and the cover. Next we folded the cover in half and folded the inner pages in half to find the centers.
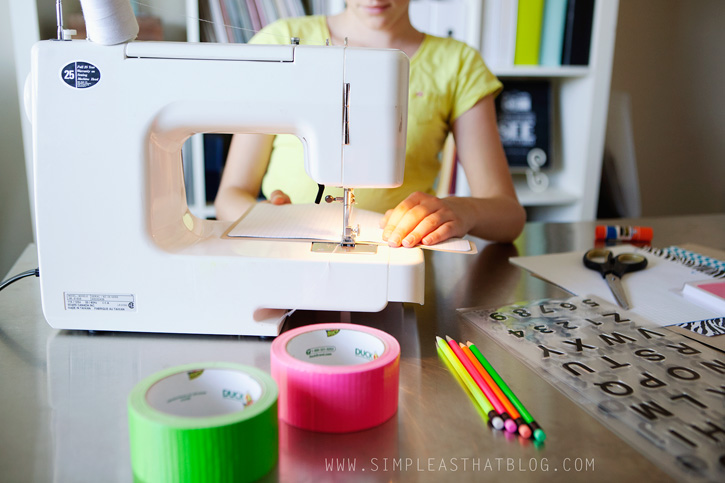
Then it was time to attach the inner pages to the cover. We centred the inner pages within the cover and ran a row of stitches directly down the center, attaching all the layers of paper together.
Here’s what our notebook was starting to look like after this step. Note: we liked the look of a slightly large stitch. I think we had our sewing machine set to 3.5 – 4.
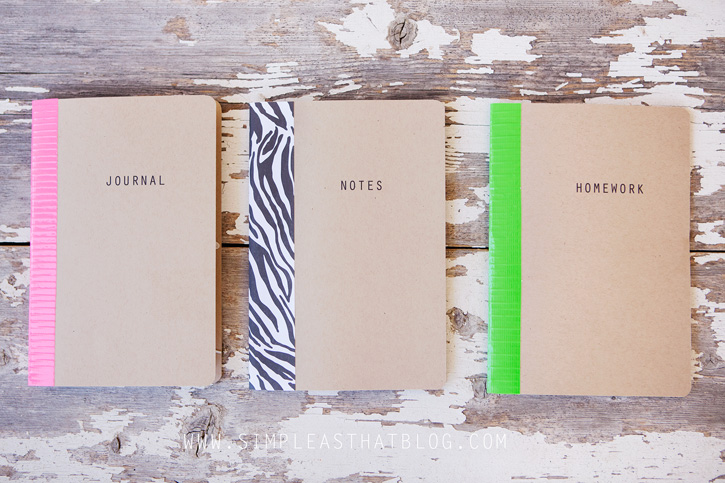
Now we were ready to cover the spine of our notebook. We used some cool neon duct tape for a few of our notebooks and patterned paper for the rest. Oriental Trading has a fun variety of decorative duct tapes and pattern papers to choose from!
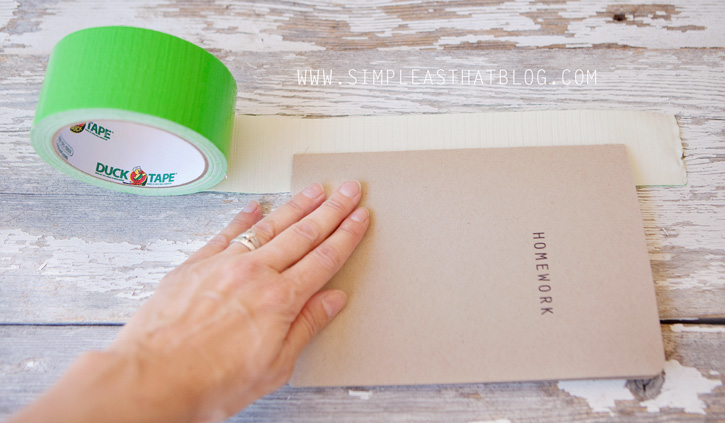
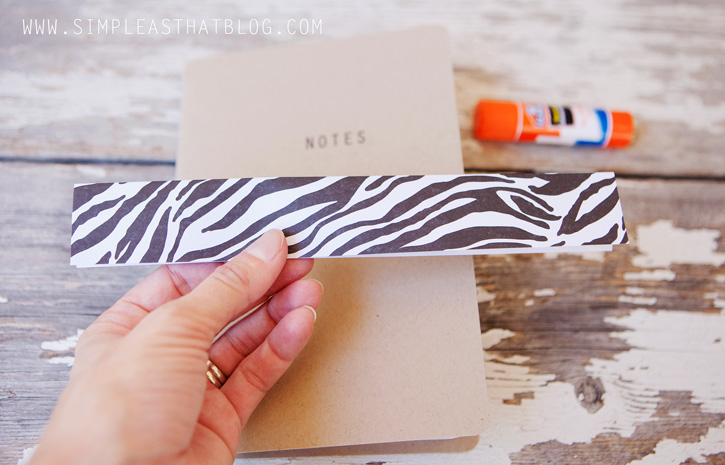
To cover the spine we rolled the tape out sticky side up roughly the same length as the notebook spine. We then centred the notebook spine on the tape, stuck it down and folded it over and attached it to the other side. Then we trimmed off the excess tape on either end. Using the paper we cut a length, folded it in half, then attached to the front and back of the notebook spine using a gluestick.
We added some personal touches to our notebooks in a few different ways. For some we used the computer/printer to add titles on the cardstock covers. If you’d like to do this too you’ll need to print on your paper before doing any cutting and folding so your paper can run smoothly through the printer. We also used these fun stamps to add monograms to the front of some notebooks + to create subject dividers inside.
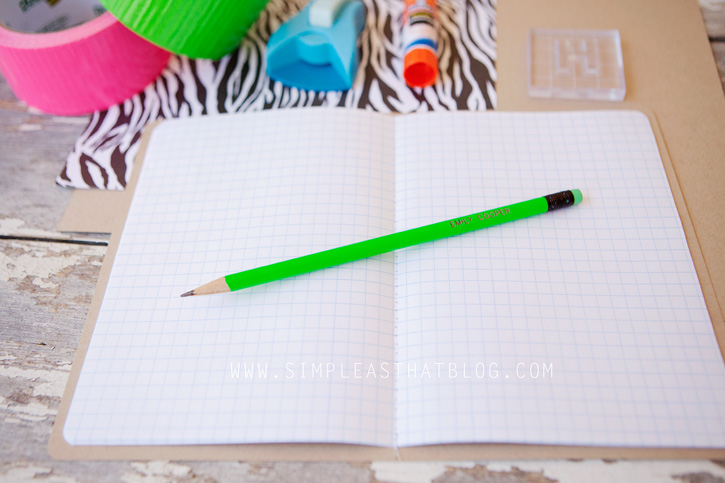
The notebooks turned out really cute and I’m just as excited about how functional they will be for my daughter to use in 6th grade! Paired with some of these cute personalized neon pencils she’s ready to stay organized this school year!
We really enjoyed creating our Back to School notebooks using supplies from Oriental Trading Company! They have a huge range of inexpensive craft supplies and back to school essentials!
Here’s how you can keep up to date on the latest products from Oriental Trading:
Tomorrow will be the last day of Back to School week if you can believe it! It’s been a lot of fun, so I’m sad to see it coming to an end. 🙁 I’ve been sharing all kinds of tips for keeping back to school time simple + stress-free so you don’t want to miss the past weeks posts or the chance to get your name entered in some really fun giveaways! Links below…
Simple Back to School Photo Tips
Simple + Healthy School Lunch Ideas with Easy Lunchboxes
Back to School Fashions with Tea Collection
Documenting School Memories with Project Life
Simple + Healthy School Lunch Ideas with Easy Lunchboxes
Back to School Fashions with Tea Collection
Documenting School Memories with Project Life
I have one last post coming tomorrow and where excited to share a peek at our budget friendly homework station/family command centre….we’ll see you then! 🙂
We received craft supplies from Oriental Trading Company for review purposes.
All opinions expressed in this post are my own. See full disclosure here.




This is a great idea, I need to make some. I have a bunch of duct tape.
Terri
So cute!
Too cute!
I just love notebooks, and these are adorable. Thanks for the tutorial.
Super cute idea Rebecca. My girls would love to do this. Thanks for the inspiration!
Have a great weekend.
I need to have a go at making those, they are gorgeous and so simple.
Cute, cute, cute! I love it for a homemade journal idea.
LOVE this!
You’ve given me a great idea to do this to create a mini-album for a little weekend getaway!!
Love this! What a great idea!
Hi, I love these notebooks … was just wondering what your daughter is going to use the “journalling” notebook for? Just like a general personal diary or for recording school memories?
She used it last year for writing down what homework and tests she had coming up to help keep herself organized. 🙂