Happy summer to all you fine people. I hope you are having a wonderful time and enjoying the holidays with your families. Things have been pretty exciting here lately, both business-wise and on a more personal plan, too. I’m developing some really fun products for the kids room, but I’m even more excited about us expanding our little family this year. This will be our first, so it feels very special. We haven’t had the best of luck on the baby front the last couple of years, but 2016 do seem to have scattered some fairy dust on our family. So you can only imagine all the fun and creative things I’m planning to make for our nursery the coming months.
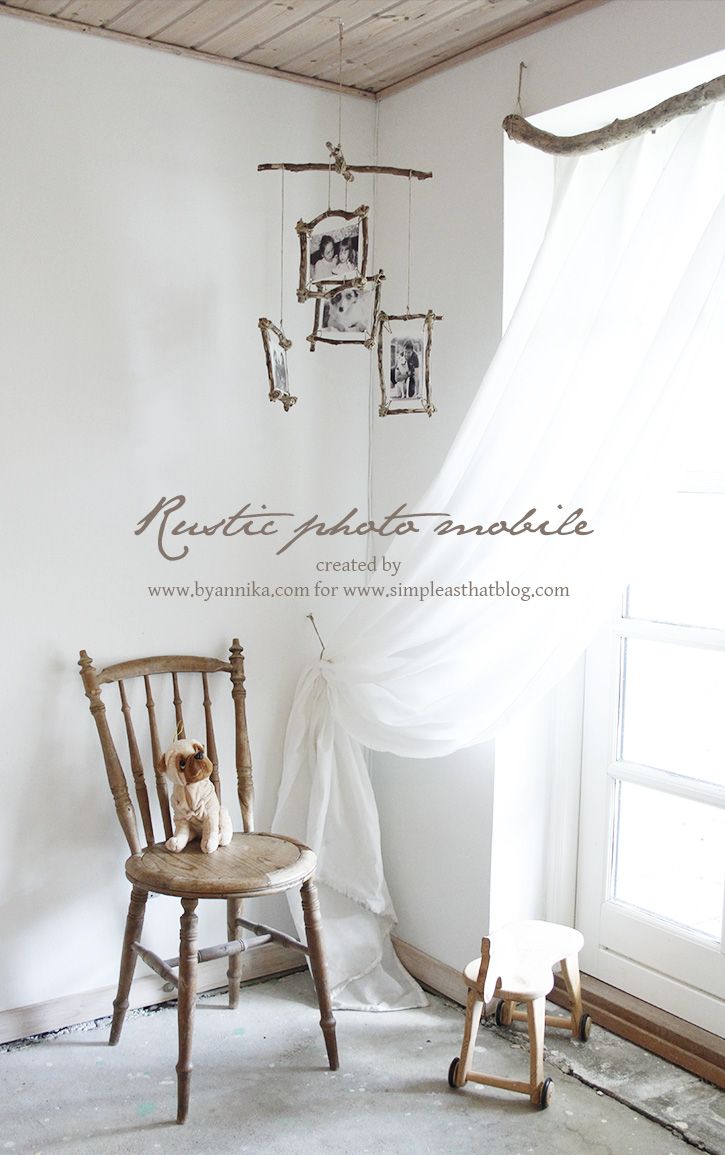
For today’s project, I wanted (again) to create an easy and fun way to display photos, so I decided to make a rustic looking photo mobile with pictures on both sides of the hanging frames. Since it’s summer I always find it fun to incorporate materials I have found in nature. It’s also a fun way to spend time with your kids as well, collecting things during one of your field trips. For this particular project, we need branches or twigs, or maybe beach wood, if you like to collect that.
 MATERIALS:
1) Branches, twigs, beach wood
2) Small, sharp knife for stripping bark
3) Pruning shears
4) Twine & scissors
5) Printed photos
6) Double sided tape
7) Hole punch
STEP 1:
Go out and collect a handful of branches/twigs. Mine were approximately 3/4 of an inch in thickness.
STEP 2:
Decide how many frames you want on your mobile and what size photos they should hold. I used a 6×4 piece of paper to reference my photo sizes. Cut the branches with the shears, so they line up with the 6×4 piece of paper, but leave a margin around the paper like in the picture below. Also, the branch corners should overlap.
Keep a couple of longer branches for the mobile cross handle.
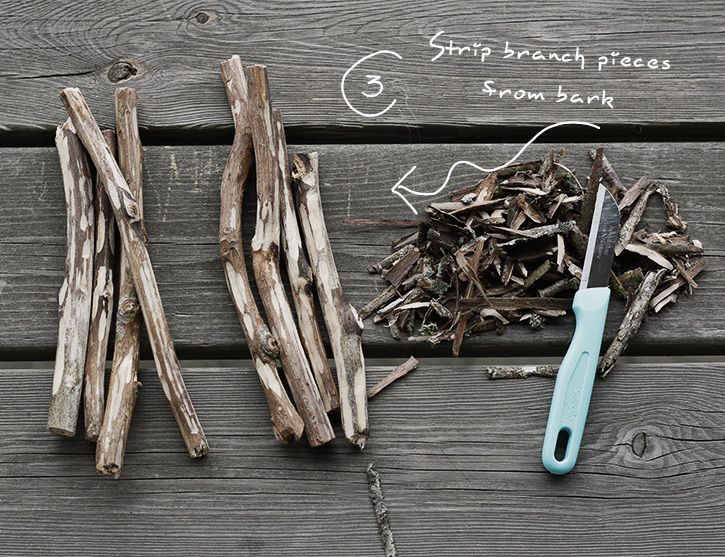
STEP 3:
My branches had bark on them, and to get a cleaner look, I stripped them all from bark with a sharp knife. This is, of course optional, and probably not necessary if you are using beach wood. I just like the clean look, and I know the wood, once indoor and drying up, will not make a mess from bark loosening, if they have been stripped.
If you are doing this step with your kids, promises me that you’ll supervise them and teach them how to handle a knife properly.
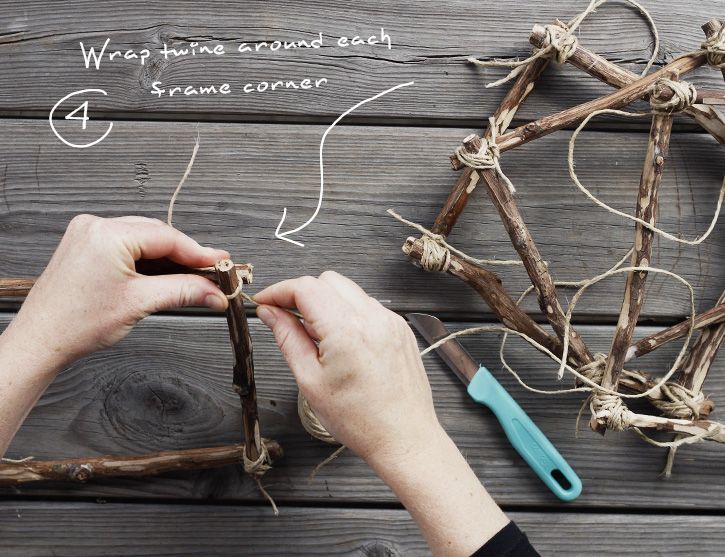
STEP 4:
Now it’s time to make the frames by using twine to bind each branch corner together. I just went up, down and around(tightly) with the twine a couple of times and secured with a knot. You’ll easily feel when it’s enough. The corner will feel stable. Do this with all four corners of each frame and cut off excess twine.
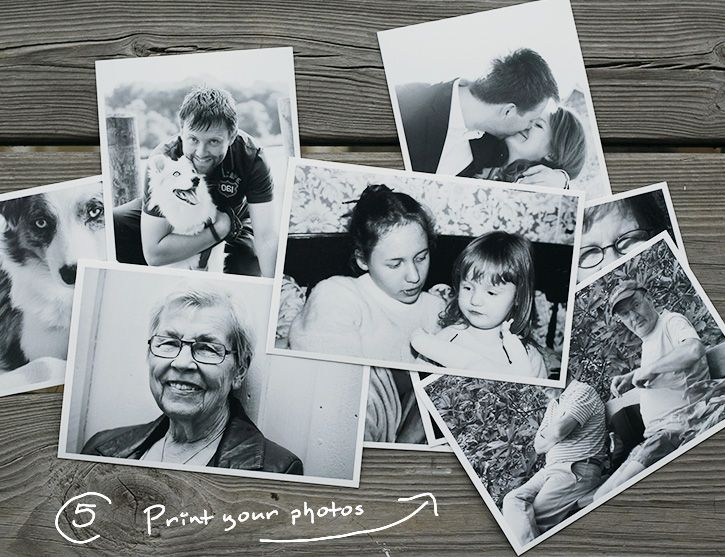
STEP 5:
If you don’t know which photos to use yet, go find them and print them in your chosen sizes. You’ll be needing two photos for each frame, like pairs. Just make sure you choose either horizontal of vertical ones for both images for each pair.
NOTE ON CHOOSING PHOTOS:
You can use very random photos if you like, but it can also be a personalized photo display. Like in my example; I will be hanging the mobile in our upcoming nursery and I wanted it to be filled with familiar faces, like photos of the hubby and I, our dogs and those people we spend the most time with. To me, that creates a comforting and happy atmosphere.
You could choose to make a theme for yours maybe; summer holiday, kids favorite pet, flowers or maybe just a favorite color. The ideas are endless.
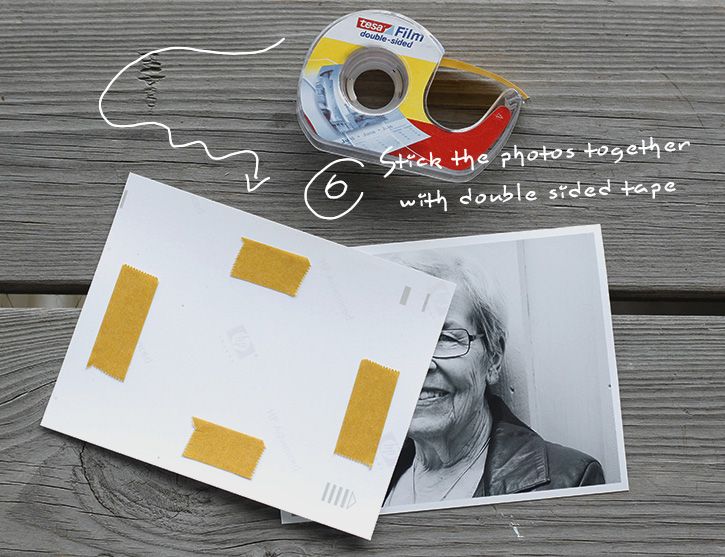
STEP 6:
Add double sided tape to the back of one of the photos for each frame and stick the other one on top. Do this for all photo pairs.
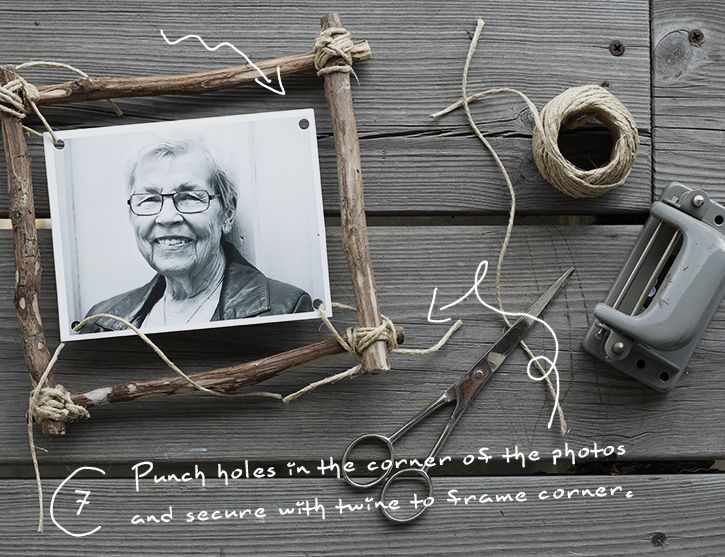
STEP 7:
Punch holes in the corner of each taped photo pair and use twine to fasten each hole to the frame corner.
It should look like in the picture below.
STEP 8:
Now you should be sitting with a bunch of frames, that have a double sided photo. To hang these, we need to create a cross handle for the mobile. We do this by taking the two longer branches from step 2 and tie them together in the middle with twine. Tie a second piece of twine to the middle, so you can hang the cross handle as well.
Now tie a piece of twine to the top of each frame and connect that to one of the cross bars. Do this for all frames, but keep them at different lengths, to make the frames able to turn. You’ll probably notice that the mobile is off balance, but if you slide the knots, where the frames are connected to the cross bars, then you can fix the balance.
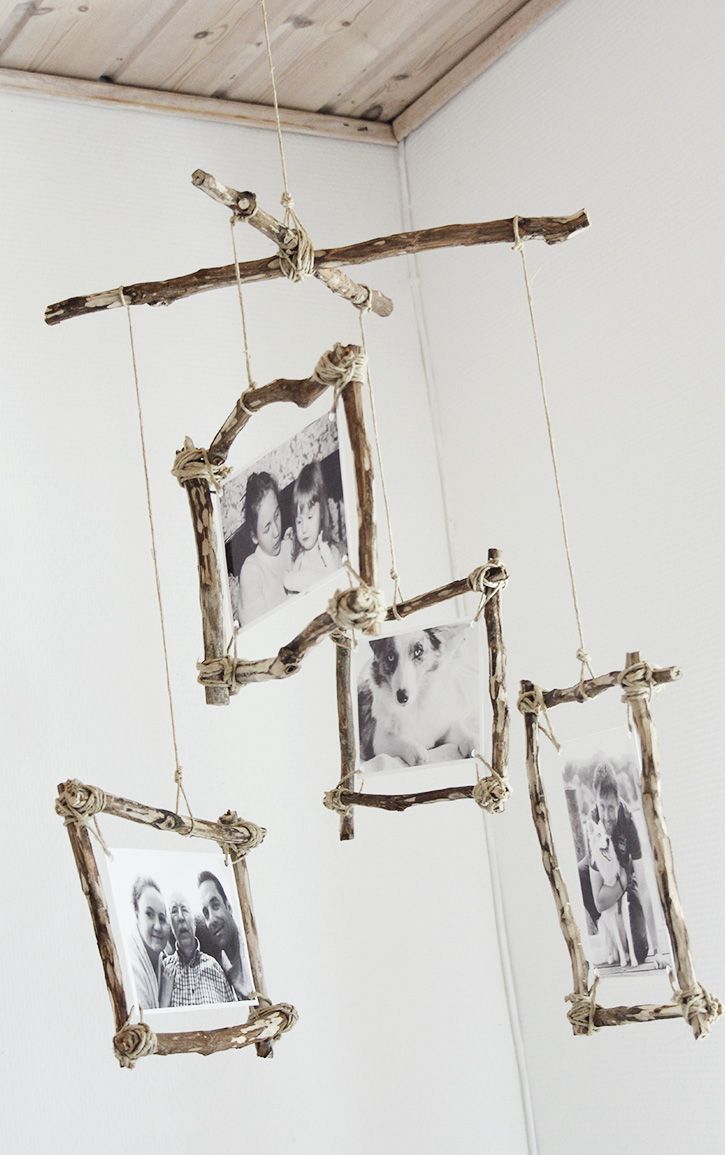
I really love the result and look of this rustic mobile. I also think it’s a fun way to personalize a photo display for different rooms. I think you could even make one for the living room and it would look pretty awesome. Either way, it is a nice way of using a bunch of photos, because of the double display and a great reason to get those photos printed 🙂
I hope you liked this project. You can follow along on my blog for more kids room and nursery related decor over the coming months.
See you soon.
/Annika

Latest posts by Annika Olsson (see all)
- The one reusable accessory you need to make your baby photos look stunning (tutorial) - Monday, June 12, 2017
- Create a beautiful personalized Mother’s Day gift - Wednesday, May 3, 2017
- Create a super quick last minute Easter (or any time of year) hostess gift. - Sunday, March 19, 2017

Leave a Reply