Hey, friends! It’s Rachel Gainer of RachelRebuilt.com, NASM certified personal trainer and fitness contributor here at Simple as That. Today, I’m bringing you a quick workout you can do in your living room with an ordinary basketball. No fancy equipment needed.
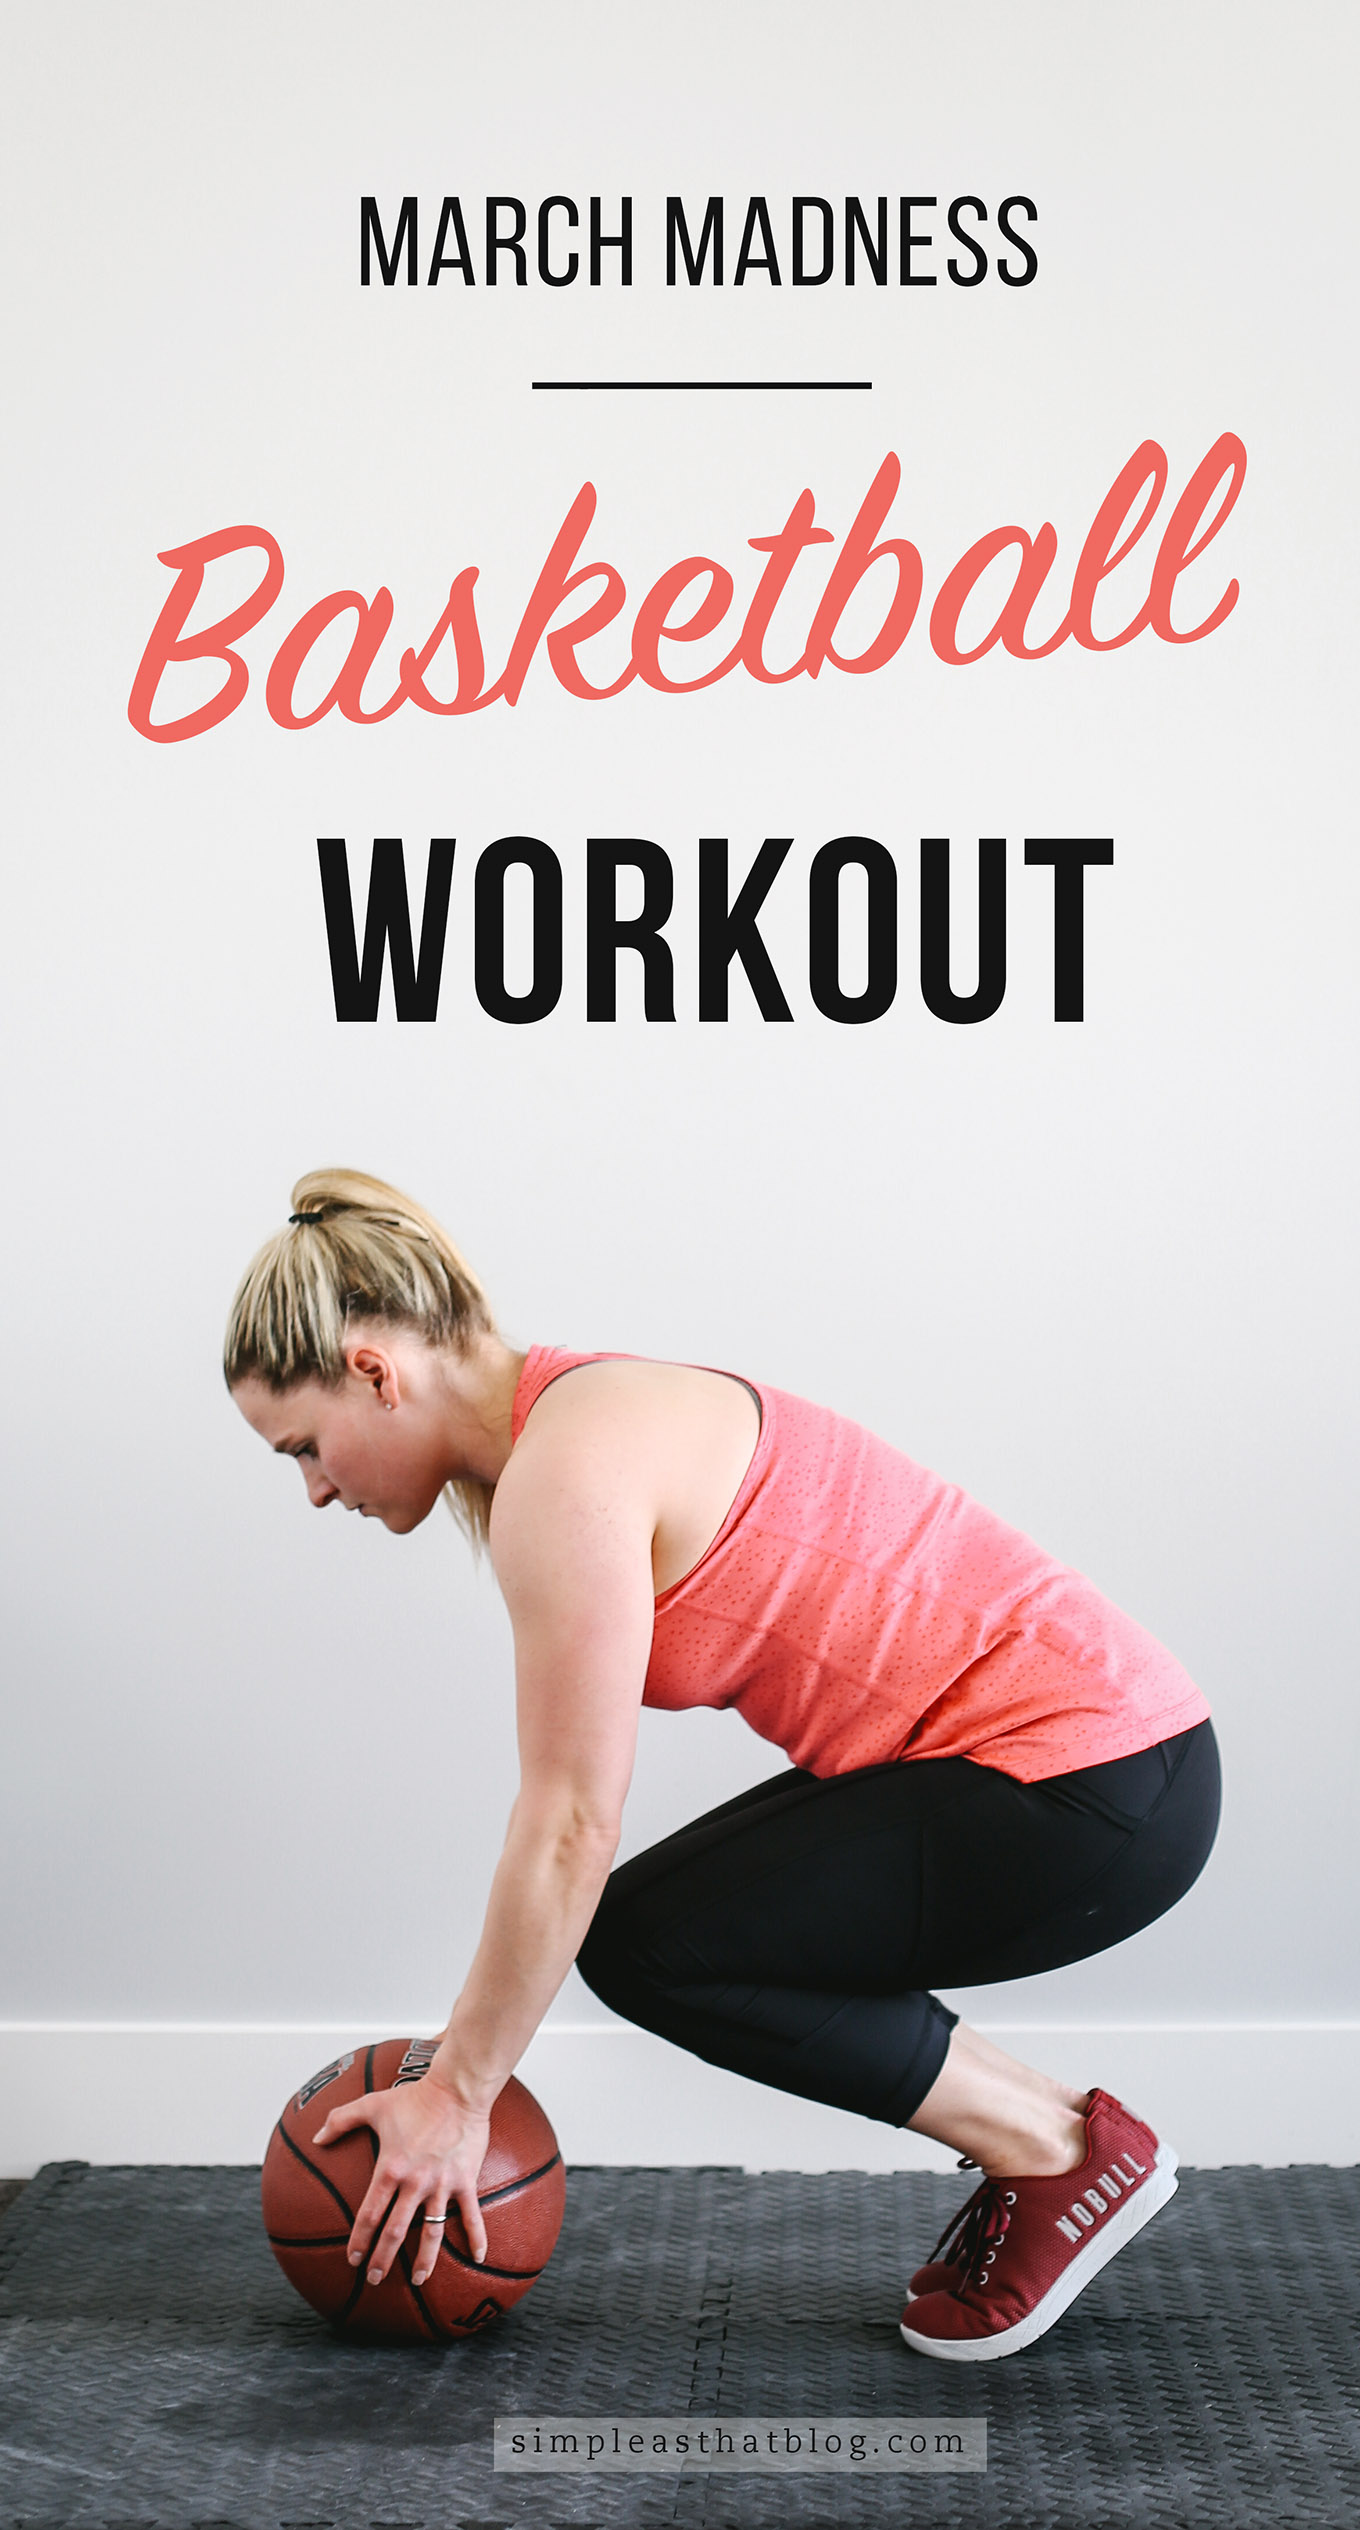
March Madness is around the corner, which means my sports-lovin’ husband is busy researching collegiate athletes, reviewing team stats, and mapping out his bracket. It’s all Greek to me, but I’m still crazy-impressed by the ball-handling skills of the players. Their ability to run, dribble, and shoot without tripping over their own feet reminds me that I’m not always so coordinated. (Like that one time I fell off a curb. Oops!) That got me thinking: maybe I’m not the only one who could use a little help with stability and coordination.
You don’t have to be a foam-finger fan or even understand the game to reap the benefits of today’s March Madness Basketball Workout. These five exercises add a basketball to traditional exercises to challenge your stability, balance, and coordination, building strength in your deep stabilizing muscles.
Stability Training & Coordination
Why is stability important? Well, some muscles mobilize, moving the body and limbs in all directions, and some muscles stabilize, keeping the body balanced and the kinetic chain in proper alignment. When trainers talk about “engaging your core” while performing an exercise, they usually want you to engage your deep stabilizing muscles while you move.
This helps you maintain proper balance and alignment, so you maximize the effectiveness of an exercise and avoid injury. Strengthening your stabilizers will improve your overall performance, keep you safe, and recruit more muscles during each exercise, which means burning more calories (a nice little perk).
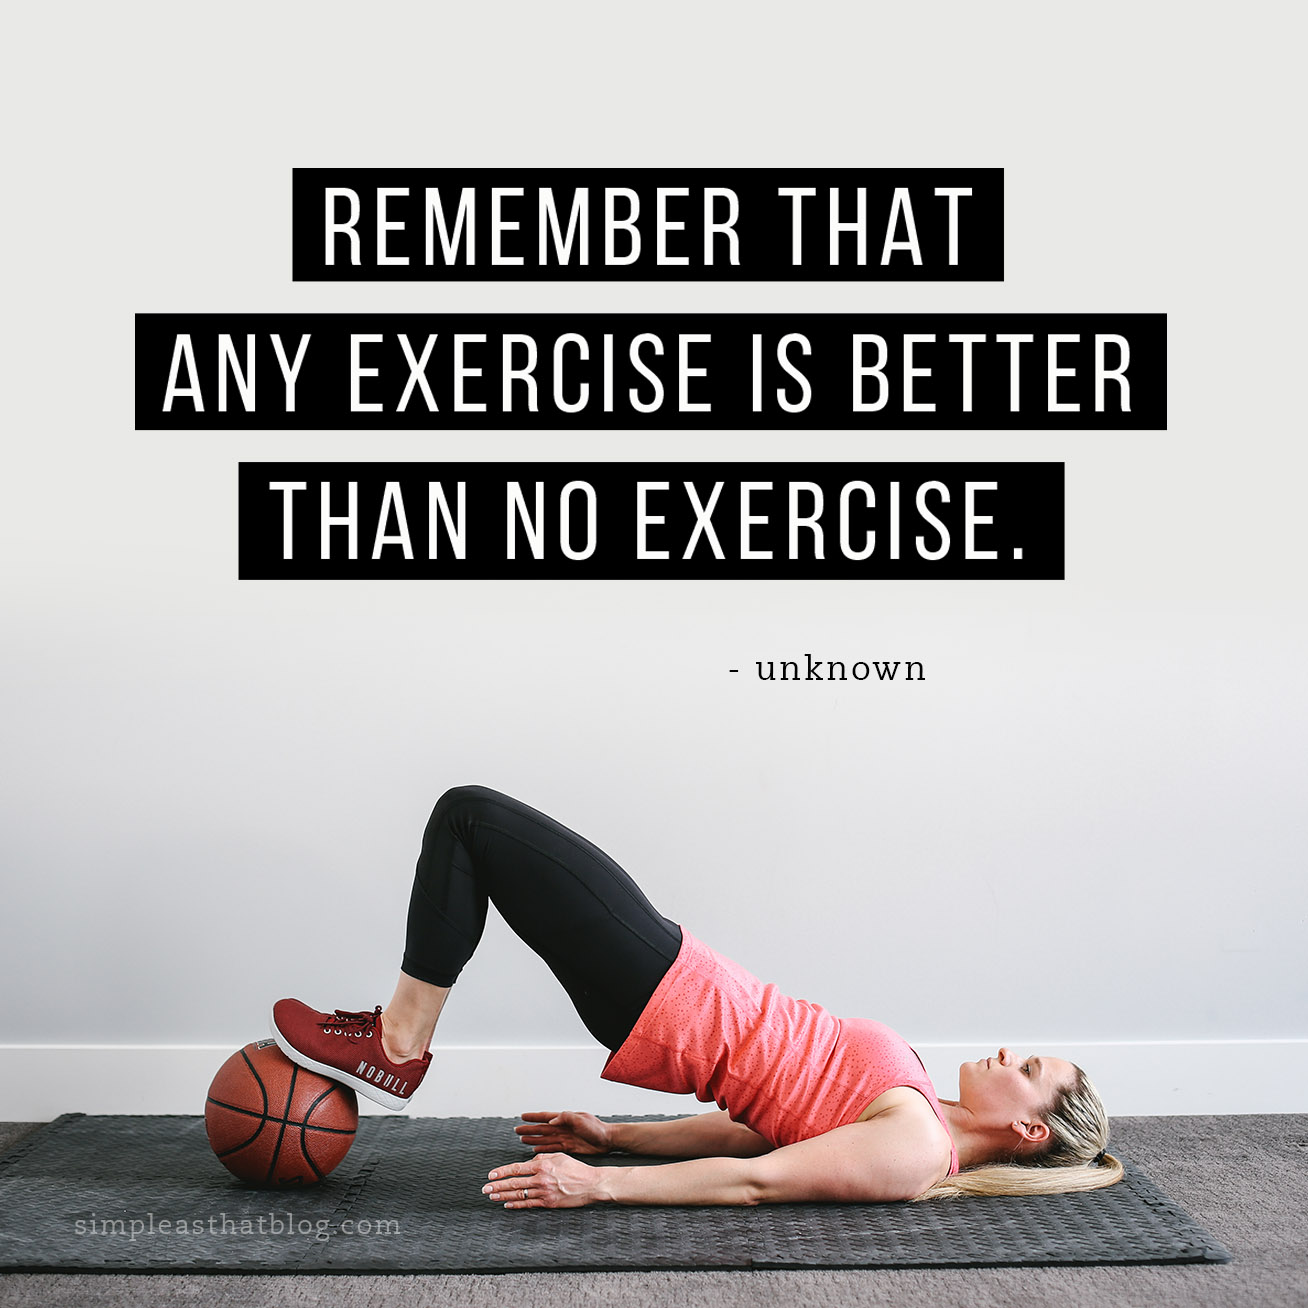
The best way to train your stabilizers is to perform exercises in controlled but unstable environments. Controlled means careful, purposeful movements with proper form—no flinging or flailing your body and limbs, this isn’t the hokey-pokey. Unstable basically means “wobbly.”
This March Madness–inspired workout adds an ordinary basketball to traditional exercises to slightly destabilize the body. This forces those deep stabilizers to engage and help you maintain balance while your mobilizers perform the exercise. These exercises also challenge your coordination, requiring you to integrate movements involving multiple muscle groups.
If you’re new to exercise or coming back from a break, performing stability exercises with lower weights (like a basketball) is a great way to maximize your workout and prepare your body to bear heavier loads. If you’re ready for a bigger challenge, try using a weighted medicine ball instead.
Instructions for March Madness Stability Workout
This workout features five exercises (explained below). Each exercise is designed to challenge your stability and coordination. If you aren’t used to doing stability work, you may feel a bit wobbly. Remember to engage those deep stabilizing muscles by bracing through your core. Maintain strong alignment through your legs, hips, torso, and neck. Remember that form and stability are more important than speed in this workout.
Learn each move by watching the summary video and reading the step-by-step instructions below. Perform 15–20 reps of each exercise, and complete 3–5 sets, based on your conditioning level.
If you like this circuit, you can find more quick, at-home workouts on my website RachelRebuilt.com or on my Instagram @rachel_rebuilt.
Equipment Used
Valeo Medicine Ball (Optional)
LuLu Lemon All The Right Places Crop II
Summary Video
Individual Exercises
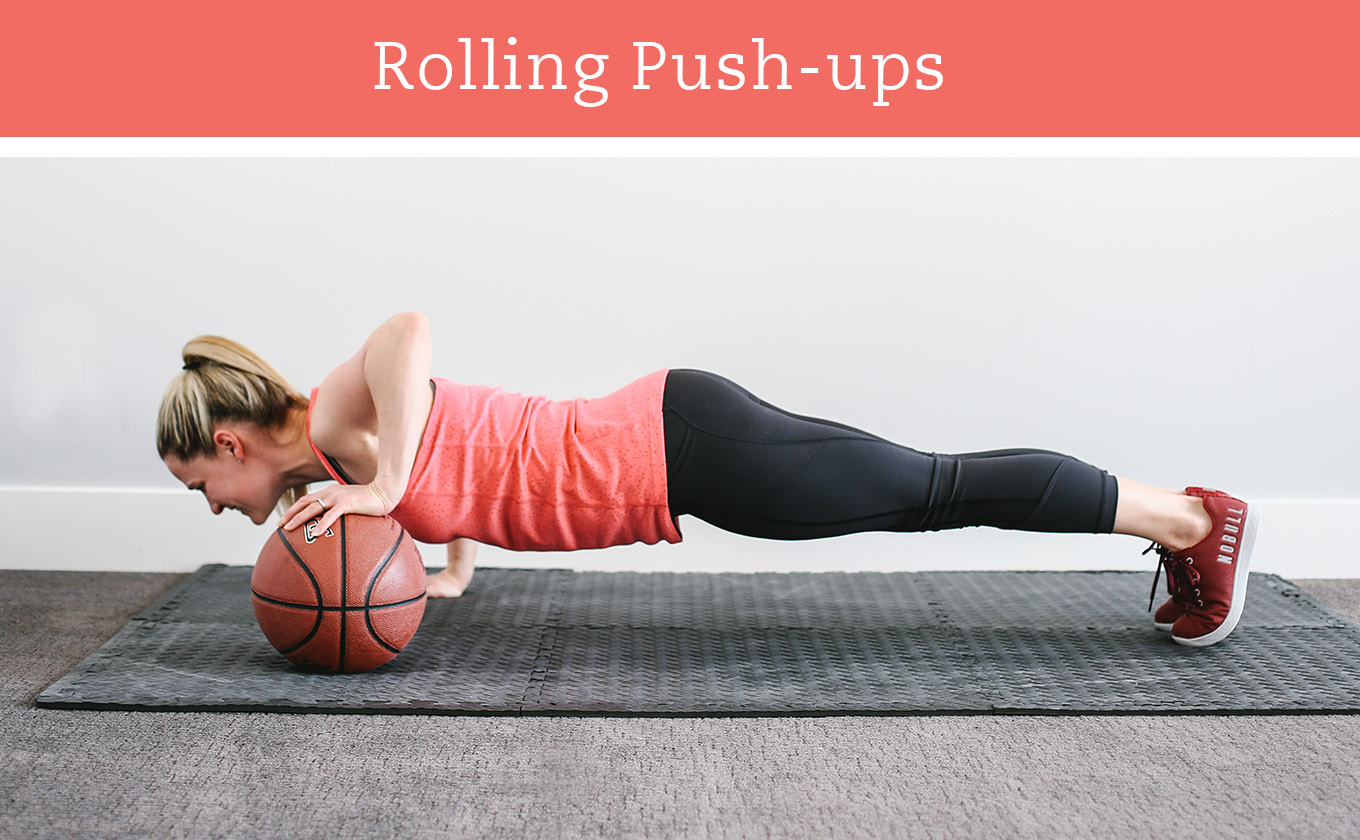
Rolling Push-ups
- Start in plank position with a basketball under your right hand. Position your hands just wider than shoulder-width apart, and place your feet close together.
- Lower your body toward the ground, going as deep as you can with your right hand on the basketball. Work toward a 90-degree bend in your left elbow.
- Push-up powerfully, engaging your pectoral (chest) muscles to press back into plank.
- Without dropping to your knees, roll the basketball to your left hand.
- Repeat steps 1–4 on the left side.
- Complete 15–20 reps, counting each push-up as one rep (Right = 1, Left = 1).
Trainer Tips for Rolling Push-ups
- Keep your body as straight as a plank, and tuck your hips so that you feel your lower abs and glutes squeezing tightly.
- Don’t look straight down. Instead, look at the ground about 1 foot in front of you. This will keep your neck in proper alignment.
- Remember to breathe—inhale as you lower your body, and exhale as you push up.
- If you can no longer do push-ups in plank position, you can do modified push-ups (aka “girl push-ups”) on your knees. Work toward performing this exercise in plank position.

Alternating Lunge, Twist & Bounce
- Start in a standing position. Hold a basketball in front of you with your elbows bent at 90-degree angles.
- Step forward with your right foot, and lower your body toward the ground until each leg forms a right angle.
- Carefully twist your torso toward your right leg.
- Bounce and catch the basketball on your right side.
- Carefully turn back to center.
- Press off your right foot, and stand up powerfully, returning to the starting position.
- Repeat steps 1–6 on the left side.
- Complete 15–20 reps, counting one right lunge and one left lunge as one rep (Right + Left = 1).
Trainer Tips for Alternating Lunge, Twist & Bounce
- Step forward far enough that both legs have room to bend and form right angles. Don’t let your front knee drift forward over your toes.
- To avoid injury, twist deliberately and carefully. Don’t jerk or move too quickly.
- As your stability and coordination improve, try to bounce the ball without watching it. This challenges your spatial awareness.
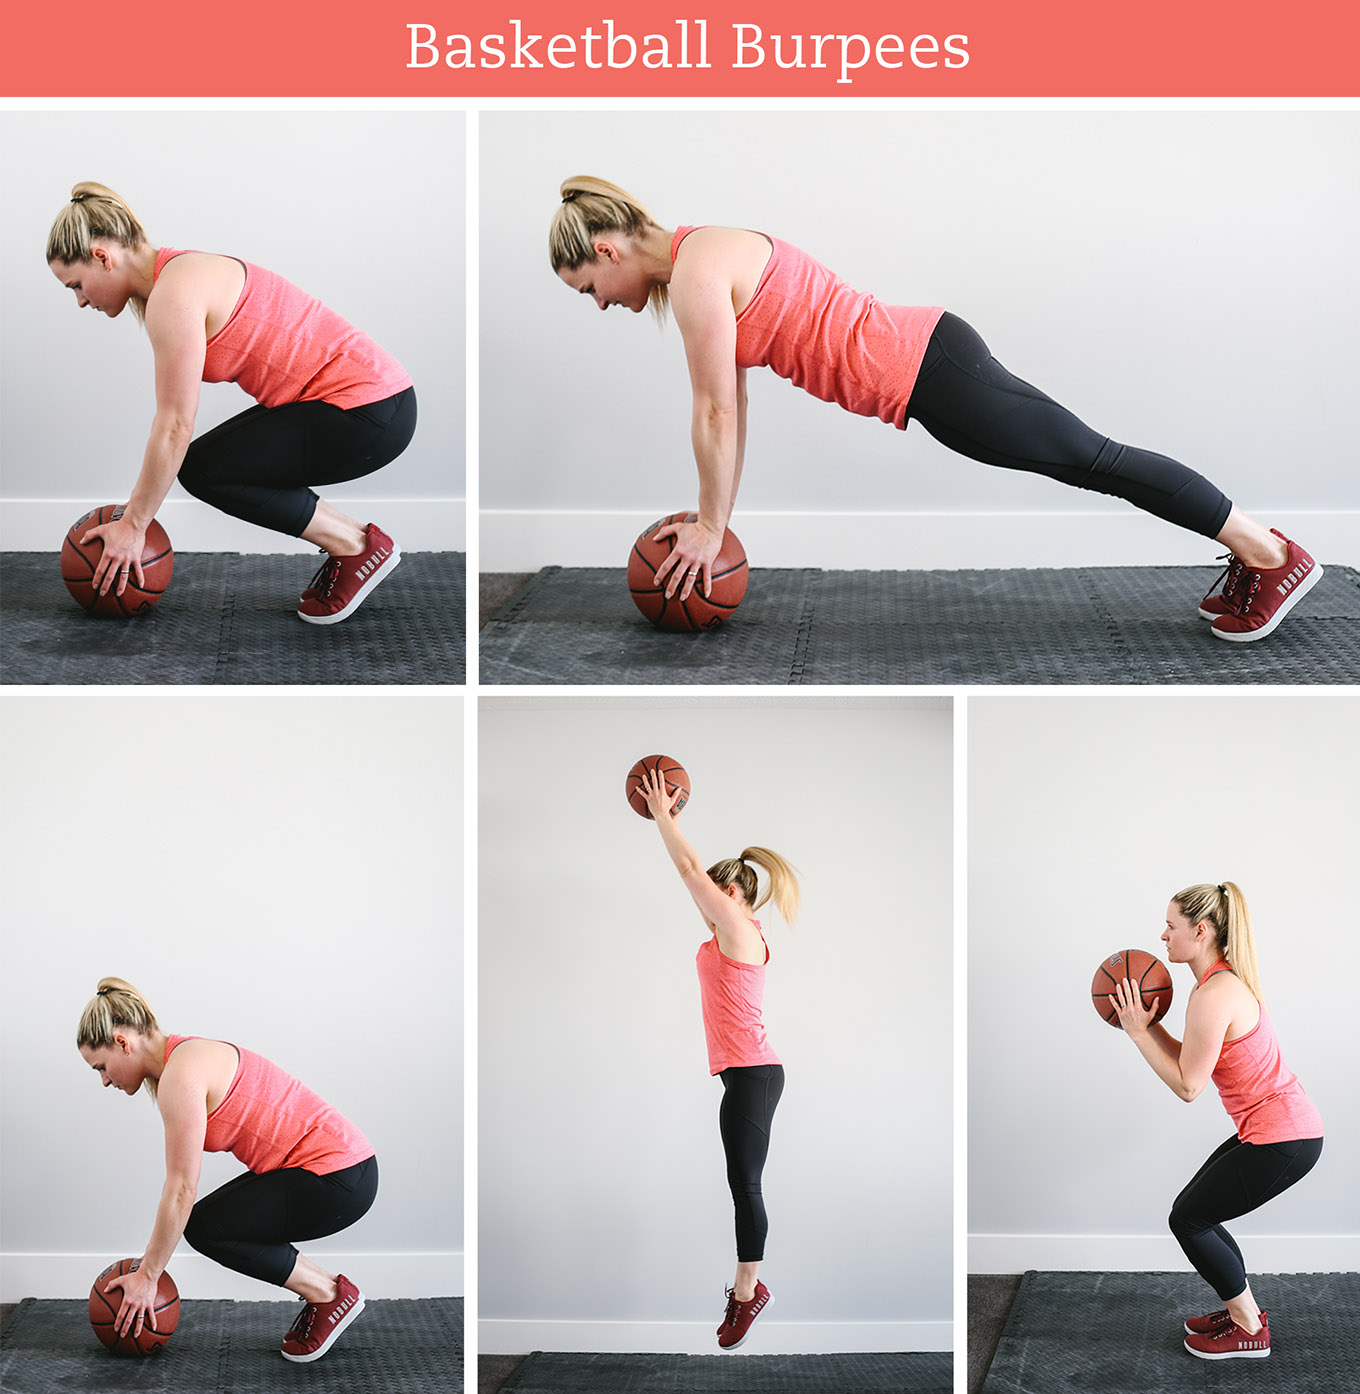
Basketball Burpees
- Start in a standing position with a basketball in your hands.
- Drop into a crouching position, placing the basketball on the ground in front of you.
- While balancing on the basketball, jump both feet back so that you land in plank position.
- Jump both feet forward, returning to a crouching position.
- Push off the ground with the basketball, and jump into the air with your arms raised above your head.
- Land in a crouching position with the basketball on the ground in front of you.
- Repeat steps 3–6.
- Complete 15–20 reps, counting each burpee as one rep.
Trainer Tips for Basketball Burpees
- Start out slow, observing how it feels to jump your feet back while balancing on a basketball. Increase your speed as you gain confidence in your movement.
- As you jump, reach your arms overhead and look straight ahead to ensure your shoulders don’t roll forward. This becomes increasingly important as you fatigue.
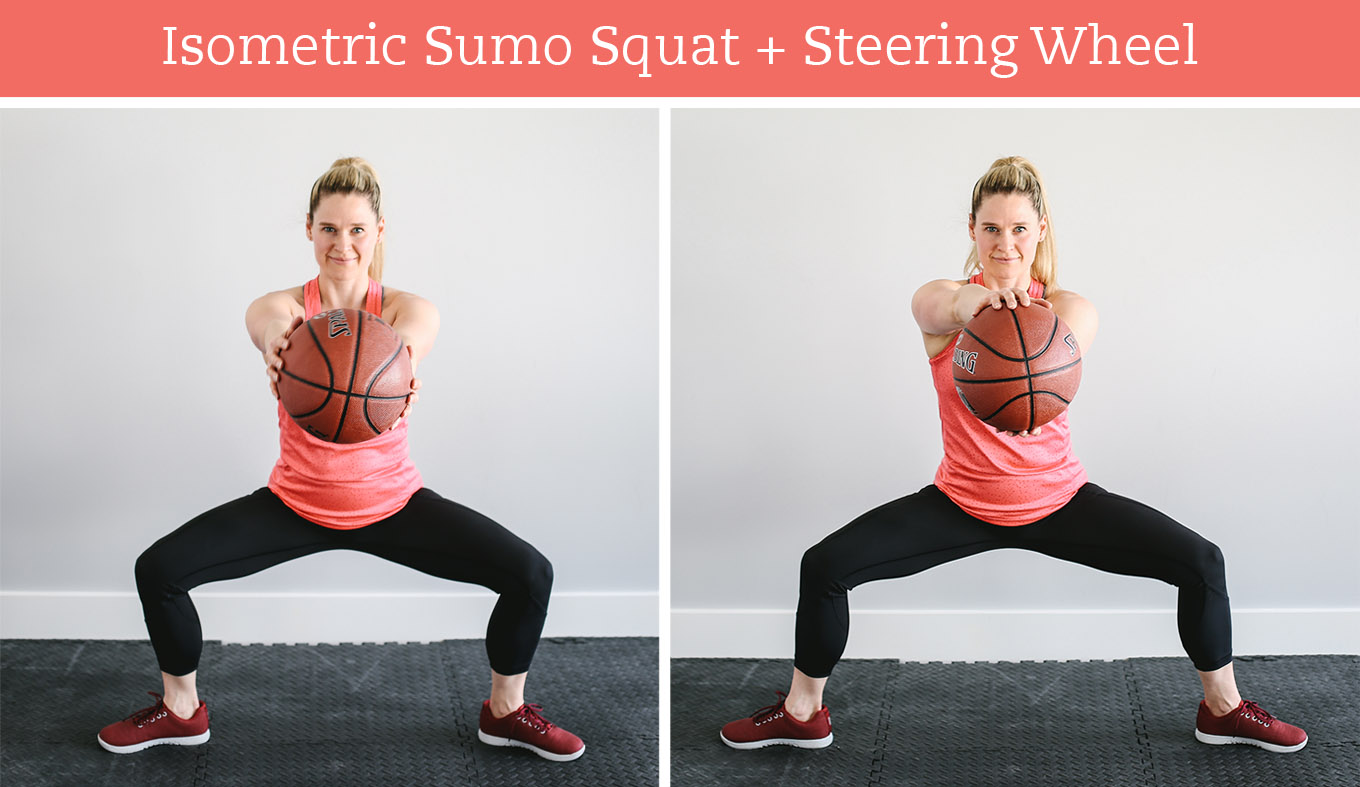
Isometric Sumo Squat + Steering Wheel
- Start in a standing position with your feet spread wide and pointing in opposite directions. Hold a basketball in your hands.
- Sink your hips straight down until your knees are bent at 90-degree angles. Hold this position for the duration of the exercise.
- Hold the basketball straight out in front of your chest, one hand on each side.
- Activate your shoulder muscles to rotate the basketball like a steering wheel, rotating your right hand to the top and then the bottom.
- Complete 15–20 reps, counting one upward rotation and one downward rotation as one rep (Up + Down = 1).
Trainer Tips for Isometric Sumo Squat
- After sinking down into your squat, adjust your feet positioning to ensure that your knees do not drift past your toes.
- Keep your torso upright: don’t let your hips drift backward or your chest fall forward.
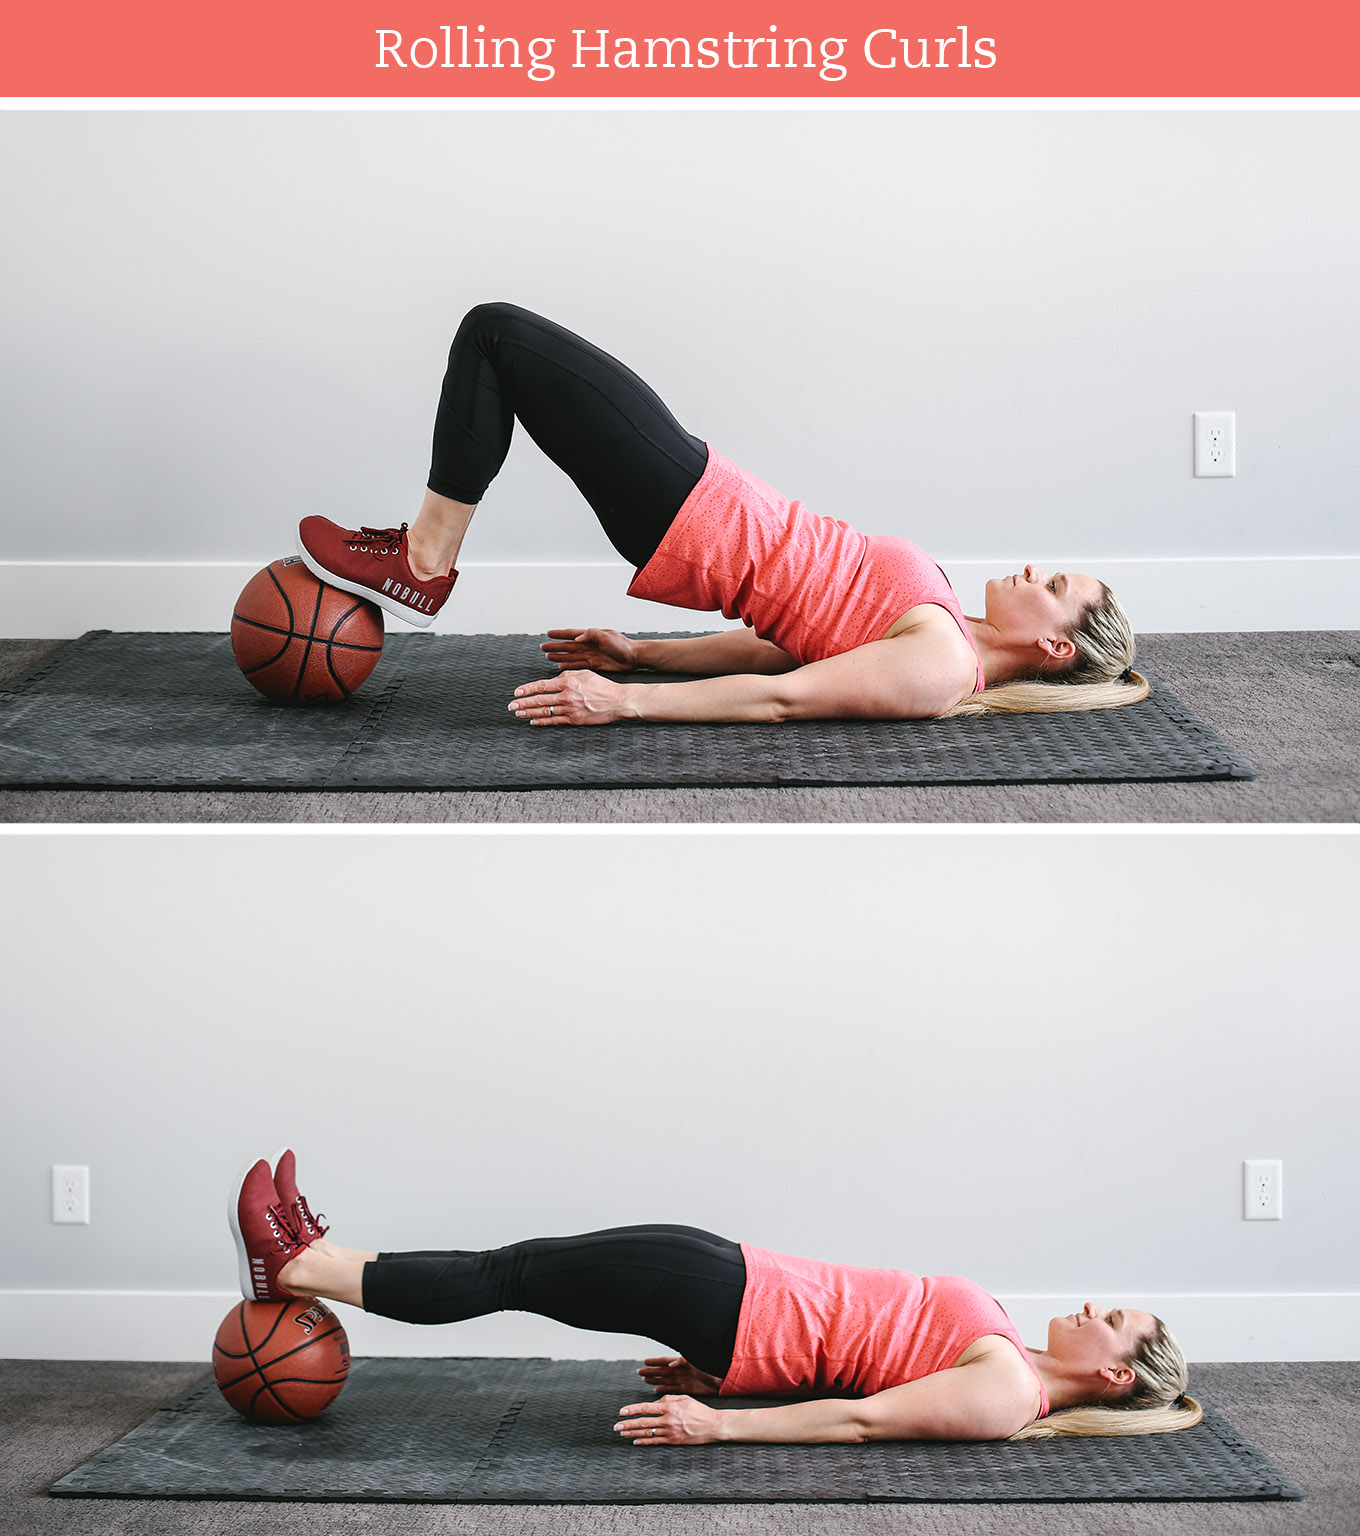
Rolling Hamstring Curls
- Start by lying on the ground with your feet on a basketball and your knees bent at 45-degree angles.
- Press your heels into the basketball, and lift your hips toward the sky until you feel your glutes engage.
- With your hips lifted, roll the basketball away from your buttocks until your legs are straight. (Your hips will naturally drop, but don’t let them drop to the ground.)
- Using your hamstrings, pull the basketball back toward your buttocks. Lift your hips as you draw in the ball.
- Repeat steps 1–4.
- Complete 15–20 reps, counting each hamstring curl as one rep.
Trainer Tips for Hamstring Curls
- Lift your hips until you feel your glutes engage. Brace through your core to maintain stability.
- In the elevated position, imagine forming a straight line from your shoulders to your knees. Nothing should sag or overextend. In the extended position, imagine forming a straight line from your shoulders to your feet.
You can find more quick workouts, nutrition tips, and advice on self-love on my website RachelRebuilt.com or on my Instagram @rachel_rebuilt.


Leave a Reply