Naturally Dyed Easter Eggs Tutorial – learn how to get beautiful, rustic colored Easter eggs by dying with all natural ingredients. Follow along for a list of household ingredients and step by step instructions to help you create pretty Easter eggs in a variety of natural shades and the best part is, it’s safe for kids.
Hello Simple as That readers! I’m Jennie and I’m a lifestyle photographer at Guenard Photography and full-time Mommy. I started photography long before having children, and have always loved capturing real moments and emotions, which easily transitioned over to taking pictures of my family’s adventures. I’m so grateful for the ability to capture beautiful moments of our everyday lives. I have a love for creating things, especially with my family, because my two year old gets to feel that sense of accomplishment when she looks at something she helped to make. It’s also great for bringing us closer together, and isn’t that what life is all about?
Follow along with Jennie’s work here:
Website | Instagram | Facebook | Pinterest | Twitter
Easter has always been a favorite time of year, and dying Easter eggs is a tradition that I wanted to carry on with my children.
My love for all things natural and homemade led me to making dye out of food and plants that I already had in the house.
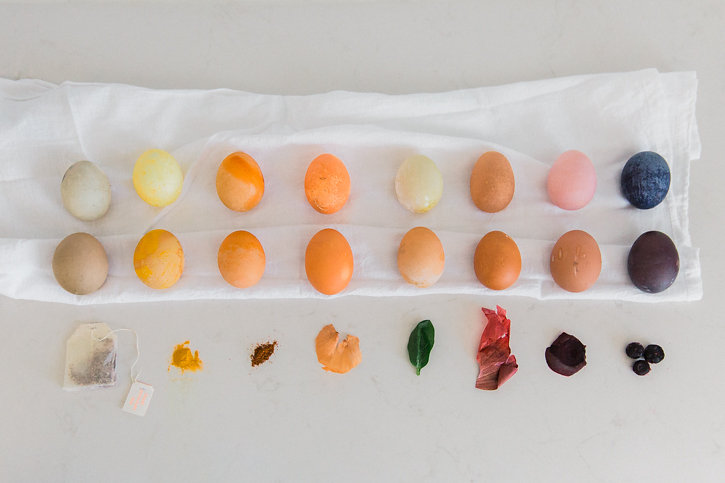
Most of the items we used were leftover from meals I had made throughout the week, and the colors we created are so pretty!
I love the natural tones, they have such gorgeous depth and texture, and just knowing you made something right from scratch makes it satisfying and beautiful all on it’s own.
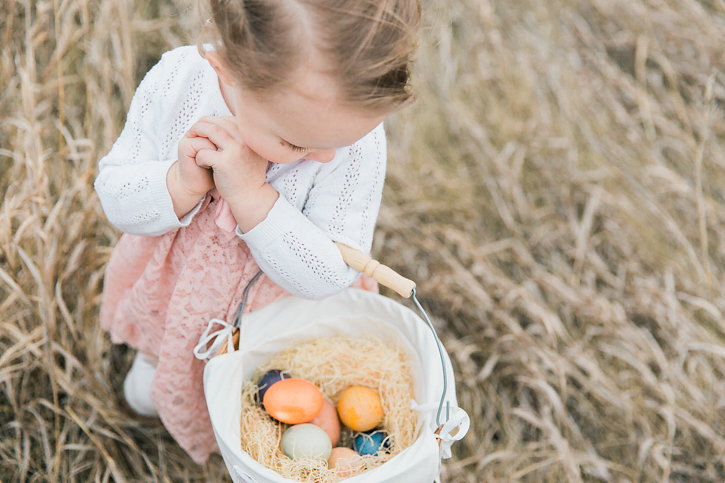
I’m glad I could share that feeling with my daughter, here’s to the start of new holiday traditions.
Supplies
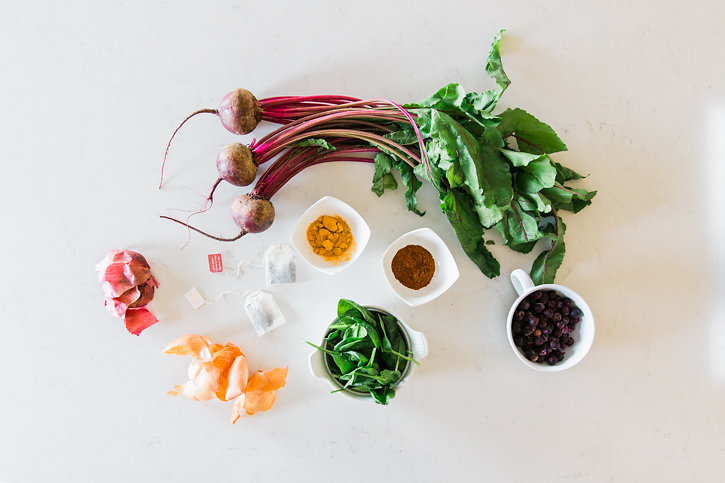
Eggs (brown or white)
Yellow Onion
Red Onion
Spinach
Beets Blueberries
Turmeric
Chili Powder
Red Tea (acai, red raspberry, etc.)
Glass Jars for Dye
Cooling Rack for drying
Instructions
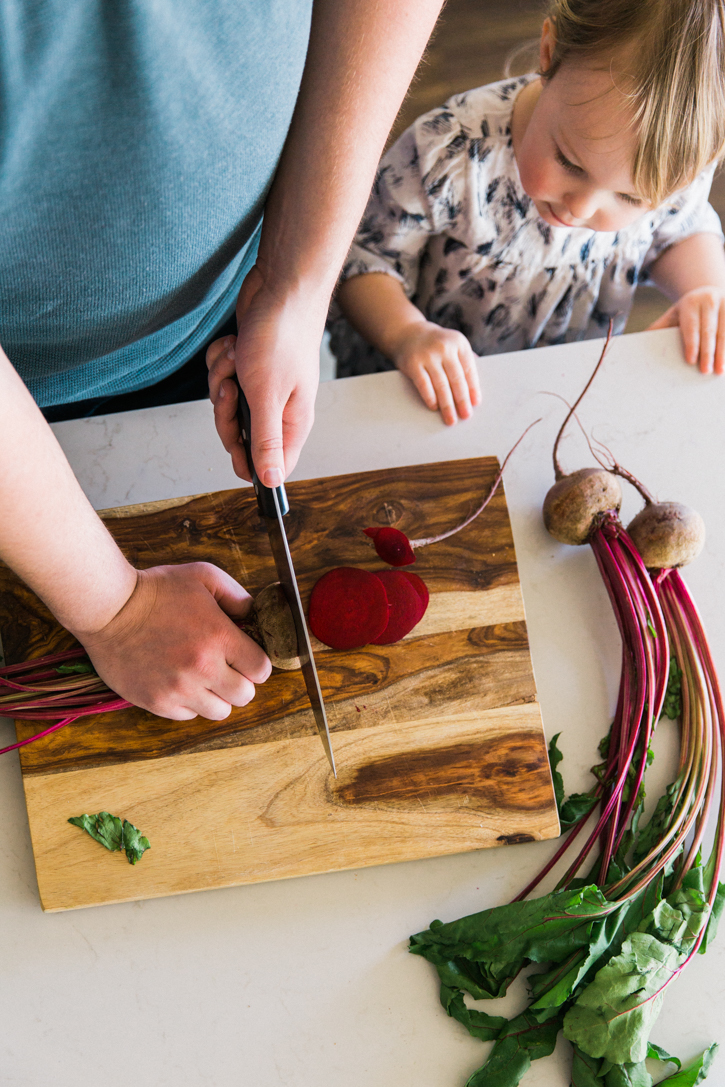
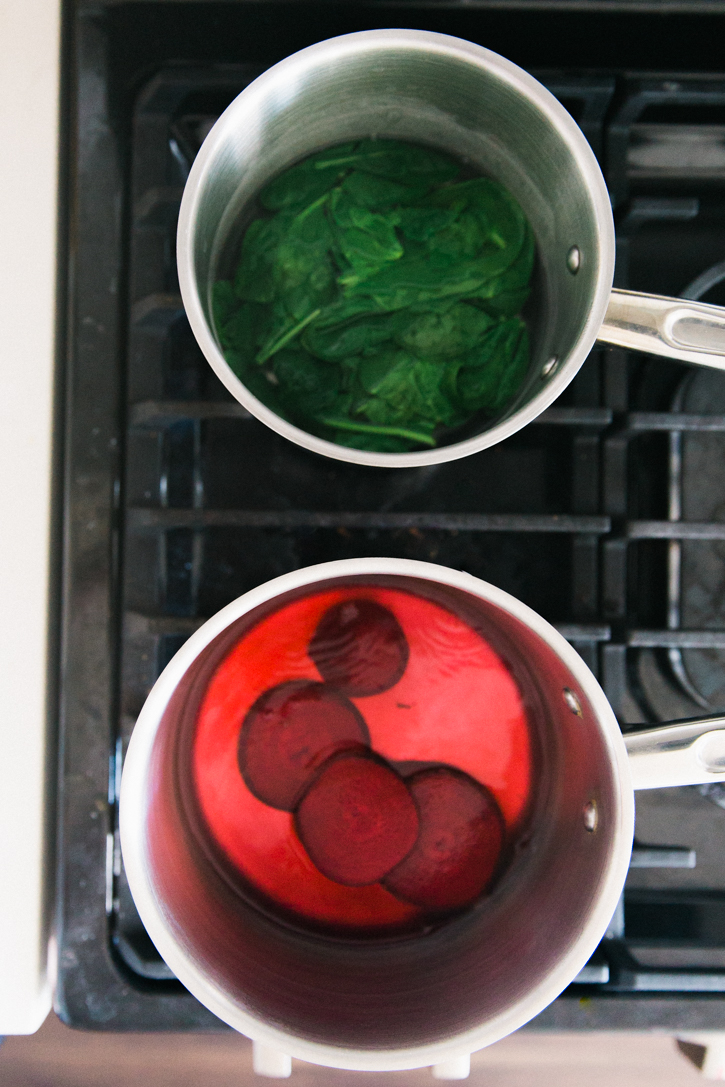
1. Gather the supplies you are using to make the dye. Chop up the beets, peel the onions and save the peel, and boil water for tea.
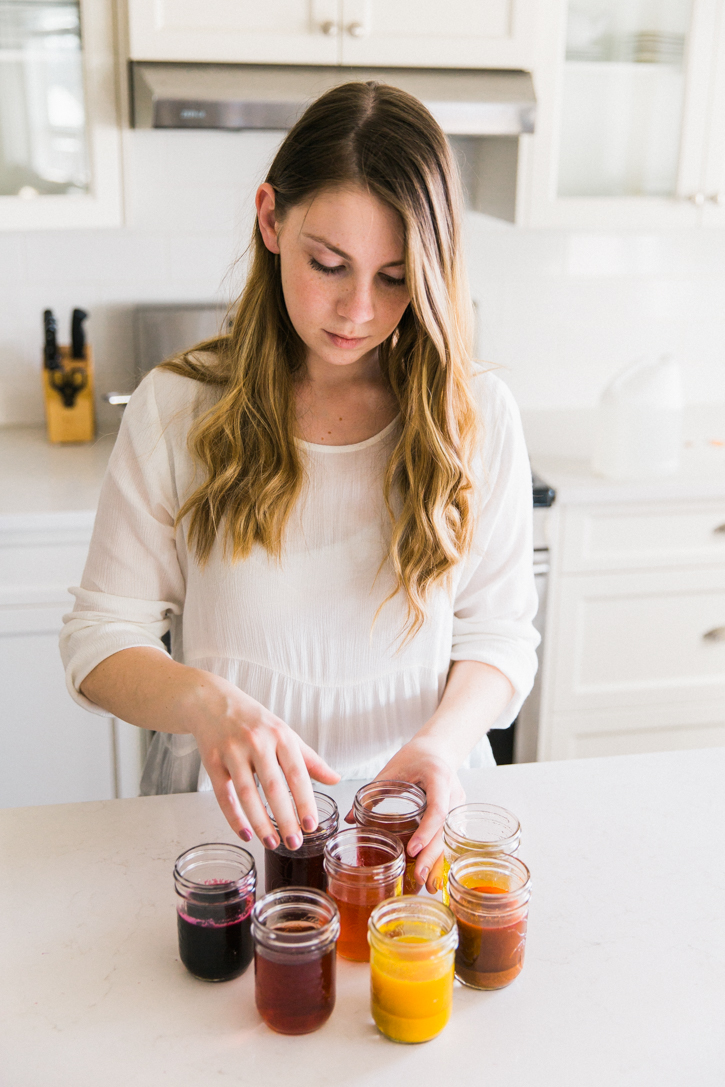
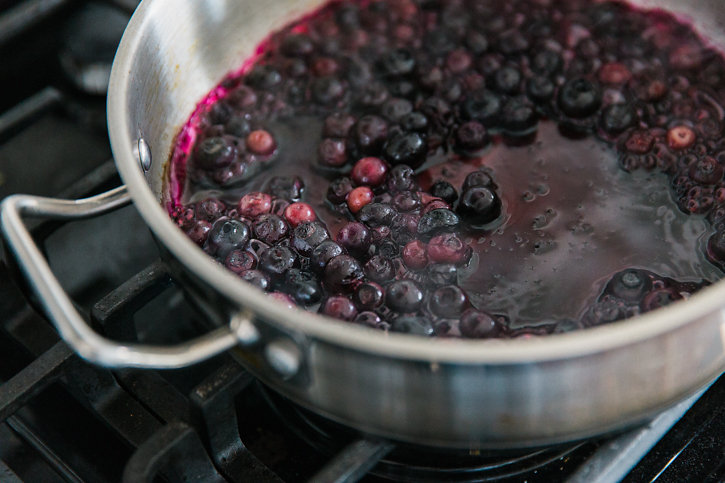
2. Boil the ingredients in seperate pots, simmering each fruit or vegetable until the color of the water is quite deep in tone, or until the spices have dissolved. Steep the tea.
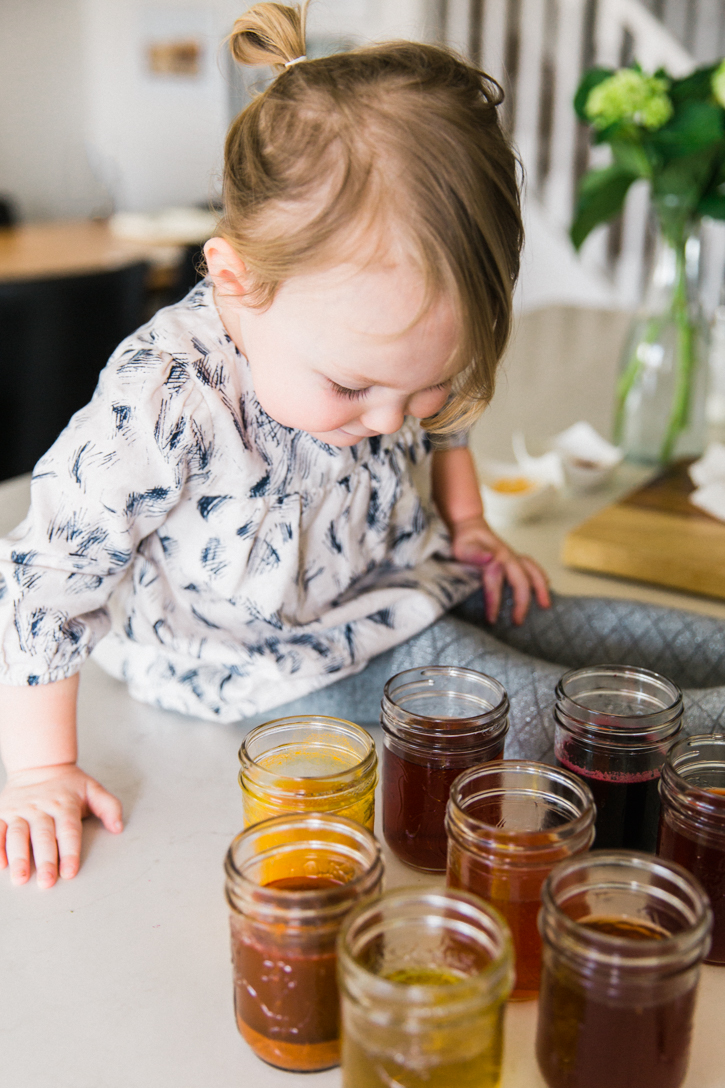
Strain the ingredients from the (now colored) boiling water and pour it into jars. Add a tablespoon of vinegar to each color.
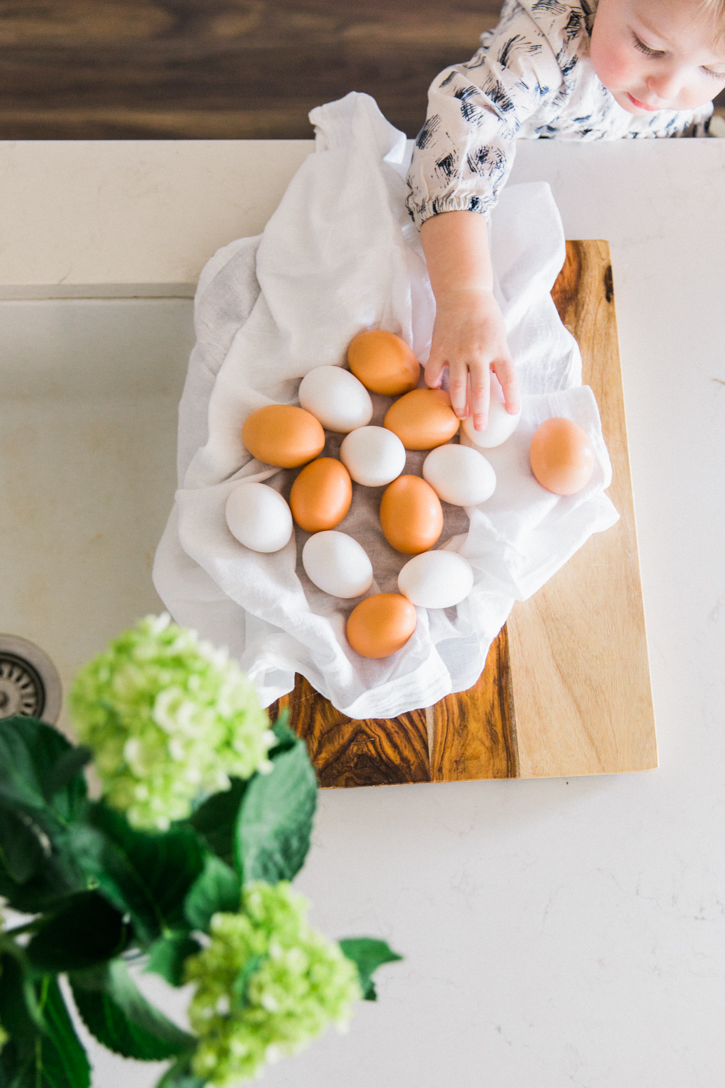
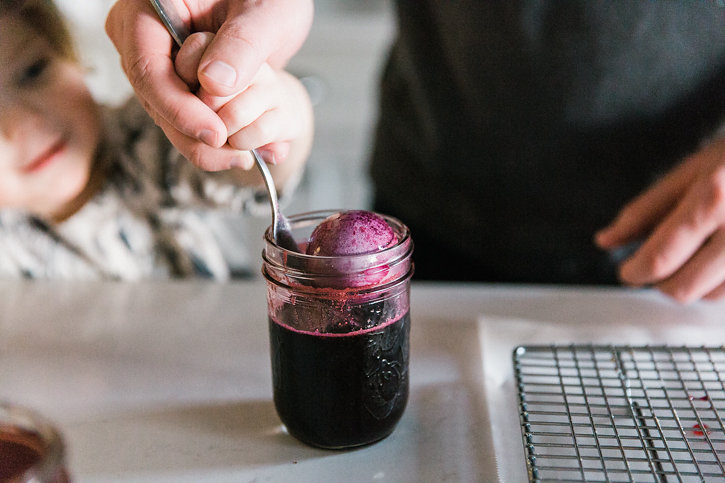
4. Place eggs in the dye and wait a few hours, the longer you leave it in, the stronger the color will be. I left mine in for about two hours.
5. Take egg out of the dye (we used a fork to scoop them out) and place on a cooling rack to dry. I put parchment paper underneath so that drips wouldn’t stain the counter.
6. Let dry, and enjoy!





My grandmother never used store-bought Easter egg dye. Every Easter, she would dye her eggs with boiled down onion peels. Thanks for bringing back the memories. 🙂
What a simple and sweet idea! I love this!
xo Loren
http://www.thinkelysian.com