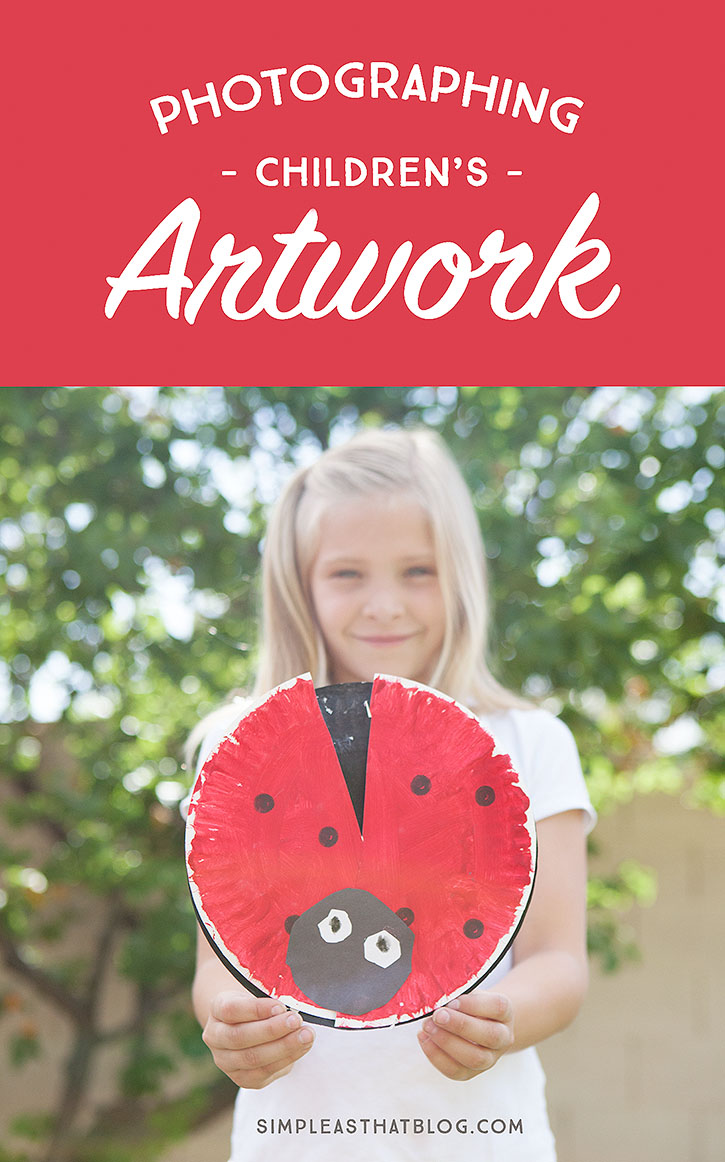
Photographing Children’s Artwork – the school year is winding down and backpacks full of artwork and school projects are starting to come home! Get a handle on the ever growing piles of papers by photographing your child’s artwork using these simple tips.
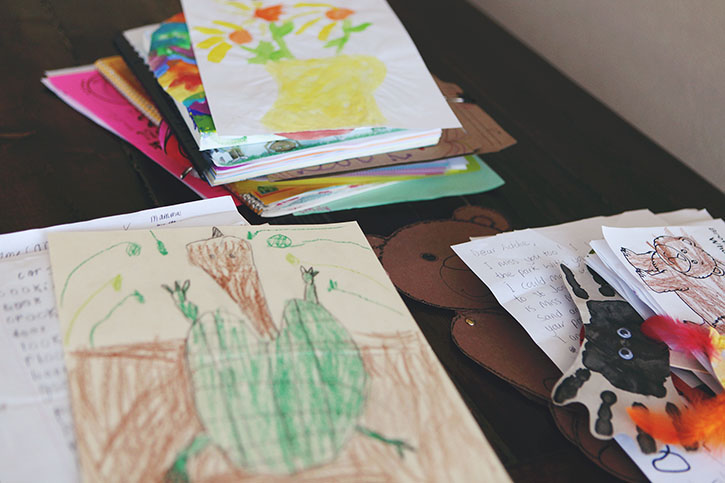
I absolutely love all of my children’s art, but the flood of one-of-a-kind creations that come home at the end of the school year can be so overwhelming! The simple truth is, that as much as we want to, we just can’t keep it all! So, how do we celebrate our children’s hard work and talents without filling up closets full of school year momentos?
Digitizing your Children’s Artwork
Digitizing your child’s artwork is the perfect way to preserve their special treasures while avoiding all that paper clutter! To do this I prefer photographing my kids art over scanning it. Some of it can be a bit bulky and doesn’t fit in the scanner well. I find it much quicker to take photos than to scan. Photographing or scanning your child’s art can is a great way to cut down on the amount of art you feel like you need to keep.
Tips for Photographing your Child’s Artwork
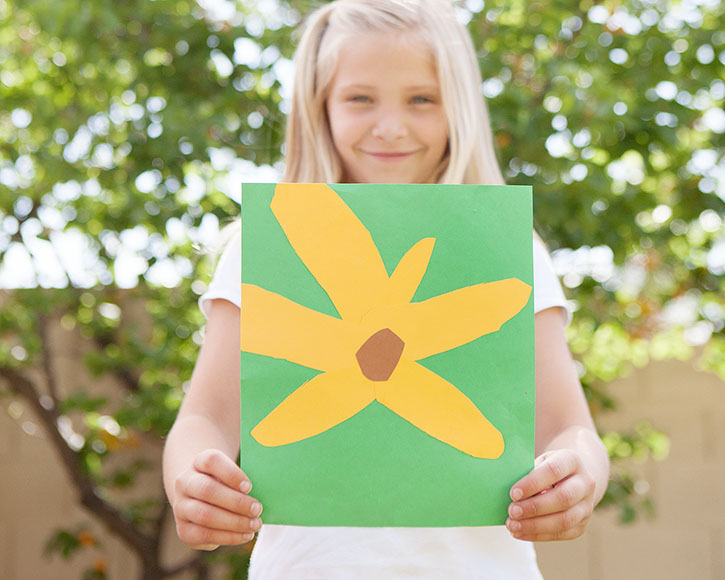
1. Photograph in a well lit area. Near a window, on a covered deck or in an open doorway.
2. Use a higher f-stop setting on your camera ensuring more of your image will be in focus. Don’t have the ability to manually change your camera settings? Try shooting in landscape mode.
3. Stand directly over top of the artwork. Be sure you aren’t blocking your light source.
4. Pay attention to how straight you’re holding your camera. Your camera should be parrellel to the art piece. Check your view finder, the straight edges of the view finder should be parallel to the edges of the art work. Make slight adjustments to the angle of the camera until they are.
After photographing your child’s masterpieces, there are so many fun things you can do with it!
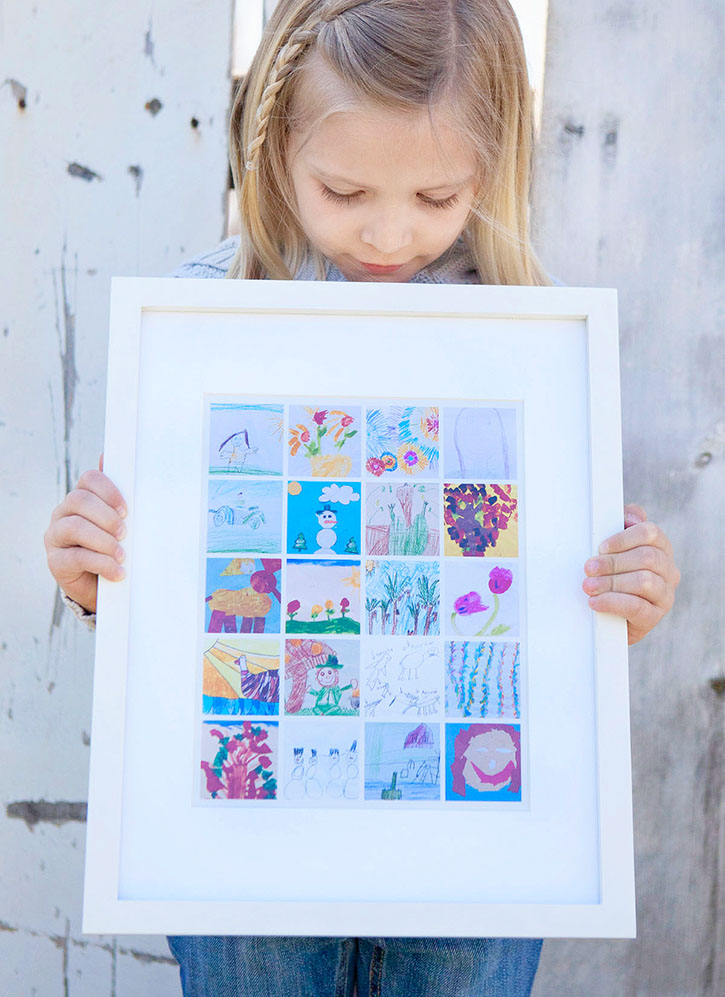
Create a custom photo book, use it to create custom greeting cards or create a beautiful art collage for to display in your home! I put this simple collage together and the kids think its so fun to see their art hanging on the wall! I don’t know why I didn’t do this sooner – it’s beautiful!
You can create your own collage quickly and easily using Picmonkey’s free online collage maker. If you’re familiar with Photoshop or Photoshop Elements I’ve got some premade templates for you to make it really easy.
Children’s Art Collage Templates
11×14 – 20 image collage
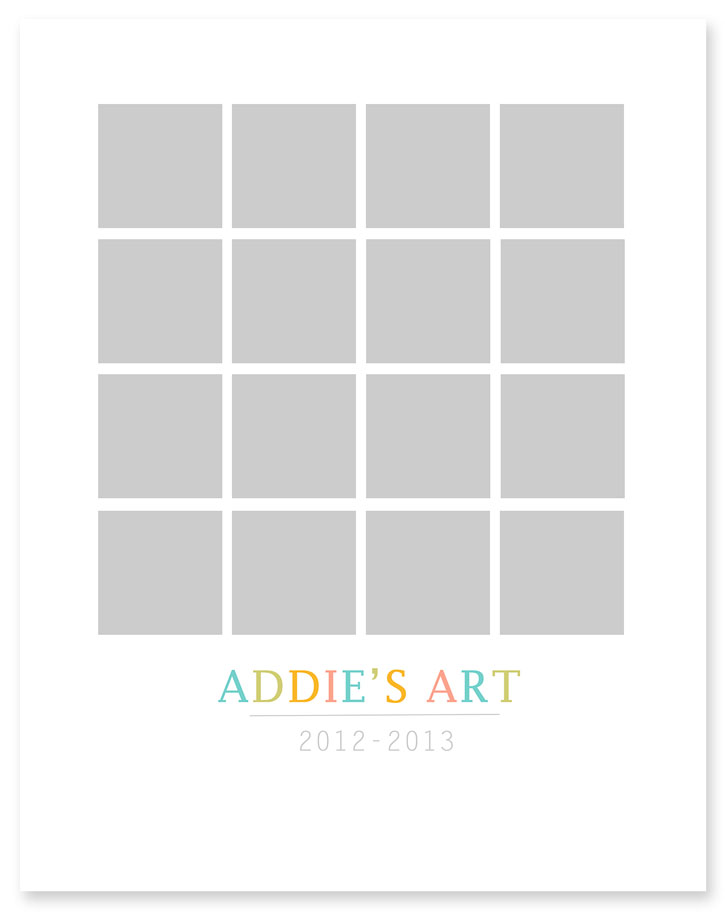
8×10 – personalized collage for 16 images
11×14 – personalized collage for 16 images
I hope you enjoyed these simple solutions for digitizing and displaying your child’s artwork. Have you found a fun way to show of your child’s artistic talents? Please share with me in the comments!
If you enjoyed this post you might also like…
- Tips for Organizing Kids School Papers
- 4 Tips to Help Improve a Child’s Focus
- Best Chapter Books and Series for Boys (and girls!)
- Simple Ways to Organize Kids Art Supplies
- 10 Healthy Snacks for Kids


This is such a fabulous idea! With 4 kids, we have stacks of masterpieces around! Visiting from the Link Party Palooza, have a great weekend!
This turned out beautifully. I love that kids use bright colors and everything is so perfectly imperfect.
Great tips for photographing art to display. I am sharing this on Pinterest.
I absolutely love the art collage! I’ve shared it on Twitter and linked to your blog- hope that’s ok. It is a fantastic idea with a stunning end result! Thank you!
Thank you for sharing Lisa! 🙂