I hope all of you lovely readers had a fantastic Christmas and Happy New Years! This is Jennie again from The Lovely Little Nest with another fun project. If your little girl is anything like mine, she loves dolls, and maybe received one for Christmas! I have a quick and easy doll sling tutorial for all of you. It takes only one piece of fabric and as little as 30 minutes to make.
Supplies:
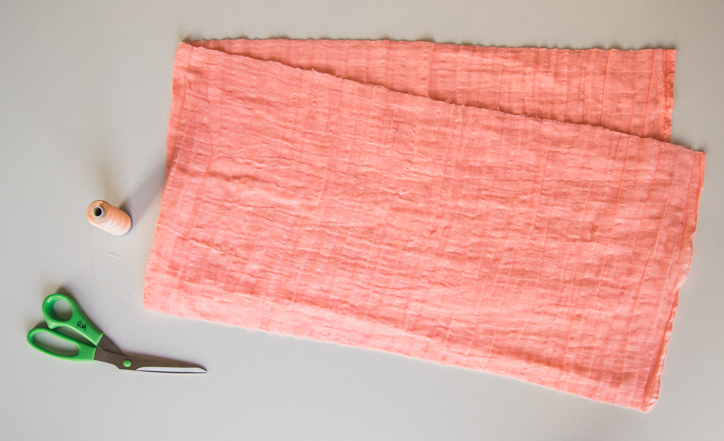
12″ long piece of muslin as wide as the fabric (at least 45″)
Fabric scissors
Thread to match fabric
Sewing machine
Doll Sling Tutorial:
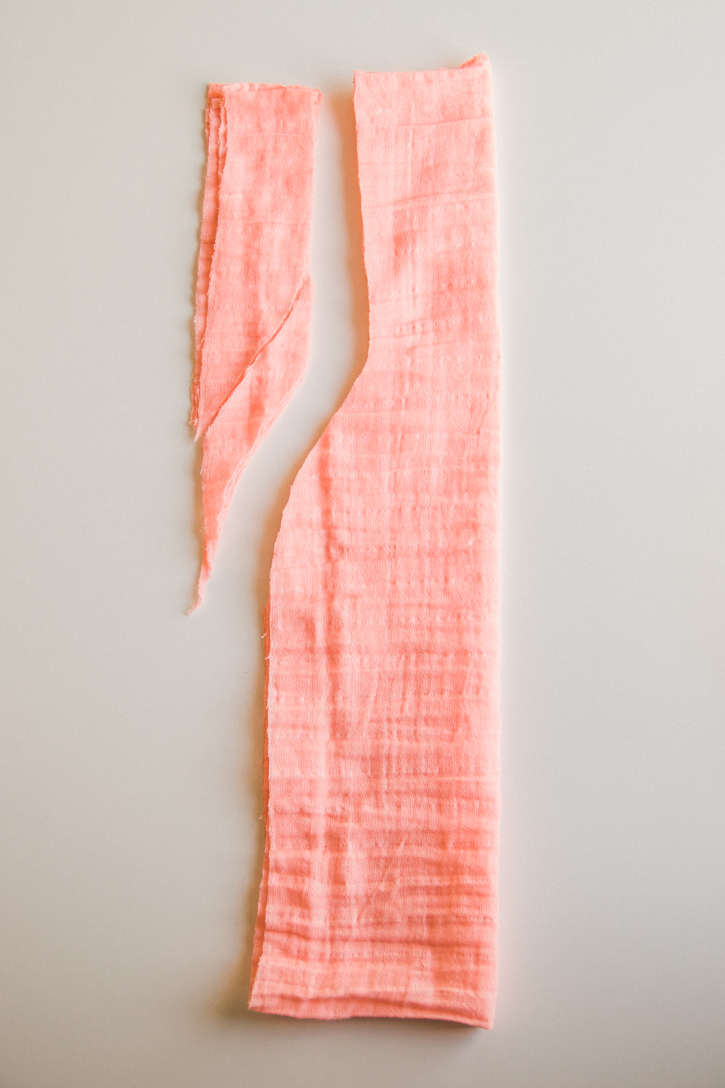
1. Start with your 12″ x 45″ (or wider) rectangle and fold it twice into quarters. On the open end and side, cut out a shape similar to the picture above, so that it’s less bulky when tying the ends in a knot.
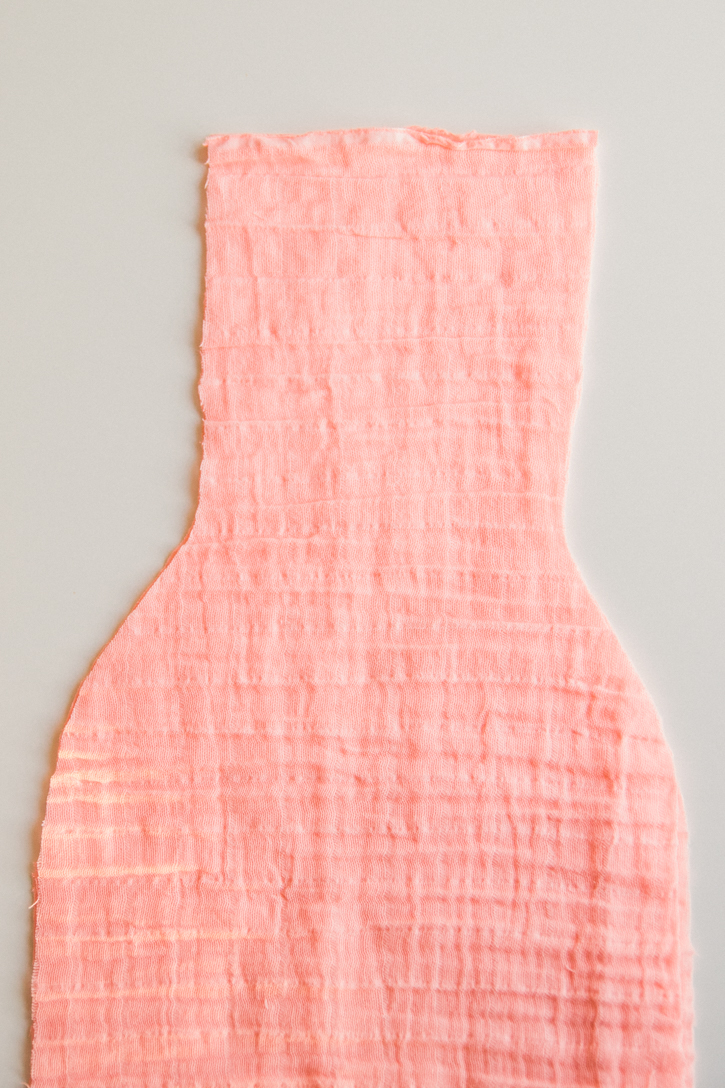
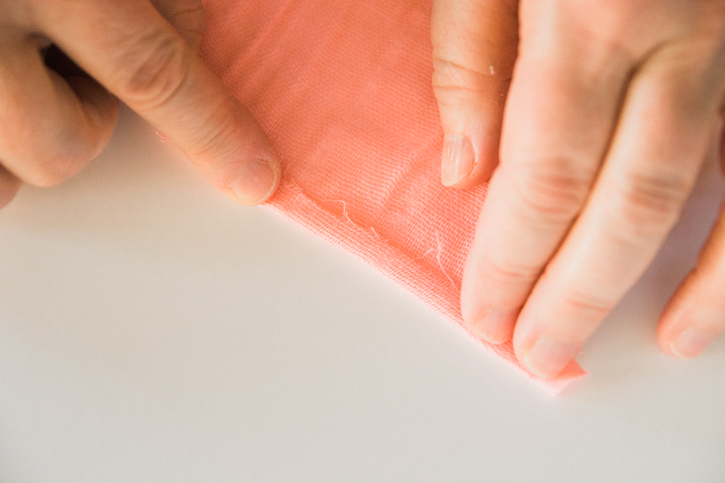
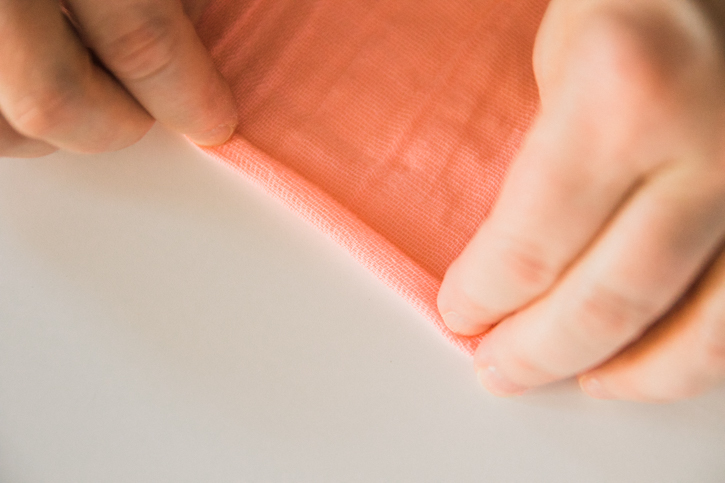
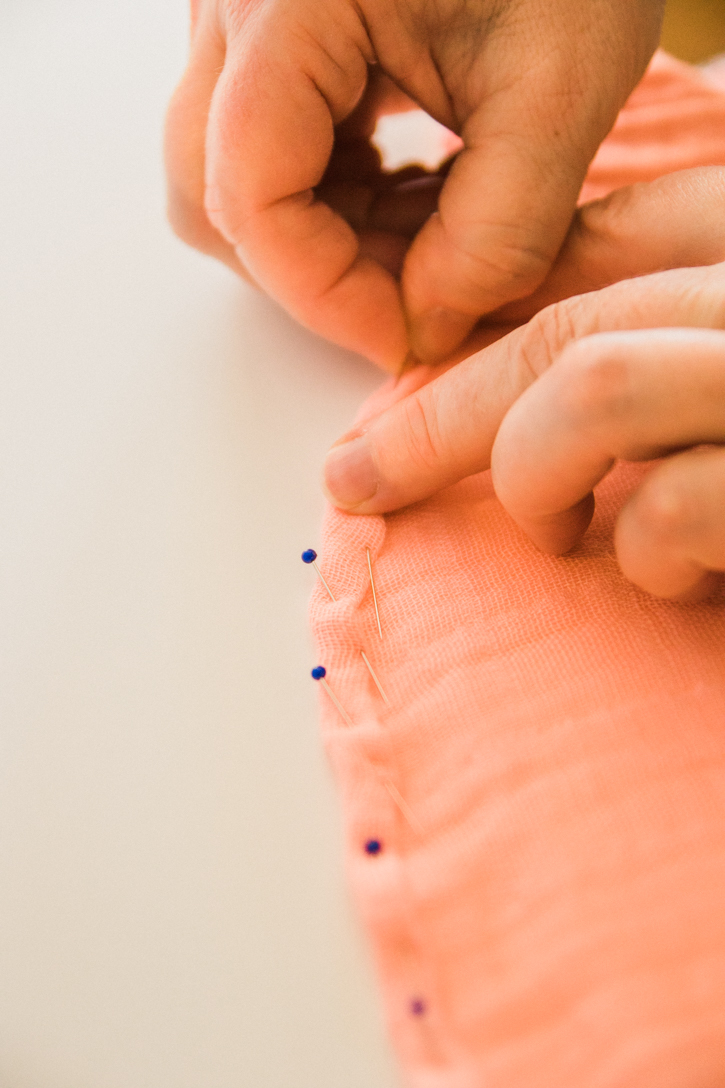
2. When you open your fabric it should now look like the image above. The next step is to do a rolled hem along the two raw edges to prevent fraying. To sew a rolled hem, you fold about 1/4″ of the edge of the fabric over, and then fold it over a second time, so that the raw edge is no longer visible. You can do this as you’re sewing the hem on the machine, but with a few curved edges on this project, I suggest you do it ahead of time and pin in place.
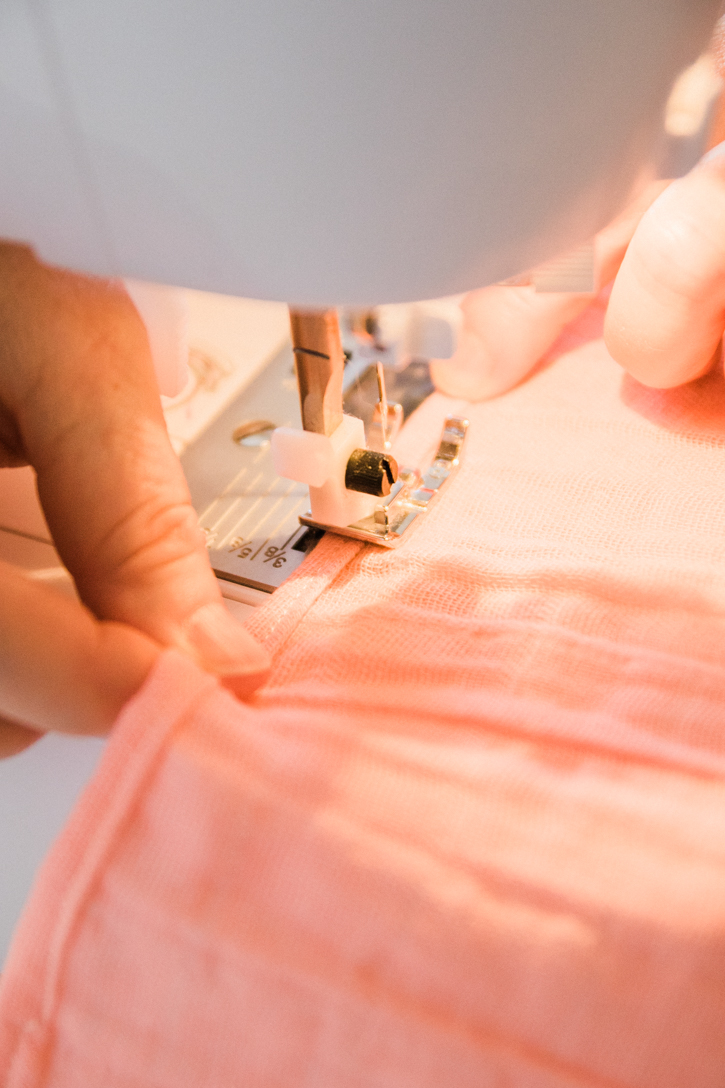
3. Sew a line down your pinned hem to finish the edge.
4. Now all you have to do is tie it in a double knot and it’s ready to play with! I fold it in half lengthways and then tie it in a knot while it’s over one of my toddler’s shoulders (open sides up) to make sure it’s tied small enough to hold her doll in place. The doll can either ride in the sling sitting up or laying down inside like a kangaroo pocket.
And there you have it, a quick and easy Doll Sling tutorial. Now her hands are free to do other things, and she can still carry her little baby around absolutely everywhere.
I hope your little Momma-in-training enjoys this as much as mine.




Thanks for this! I was about to draft my own pattern when I did a search and found yours. I’m getting ready to try it. Hope she loves it!