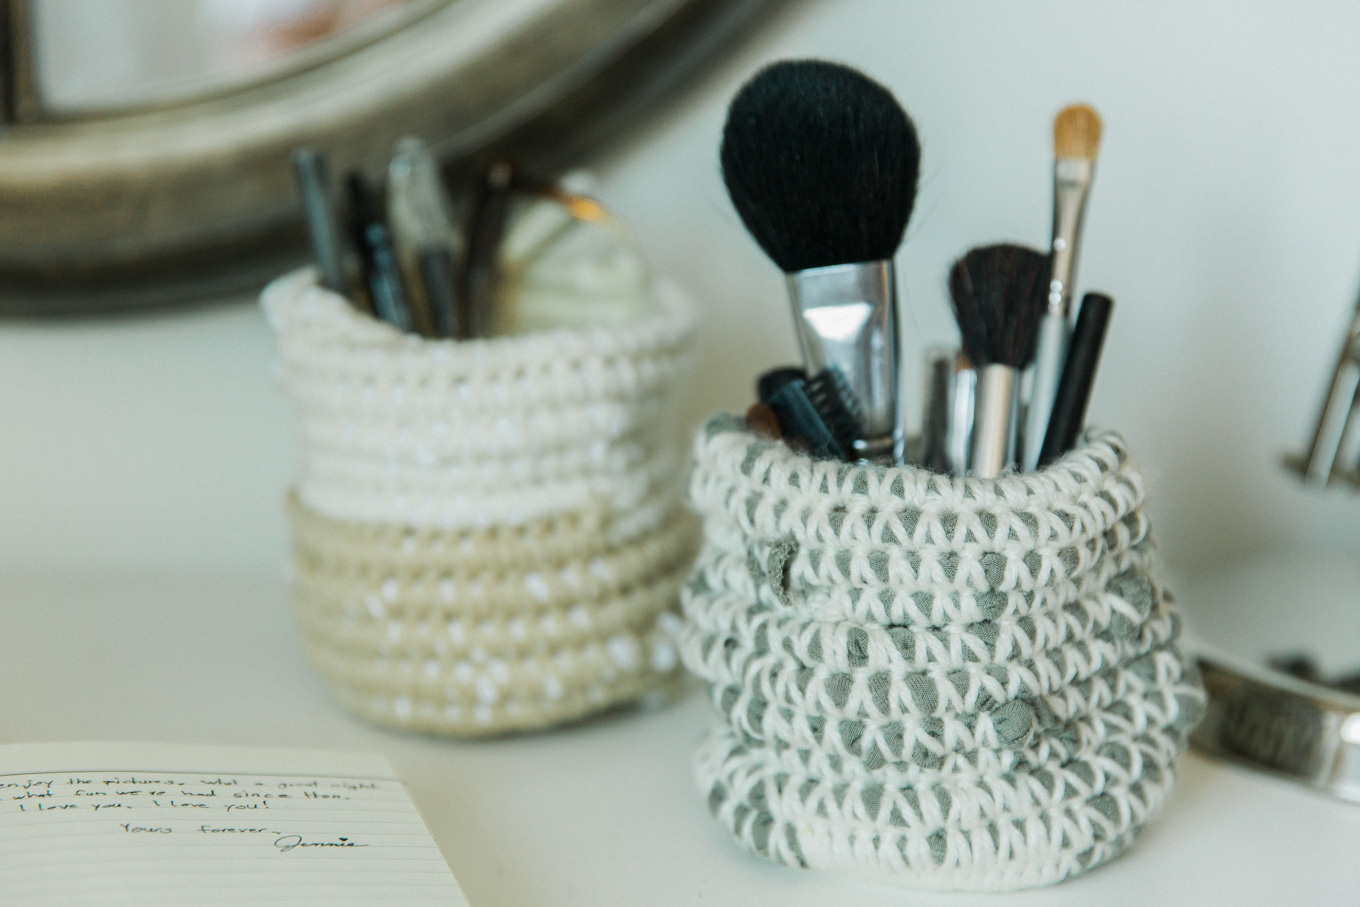
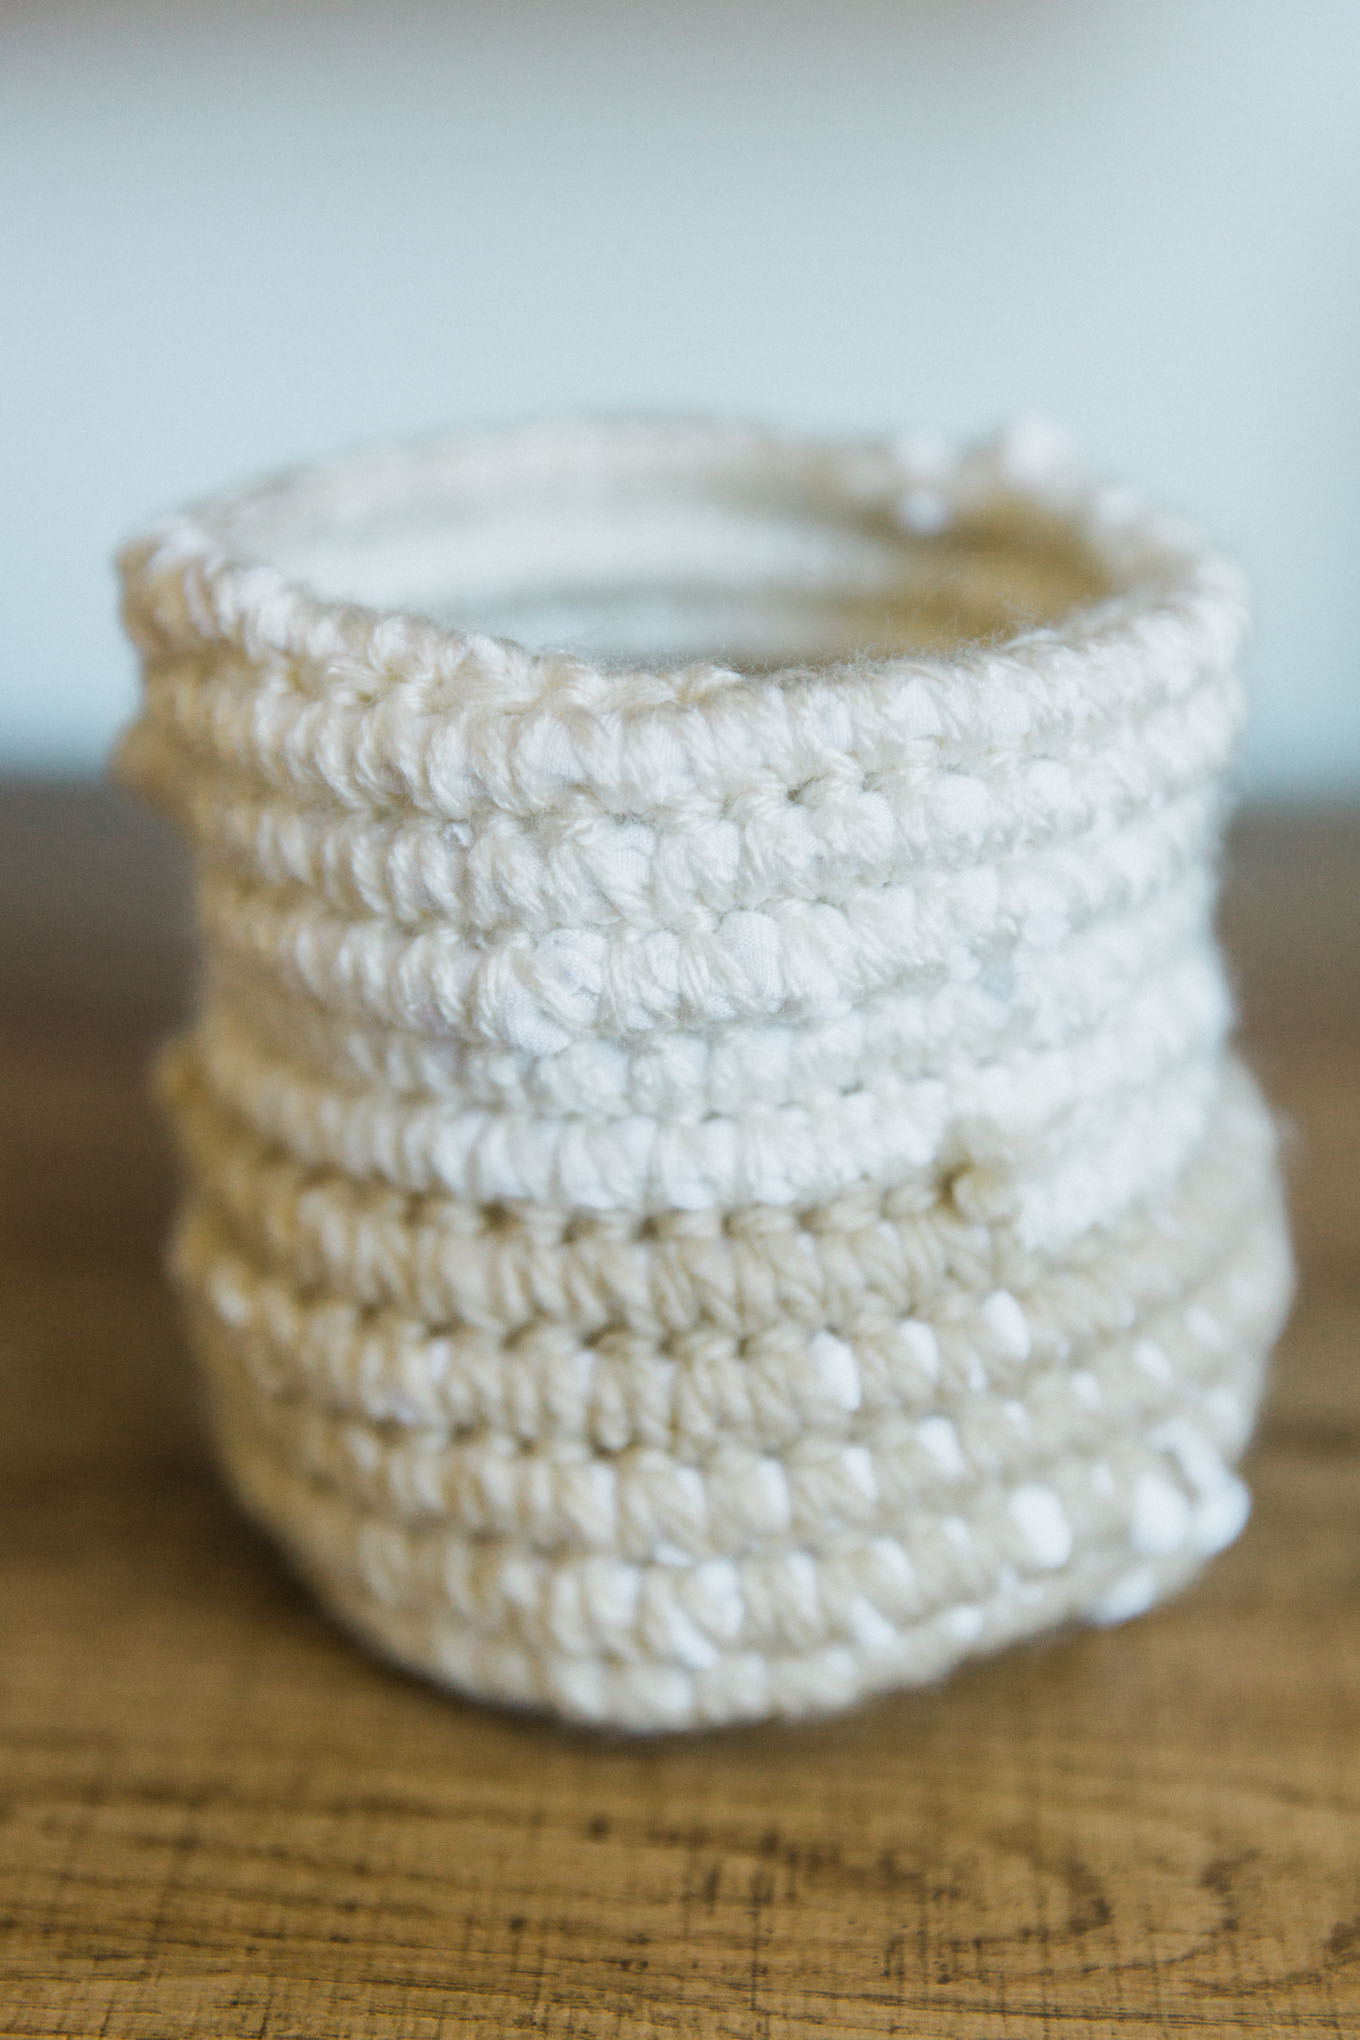
These recycled fabric coiled baskets are great for organizing all of the little things around the house that need a home, they’re really simple to make once you get in the groove of it, and the size is completely customizable! Not to mention they look pretty stylish sitting on your desk or bookshelf.
Hello everyone, it’s Jennie again, here with a tutorial to recycle your old t-shirts and scrap fabric by creating beautiful, little, coiled baskets.
Have you ever gotten a hole in a favorite t-shirt?
I feel like it happens to me all of the time, in the exact same spot, and I get so frustrated just throwing out an almost perfectly good shirt. I hate being wasteful! This project is perfect for using those old shirts, especially when you love the colour but can’t wear it anymore.
To start this tutorial I want to give you a quick rundown on this amazing thing called fabric yarn. I didn’t know that this was a thing until recently, and it can be used for coiled baskets, rugs, pot holders, etc. The possibilities are as endless as your imagination!
Creating this magical fabric yarn is a breeze, and it turns so many of my old clothes and fabric scraps into something useful; I love re-purposing/recycling, it’s so satisfying!
Supplies:
- Scrap fabric (or t-shirts)
- Fabric scissors
- Yarn
- Crochet hook (size F6 is what I used)
INSTRUCTIONS:
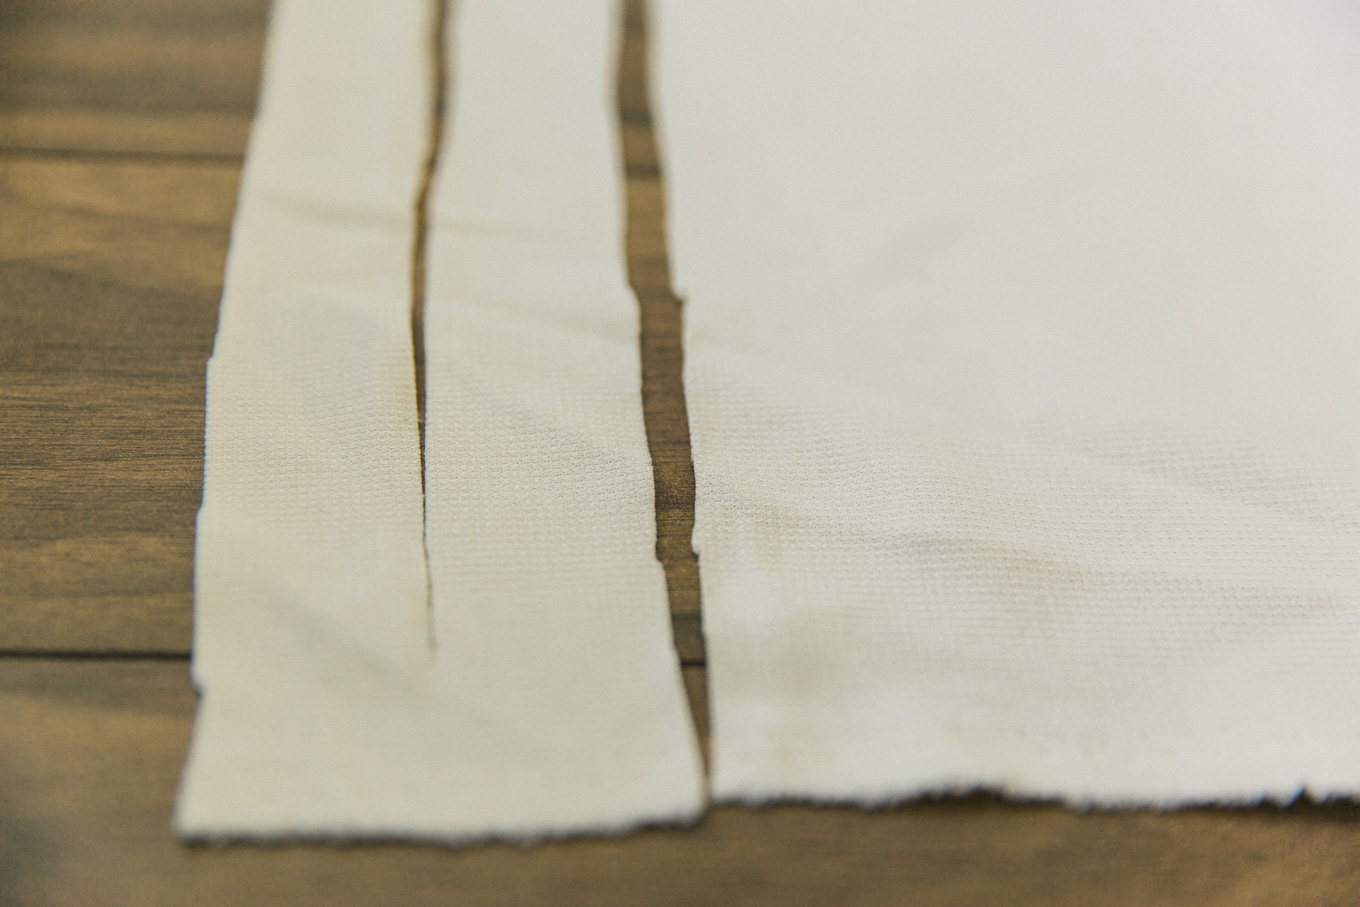
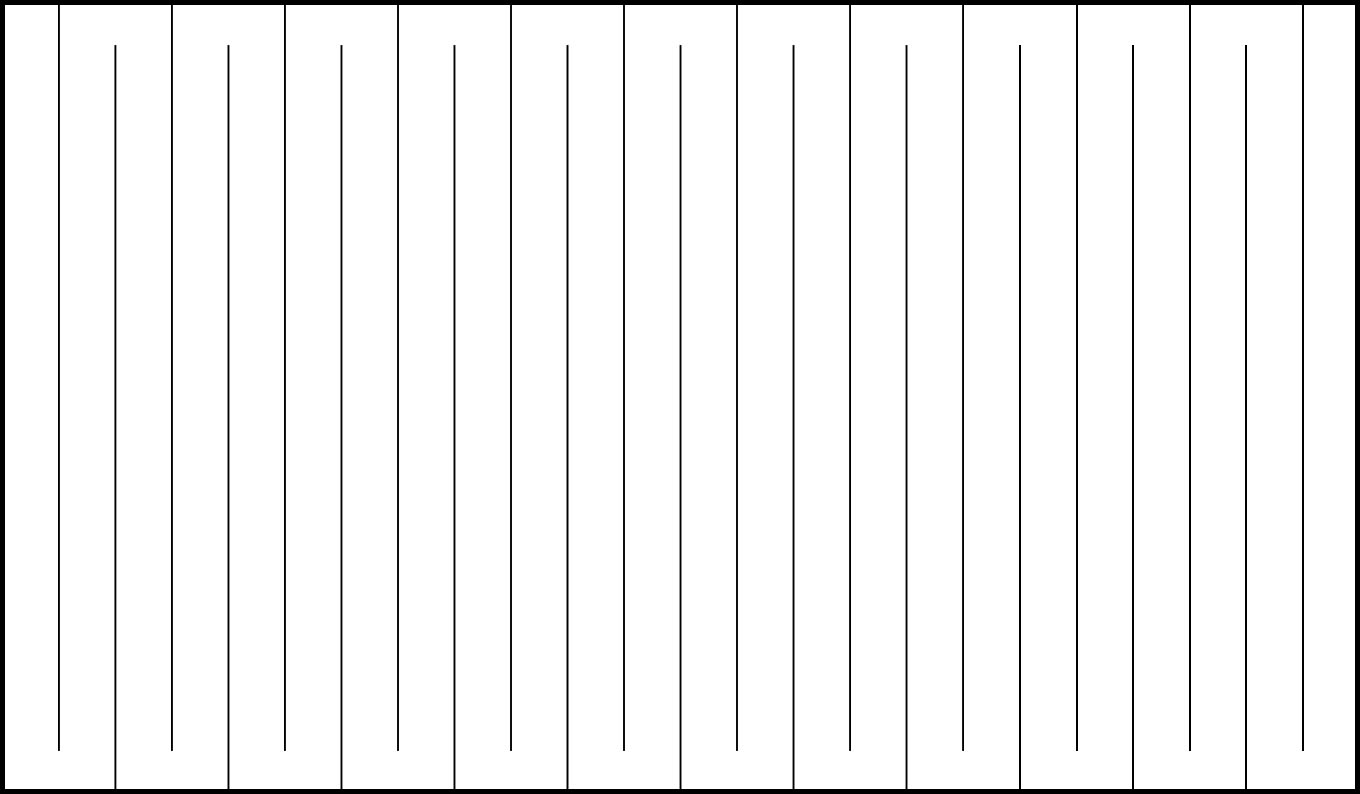
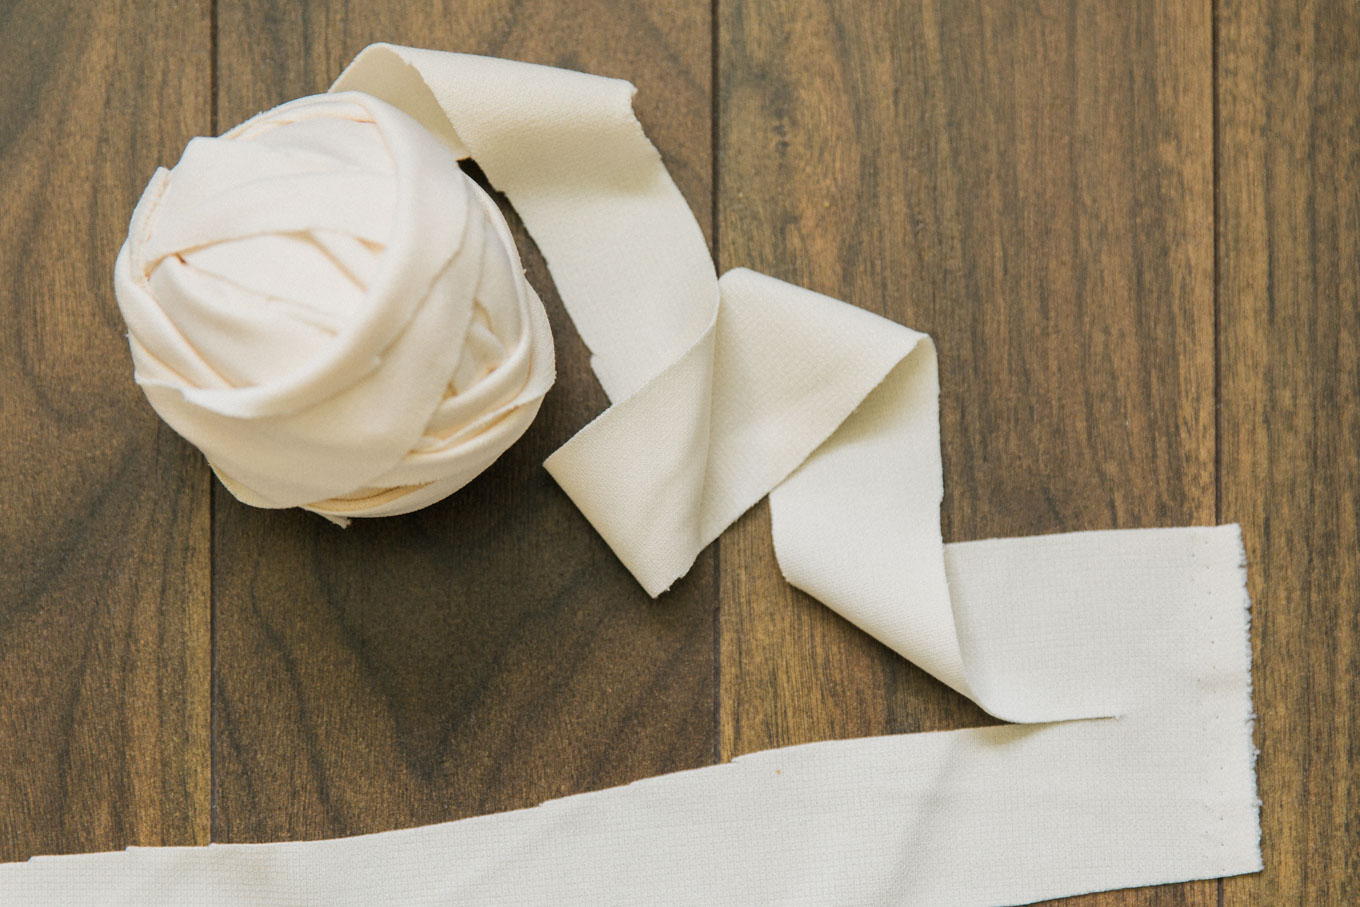
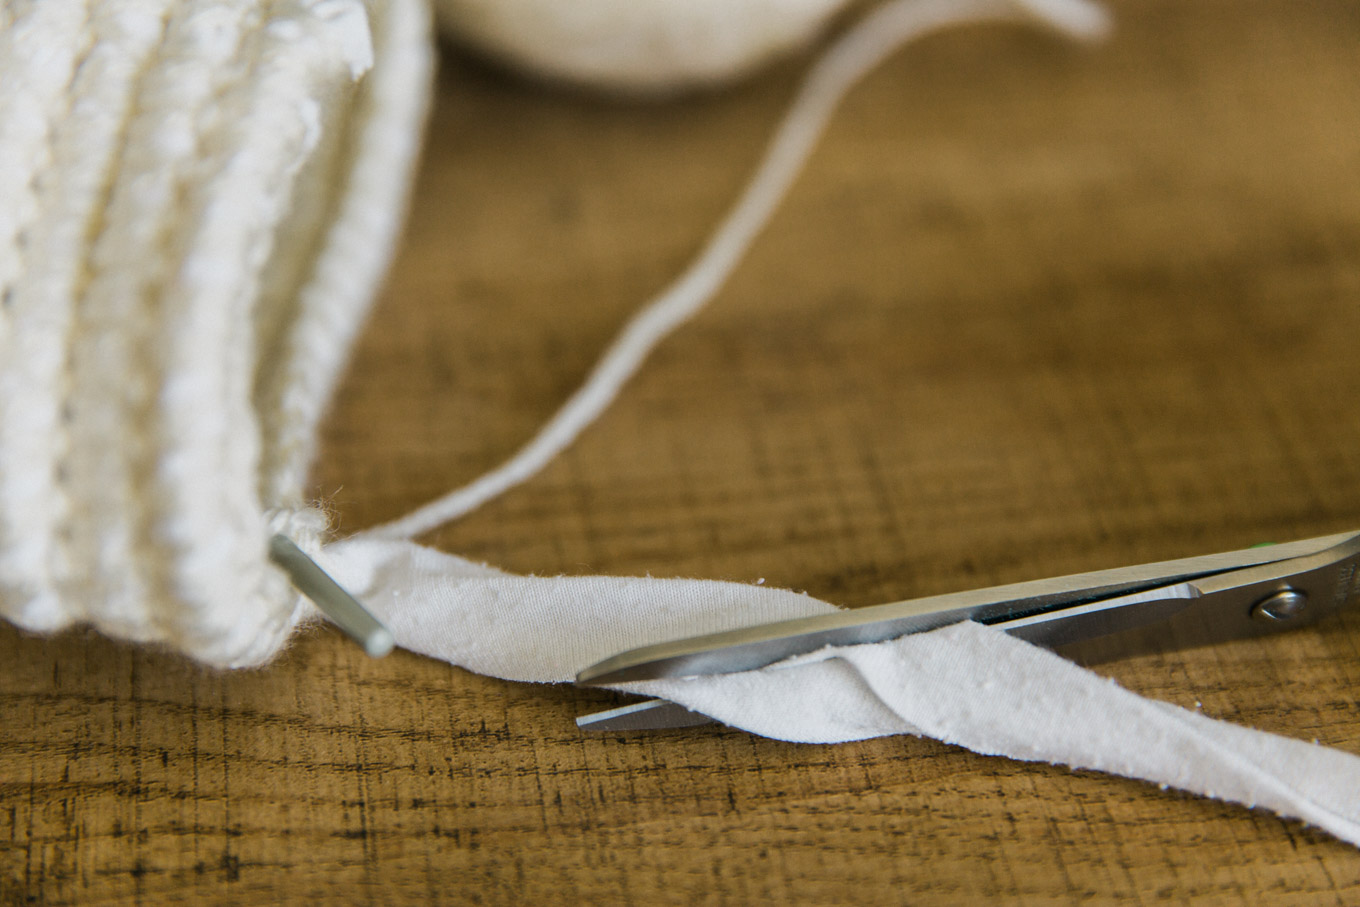
1. First, you will need to make your fabric yarn (when cutting up your fabric into long strips, remember that the longer they are with fewer breaks, the better they are to work with). All you have to do is take your t-shirt and cut it into one long continuous strip by cutting around and around the torso in a spiral. If you are cutting up a flat piece of fabric like in the pictures below, all you have to do is cut back and forth in this pattern to create one continuous strip:
Roll your strip of fabric up into a big ball, just like yarn, to make it easier to work with.
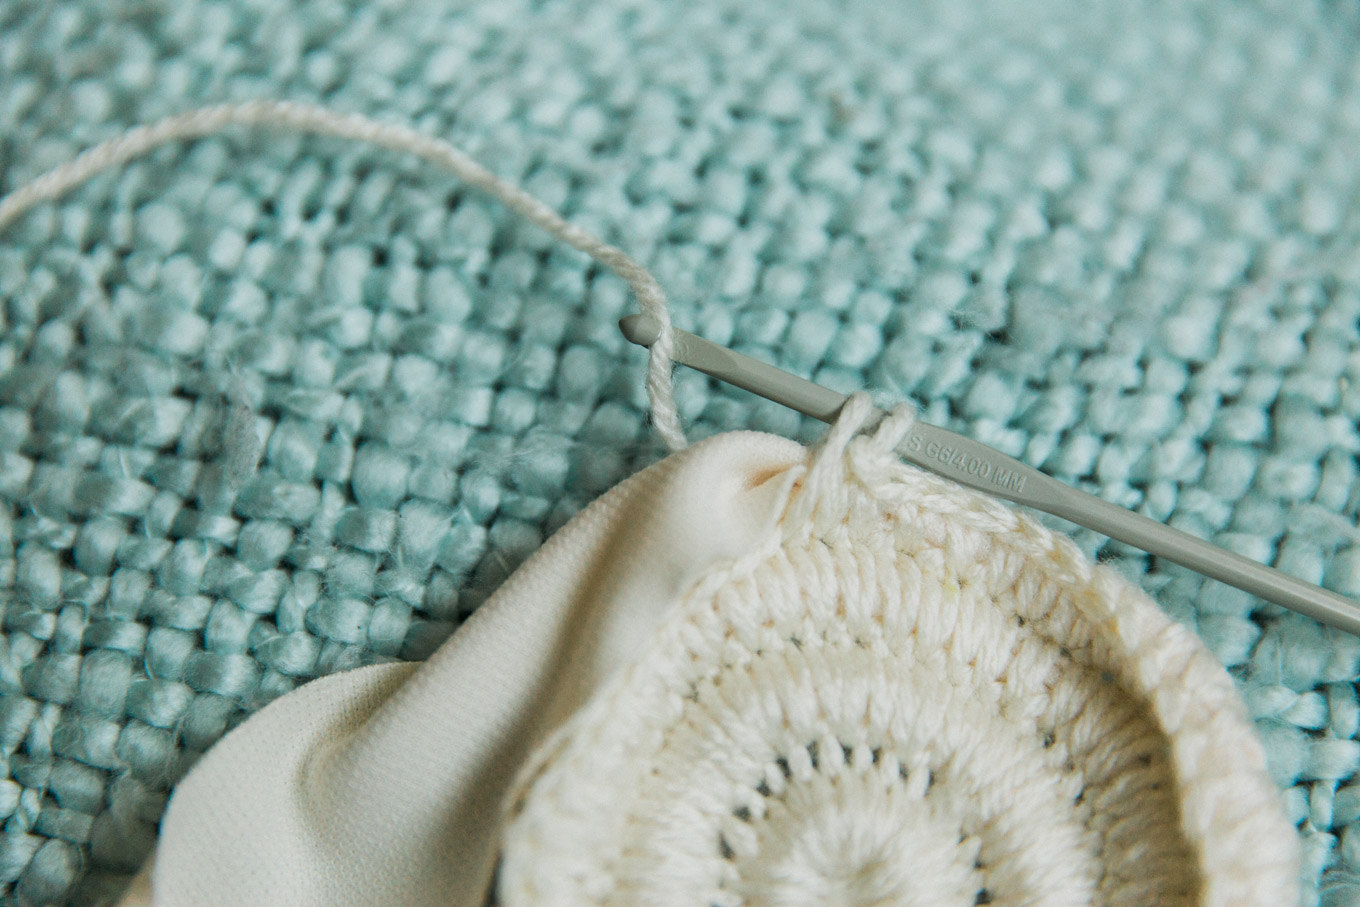
2. Tie a small loop with the end of your yarn and tighten it so it fits a little loosely around your crochet hook.

Tie a loose knot in your fabric yarn to make a small circle. You will want to fit as many small stitches around the circle as you can, then pull the fabric yarn knot tighter to close the circle. This is the start of the bottom of your basket.
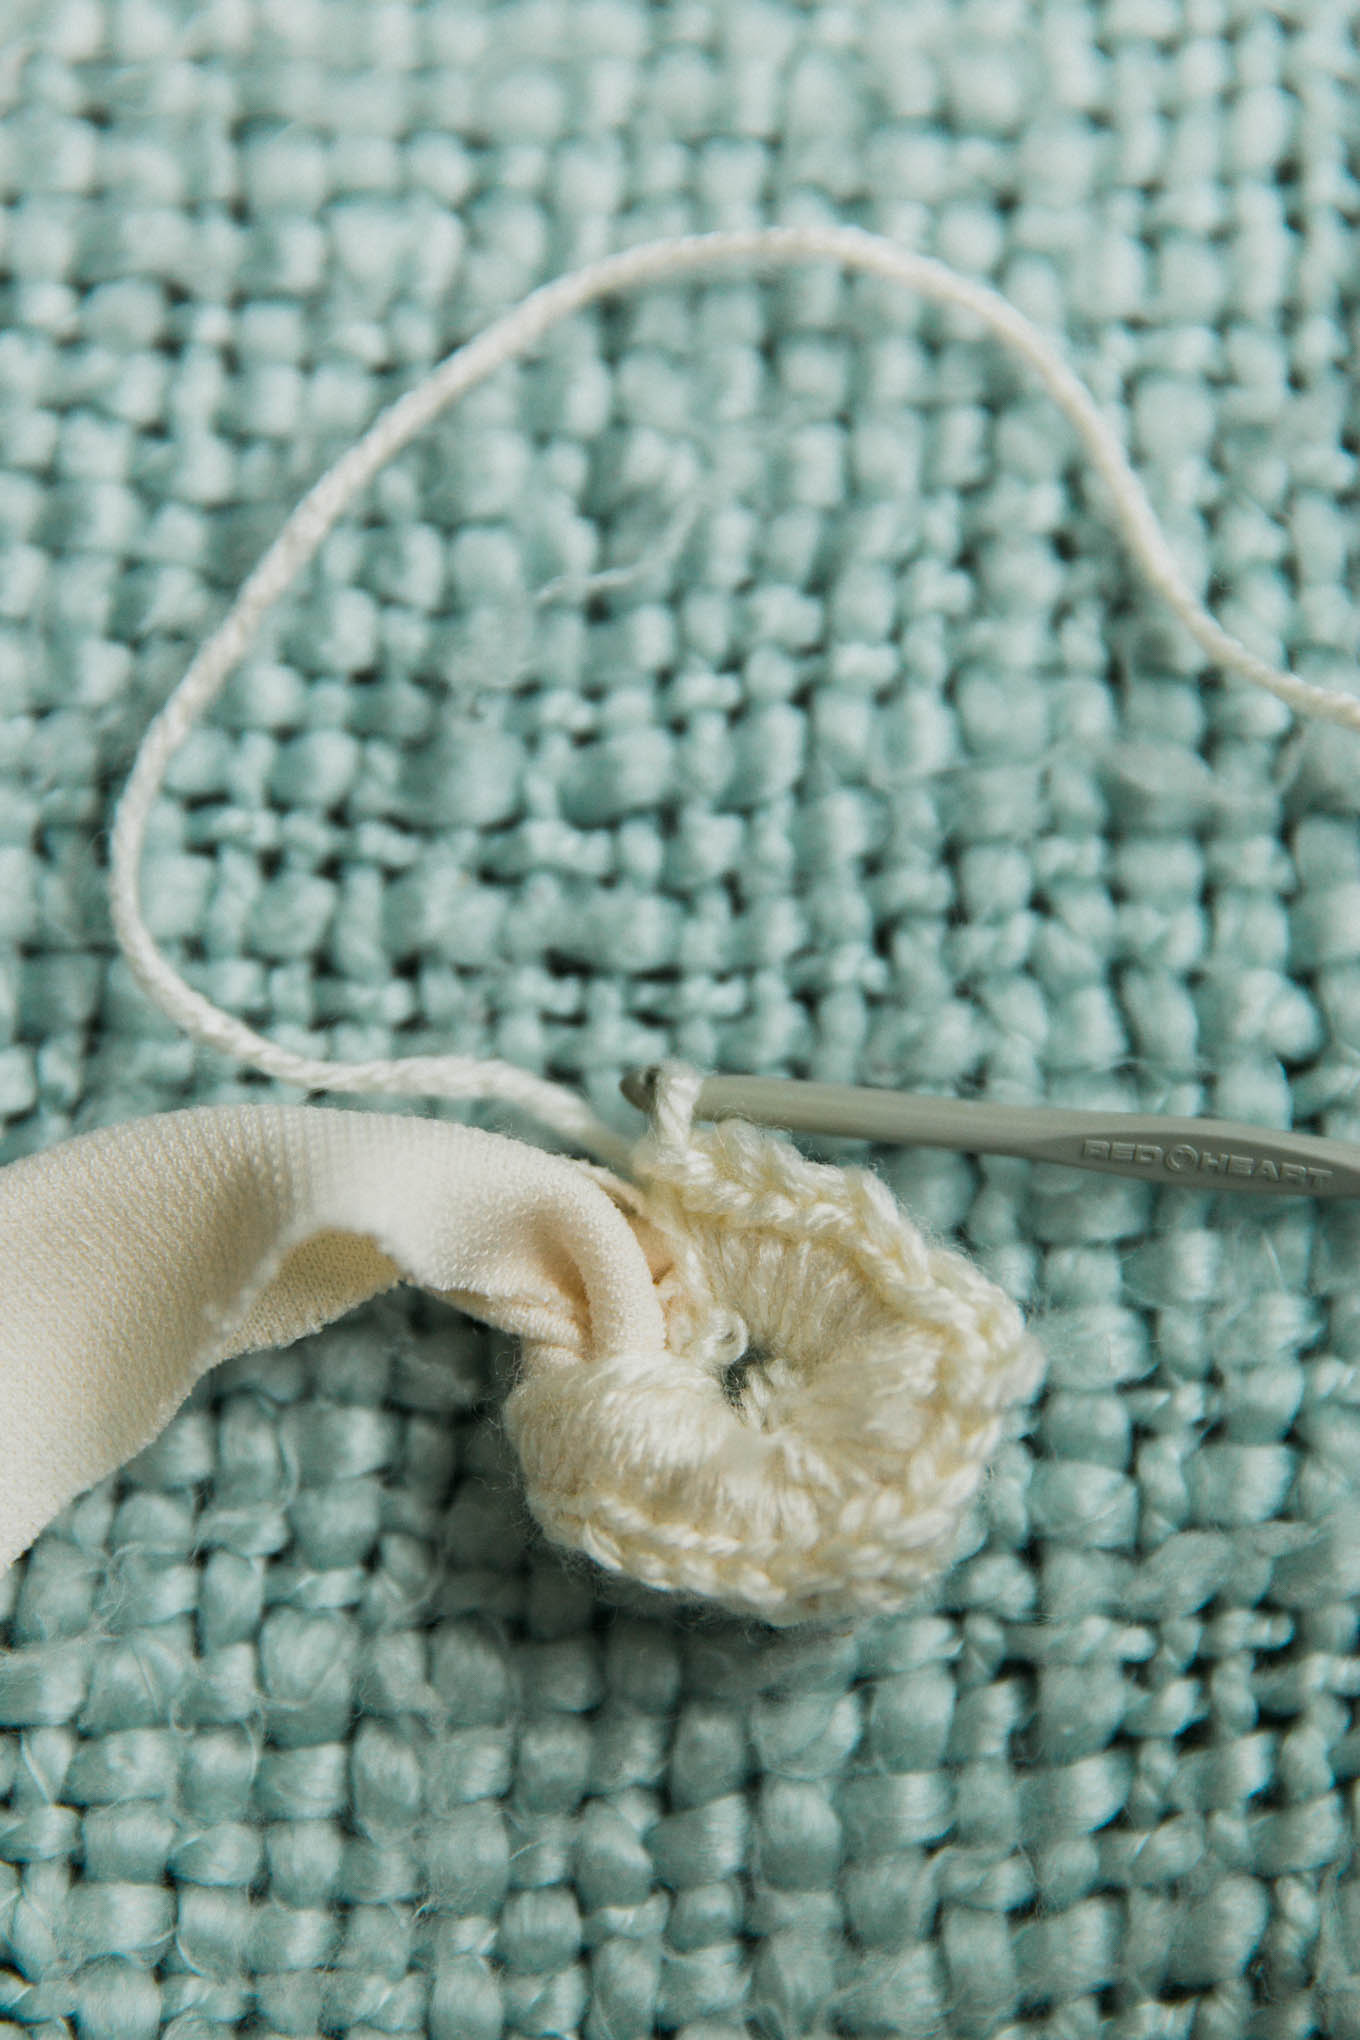
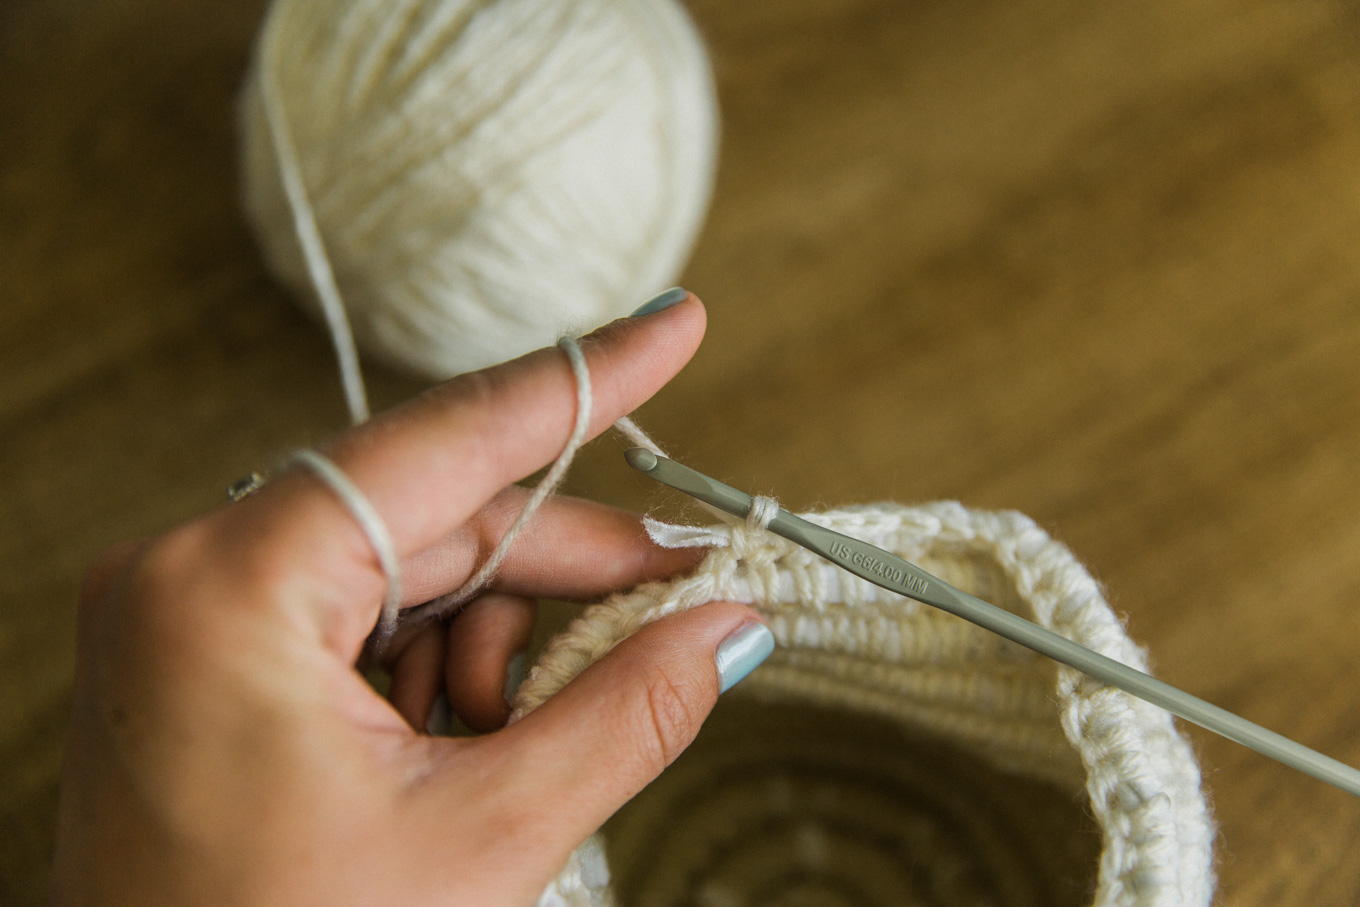
3. To make these crochet stitches that encase your fabric, you will put your crochet hook through the chain beneath where you are working and under the fabric (for your first round above, you won’t have a chain yet to work through so you will just put the hook through the hole in your fabric knot for beginning each stitch).
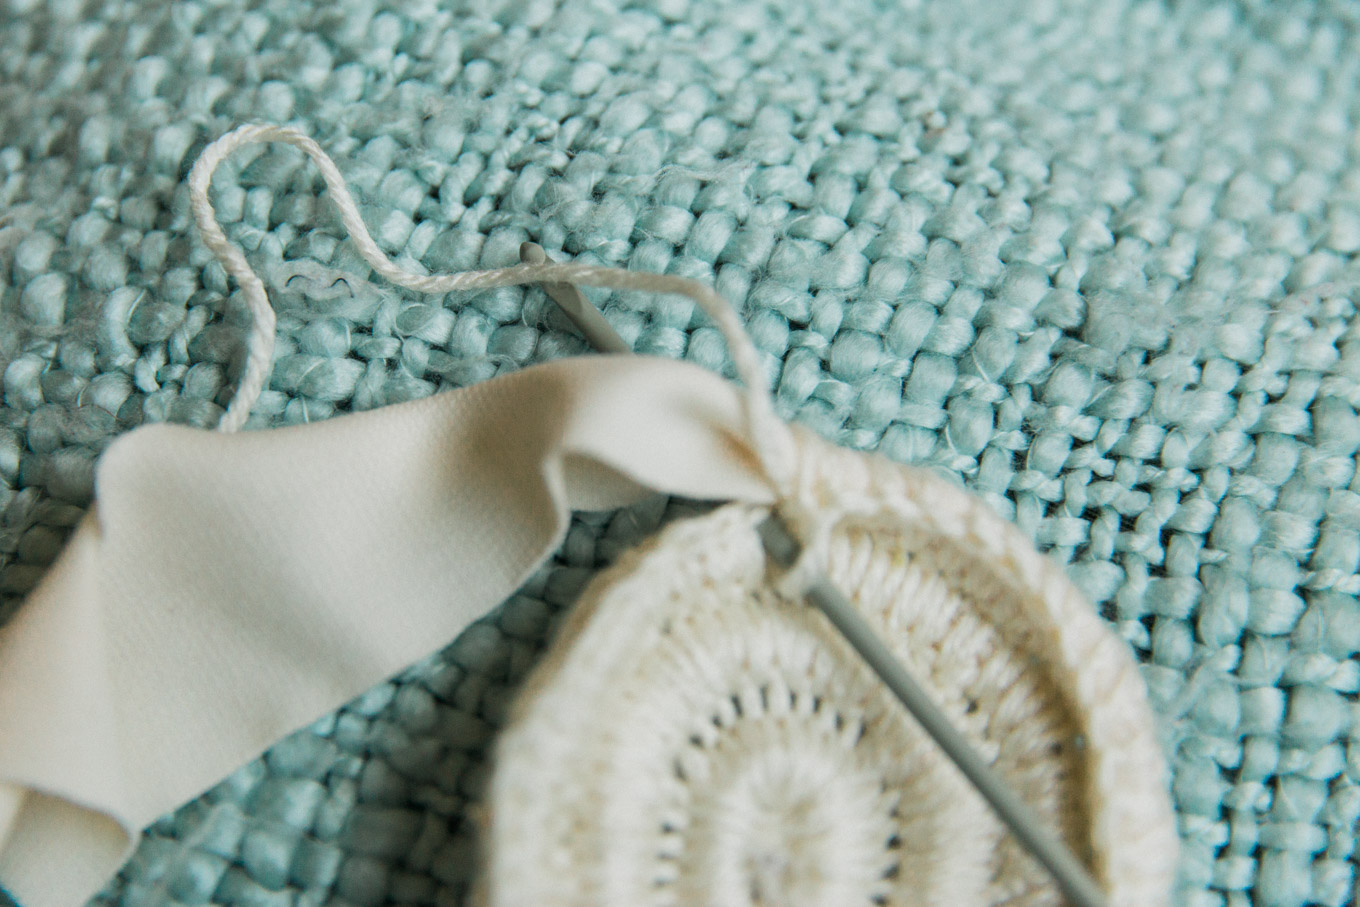
Grab the yarn with the hook, pull it back through the stitch, and keep it looped on your hook. You will now have two loops on your hook.
Hook the yarn again and pull it back through your two loops. You should now have added a stitch in your chain and have one loop on your hook again. This is what you will do continuously to create the basket.
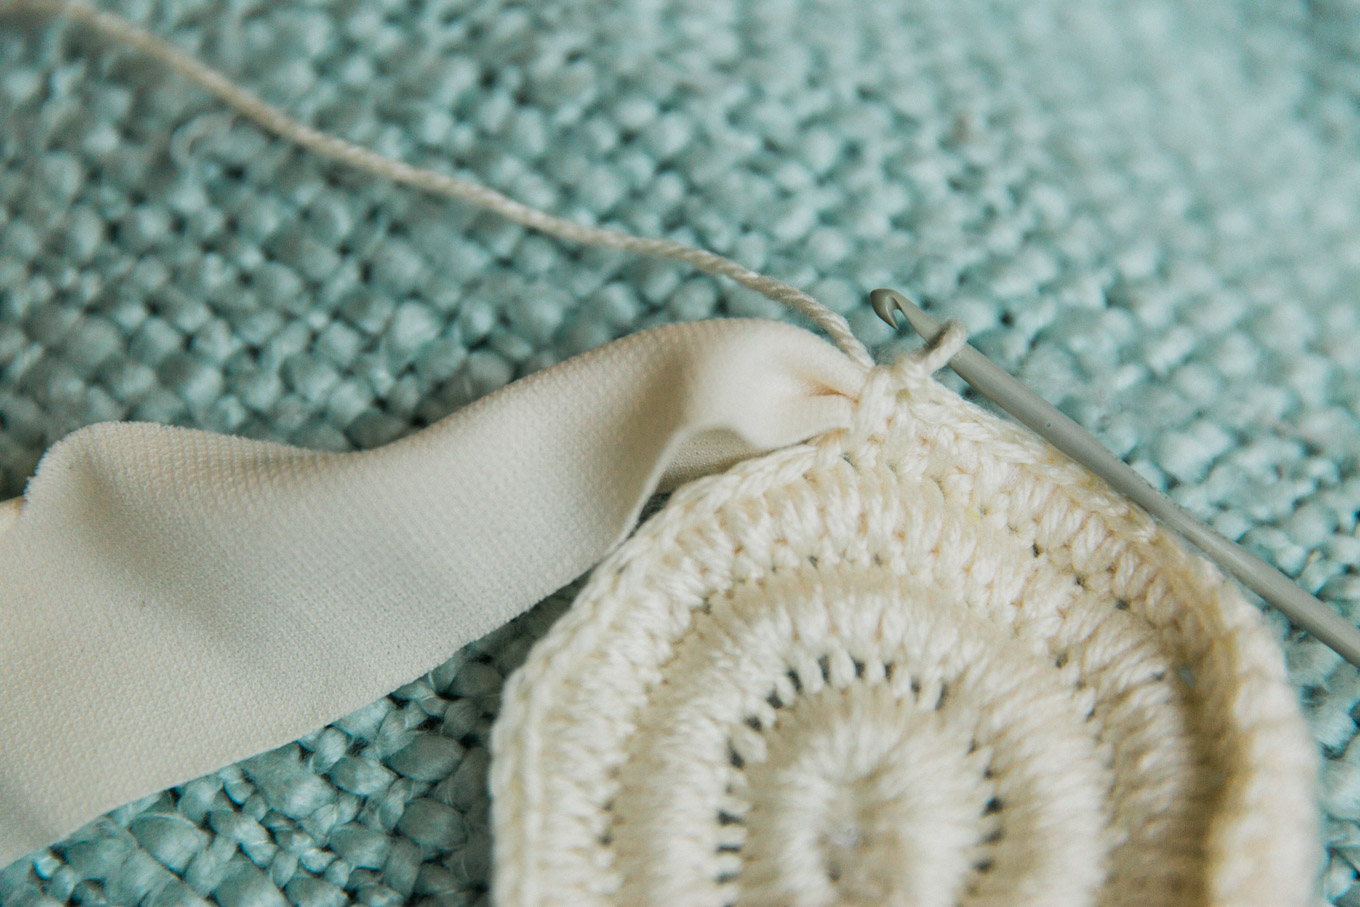
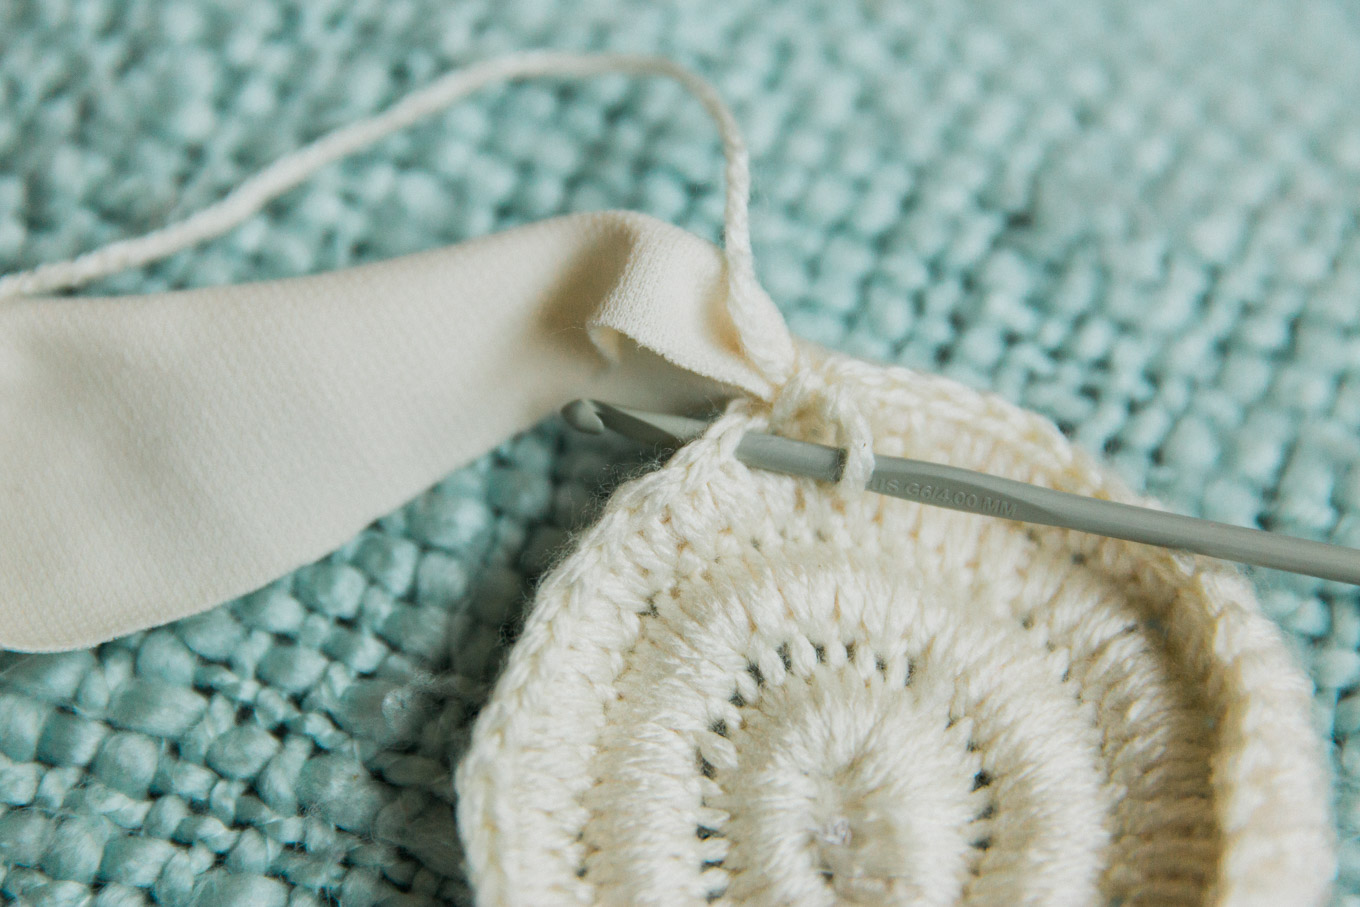
4. To make the base of the basket bigger, you keep coiling the fabric around itself by crocheting it together. You will want this part to lay flat. To keep increasing the size of the base and keep it flat, you will need to add more stitches. I like to do three stitches in each of three chain links, then put two stitches in one chain link, then three more singular stitches in each chain link, and then two again, etc. This will increase the size of each circle or round.
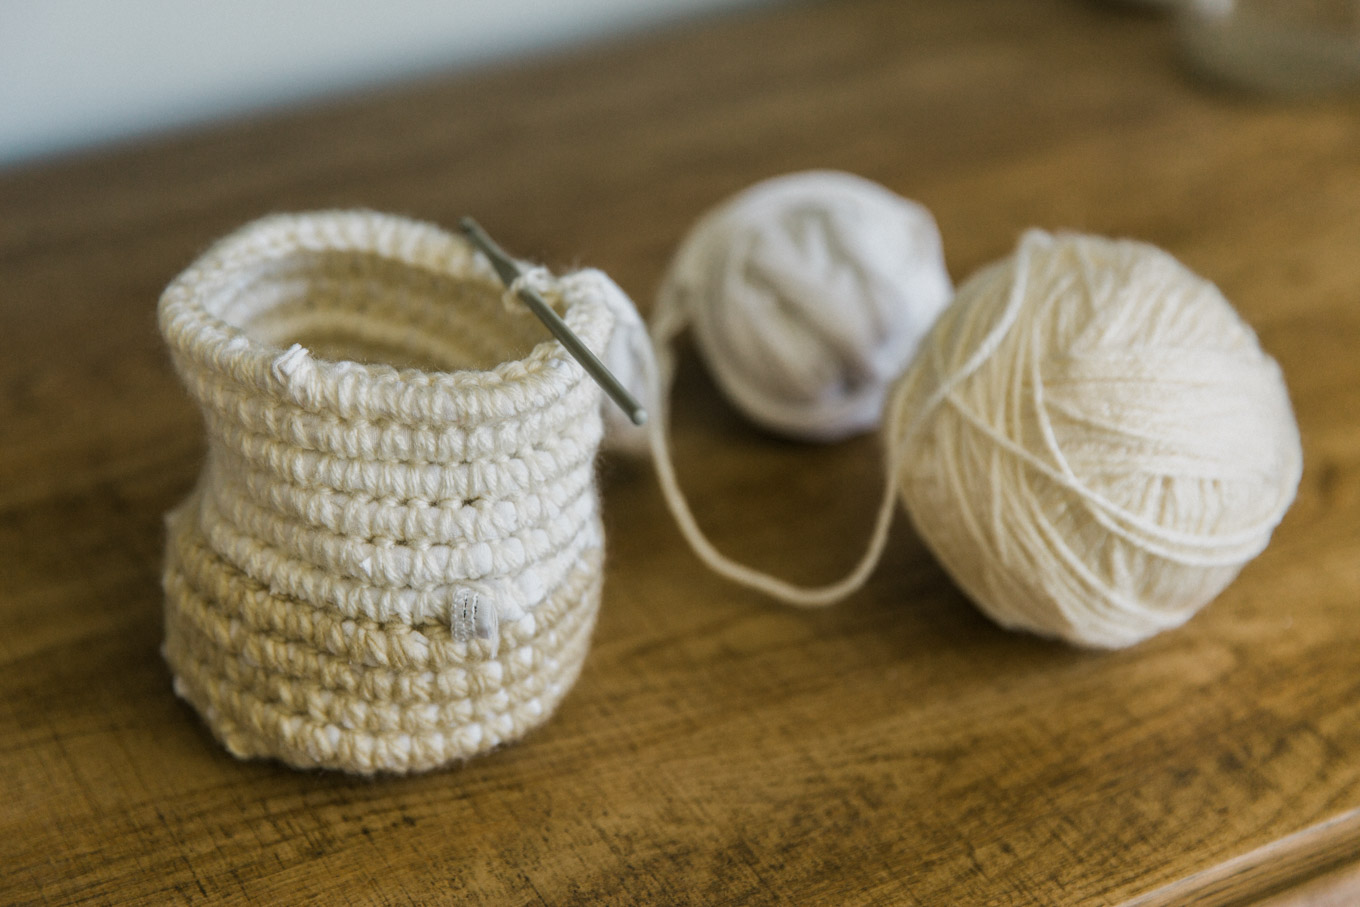
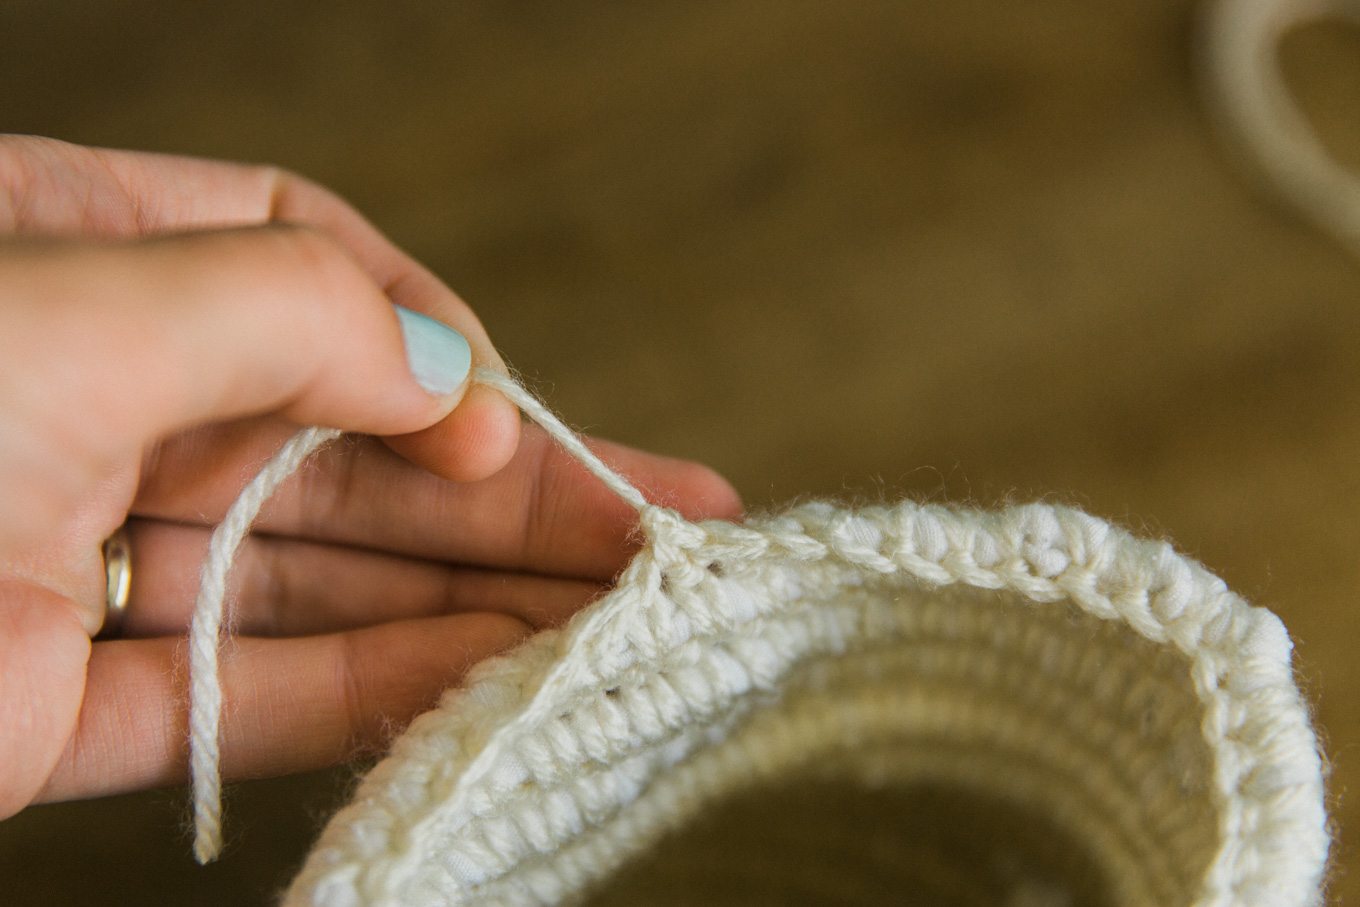
5. Once your base is as large as you want it to be, stop doubling up some of your stitches to increase the size. The fabric will naturally start to coil upwards as you stop increasing the rounds, and will increase only in height, not width.
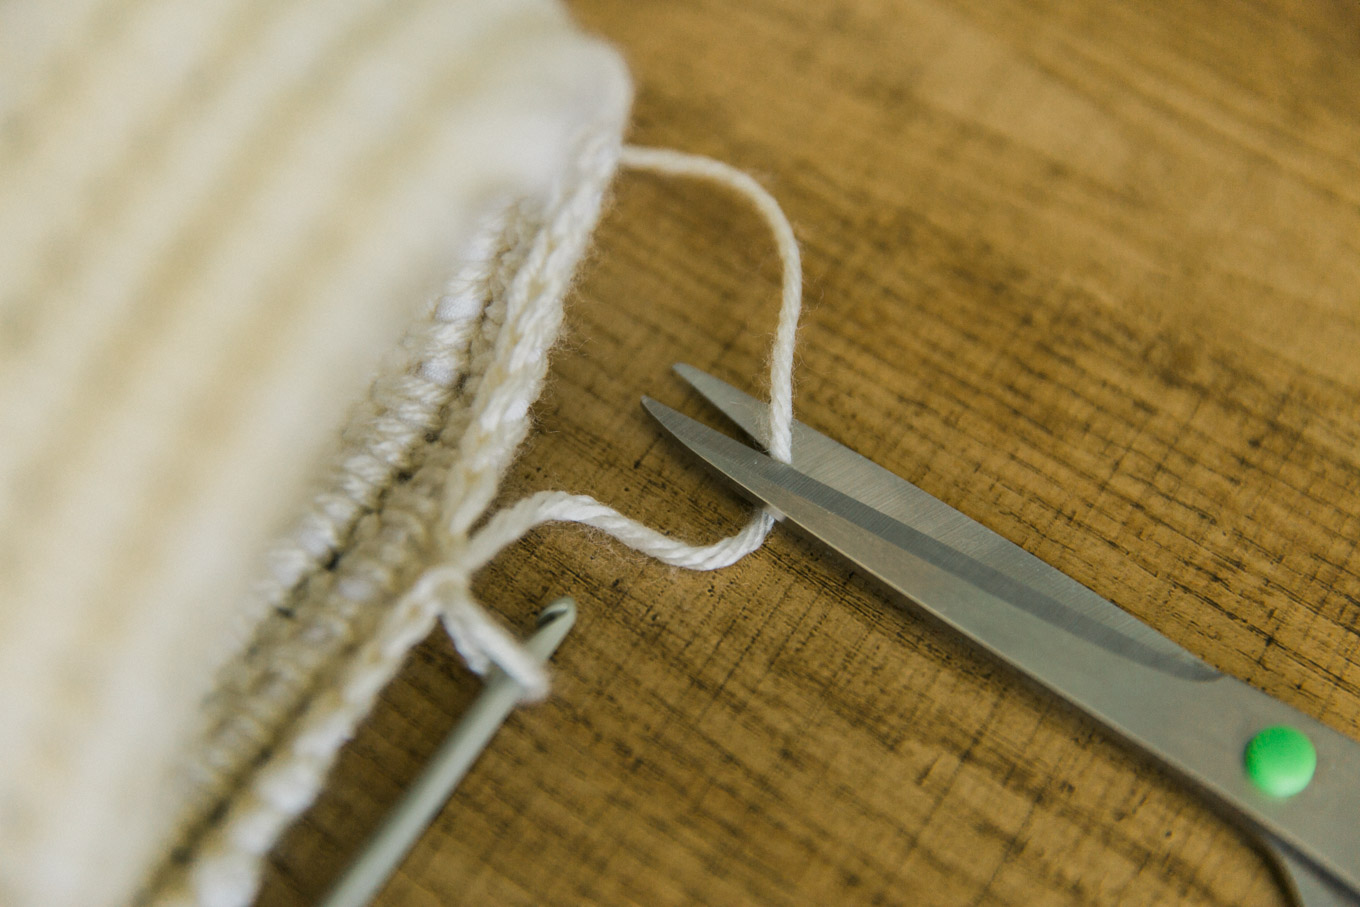
Once your basket is as tall as you want it to be, trim your fabric yarn on an angle to make its disappearance more gradual.
Continue crocheting along until you are passed the end of the fabric.
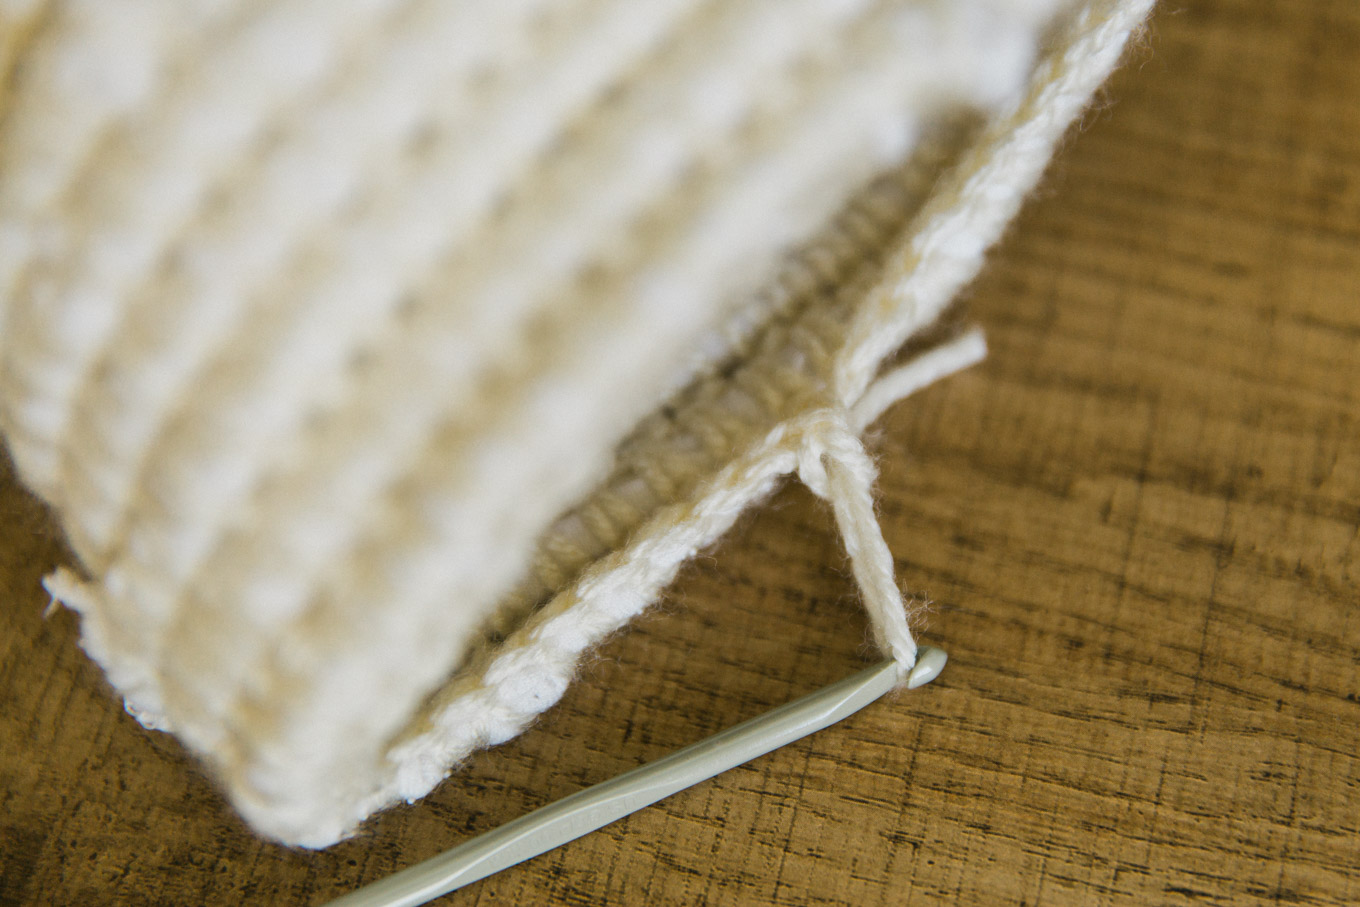
To tie off the yarn, simply cut the yarn, pull the end back through your loop, and as you pull the yarn it will tighten into a knot. Weave the tail of your yarn into your basket stitches until it disappears and you are done!
And then you’re finished! Sit back and enjoy your hard work. Once you get the hang of these, you’ll be able to whip them up in a single sitting.
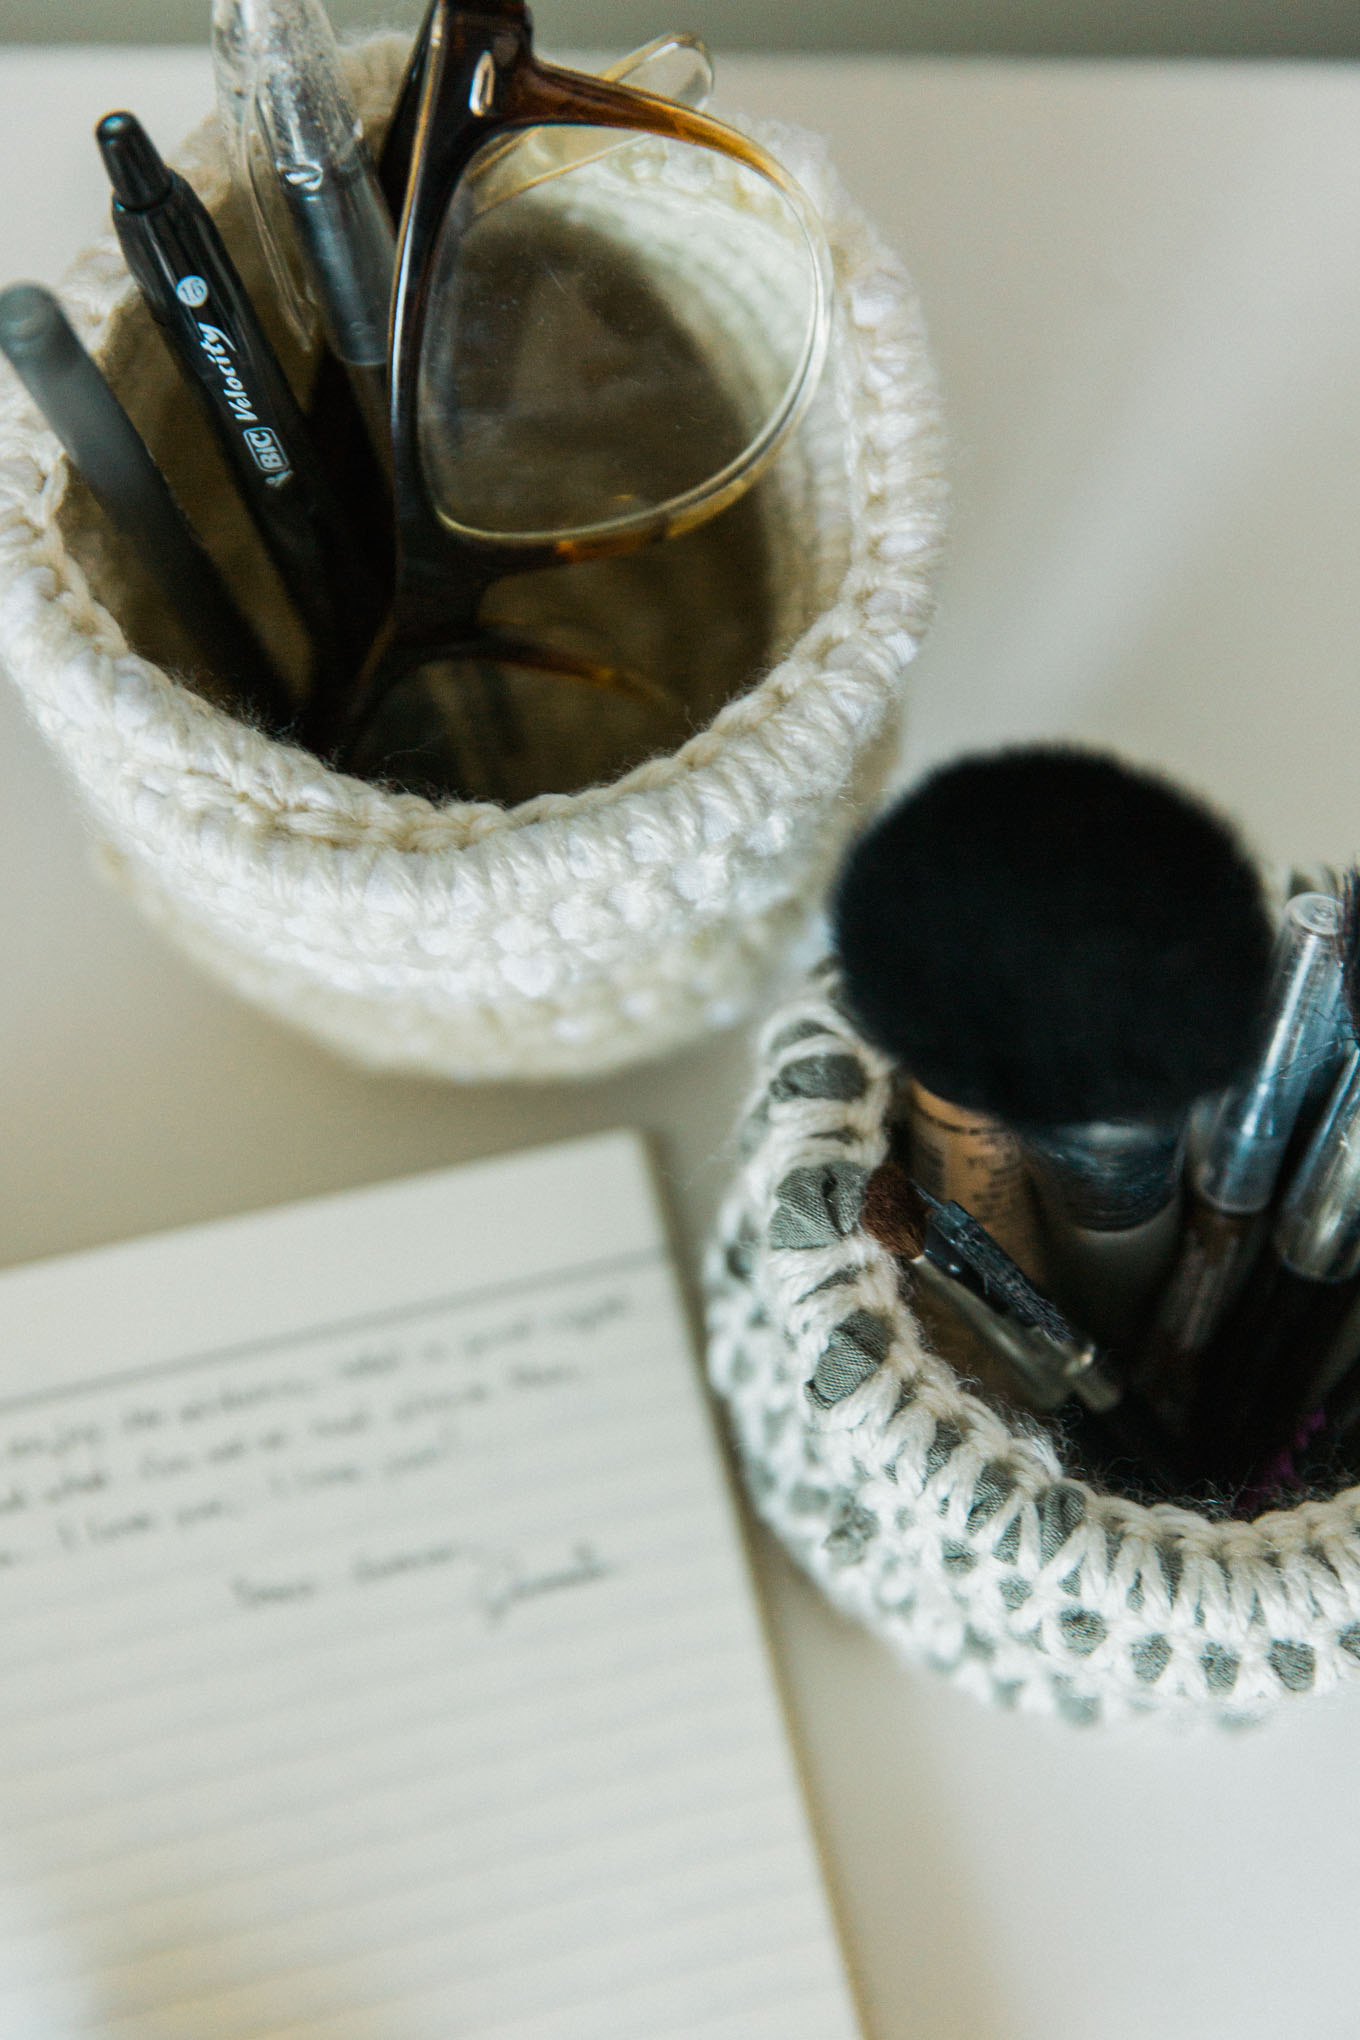
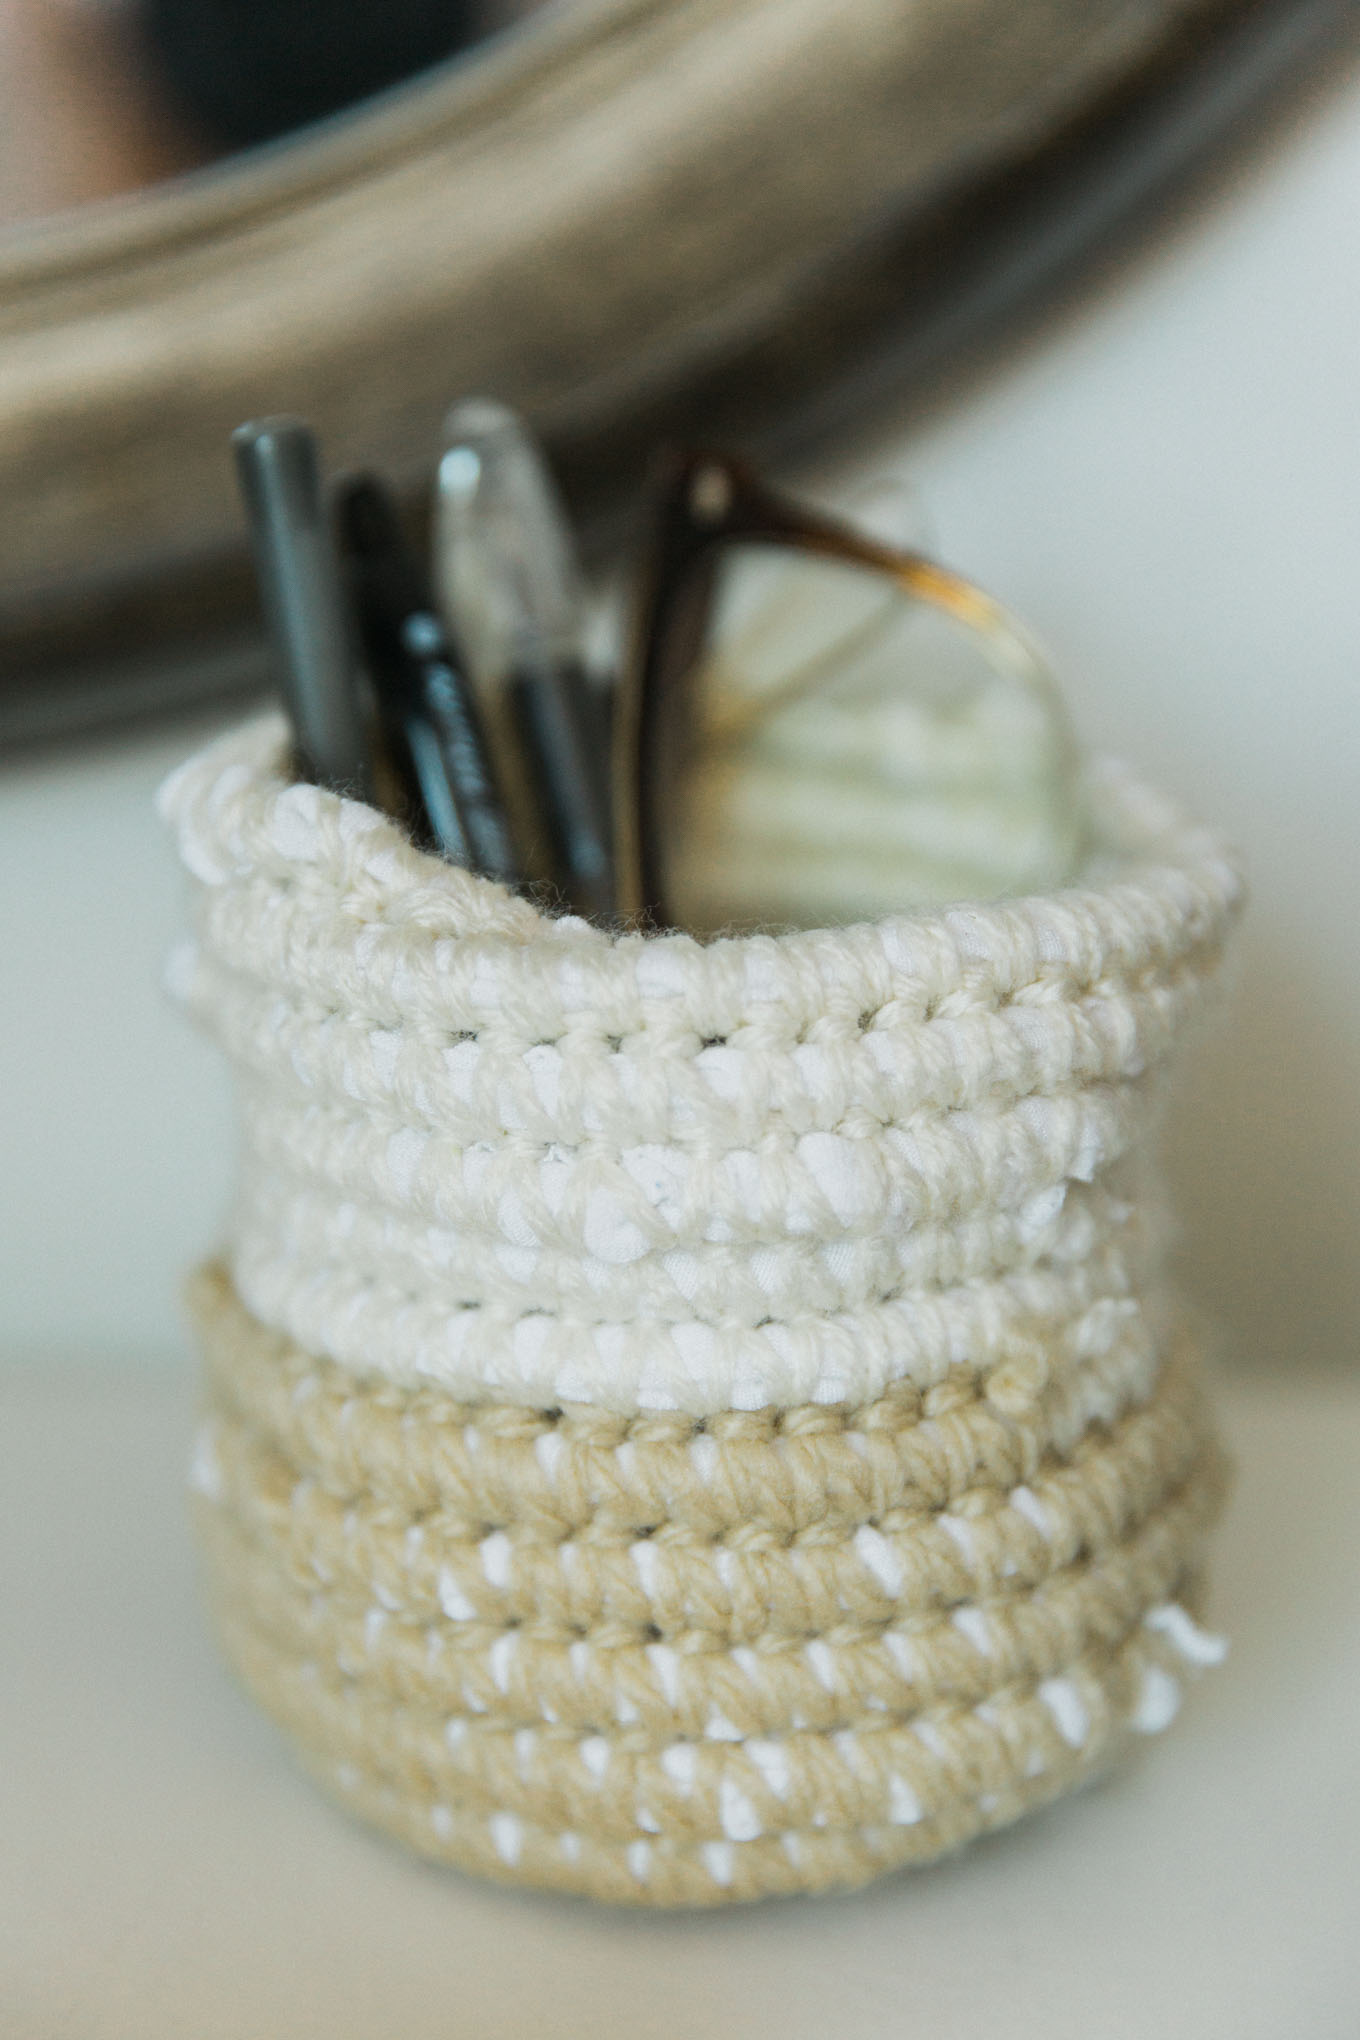
I love to use these recycled fabric coiled baskets to organize everything from makeup to my kid’s art supplies. I love having a place for everything to stay organized, so these are great! The other part that I love is that I made them with my own hands. It brings a little bit of joy and sense of satisfaction to me each time I use them or see them around.

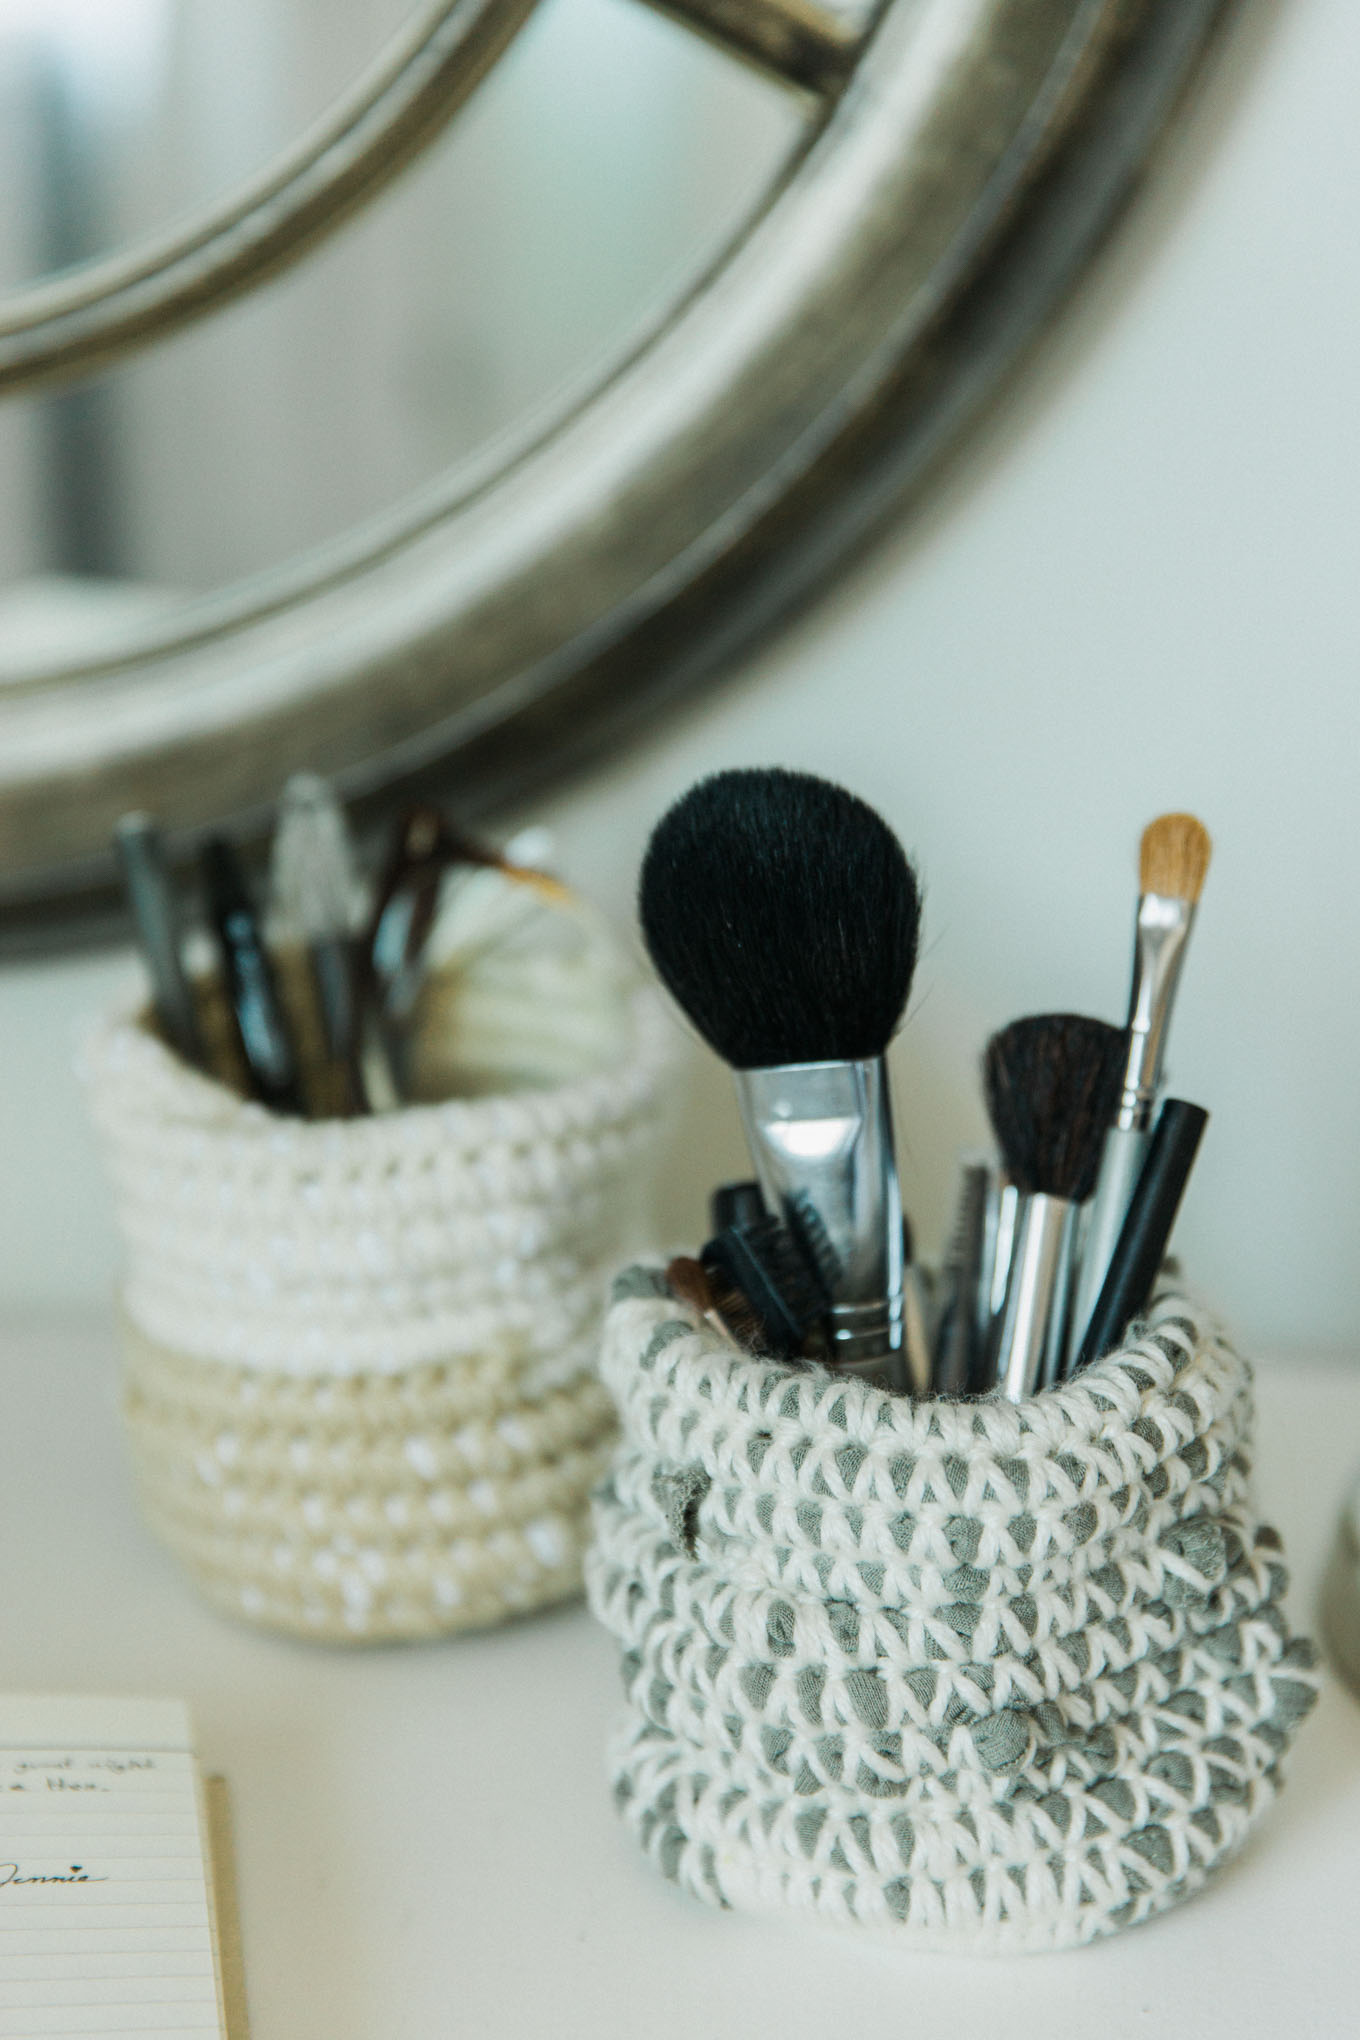
Try any colour combinations you want, I changed the color of the yarn halfway through on the cream and sandy coloured basket for a little bit of variety. Get creative with it, and have fun! I’m excited to try a few different sizes of these recycled fabric coiled baskets.
Latest posts by Jennie Guenard (see all)
- DIY Old Fashioned Kite - Monday, September 11, 2017
- Recycled Fabric Coiled Baskets DIY - Monday, July 31, 2017
- Woodland Creature Pet Rocks Tutorial - Monday, June 19, 2017

What a cool way to use old fabric and crochet skills to create cute and useful coiled baskets! I love this eco-friendly DIY project idea. Thanks for sharing.