Hello Simple As That readers! I’m Amy from Delineate Your Dwelling, a craft DIY blog. I am so excited to guest post today and am sharing one of my new favorite projects. Today I am sharing a how to create a Simple Cacti Embroidery Box.
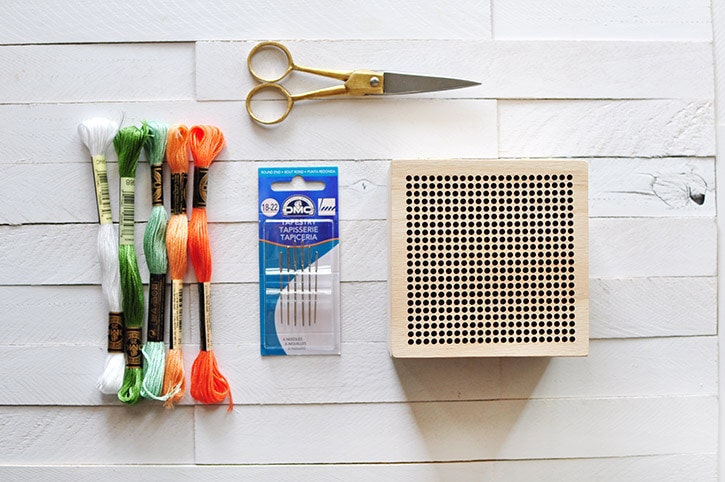
Supplies:
Wooden Embroidery Box (I found mine at Target)
Embroidery Thread or Yarn
Embroidery Needle
Small Scissors
Paint in similar colors of thread
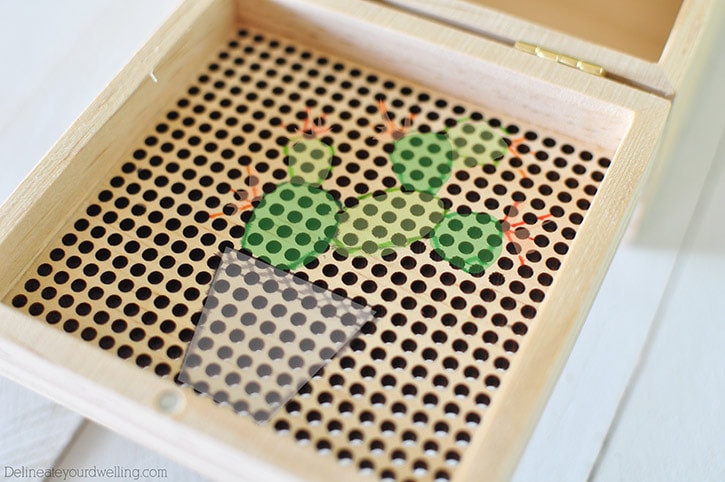
Before starting this project, I quickly drew out on the inside cover of the Embroidery box what my design would be. This helped me keep track of where my next stitch would be. (I highlighted in color for you all to see the design a little better.)
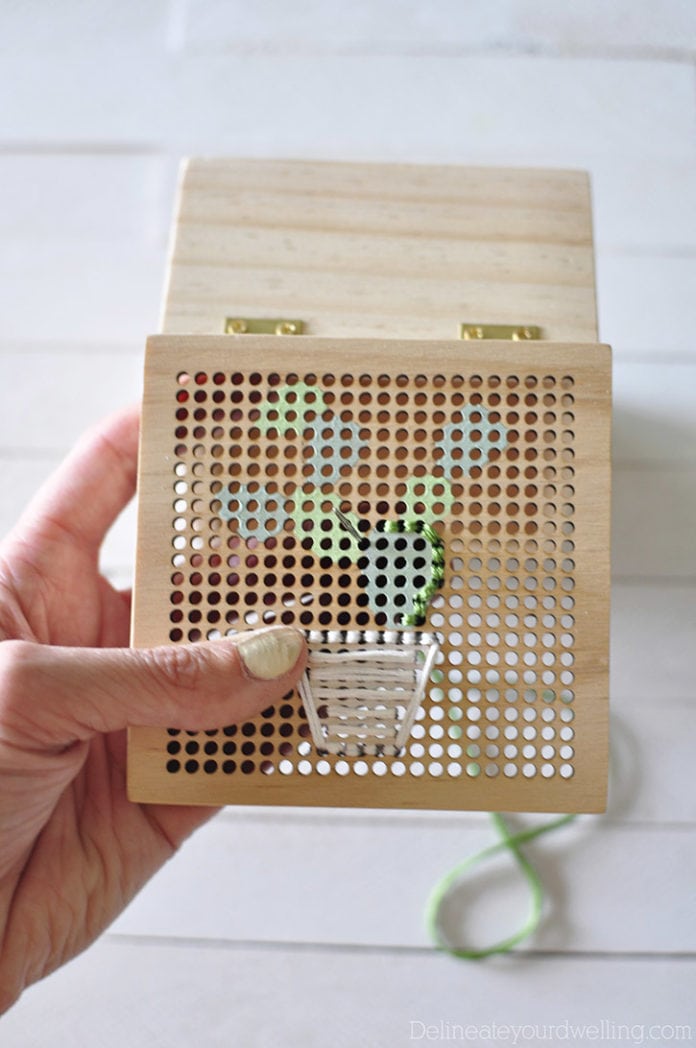
I also painted the basic colors on the front of the cover. However, if you use yarn for this project, instead of thread, it will fill in the space a bit better and this step is unnecessary.
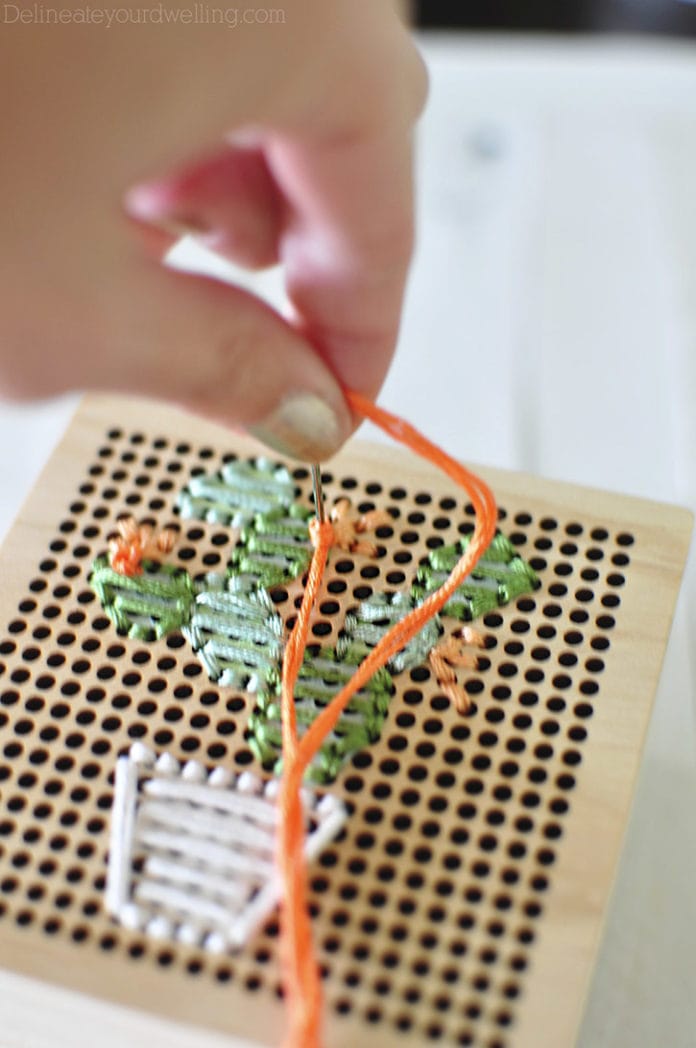
I mostly used a simple Back Stitch for the outlines of each shape and then to fill in the spaces, I used a Satin stitch.
The last little detail for my Embroidery Box was to add a few orange flowers to the cacti.
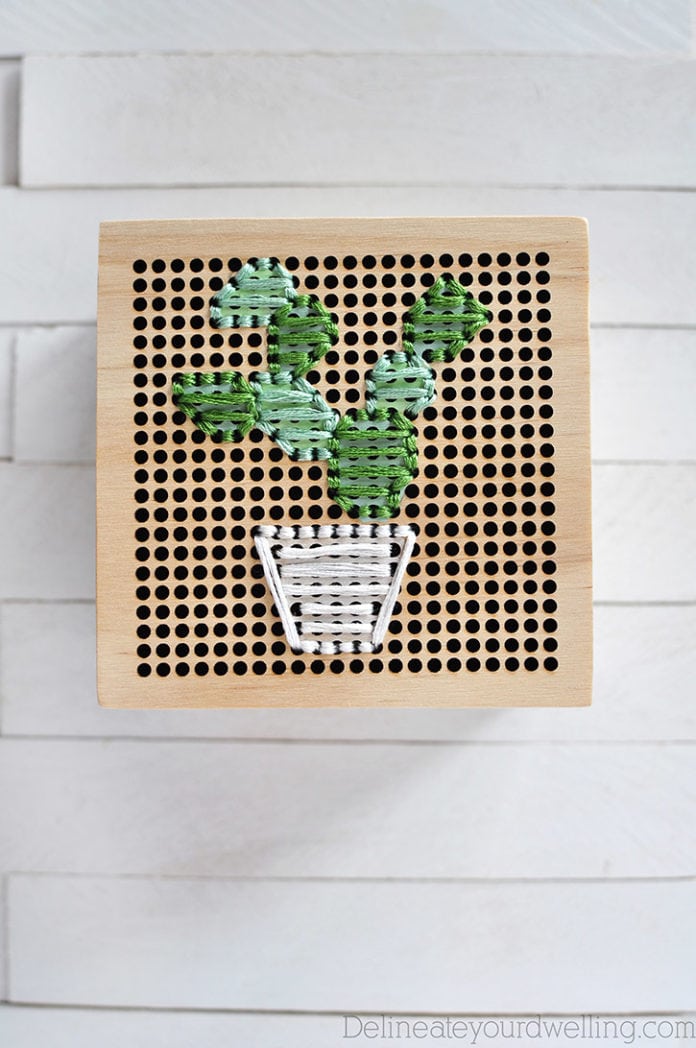
I did another simple Back Stitch in a light orange for the main flower and for the center I used a French Knot.
Once the embroidery cacti was completed, I painted the bottom portion of my box with white acrylic paint.
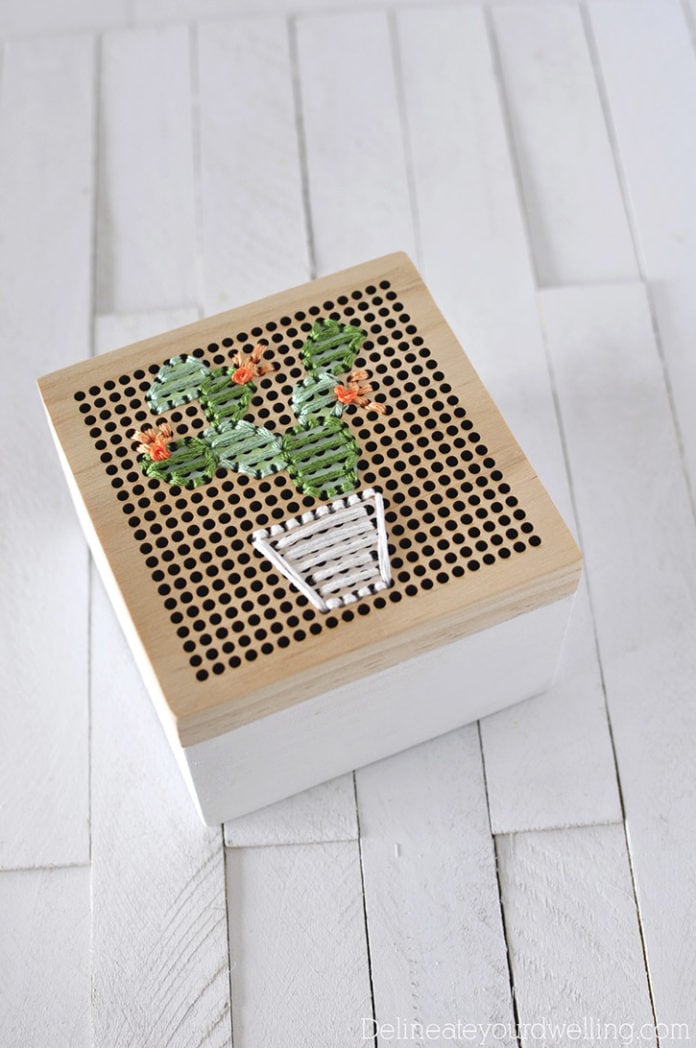
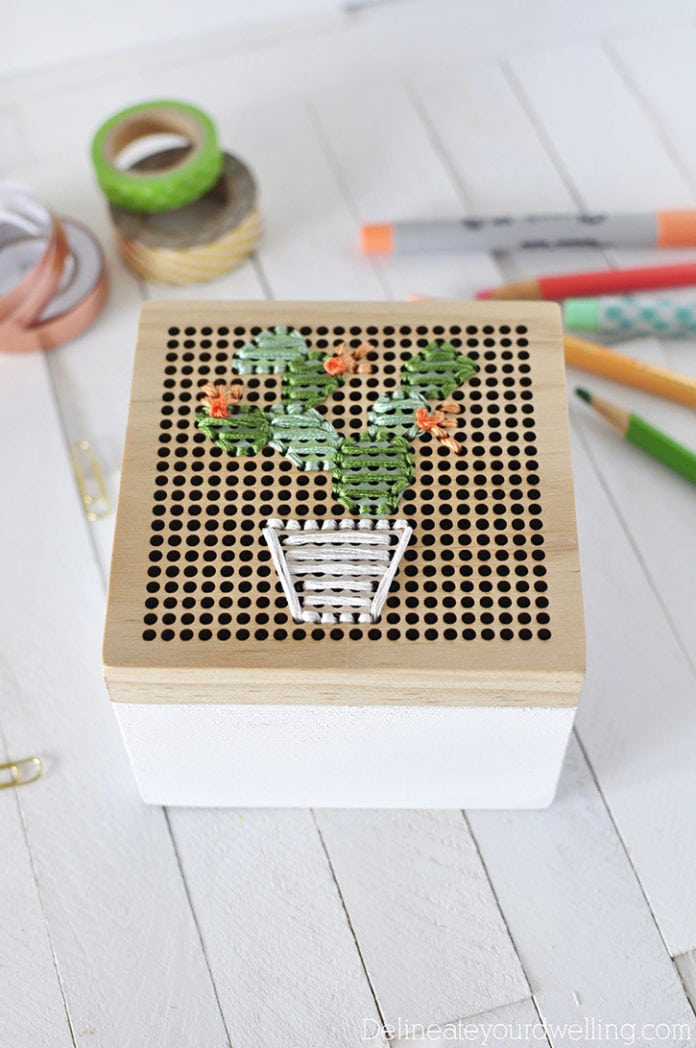
I love how this easy project turned out and already have my box put to good use in my office area!
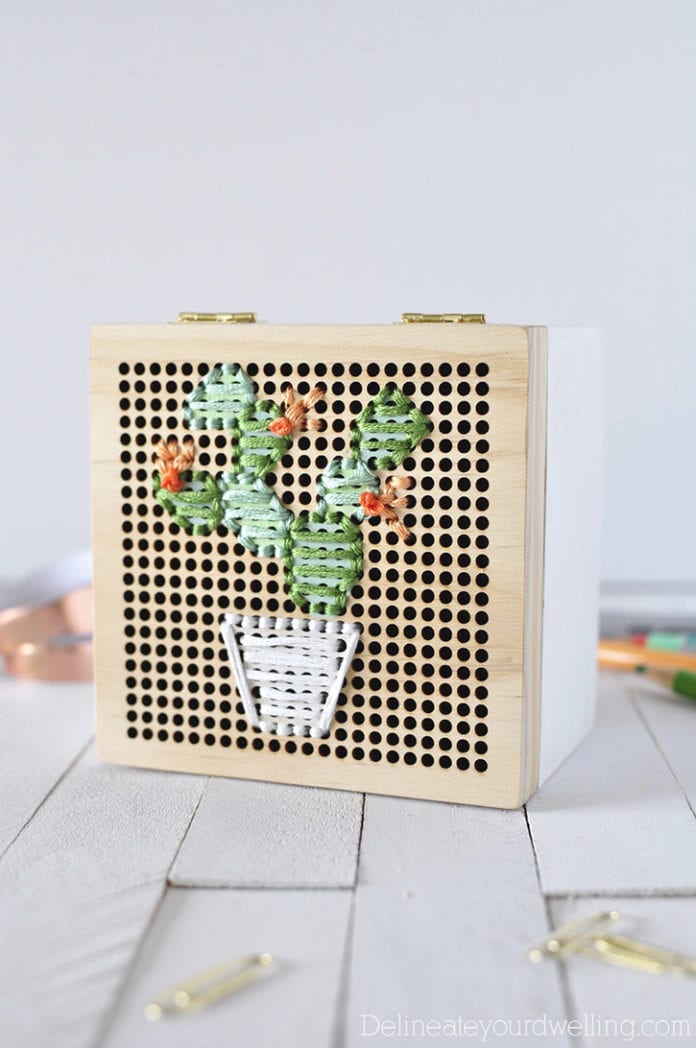
I hope this has inspired you to dig out your embroidery thread and get started on a fun project!
If you’d like to see more creative ideas like this, be sure to stop by and say hello at Delineate Your Dwelling. You can also follow me on Pinterest or Instrgram.



Thank you for having me today!