These rich, delicious triple layer Nanaimo Bars are the perfect dessert for your next holiday get together – no baking required!
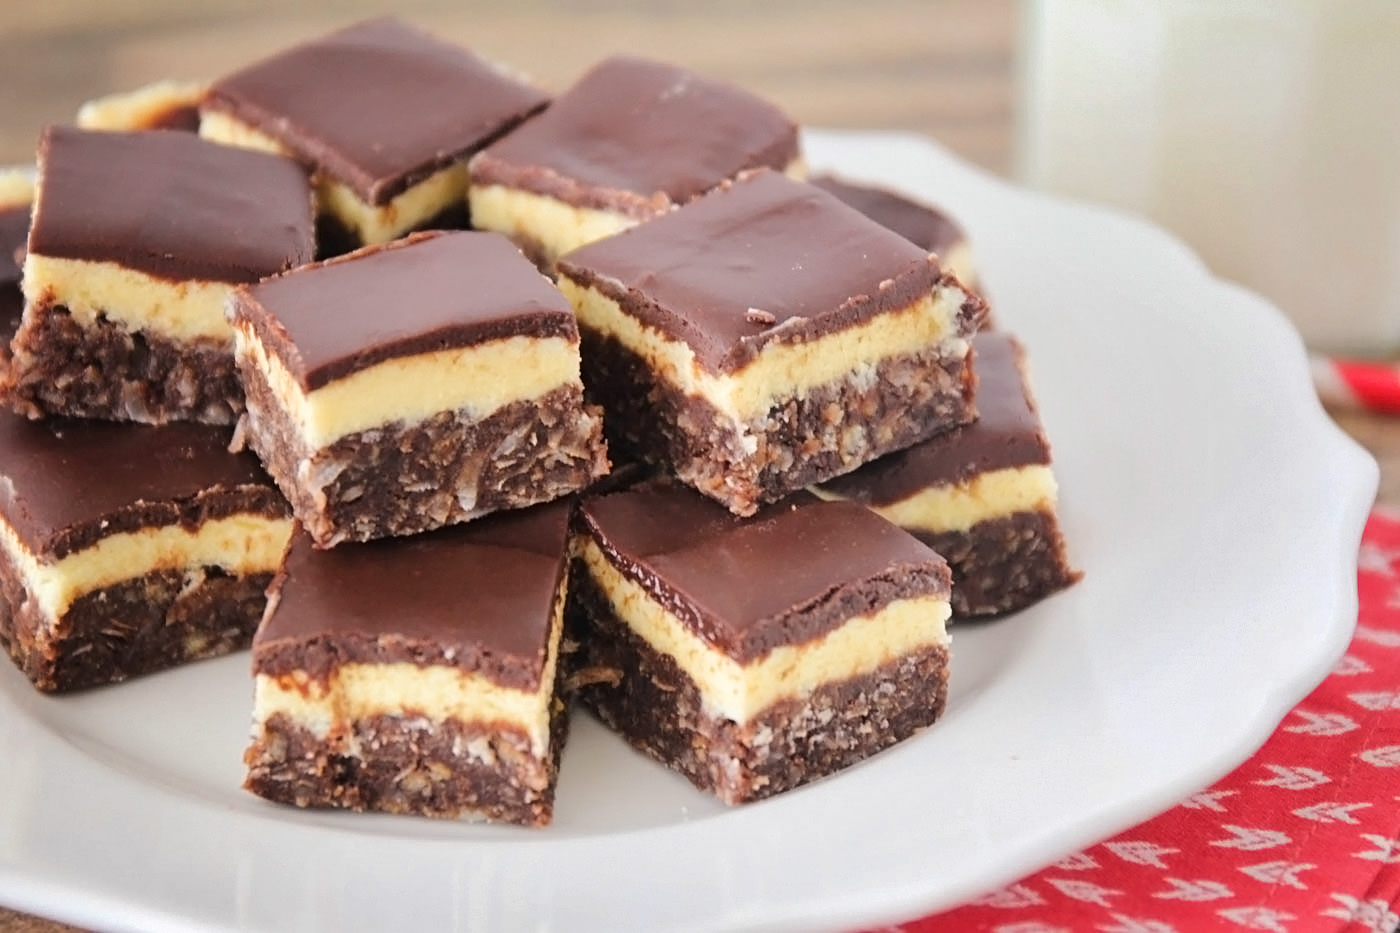
I grew up eating these delicious squares for holidays and other special occasions. Nanaimo bars are a classic Canadian dessert and I’m so excited to share this recipe with you!
Nanaimo Bars Origin
Nanaimo Bars are a truly beloved Canadian treat. No one is quite sure exactly who created them or when the first Nanaimo Bars were made, but they originated in and are named after the city of Nanaimo, B.C. on Vancouver Island.
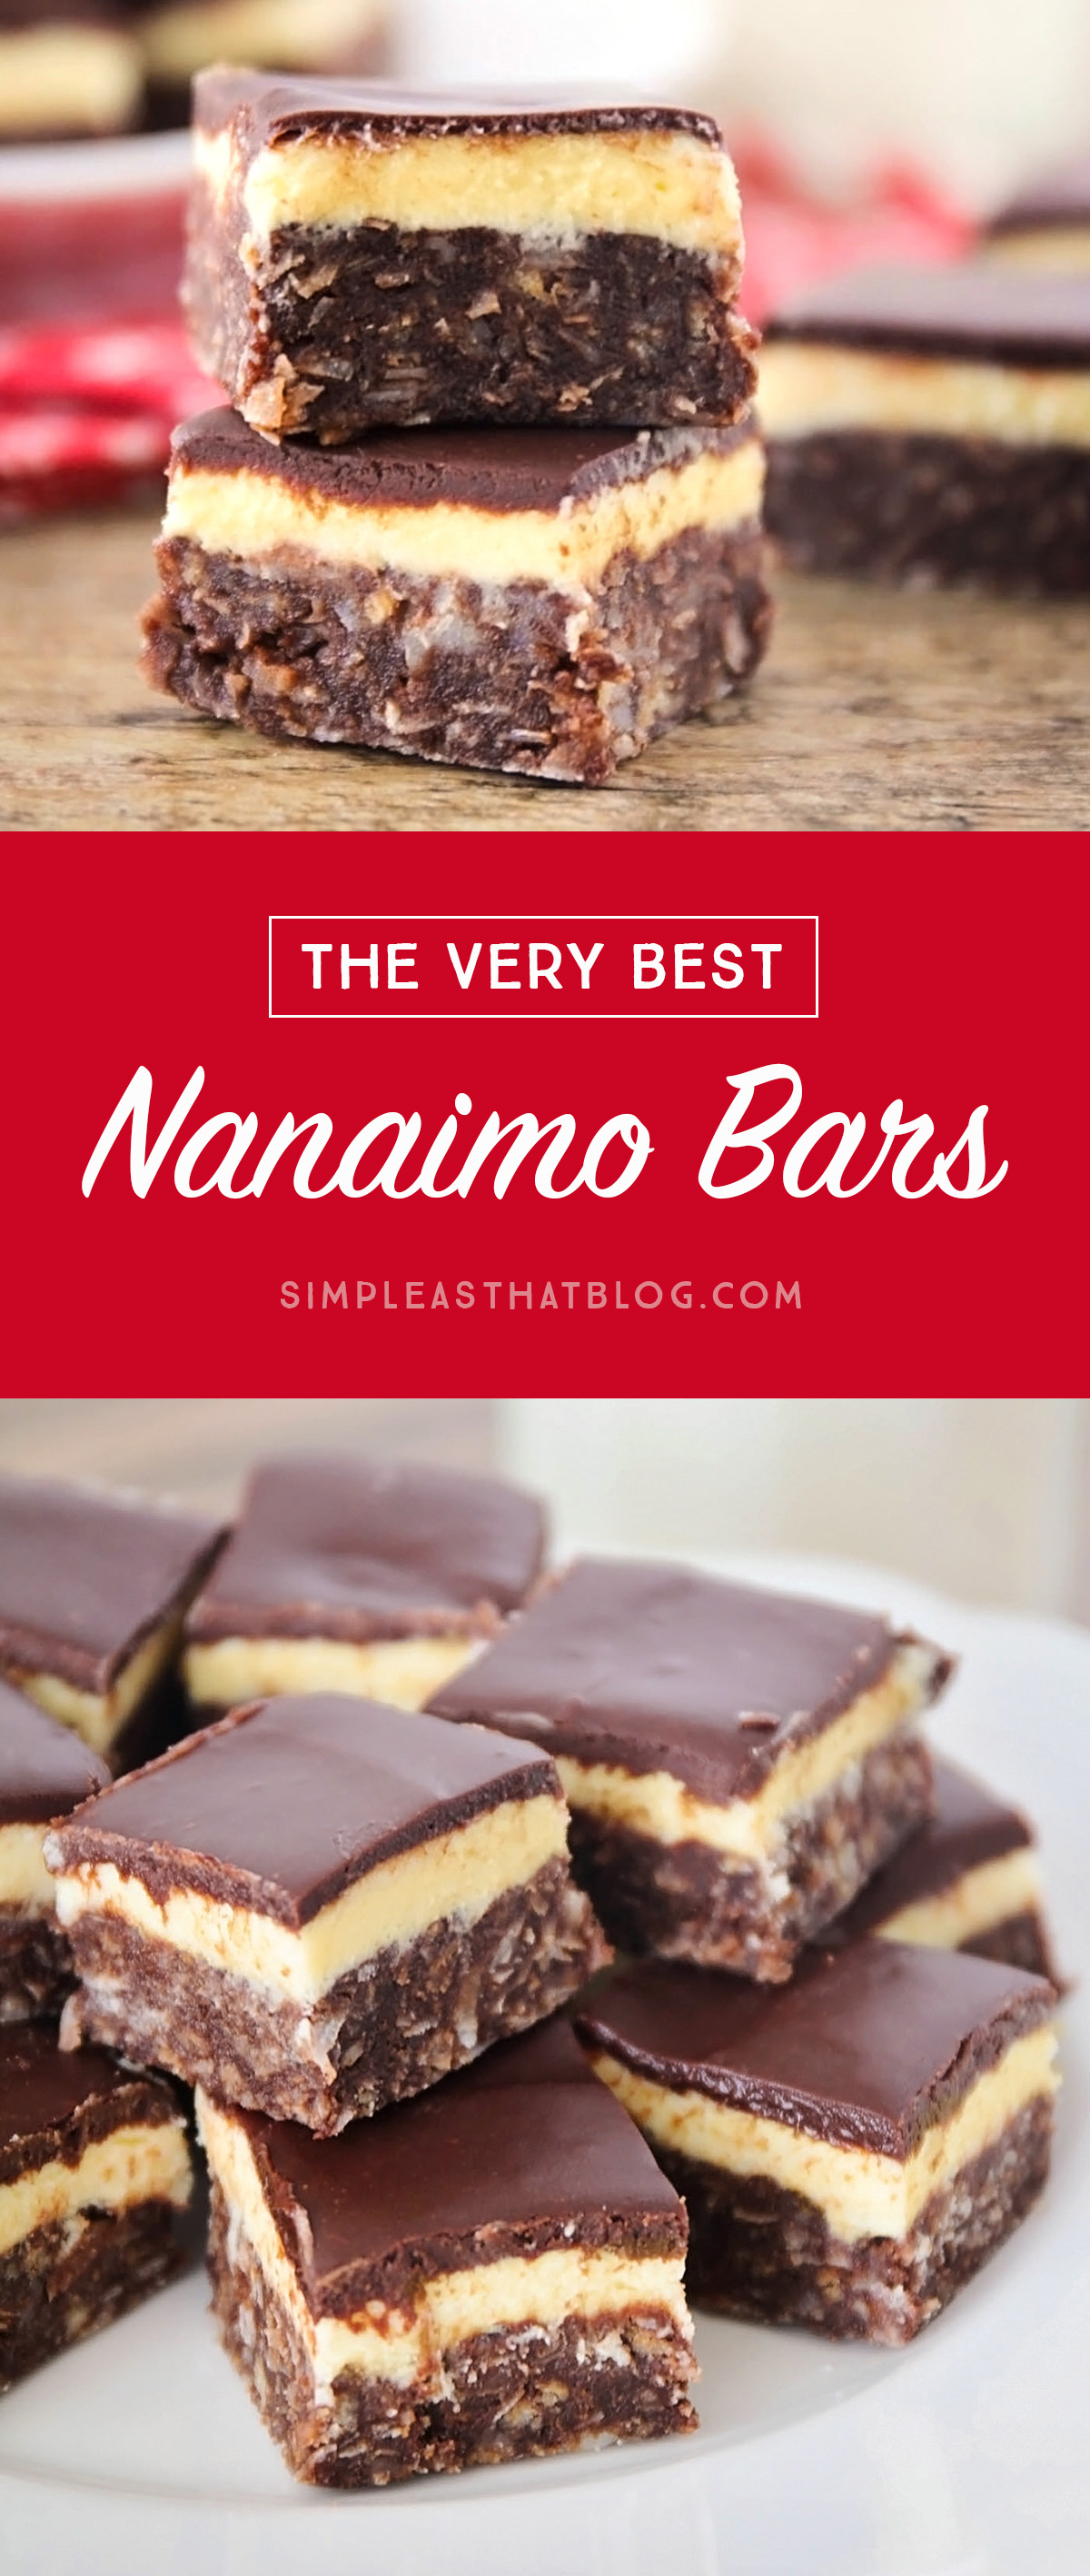
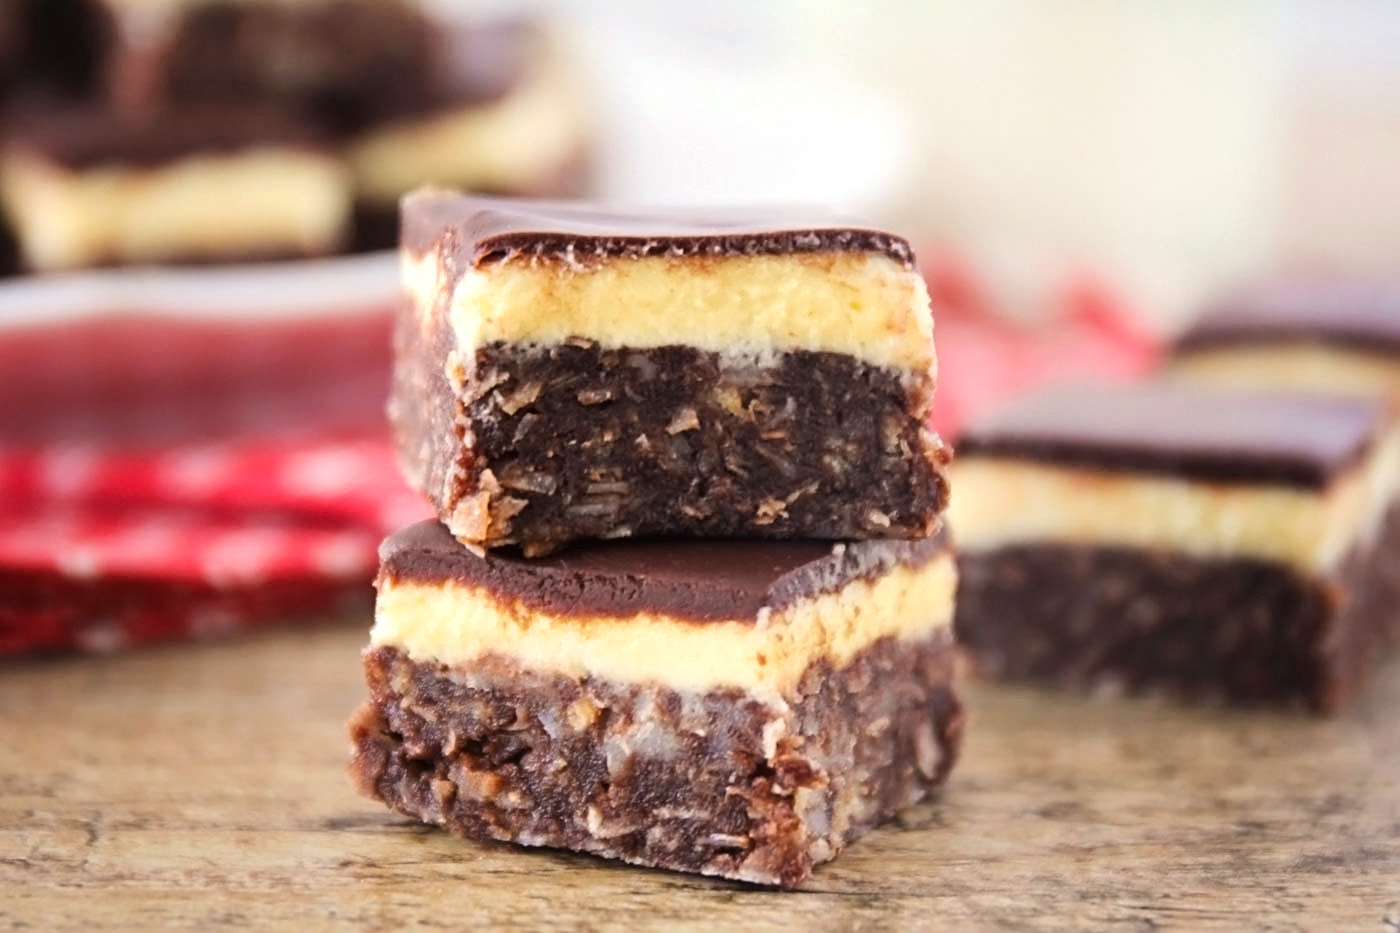
They are made up of three delicious layers. The crust is a mixture of chocolate, graham cracker crumbs, coconut, and chopped almonds or walnuts. Next is a creamy custard layer and everything is topped off with a smooth chocolate ganache.
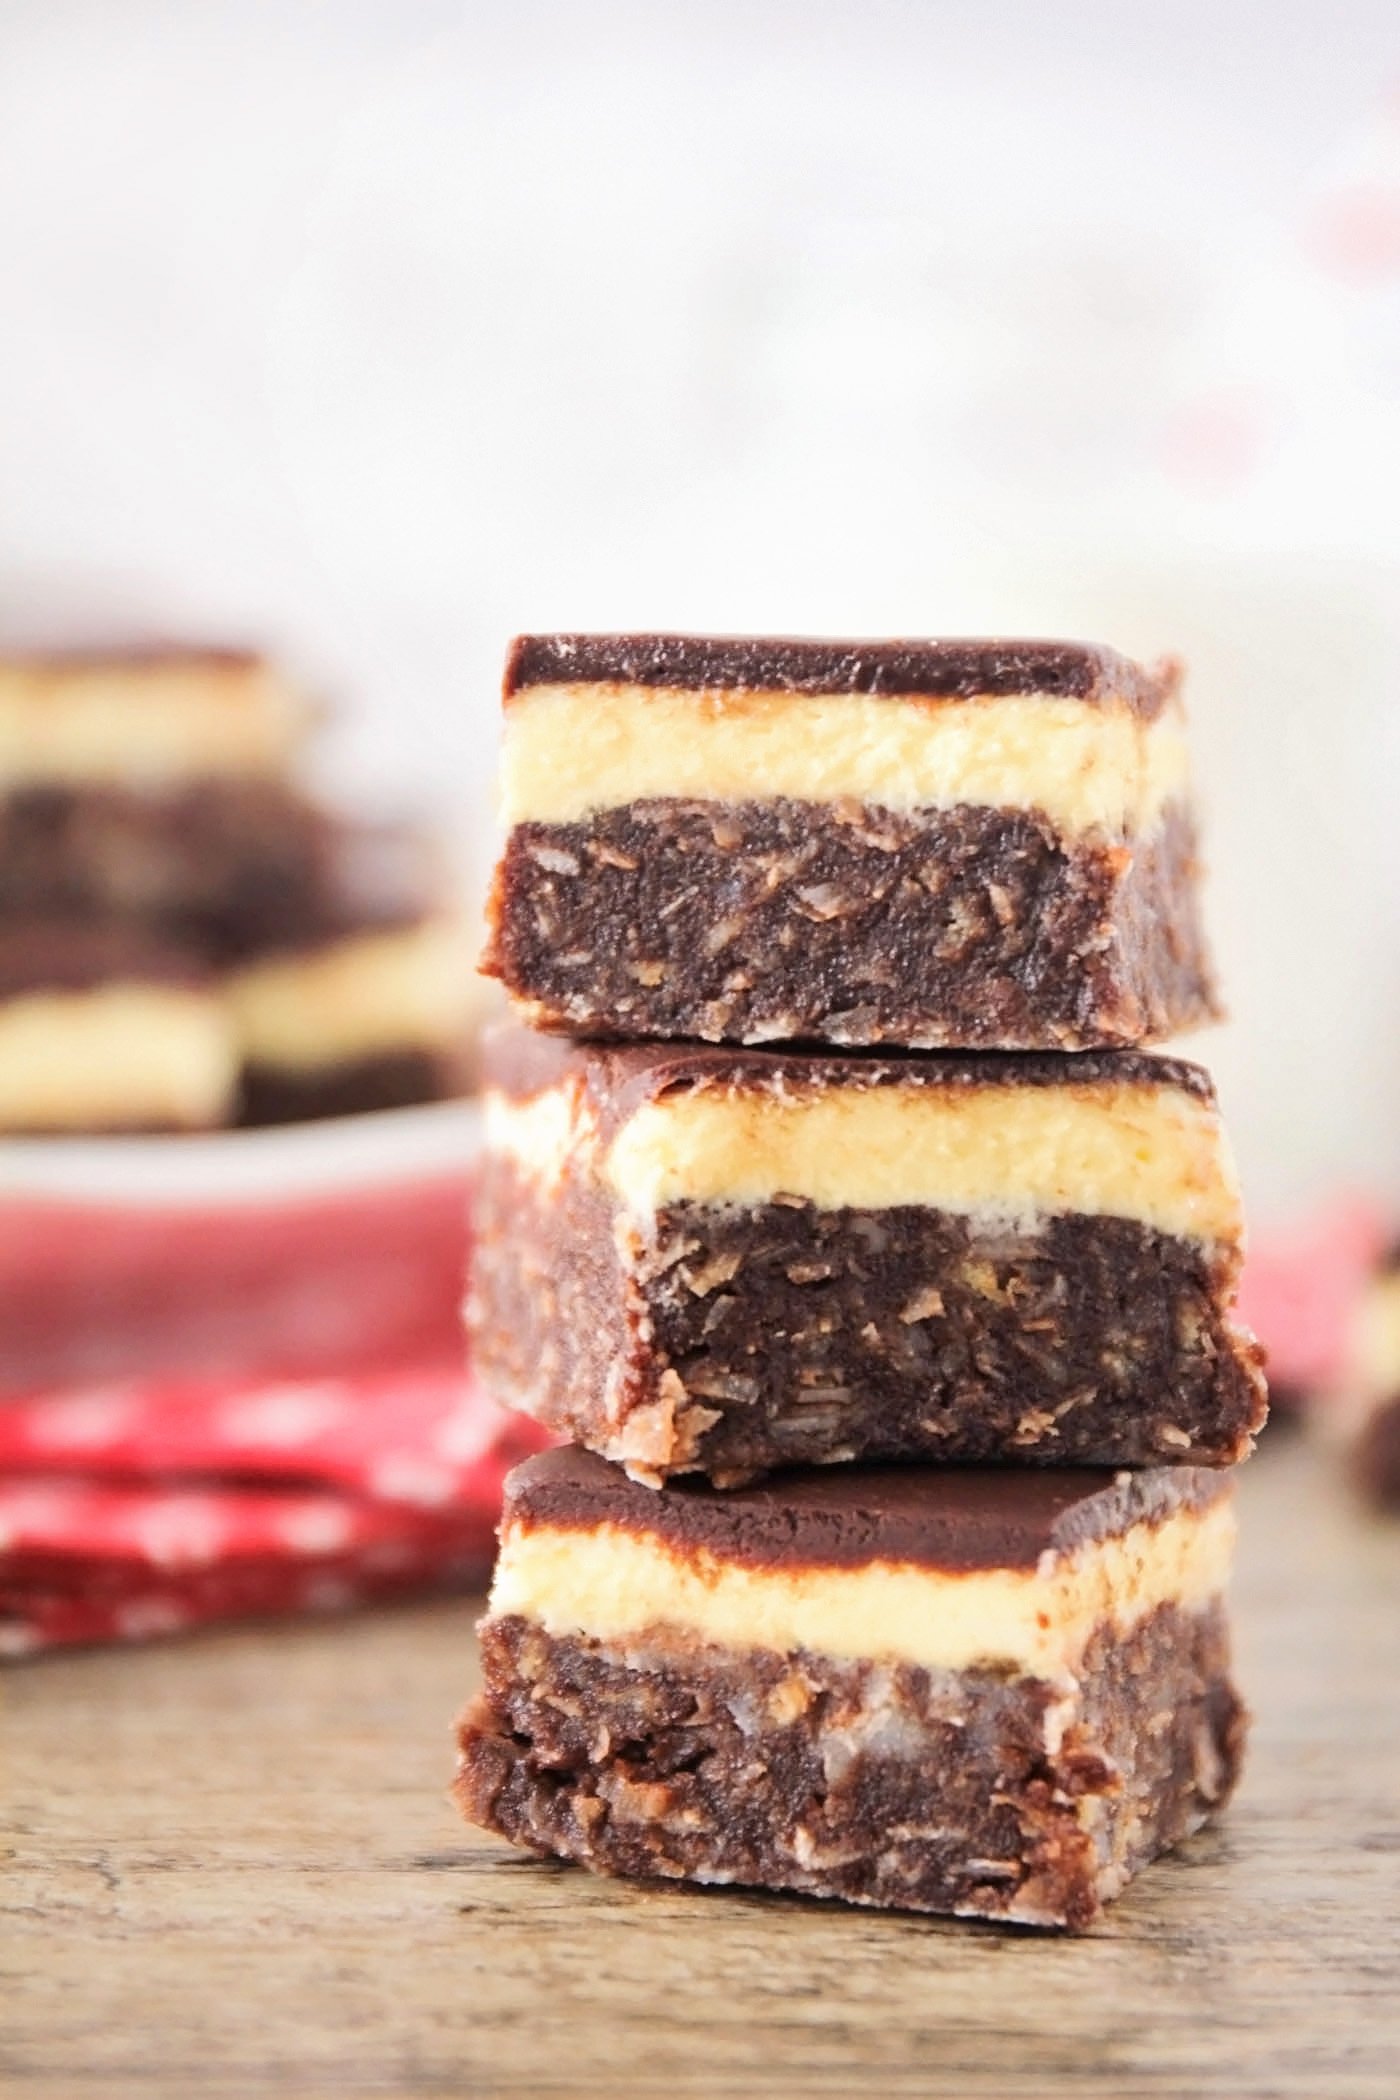
This isn’t a difficult dessert to make but it does take some time as you wait for each layer to chill. They’re very rich so cut into small squares when serving.
If you’ve never tried a Nanaimo Bar my friend – you most definitely need to make a batch of these ASAP!
The Very Best Nanaimo Bars Recipe
Here’s a quick run-down of how you make them. Start by lining a 9″ x 9″ pan with parchment paper being sure to let the ends extend over the sides.
In a large pot combine sugar and cocoa then add butter. Stir over medium-low heat until the butter is completely melted. Add eggs whisking constantly until it thickens (about 2-3 minutes.) Add coconut, cracker crumbs, and chopped almonds or walnuts. Combine well. Press into pan and refrigerate for 20-30 minutes or until set.
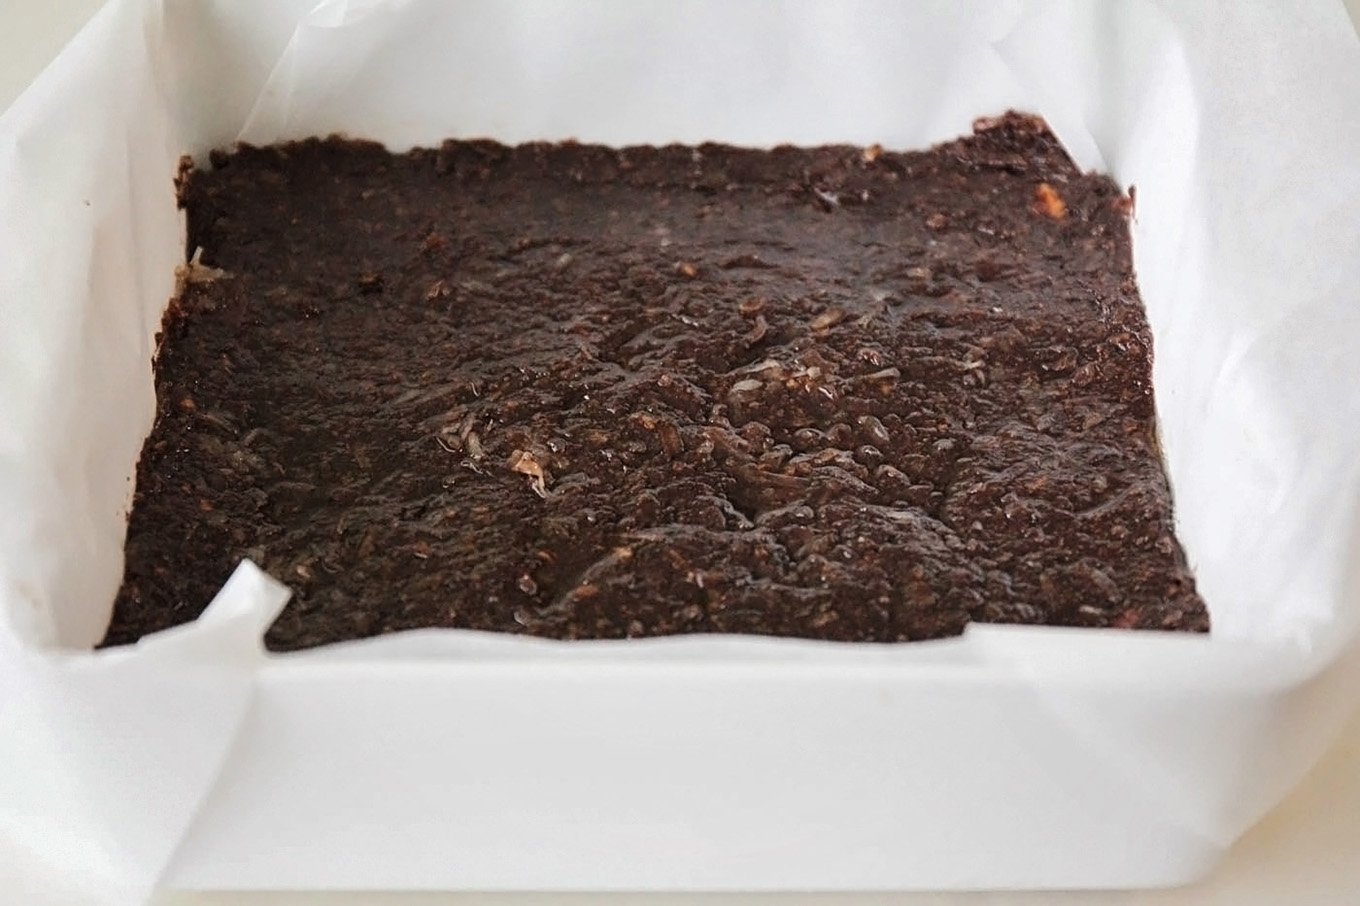
For the filling you’re going to mix confectioners’ sugar, pudding mix, butter and milk in a small bowl until smooth. Spread this over the crust and put in the fridge to chill.
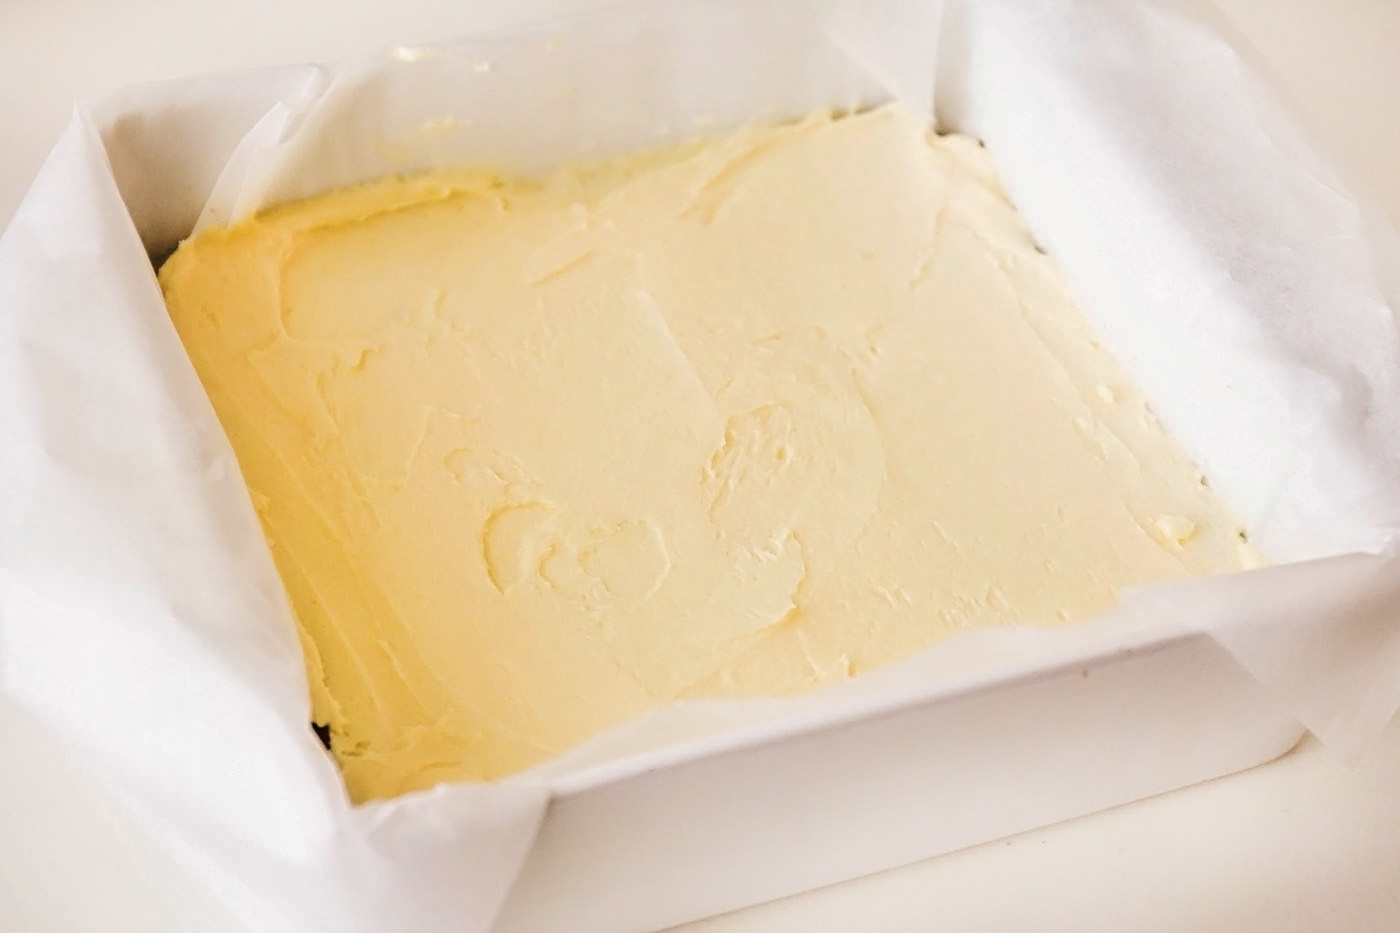
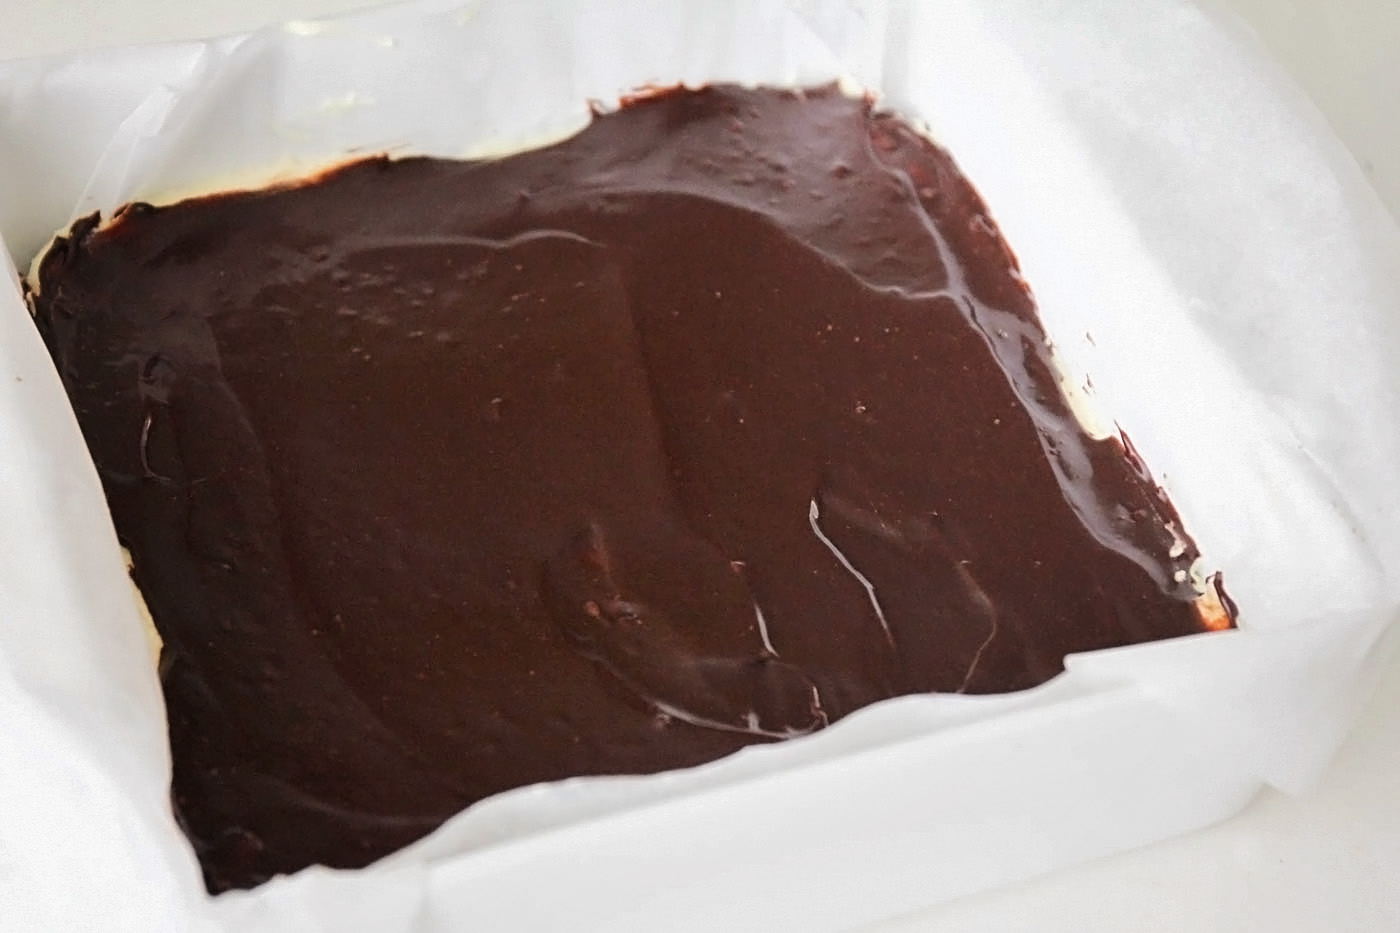
While the center layer is cooling, melt the chocolate and butter in the microwave. Stir until smooth and then spread over top. Refrigerate until chocolate is set. Once set remove bars from the pan and cut into small squares.
**The original recipe calls for custard powder but we substituted with instant vanilla pudding which is a lot easier to find at the grocery store.
- CRUST:
- ¼ cup sugar
- ¼ cup baking cocoa
- ¾ cup butter, cubed
- 2 eggs, beaten
- 2 cups graham cracker crumbs
- 1 cup flaked coconut
- ½ cup chopped almonds, optional
- FILLING:
- 2 cups confectioners' sugar
- 2 tablespoons instant vanilla pudding mix
- ¼ cup butter, melted
- 3 tablespoons 2% milk
- GLAZE:
- 3 ounces semisweet chocolate, chopped
- 1 tablespoon butter
- Start by lining a 9" x 9" pan with parchment paper being sure to let the ends extend over the sides.
- In a large pot combine sugar and cocoa then add butter. Stir over medium-low heat until the butter is completely melted. Add eggs whisking constantly until it thickens (about 2-3 minutes.) Add coconut, cracker crumbs, and chopped almonds or walnuts. Combine well. Press into pan and refrigerate for 20-30 minutes or until set.
- For the filling you're going to mix confectioners' sugar, pudding mix, butter and milk in a small bowl until smooth. Spread this over the crust and put in the fridge to chill.
- While the center layer is cooling, melt the chocolate and butter in the microwave. Stir until smooth and then spread over top. Refrigerate until chocolate is set. Once set remove bars from the pan and cut into small squares.
Make Ahead and Freeze
These bars freeze beautifully which makes them perfect for making ahead. Run a sharp knife under hot water for a few seconds to make slicing them a breeze. Make a batch and keep them in your freezer for your next special occasion – or when you want to sneak a taste. Don’t worry! We won’t tell. 😉
They can be stored in an airtight container in the fridge for up to 2 weeks or in the freezer for 6 months.
If you liked this post you might also enjoy…
- White Chocolate Raspberry Cheesecake Bars
- Decadent White Chocolate Brownies
- Easy Pineapple Poke Cake


Leave a Reply