Today is our second post in the new Simply Photography Series and I’m so honored to welcome Angie Warren to the blog today! She has some really valuable tips for shooting photos indoors! Thank you so much for being here Angie!
There was a time when my Ketti bag was full of gear: body, prime, telephoto, macro, even a Lensbaby. I had this vision that I needed all of this to be a good photographer, when in reality I simply needed what I loved most. That ended up being my good ole prime lense, my 35mm.
What I love the most about this lens is that I am able to shoot outdoors as well as indoors, and low light doesn’t stand a chance. In fact, documenting my little family within the walls of our home is one of my favorite things to do! I do this using only natural light, shooting my camera in manual mode.
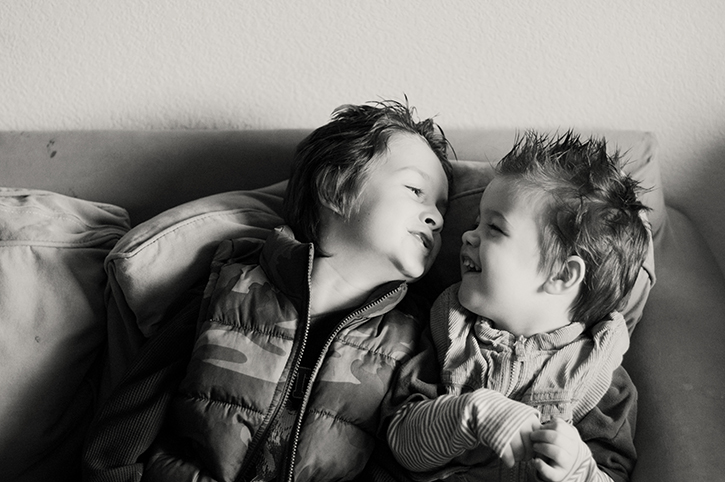
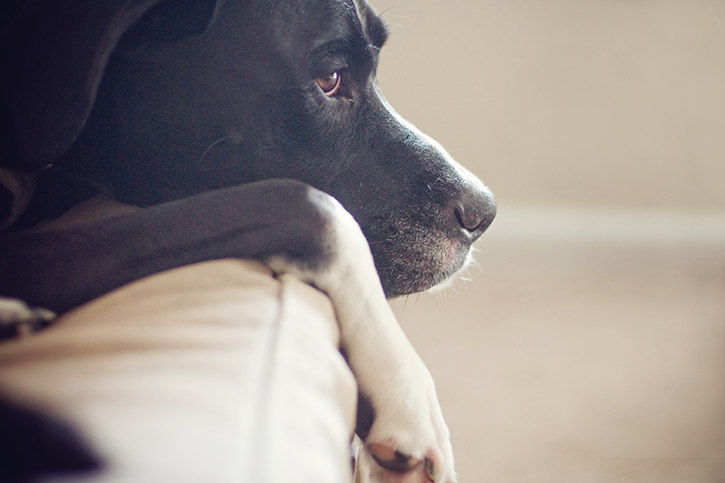
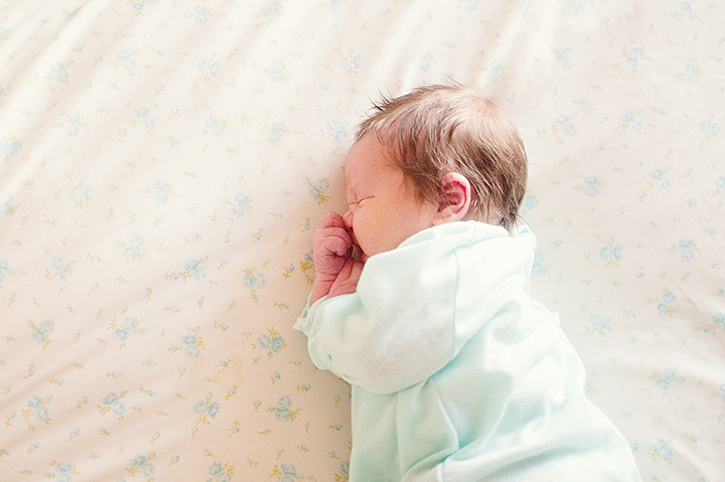
I’ll be sharing some of my favorite images today, as well five tips and tricks that have helped me along the way.
Look for the light.
I believe the most important component in a good photograph is light. You may be surprised to know there are many light sources within your home, ones you may or may not typically think about.
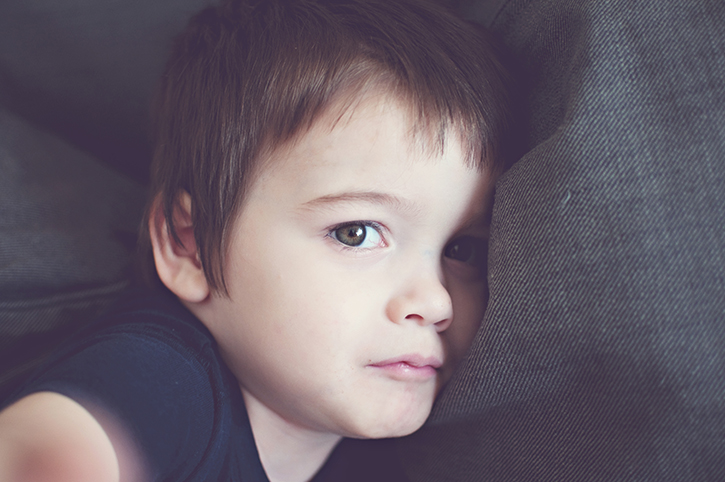
When I set out to take photographs inside, I am immediately looking for natural light sources. I pull back curtains and open the blinds. Positioning myself and my subject (my kids) in a variety of ways so I can see how the light hits them. If windows aren’t an option, I open the front or sliding glass door. Even one window or door can provide enough light and shadow to create a lovely image.
Shoot in manual + basic equipment.
As I mentioned, my camera bag now holds only two very important things: my Nikon DSLR body and 35mm prime lens. That’s it, folks! I know with this lens I can adjust my settings to allow the most light to enter my camera.
A prime lens, whether 35mm or 50mm, gives you the opportunity to change your f/stop sometimes as low as f/1.2. I don’t have the fanciest high end 35mm, mine goes to f/1.8, but it works plenty good for me. The opposite of this, a kit lens (the lens that comes with a camera “package”) won’t allow you to move your f/stop lower than f/3.5 and this makes a huge difference in how much light it allows in.
As a general rule this is how I approach shooting in manual mode indoors:
ISO. Inside, no matter the light or time of day, my ISO is the first adjustment I make. If there is a lot of light and it is mid-day I might be able to dial my ISO to 200-400. If it is later or lower light I will go up to 800+. I’ve been known to shoot as high as ISO 3200 indoors (I love grain, more on that below!).
Aperture. Next important for me, is my f/stop. In my every day, whether inside or out, I never shoot about f/2.8. It’s just a personal preference. Inside in low light, I am shooting at f/1.8 (the lowest number my lens will allow me to go to). I have to hold my camera steady and watch my focus, but this dials the aperture wide open, letting in as much light as it can.
Shutter speed. Lastly in the trifecta of exposure, is shutter speed. This can be tricky because the slower your shutter speed the more light is allowed in. On the contrary, the slower the shutter speed the more blur you’re likely to encounter. I watch my light meter, but shutter speed is number three in my list of ‘priorities’ when shooting indoors. Another personal preference is, I don’t like it to go below 1/90 if at all possible.
Positioning yourself + subject.
When I’m documenting my children that means I am shooting them as they are. Whether it be playing video games, reading a book, or working on a craft – I try not to be involved in any way. These are the every day moments I want to remember so I don’t intrude. In this situation I position myself in ways to shoot them with the best light. Meaning, they stay where they are (say, their bed for example, reading a book), and I move myself around the room until I feel like I’ve got it.
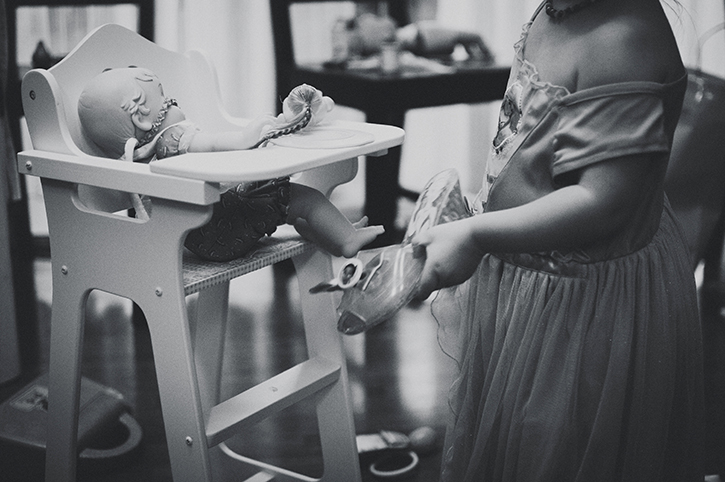
When I’m wanting an intentional picture, say before church, or of my daughter showing me her new baby doll, I will position her in such a way that the light is just where I want it. For example, looking around the room and seeing a big window to my right. I place her on the opposite wall and myself in between. This way the natural light is hitting her (and my back is toward it), I am now able to take a crisp, clear, well-lit, photo.
Change perspective.
It is so very easy to get stuck in a rut of shooting from the hip, looking down at your children, or overall laziness in snapping photos. I try to remember to change up my perspective!
As a general rule when I am documenting my family, I like to change my perspective at least five times. Example: I am taking photos of my kids eating breakfast at the table. Here is what I’m going to shoot.
Pulled back shot from the living room, ensuring I am capturing the entire scene.
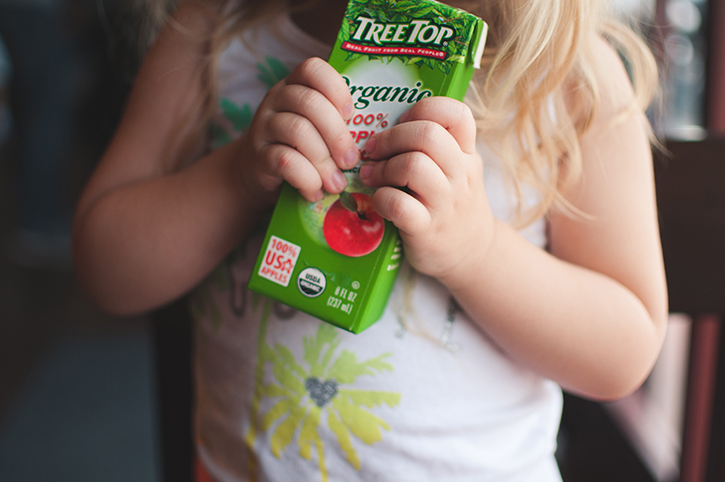
Get in close and shoot a cropped image of my two year old’s chubby hands gripping her spoon. Bonus points for milk dripping off!
Stand on a chair and shoot my son from above.
Move to the kitchen and shoot from their level.
Focus in on each child’s face from standing.
This ensures I am not going to upload my memory card and have thirty photos that all look the same. When I was in business, this idea helped me to create a gallery of images that were all unique and my client’s had a hard time choosing (then they simply want them all!).
Just shoot.
As much as the rules are important, and they are, I have to remind myself that life is messy, and loud, and beautiful, and fleeting. If the light is dim and I have to dial my ISO to 3200, I embrace the grain. If my shutter speed is low and there is motion blur, I know I’ll remember how my boys never sat still. If the skies are dark and I can’t get great natural light, I shoot anyway.
You will never regret documenting your children, especially within the walls of your family home. These are the days and years they will want to remember, and by photographing them, you are giving them a gift no one can replace.
Angie Warren lives with her husband and three kids in beautiful Northern California. A former professional photographer, she now devotes her days to teaching this craft to an amazing group of high school students, as well as documenting her own children every chance she can get. In her free time she loves to paint, read Outlander, and work on her upcoming memoir. Angie has authored two e-books; one ondocumenting your days, and the other about making the most of shooting with your mobile phone. Read more about Angie as she shares her thoughts on photography, motherhood, and grief, on her blog.
Don’t miss the first post in the Simply Photography series here: Embracing the Life in Lifestyle Photography by Lacey Meyers. Stay tuned for more inspiring, back to basics photography tips coming in June!





Really useful tips, thanks! I use my 50mm prime lens at the moment but a 35mm is on my list to buy next so looking forward to getting it now x
Jess, you will love the 35! It’s just wide enough for me, it’s my fave!
Great tips and gorgeous photos!
I am a bit confused on the aperture settings.. I was always told that the more people you have in the shot the higher the aperture needs to be to account for those people. If thats the case then how is it people are able to shoot with their 35 or 55 as their main lens?
Hi Sheena! Thanks for your question. You are correct, to open your depth of field and get a group in focus, you will want to up your f/stop, or aperture. This can certainly be done with a 35 or 50mm lens. They go as *low* as f/1.2 but you can still dial it up to f/22 if needed. Hope this helps!
Very helpful tips, thank you for sharing. I always find it the most difficult to shoot pictures indoors but Angie hat some really good advices here.
Kati from black.white.vivid.
I would really like to know what Nikon DSLR body Angie uses!! ???
This was the most helpful and straightforward tutorial with easy-to-follow step-by-step suggestions!! I have been searching and searching for something so informative and simple! THANK YOU.
I’m guessing she’s got a d700 because she mentioned her iso during bright day is down to 200. The d700 has a minimum iso of 200. The d700 is an older Nikon, but it’s an amazing camera. You can get them used on ebay for fairly cheap. I borrowed one once and didn’t want to give it back!
oh, i just LOVE this!! i’m absolutely LOVING this series so far rebecca!! i have to say, i got my 35 a month after i got my first DSLR, i’m now on my 2nd DSLR and my 35 has never come off. i bought a 50, used it a few times, but my heart is with my 35. it really is an amazing lens!! like always, angie, LOVE all the goodness you share and love all your beautiful pictures!
Thanks Renee, like you I never quite fell in love with my 50. It’s the 35 all the way!
What 35mm lens do you have?
What brand 35mm lens do you use? I’ve been looking at a bunch and would love to know.
Shannon, just a good ole Nikon 35mm 1.8!
All such great pictures and tips!
http://thegirlinredlipstick.blogspot.com/
Seriously… your pics are amazing! Need all the tips I can get for shooting indoors. Thx!
Thanks Kristyn!!
I have pinned this – thank you!
This was extremely inspiring! Thanks so much for sharing your knowledge. I am still stuck with my 50mm and zoom lens and I have so much trouble with light indoors …& now I know what I need to do! Get a 35mm!!
I love love the simplicity of this! I have a 50 mm that I use for shooting semi professionally but I’m always looking for ways to improve! Thank you!!
I’m having trouble finding a Canon 35mm prime lens like the author described with f/1.8 at a decent price. I found the one in the Amazon link below, but it is f/1.4 and out of my price range. Anyone have any suggestions? Thanks for the help in advance!
http://www.amazon.com/gp/product/B00009R6WY/ref=ox_sc_sfl_title_1?ie=UTF8&psc=1&smid=ATVPDKIKX0DER
Many love Canon’s L series 35mm f/1.4, but Sigma recently came out with their ART series 35mm f/1.4 that is a little cheaper than the Canon version and some rate it even higher than Canon’s! I haven’t bought either yet, but have tried them both and didn’t notice Canon being any better so I’ll probably go with the Sigma when I finally purchase a 35mm. Also I believe Canon has a 35mm f/2 that might be even more affordable.
Thanks for the awesome tips! I too love my 35mm. I purchased the Sigma 35mm a few months ago and haven’t used anything else since! Now I just need a lesson on darn custom white balancing! 🙂
Amber, guess what? I shoot Auto WB every. time. Shhh! 😉
While it is GOOD to learn the Kelvin scale, it is also okay to pop your WB into Auto mode. Because I shoot in RAW and use Lightroom for color correction I prefer it this way. Hopefully this helps some!
Thank you for all the tips. Very interesting article. I have 50mm 1.8 lens that I shoot with all the time. Would you say 35 mm is much better lens to take pictures of kids? I will be looking into purchasing a new lens in a few months, would you say 35mm will give me much better results than 50mm? If so, why? Thank you so much!
I am always the only Sony shooter in a lot of the groups
Great post, enjoyed the tips. Especially the one about embracing the grain, that is so hard for me. 🙂 I just bought my first 35mm lens, 1.4 and can’t wait to get it. I just don’t shoot much inside because I have never been able to get wide enough and my house is so dark. 🙁
HI! I love the edits you have made on the photos in this post. Can you tell me what program/edits you used?
Thanks!
Wonderful tips! I hope to give this a try this weekend!