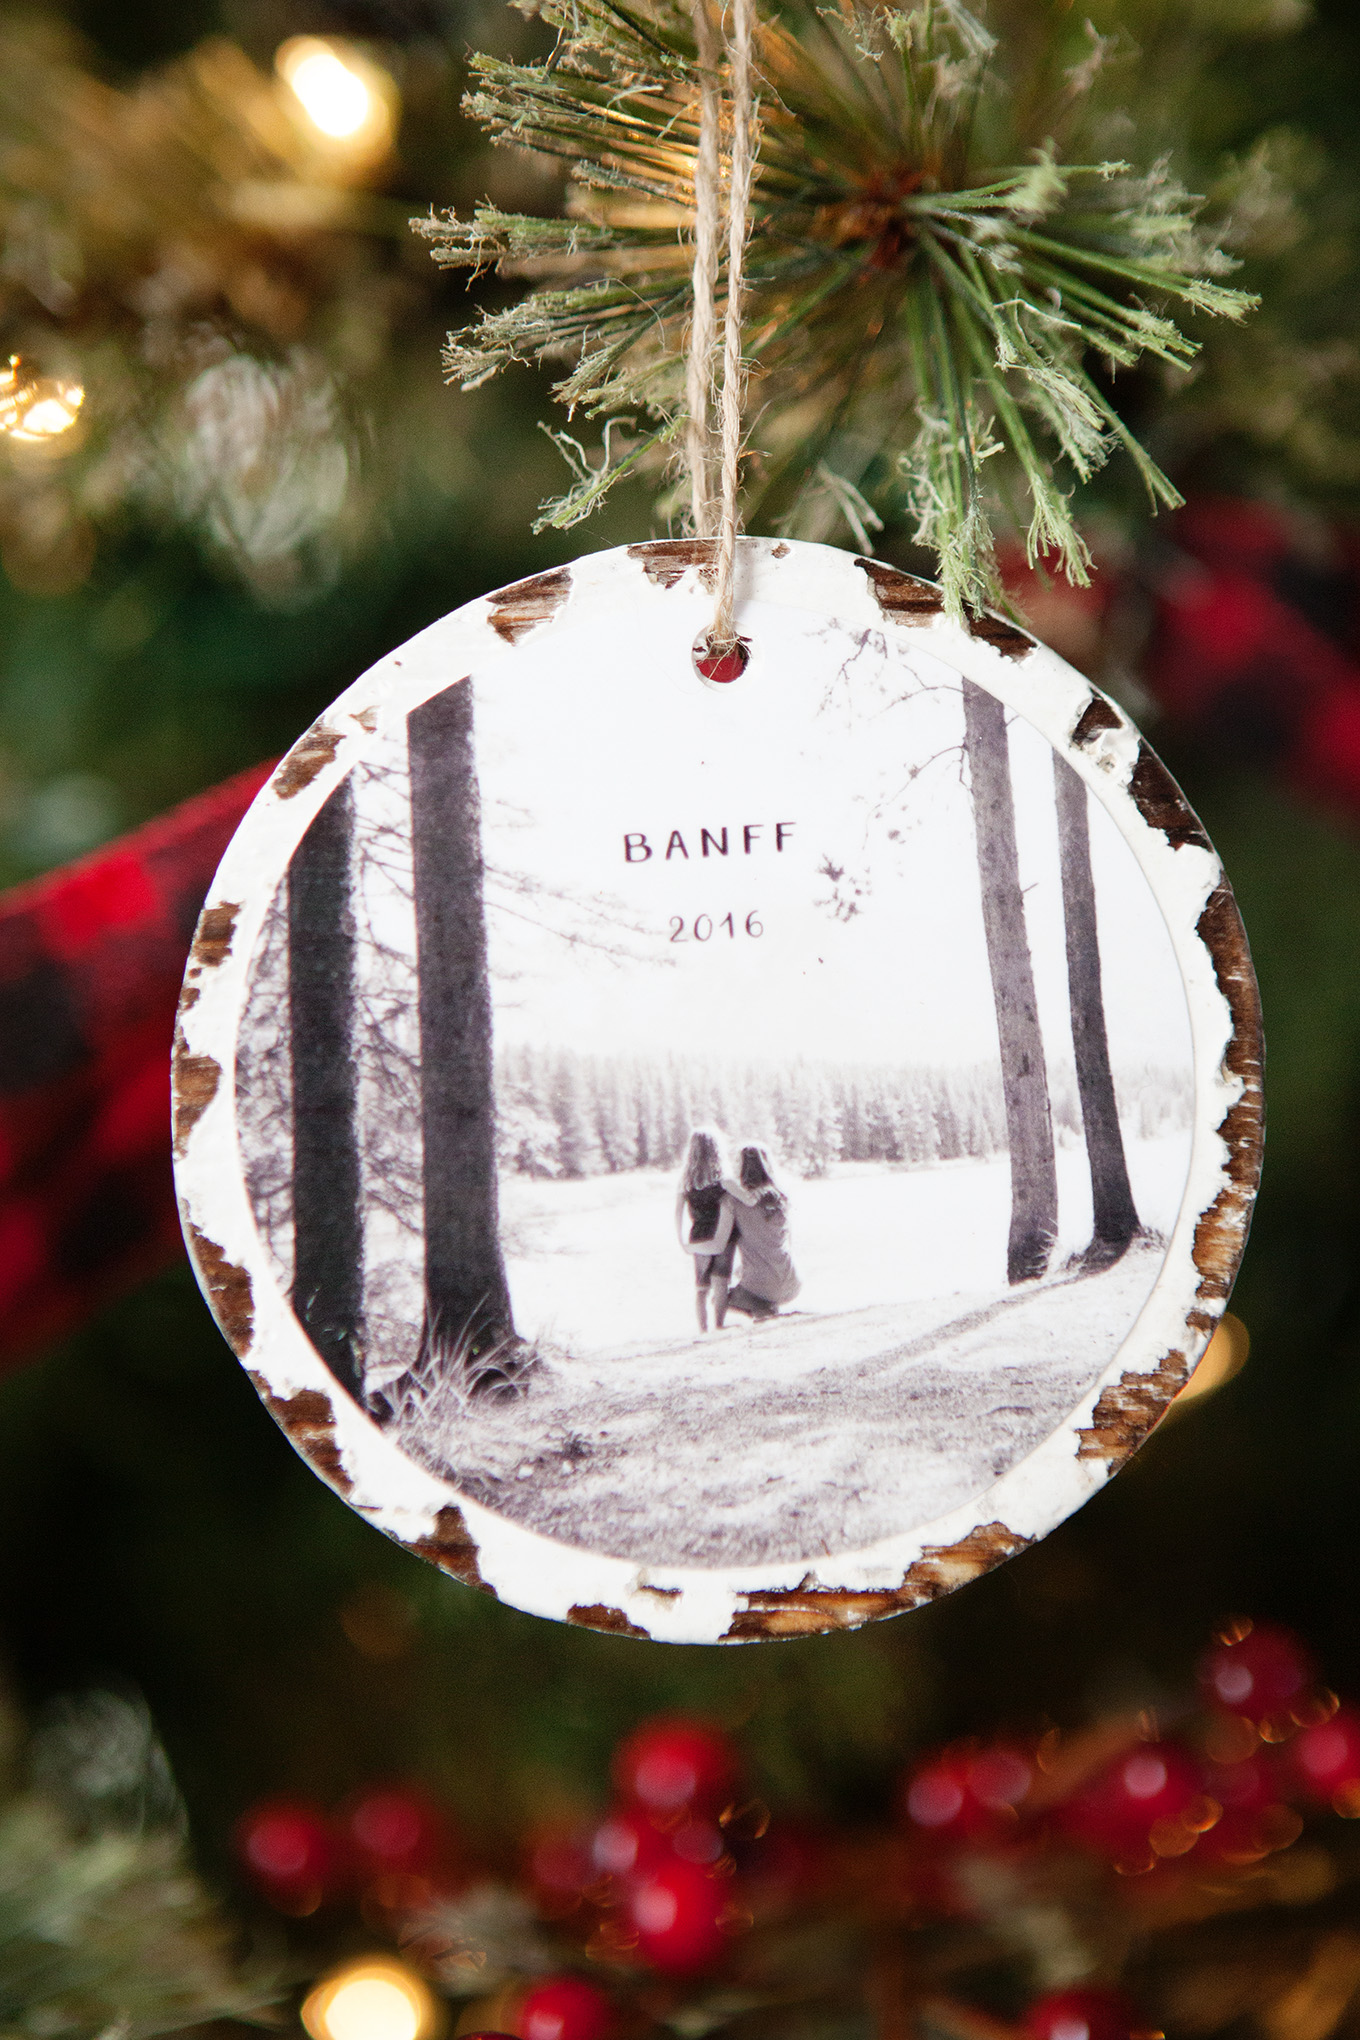
Trim the tree with these 10 minute photo keepsake ornaments. They take no time at all to make and it will mean so much to fill the tree with family memories!

Easy to Make Photo Keepsake Ornaments
When putting together our Outdoor Adventure-themed Christmas tree this year I wanted to include some handmade photo ornaments that showcased a few of our favorite moments in the great outdoors.
These photos mean so much to me and represent some amazing experiences we’ve shared together as a family so I wanted them to have a special place on our tree.
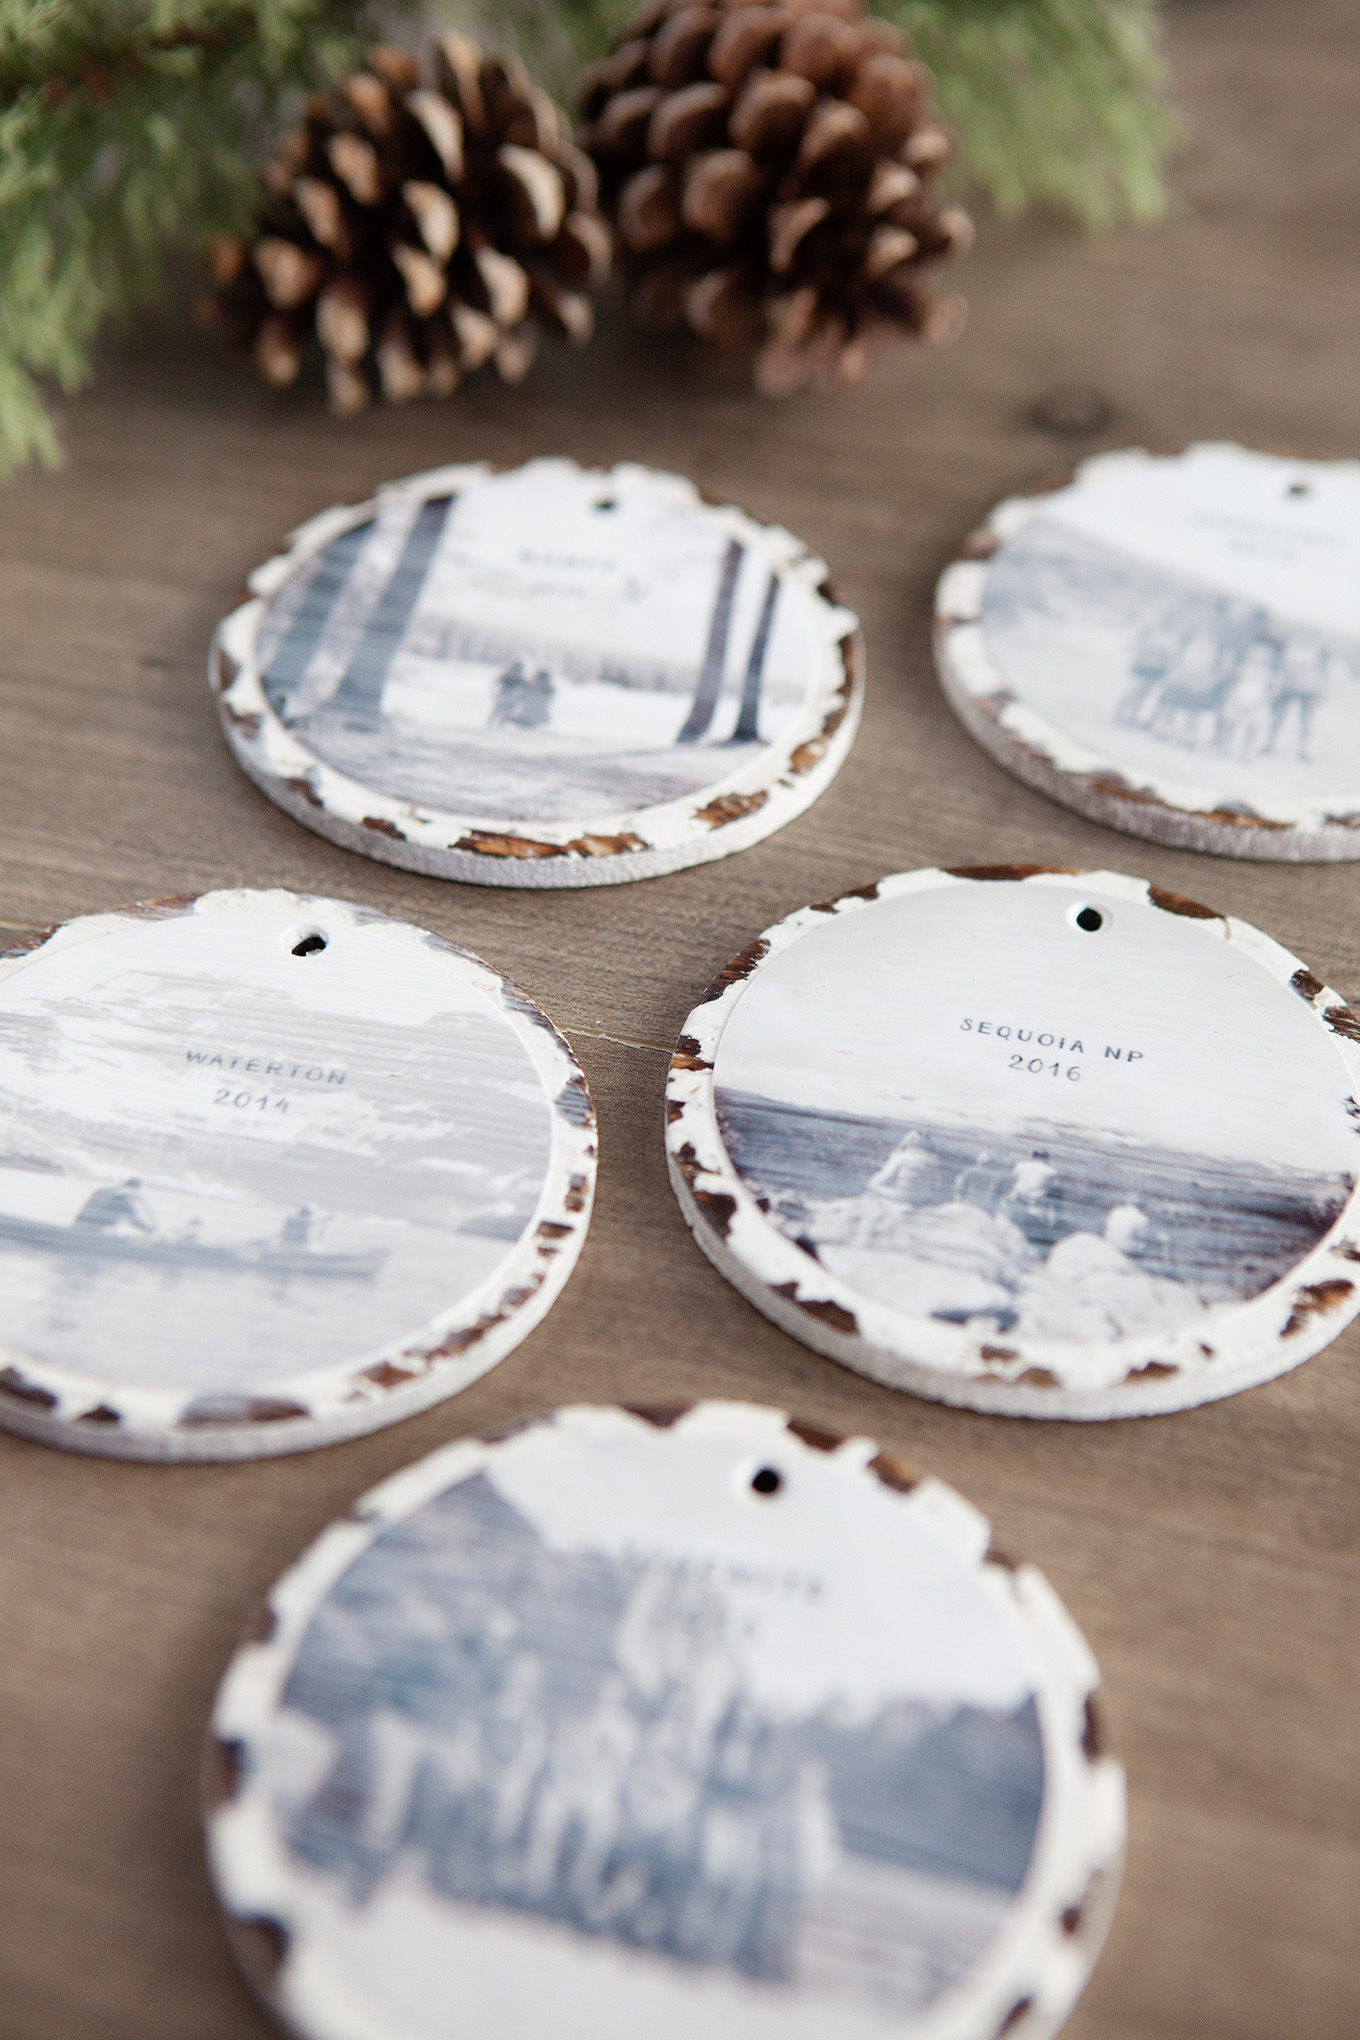
As always, when I take on a craft project, it has to be simple and these ornaments are exactly that. You’ll have them put together and hanging on your tree in minutes! Follow along as I show you exactly how to make them.
*All supplies for this project can be found at Michaels Stores.
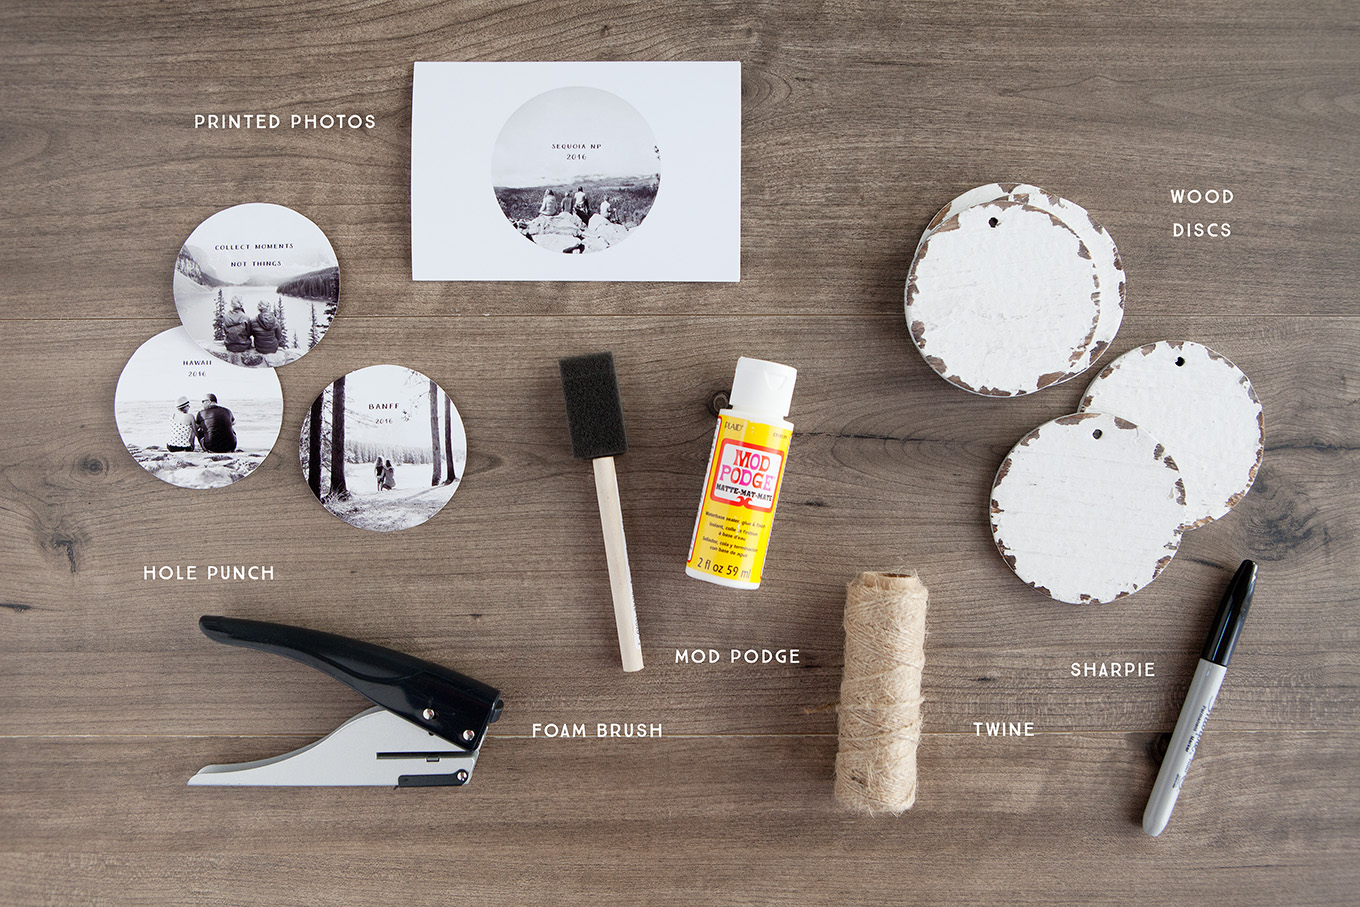
Supplies
Round distressed wood ornaments
Scissors
Printed Photos
Photo Editing program or PicMonkey
Instructions
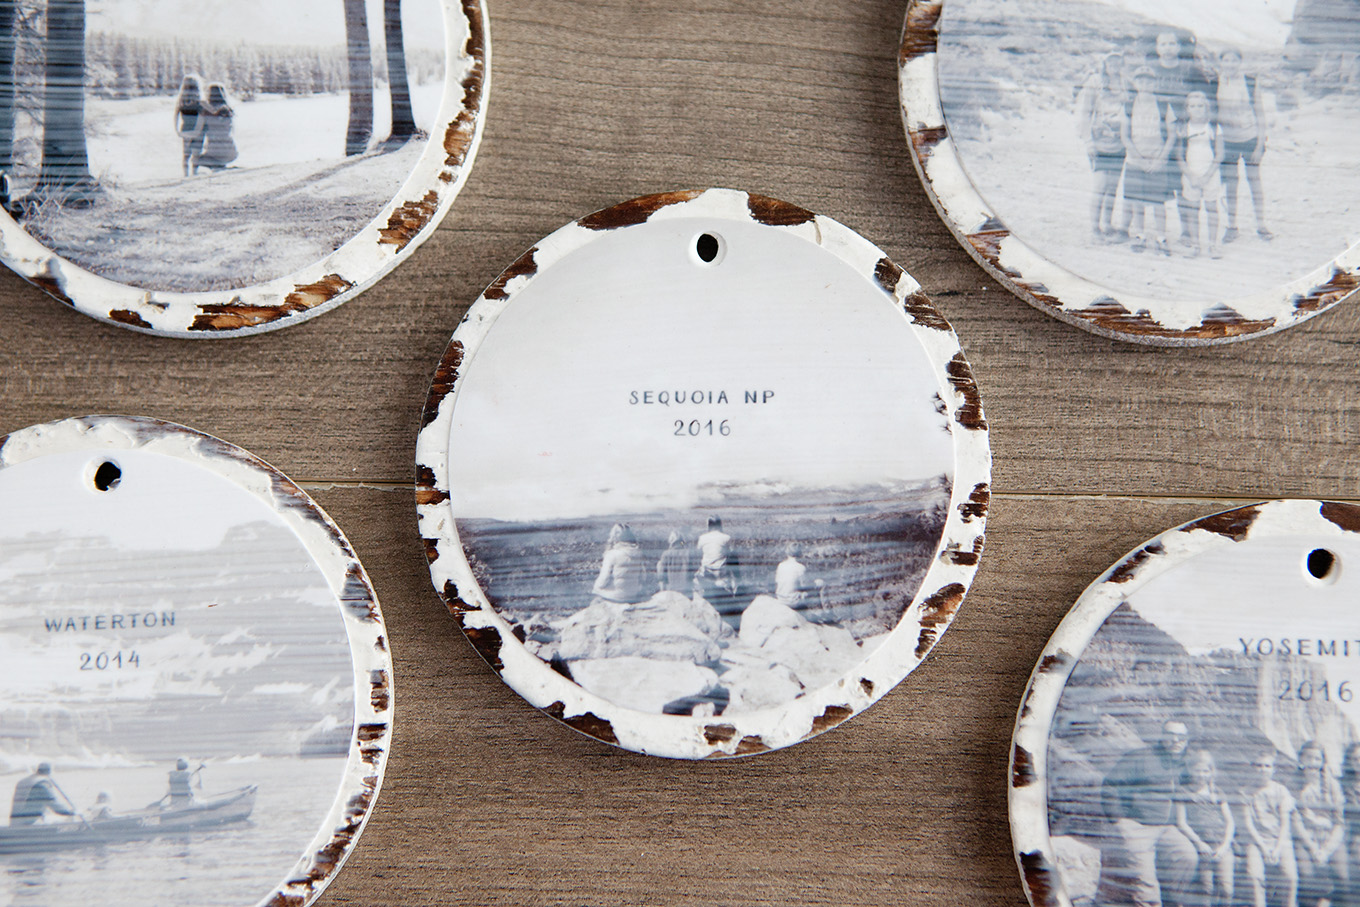
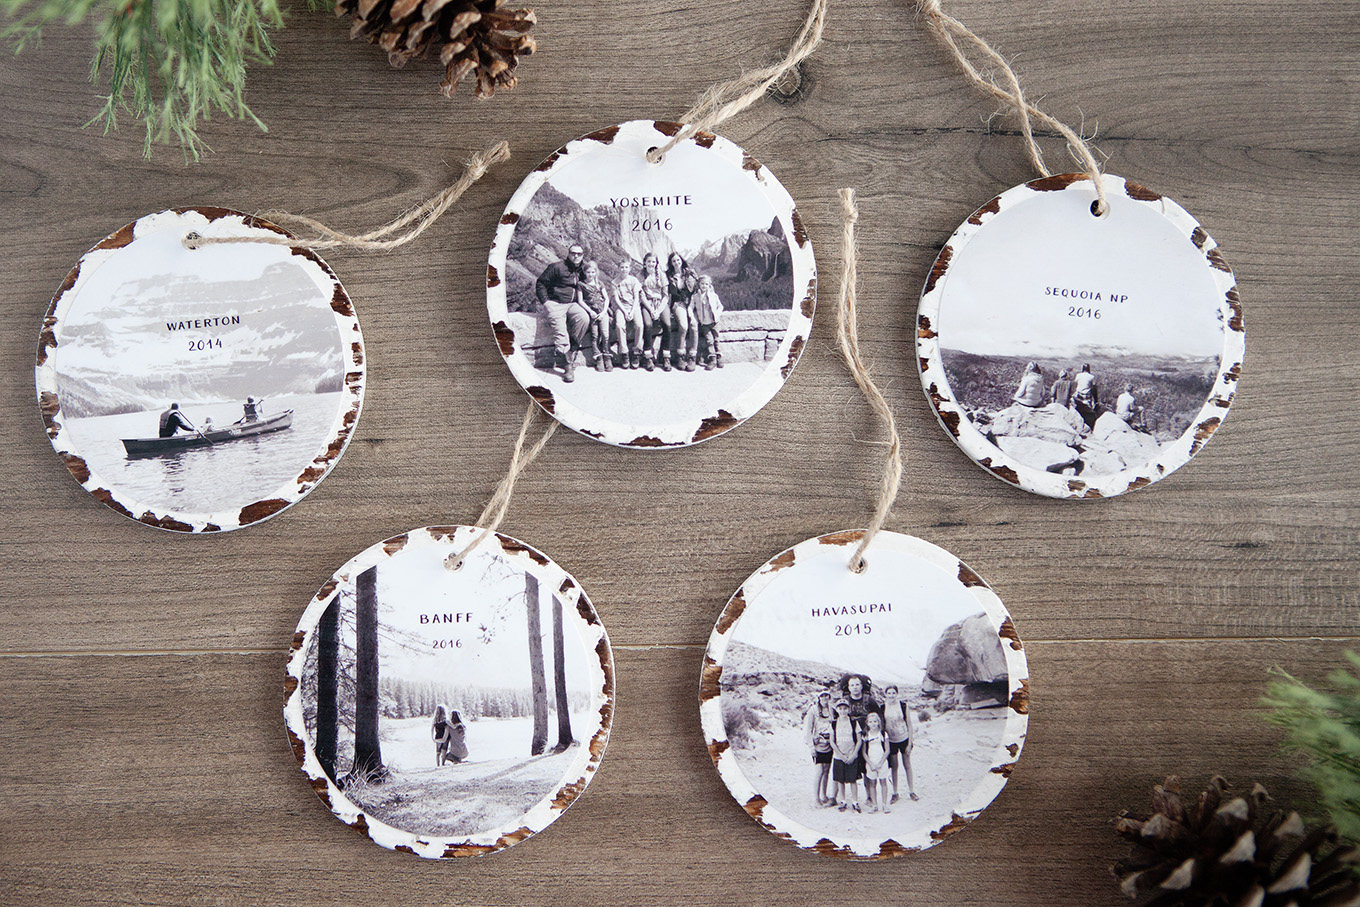
The first thing to start with is choosing the photos you will use for your ornaments. I picked out a handful of photos taken in our favorite National Parks that we’ve visited and from hikes we’ve done as a family over the years.
I cropped the photos into circles using my photo editing program and chose to add some simple text telling where and when the photos were taken. You can do this in your favorite photo editing program (I use photoshop or photoshop elements) or you can do it online using PicMonkey’s free text editor.
Print your photos at home or at your local photo lab. To print as a standard size simply copy and paste your circular photo onto a blank 4×6 canvas (in your photo editing program) and save as a JPG file. You can then upload this 4×6 to your favorite online photo lab and have it printed as a standard 4×6 size.
Purchase distressed round disc ornaments. If you can’t find these at your local Michaels craft store, I did find these wood ornaments that you could paint white and distress yourself.
Cut out your circular photos and punch a small hole at the top in line with where the hole is on the ornaments. I used a sharpie to mark this.
Now apply a generous layer of Mod Podge to the top of the wood ornament. You’ll need to work quickly here, making sure your mod podge coats the surface of the ornament entirely and that you have an even layer.
Next apply a quick layer of mod lodge to the back of your photo. Place the photo on the wood ornament making sure it’s centered. Apply a final layer of mod podge on top of the photo to seal it. Make sure you apply this layer evenly and that your brush strokes and even and are all going in the same direction.
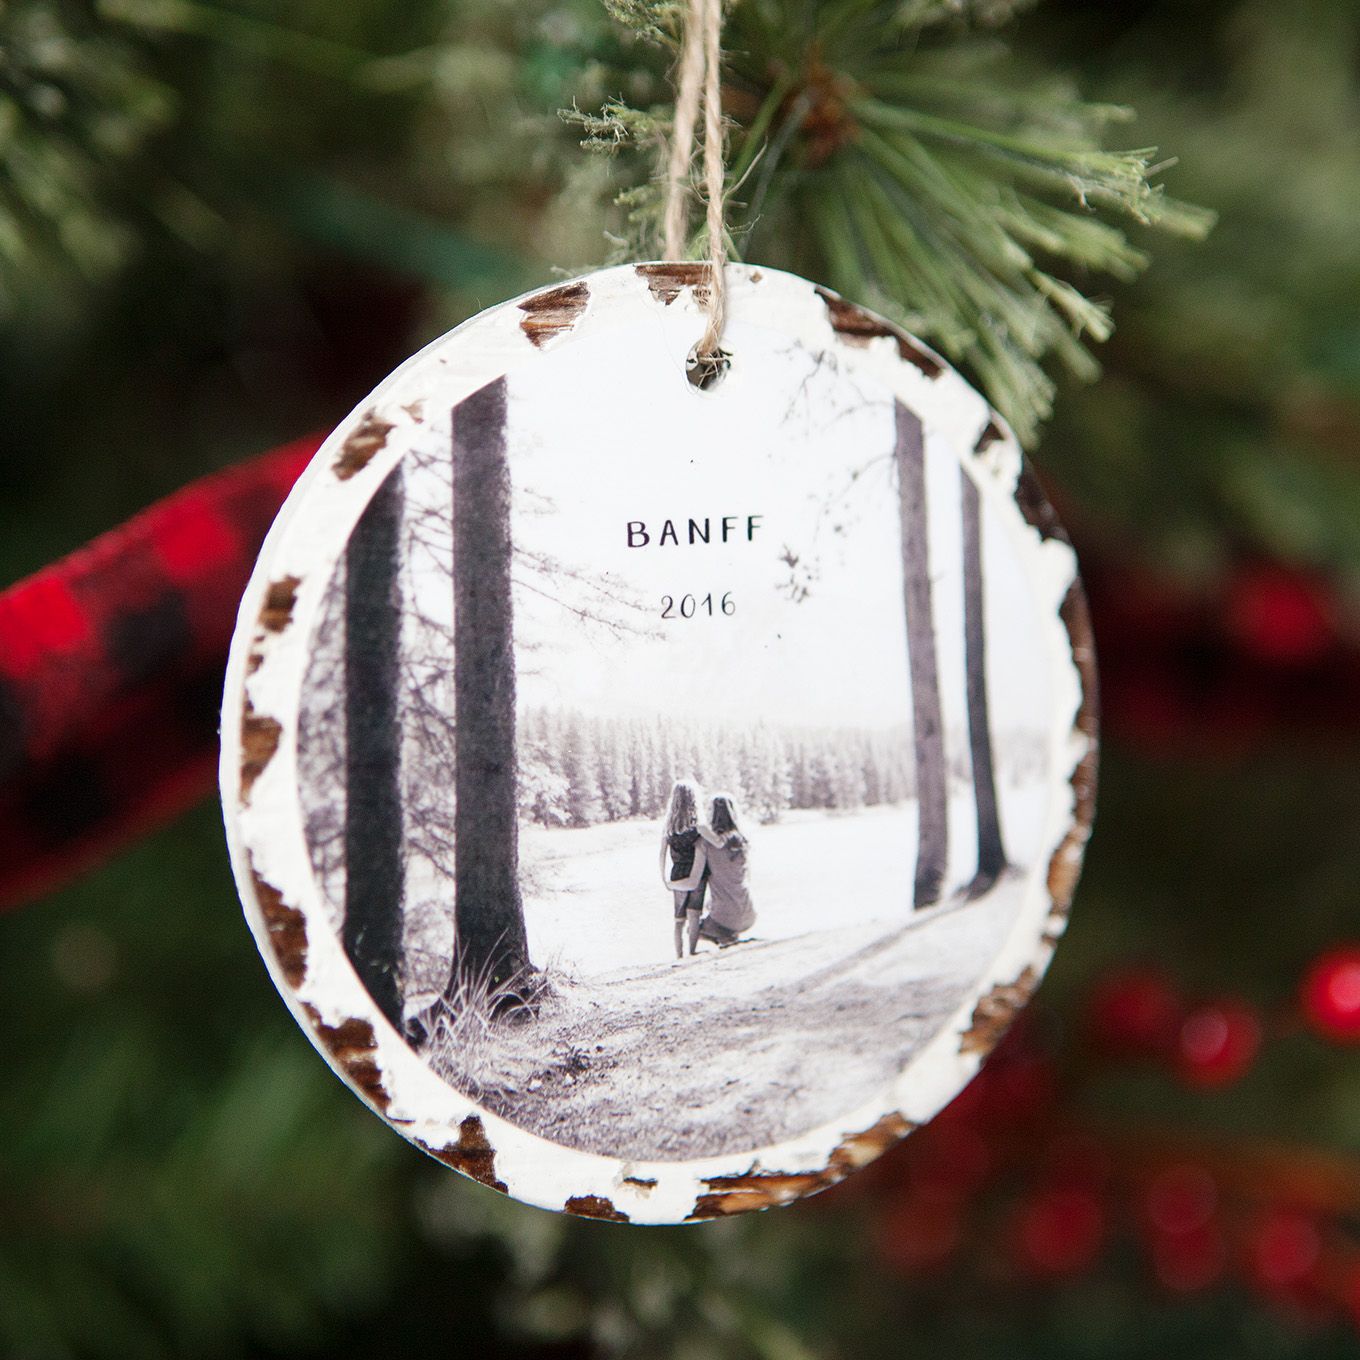
Once the mod podge is completely dry thread a length of twine through the hole at the top of the ornament and tie in a knot. Now hang them on your tree and enjoy looking at some of your favorite photo memories throughout the Christmas season.

More Simple Handmade Ornaments to Check Out
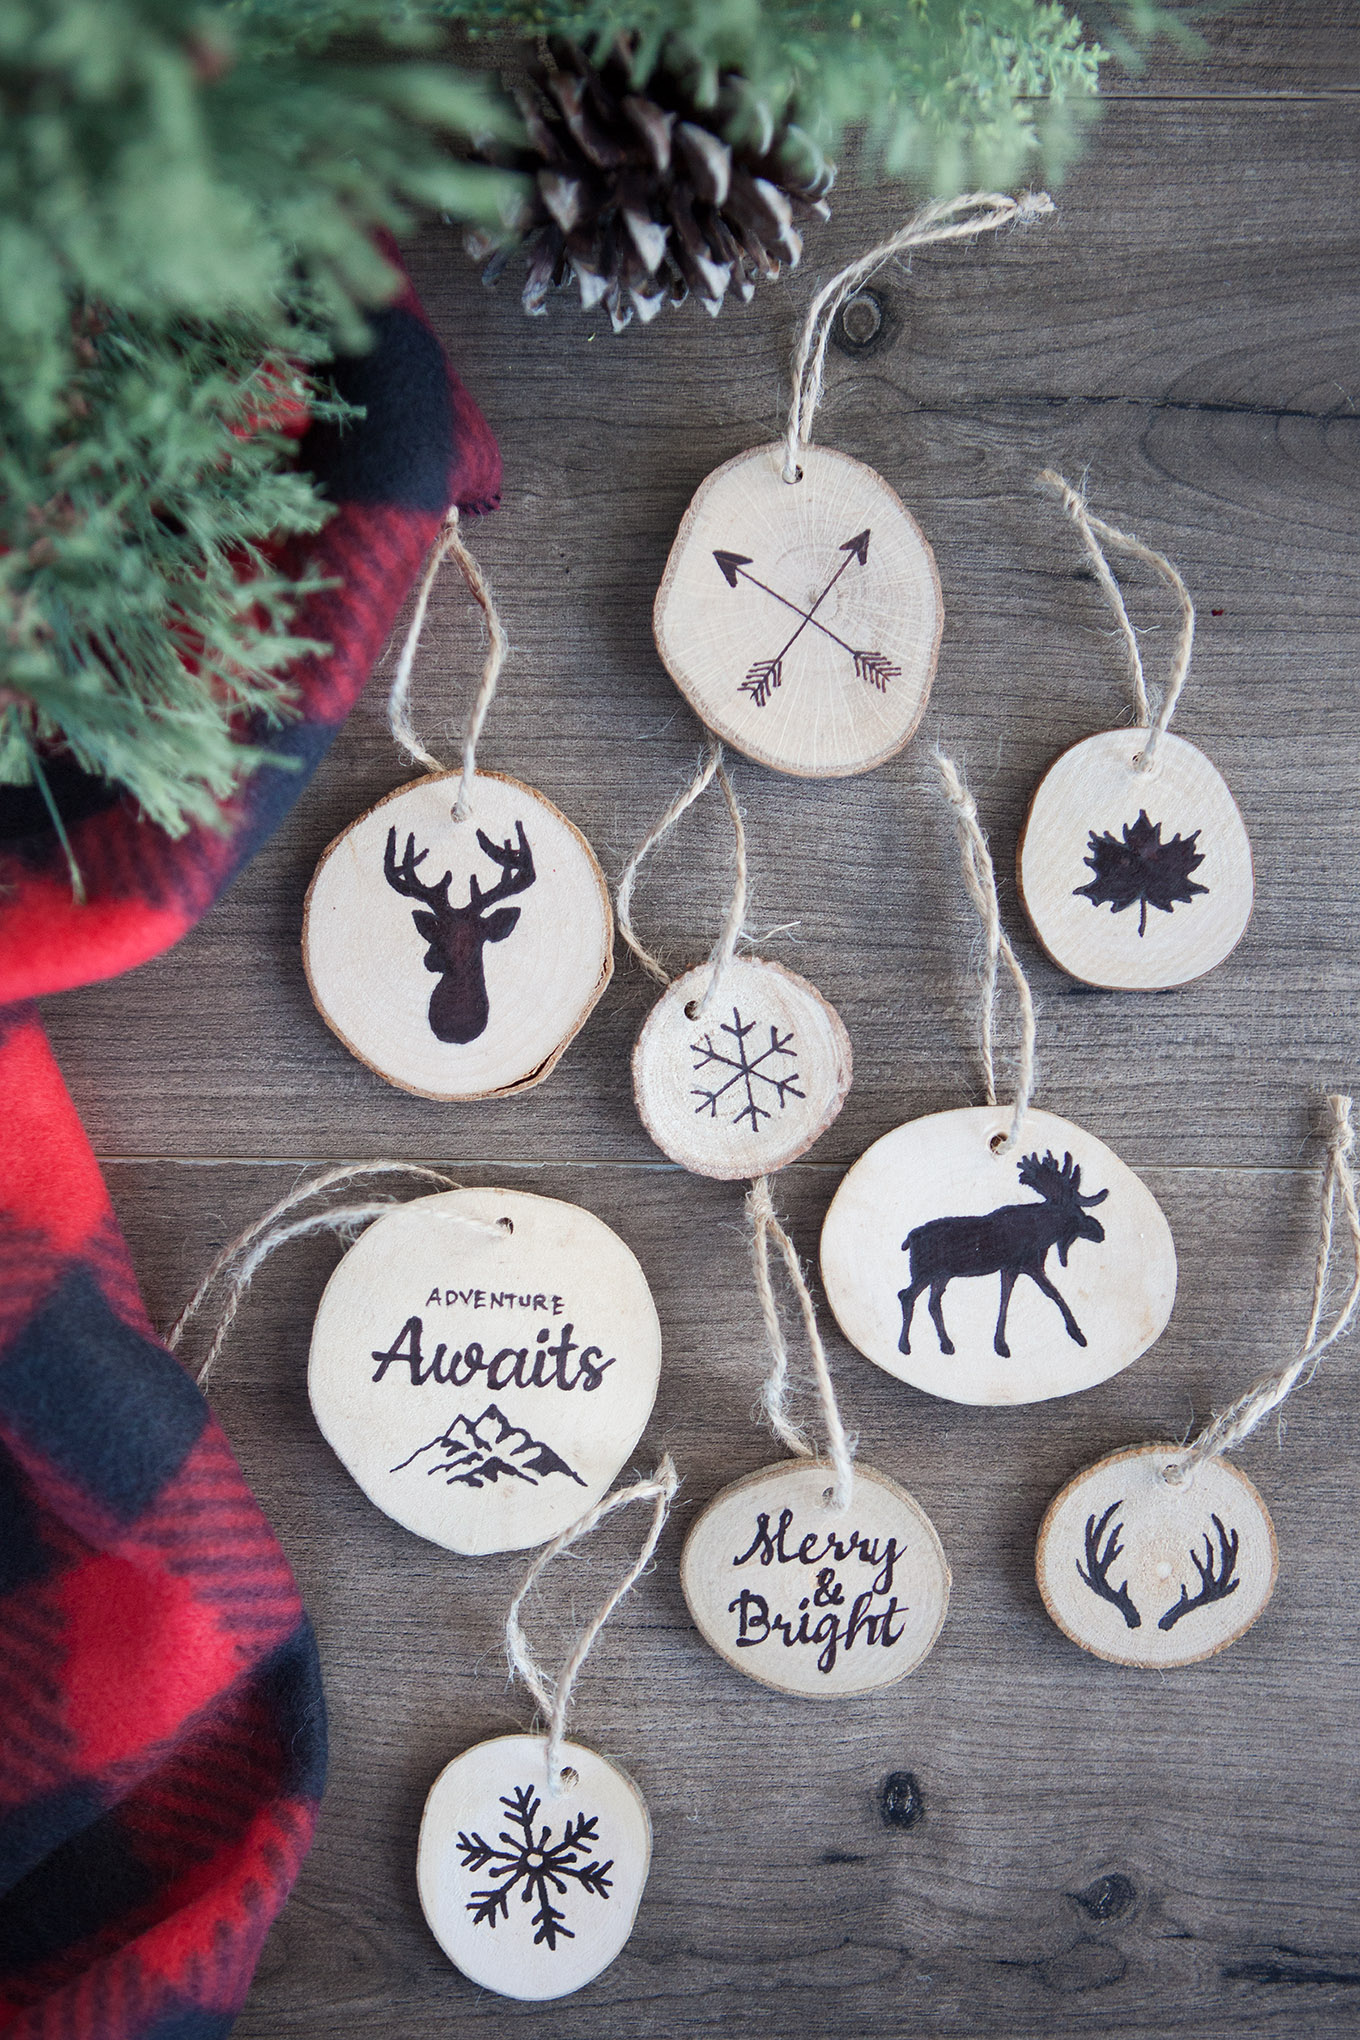
Faux Wood Burned Christmas Tree Ornaments


Latest posts by Rebecca (see all)
- Printable 2023 Calendar - Monday, December 5, 2022
- SMART Goal Setting Bookmarks - Sunday, June 12, 2022
- Free Printable 2022 Calendar - Thursday, September 9, 2021

Love these! I hope my Michaels store has the ornaments! What is the diameter?
Did you print these on photo paper?
Yes. I actually ordered them at my local photo lab.
These are so beautiful and look easy to make. I bought all the supplies today and can’t wait to make them. Thank you so much for sharing this project!!!
Where did you purchase the wood discs??
Thanks
At Michaels Craft Stores. These are similar and you could distress them yourself with sand paper –> http://amzn.to/2gwGWWg
How did you cut the circles so perfectly. These are amazing, and I want to try!
Try using a 2 inch hole stamper found at craft stores.
I love them. What a clever idea. I am in the process of doing a memorial ornament, and these look wonderful. I may consider this.
I love this so much!!! What size were the circular photos? I know you said print on a 4×6 canvas but what size did you crop the actual photo to on Photoshop?
My photos are 3″ in diameter. 🙂
Where can I find the round discs??
You can find them at Michaels Craft Stores. These would also work: http://amzn.to/2gwGWWg
Would you necessarily have to use photo paper? Would regular paper work?
Yes, I think you could print on white card stock.
These are beautiful Rebecca!
I have another project that I have been looking for the perfect font for, would you mind sharing the font name?
I love love love these!!! Would you mind sharing the font you used on these? They are precious !
It’s called Amperzand.
I found a drawer full of spare pics and used them for the ornaments. I give ornaments to family every year but these are most personal.. I found wooden disks from amazon in a pack of 100.
Super cute idea!
But how do I print my picture in a circle? Just as the video shows.
You can crop it in a circle using a photo editing program like Adobe Photoshop Elements OR go to Picmonkey.com you can crop in shapes there. You could also print it regular 4×6 size and use a circle punch to cut out a circular portion of the image or just trace with a cup or other round object and cut with scissors. 🙂
Hi Rebecca, did you give your disks a couple of coats of paint. Did you use flat or a low sheen paint? Am going to print on gloss photo paper would that be ok?
They look wonderful and am going to give them ago as I’m not that good with craft.
Thanking you
Annie
Annie – I used normal craft paint. Nothing special. I did do a couple of coats. Gloss photo paper will work…if you use a matte Mod Podge over it that will take away the “shine” of the paper. 🙂
Did you use black and white photos?
Yes! 🙂
Can you use color photos or only black and white?
You could totally use color photos! 🙂
I’ve never printed photos at a photo lab before. To get these exact pic sizes so they’re able to be put on ornaments. What should I tell the person that’s helping me out. Thanks so much!!
I think these are really nice and I thank you for sharing. I think you could use can lids, removed with the side cut can opener, to make these, too.
I did something similar years ago with my kindergarten Sunday school class.
Could you use regular printer paper for this?
Yes, I totally think you could Amber!
What size are your distressed round disc ornaments?
Love your ideas. Do you have a home printer for your photos? If so, what brand and model do you use?
What is the process you used to paint and distress the ornaments before you modge podge? These are beautiful!!!!!
I need to learn how to distress the wood for the ornaments? Please let me know as I have everything else and would like to get started.
Thanks Lu
You’ll just gently sand the edges. 🙂
these are so gorgeous! however, that whitewash deckled edge is very time consuming to produce and I couldn’t find any reference to one like that at Michael’s or even in a general search for them that are as nice as those. has anyone found those kind of edged wood slices anywhere THIS year, 2017? If anyone finds a new source, please share! I think it makes all the difference in the look of the ornaments. thanks!
I ordered real wood slices from amazon 3.5-4 inches. No need to paint just let the wood grain show on the edges. They turned out lovely. I used a decorative upholstery tack on the top to attach twine to.
Your ornaments look awesome – nice work! And thanks for the inspiration – been working on some personalized gifts for Christmas this year and this idea works great because I need easy, too! Happy fall!
very pretty I love this idea. you could use mason jar seals as well!
I can’t find the discs anywhere 🙁
Neither can I. My Michaels doesn’t have them; they’re not in the online Michaels; I’ve been searching for hours and can’t find a decent substitute.
I tried this and when I put the modpodge on top of the photo it turned it a milky white colour. I am using matte mod podge. Any suggestions?
Try applying the mod podge thinner, and let it dry. A few thin coats shouldn’t produce the “milky white” effect.
hey there, Reviving these! so…how do you print on the photos, in the photo lab you use?
I love these sweet and beautiful ornaments. Pinning!
What do you do on the back of the wood? Did you leave it blank?
I did…or you could add the date. 🙂
Really frustrated bc I paid for picmonkey and there is no way to ensure my round cropped circles are 3 inches in diameter before printing them out. This is a crap shoot and I don’t find your directions to be as easy as you are writing them. I can resize them all day long to a 4×6 and then make them a circle or vice versa and either way it doesn’t work on Picmonkey to tell me if the circles are 3 inches.
So you know, the Amazon link you provide doesn’t work, and Michaels doesn’t have these discs (on line or in my local store).
Can you provide the phone number for your Michaels so we can order them?
I’ve spent hours searching, and there isn’t a real substitute for what you used.
Did you print from an inkjet printer for the photos? When I use mod podge on any inkjet prints the ink smudges.