5 Quick Tips for Capturing Scenic Travel Photos – translate gorgeous views into memorable travel photos with these simple tips!
When we travel we take photos. It’s only natural to want to capture the things we see and the details about the places we visit. Some of my favourite photos to take while travelling are photos of the gorgeous scenery. I’ve had the opportunity to photograph luscious rain forests, gorgeous coastlines and the view from majestic mountain tops. There’s no shortage of breathtaking scenery to photograph wherever we travel – if we’re traveling close to home or abroad!
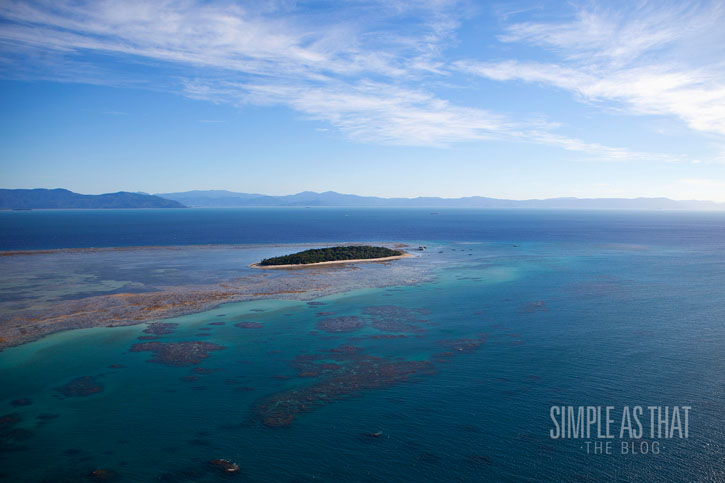
View of beautiful Green Island, Queensland, Australia. GBR Helicopter Group.
With scenic photography it can be difficult to translate what we see with our eyes into photographs that adequately convey the beauty of our surroundings, so today I want to share a few quick tips for capturing scenic photos.
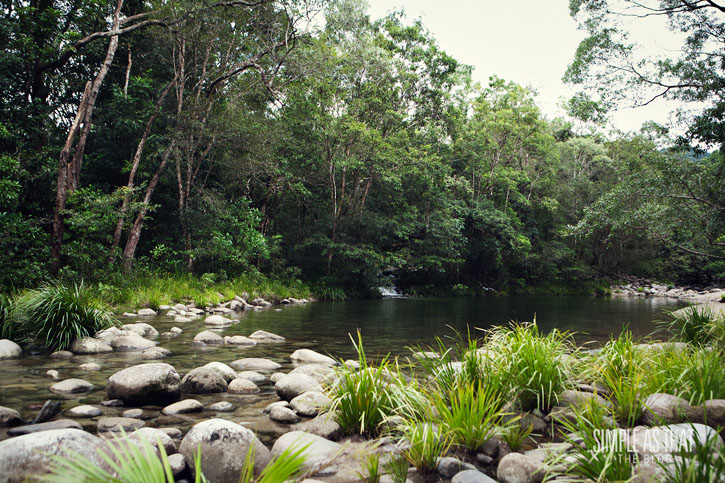
Exploring the Mossman River and Daintree Rainforest, Queensland, Australia.
5 Quick Tips for Capturing Scenic Travel Photos
1| The technical stuff. The first thing to consider when taking scenic photos is the equipment you’ll use. Wider angle lenses are ideal because they allow you to fit more of the view into your photo. A tripod can be a useful tool especially when photographing in lower light situations to help eliminate camera shake. Since you’ll be photographing in the outdoors a sturdy camera backpack is recommended to protect your gear.
All images from this post were shot with my Canon 5D Mark II and Canon EF 24-70mm f/2.8L lens. The 24-70mm lens is the lens I love to travel with – in fact I use it almost exclusively. Ever since I purchased it for my trip to Australia in 2012 I haven’t looked back! I’ve shot photos in Disneyland with it, I take it along on our outdoor family adventures and I use it in my everyday photography as well. It’s such a great lens that allows me to adapt to many different photography situations seamlessly! You can read more about why I love the Canon 24-70mm lens so much here.
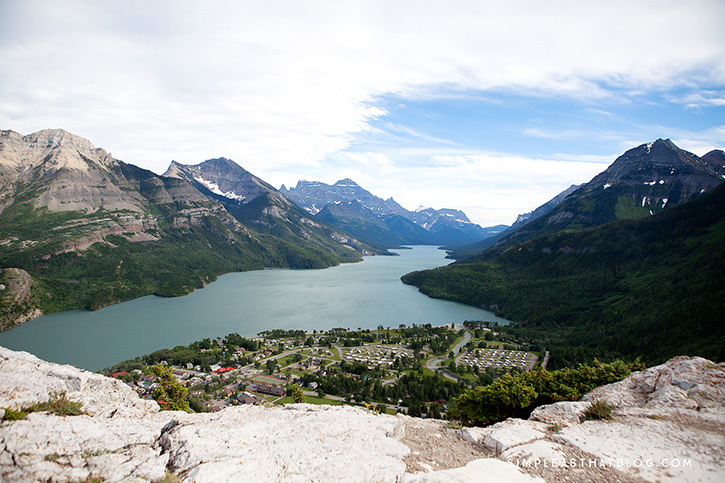
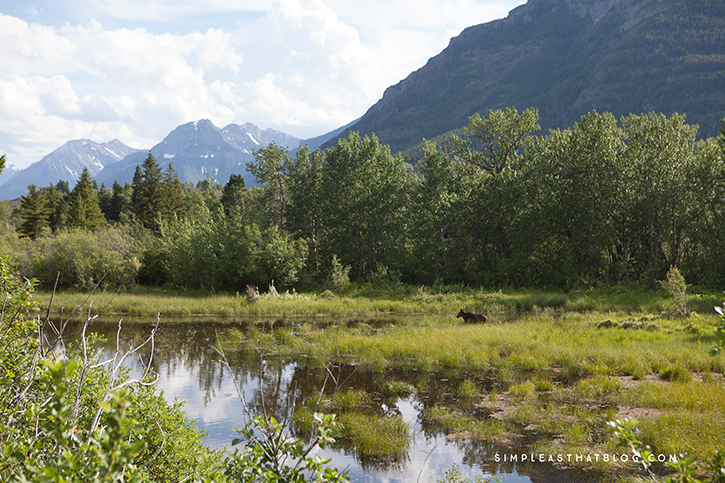
The spectacular view from Bear’s Hump, Waterton Lakes National Park
It’s also important to consider your camera settings when taking scenic photos. Most camera’s have an automatic landscape mode or you can manually change your camera settings to accommodate a larger focus area. With scenic photography you want more in focus since you are photographing expansive areas, as opposed to portrait photography where you want only your subject to take centre stage. A small aperture (larger f-stop) is best when photographing landscapes as more will be in focus.
Red Rock Canyon, Waterton Lakes National Park
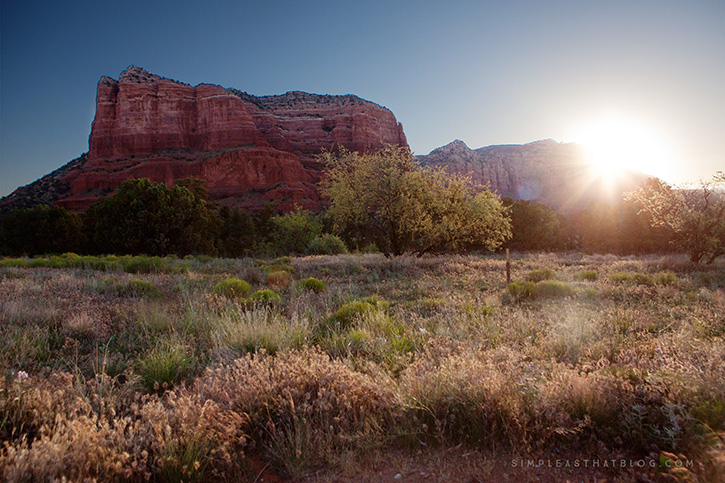
2| Best time of day. While travelling you can’t always control when you’ll be passing through certain areas, but if you have the opportunity, photographing in the early morning or early evening can be magical. At these hours the light is soft, details aren’t lost in harsh shadows and colours aren’t washed out by bright light. I love shooting when the sun is low in the sky and catching a glimpse of it in my photos is a dream!
Sunrise over Courthouse Butte, Sedona, Arizona
3| Quick corner check. Have a look at the composition of your photo before releasing the shutter. I like to do a quick look in all four corners of the view finder and check:
A) If there are there any distracting elements that take away from the scene ie. a light post, brightly coloured sign, etc.
B) If my horizon is straight.
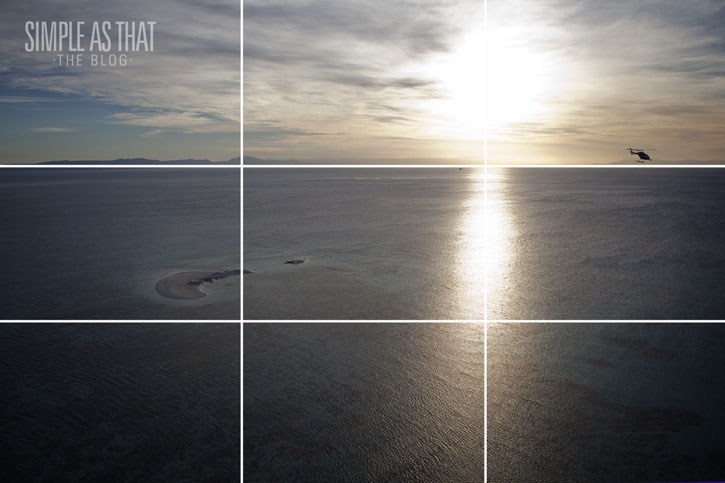
C) If I’m using the rule of thirds to help make my photo more visually appealing. See the photo example below illustrating the rule of thirds. Basically, you divide your photo into three sections horizontally and vertically and you want to place your horizon line or other point of interest in your photo, on one of these intersecting lines.
Flying over the Great Barrier Reef at sunset. GBR Helicopter Group.
4| Try unique angles. Don’t forget to switch things up a bit when photographing scenery. Try some unique angles to add interest and variety to your photos. Take a picture from behind a plant, laying down on the ground, or from above. Experiment and have fun with different vantage points.
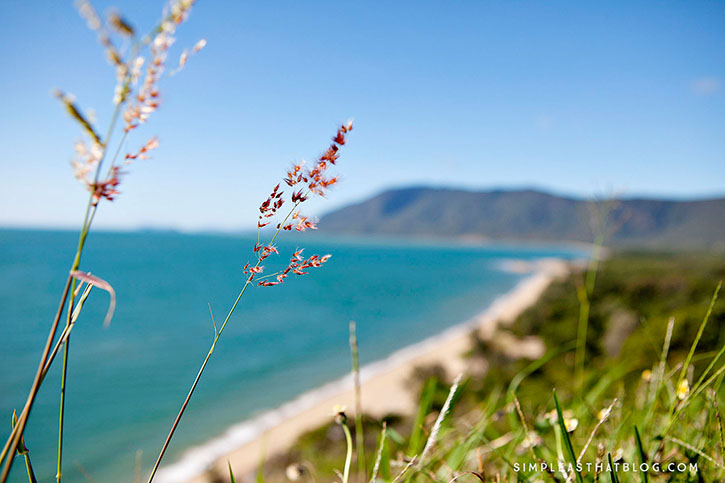
Don’t forget when taking scenic photos to also include some point of reference in your photos to give relationship in size and a sense of perspective. Instead of zooming out and including only what is viewed from afar, include something from the foreground to add perspective. This will give your photo added depth and scale.
View of watchacallit beach from the road on the way to Port Douglas.
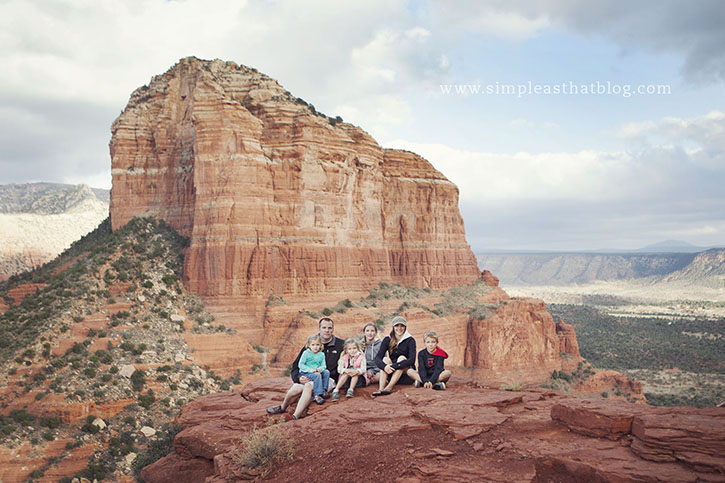
5| Get in those photos. Don’t forget to take the time to get in a few scenic photos yourself. Hand the camera over to someone else, use your self timer or camera remote and get in a photo or two! I promise, you won’t regret it! Not only does putting a person in a scenic photo help to give a sense of the grandeur of the place and size relationship, but when you return home you’ll be so happy to have images of yourself enjoying the beautiful places you travelled!
If you liked this post you might want to check out…
Printable Travel Photo Checklist


Great tips! We go on a lot of nature walks and though they don’t provide the gorgeous landscapes you showed here, they do have some pretty awesome scenery. Going to use some of these tips to try to capture some of our sights! I especially need to remember to adjust my aperture – always forget that one!
I love all these tips! I have been a little nervous to take my DSLR on our outdoor trips (I need to invest in a good backpack) but I love all the tips and maybe next time we go, I will take it with me.
Great tips Rebecca. I hope we get to do a little traveling this summer.