Hi guys. How are you?
Are you feeling the holidays coming at you with the speed of one of those snowballs thrown when you aren’t looking?
I feel that time is flying by so fast these days.
Everything is a bit unusual in our house this season. I would love to have all sorts of things planned for Christmas and do all sorts of crafty, cozy projects throughout December, but our reality is a bit different this year. Our little girl is set to join us in late December, right between Christmas and New Years. Since you never really know how and when this will happen, I decided that December is my “relax with no plans” month.
I have told everyone that I do not want to leave my house on Christmas and if our family wants our company, they should come over and bring their own food 🙂 So all my plans for this year ends this month. Kind of a nice feeling, to have one sole purpose at the end of the year, going into a new one, filled with new adventures.
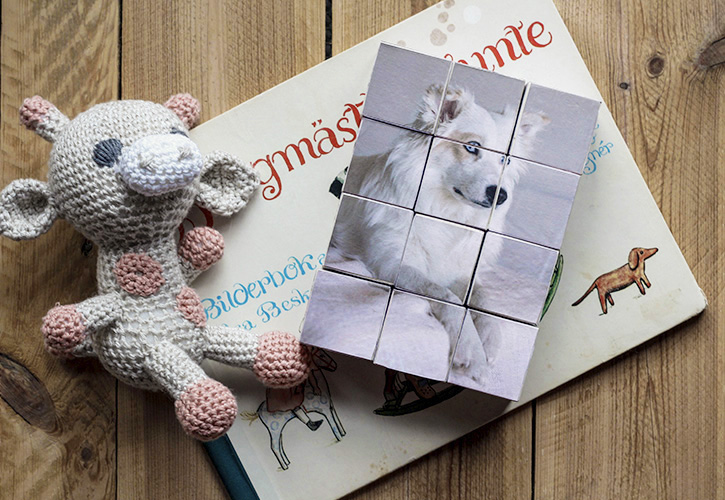
Since it’s still only November, I’m of course still crafting and I made this really cute little project, that you could make with your kids, and together create some beautiful Christmas gifts for friends and families.
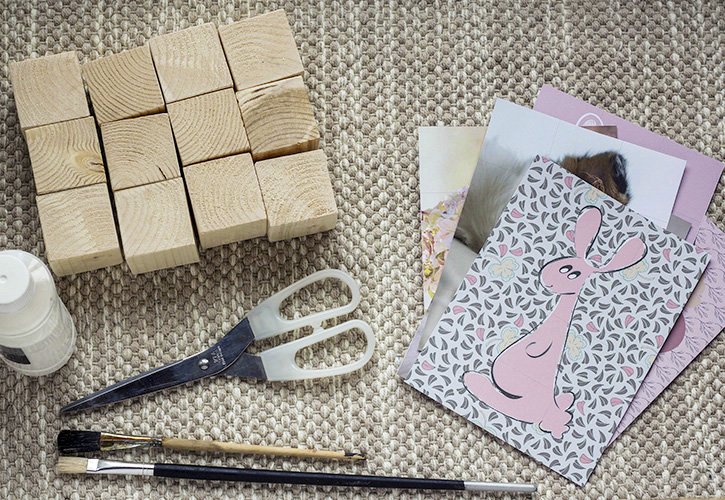
MATERIALS:
-WOODBLOCKS
-PRINTOUTS / WALLPAPER / PHOTOS
-All in one DECOUPAGE GLUE(LIKE MODPODGE)
-SCISSORS
-BRUSHES
-PEN AND RULER
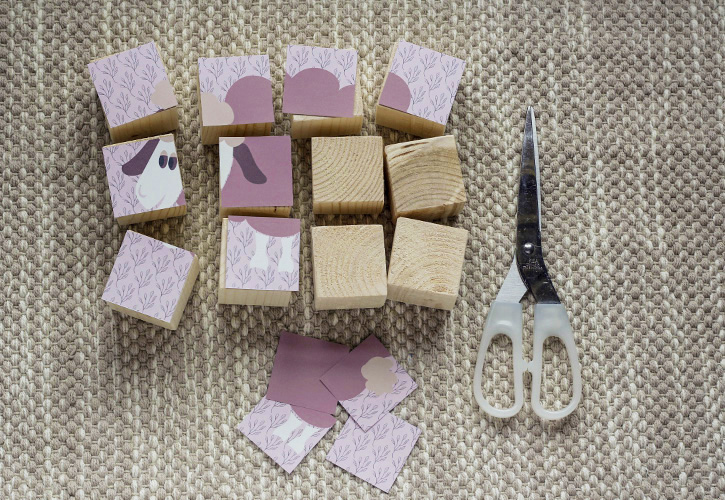
STEP 1:
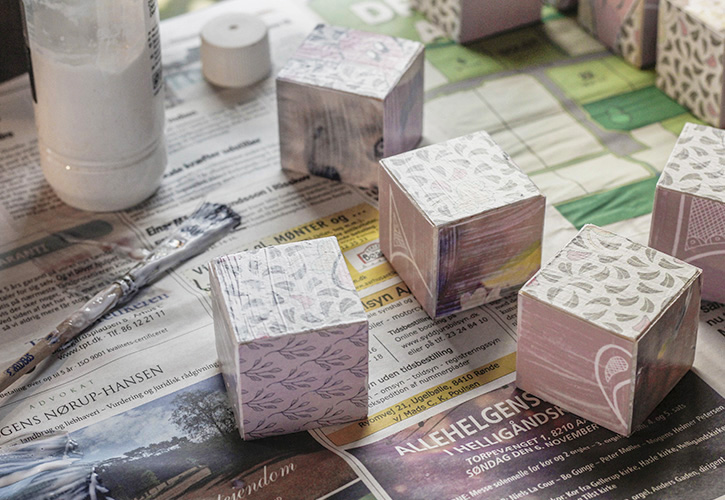
Cut your images along the grid you drew on them. Stack the individual images and keep them separate from each other. Start by placing one cut up image on top of your blocks to get an overview of your image.

STEP 2:
Take a brush and start painting the glue directly onto the wood and attach one cut up piece of the image to each block.
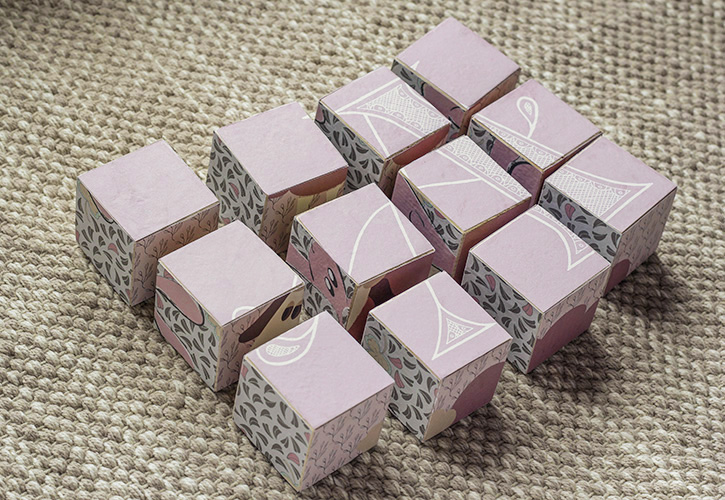
STEP 3:
Go through the above step for each image and side of the blocks. You can finish about 3-4 images/sides of the puzzle and then let it sit to dry, before adding the last 2-3 images.
STEP 4:
When all your images are attached and dried, it’s time to give the blocks a final finish with the glue. Again, work with 3 sides, let dry and then finish the last three. When you set them off to dry, make sure you use a plastic surface or something smooth that the glue won’t stick to. Newspaper will leave marks on your images.
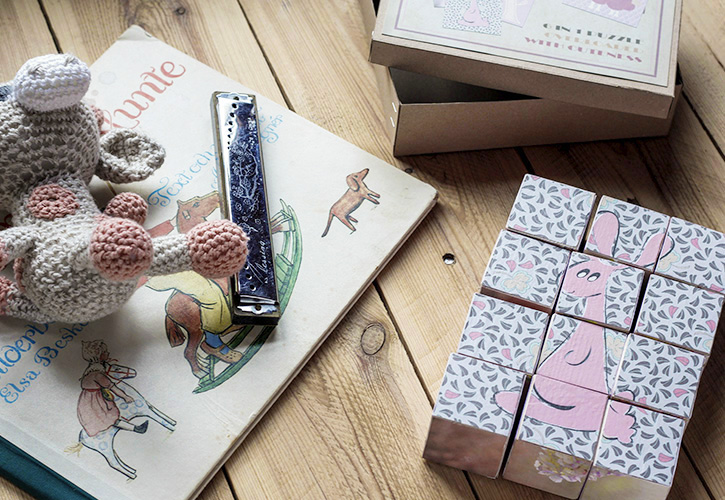
When the blocks are dried, you have yourself a finished puzzle 🙂
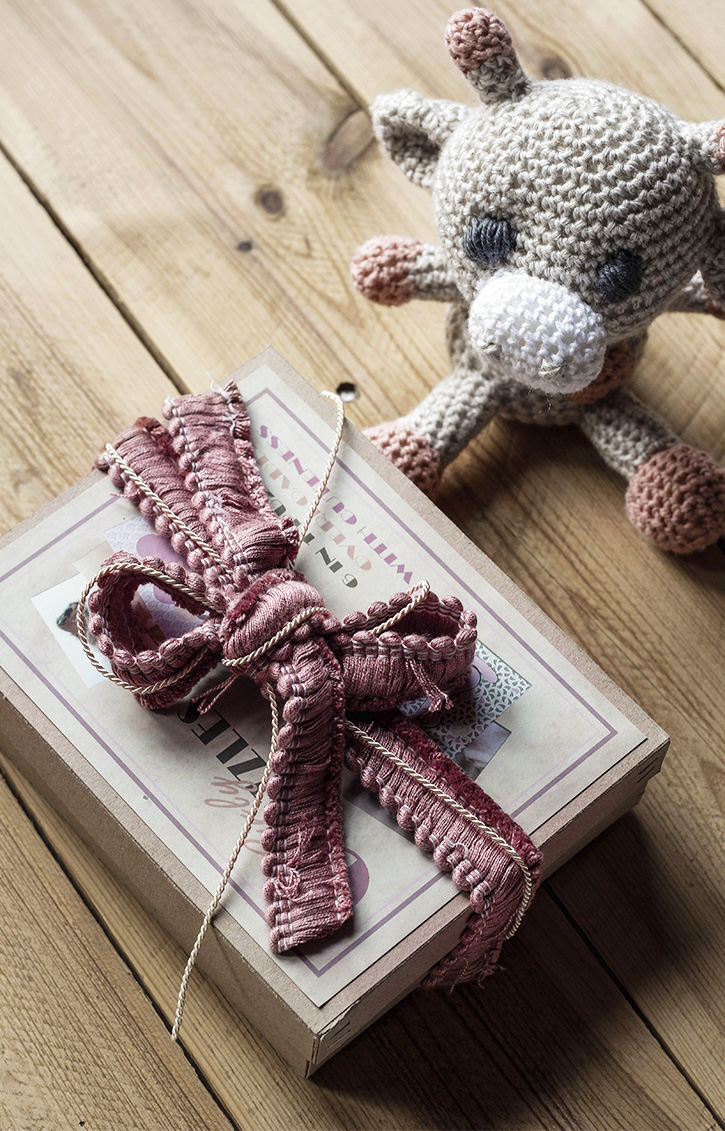
Since I started out by saying that this would be a lovely gift, a good way to top it off, is by creating some packaging for the puzzle. I’m not going to show you step-by-step on how I did. I think there are so many fun cute ideas to store a puzzle, like fabric bags, jars or just a cardboard box, that this is your choice entirely. I’ll explain what I used and maybe this will inspire you.
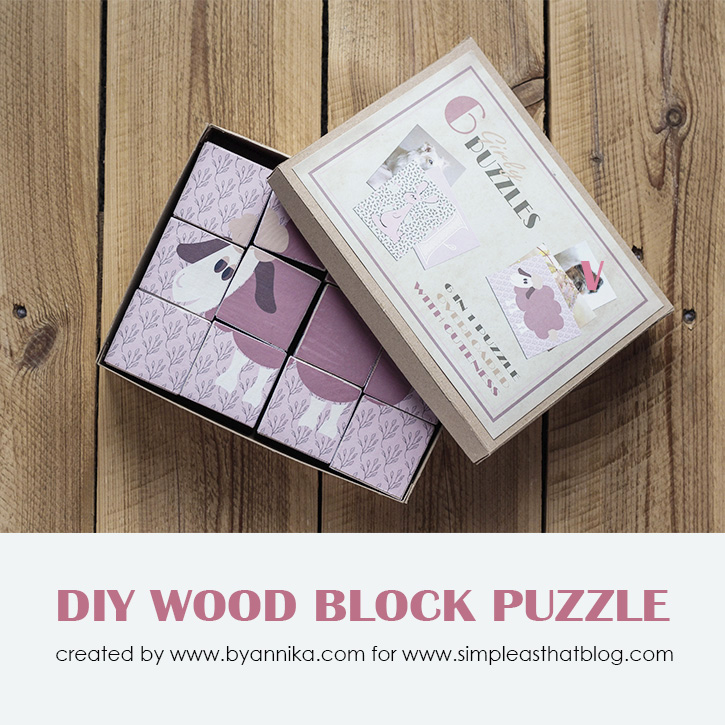
CARDBOARD BOX:
I went to TemplateMaker where they have a cute selection of box templates. I used, specifically, this one template.
You can print it out and then you have your measurements and layout for your box. Then you trace this onto cardboard and cut out your box. I used simple staples to assemble the box.
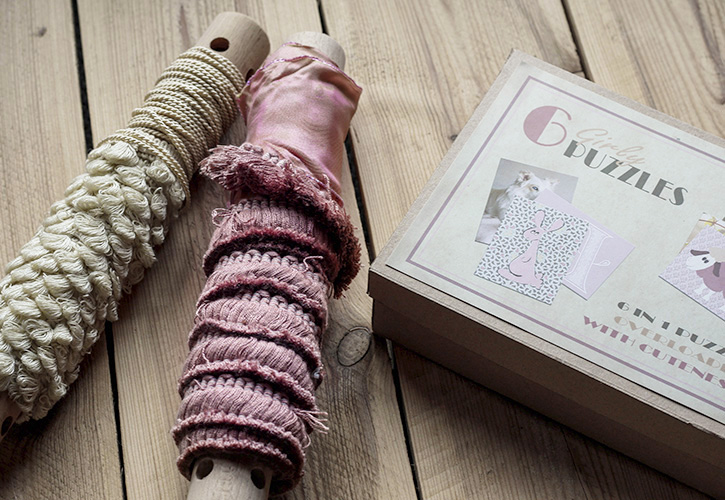
There’s no gift without a ribbon 🙂 Since the packaging is so cute in and of itself, I decided that I only needed a ribbon and no wrapping. Turned out pretty nice, don’t you think?
I hope you enjoyed this project and that it inspired you to create some personalized Christmas gifts of your own this year.

Latest posts by Annika Olsson (see all)
- The one reusable accessory you need to make your baby photos look stunning (tutorial) - Monday, June 12, 2017
- Create a beautiful personalized Mother’s Day gift - Wednesday, May 3, 2017
- Create a super quick last minute Easter (or any time of year) hostess gift. - Sunday, March 19, 2017

Leave a Reply