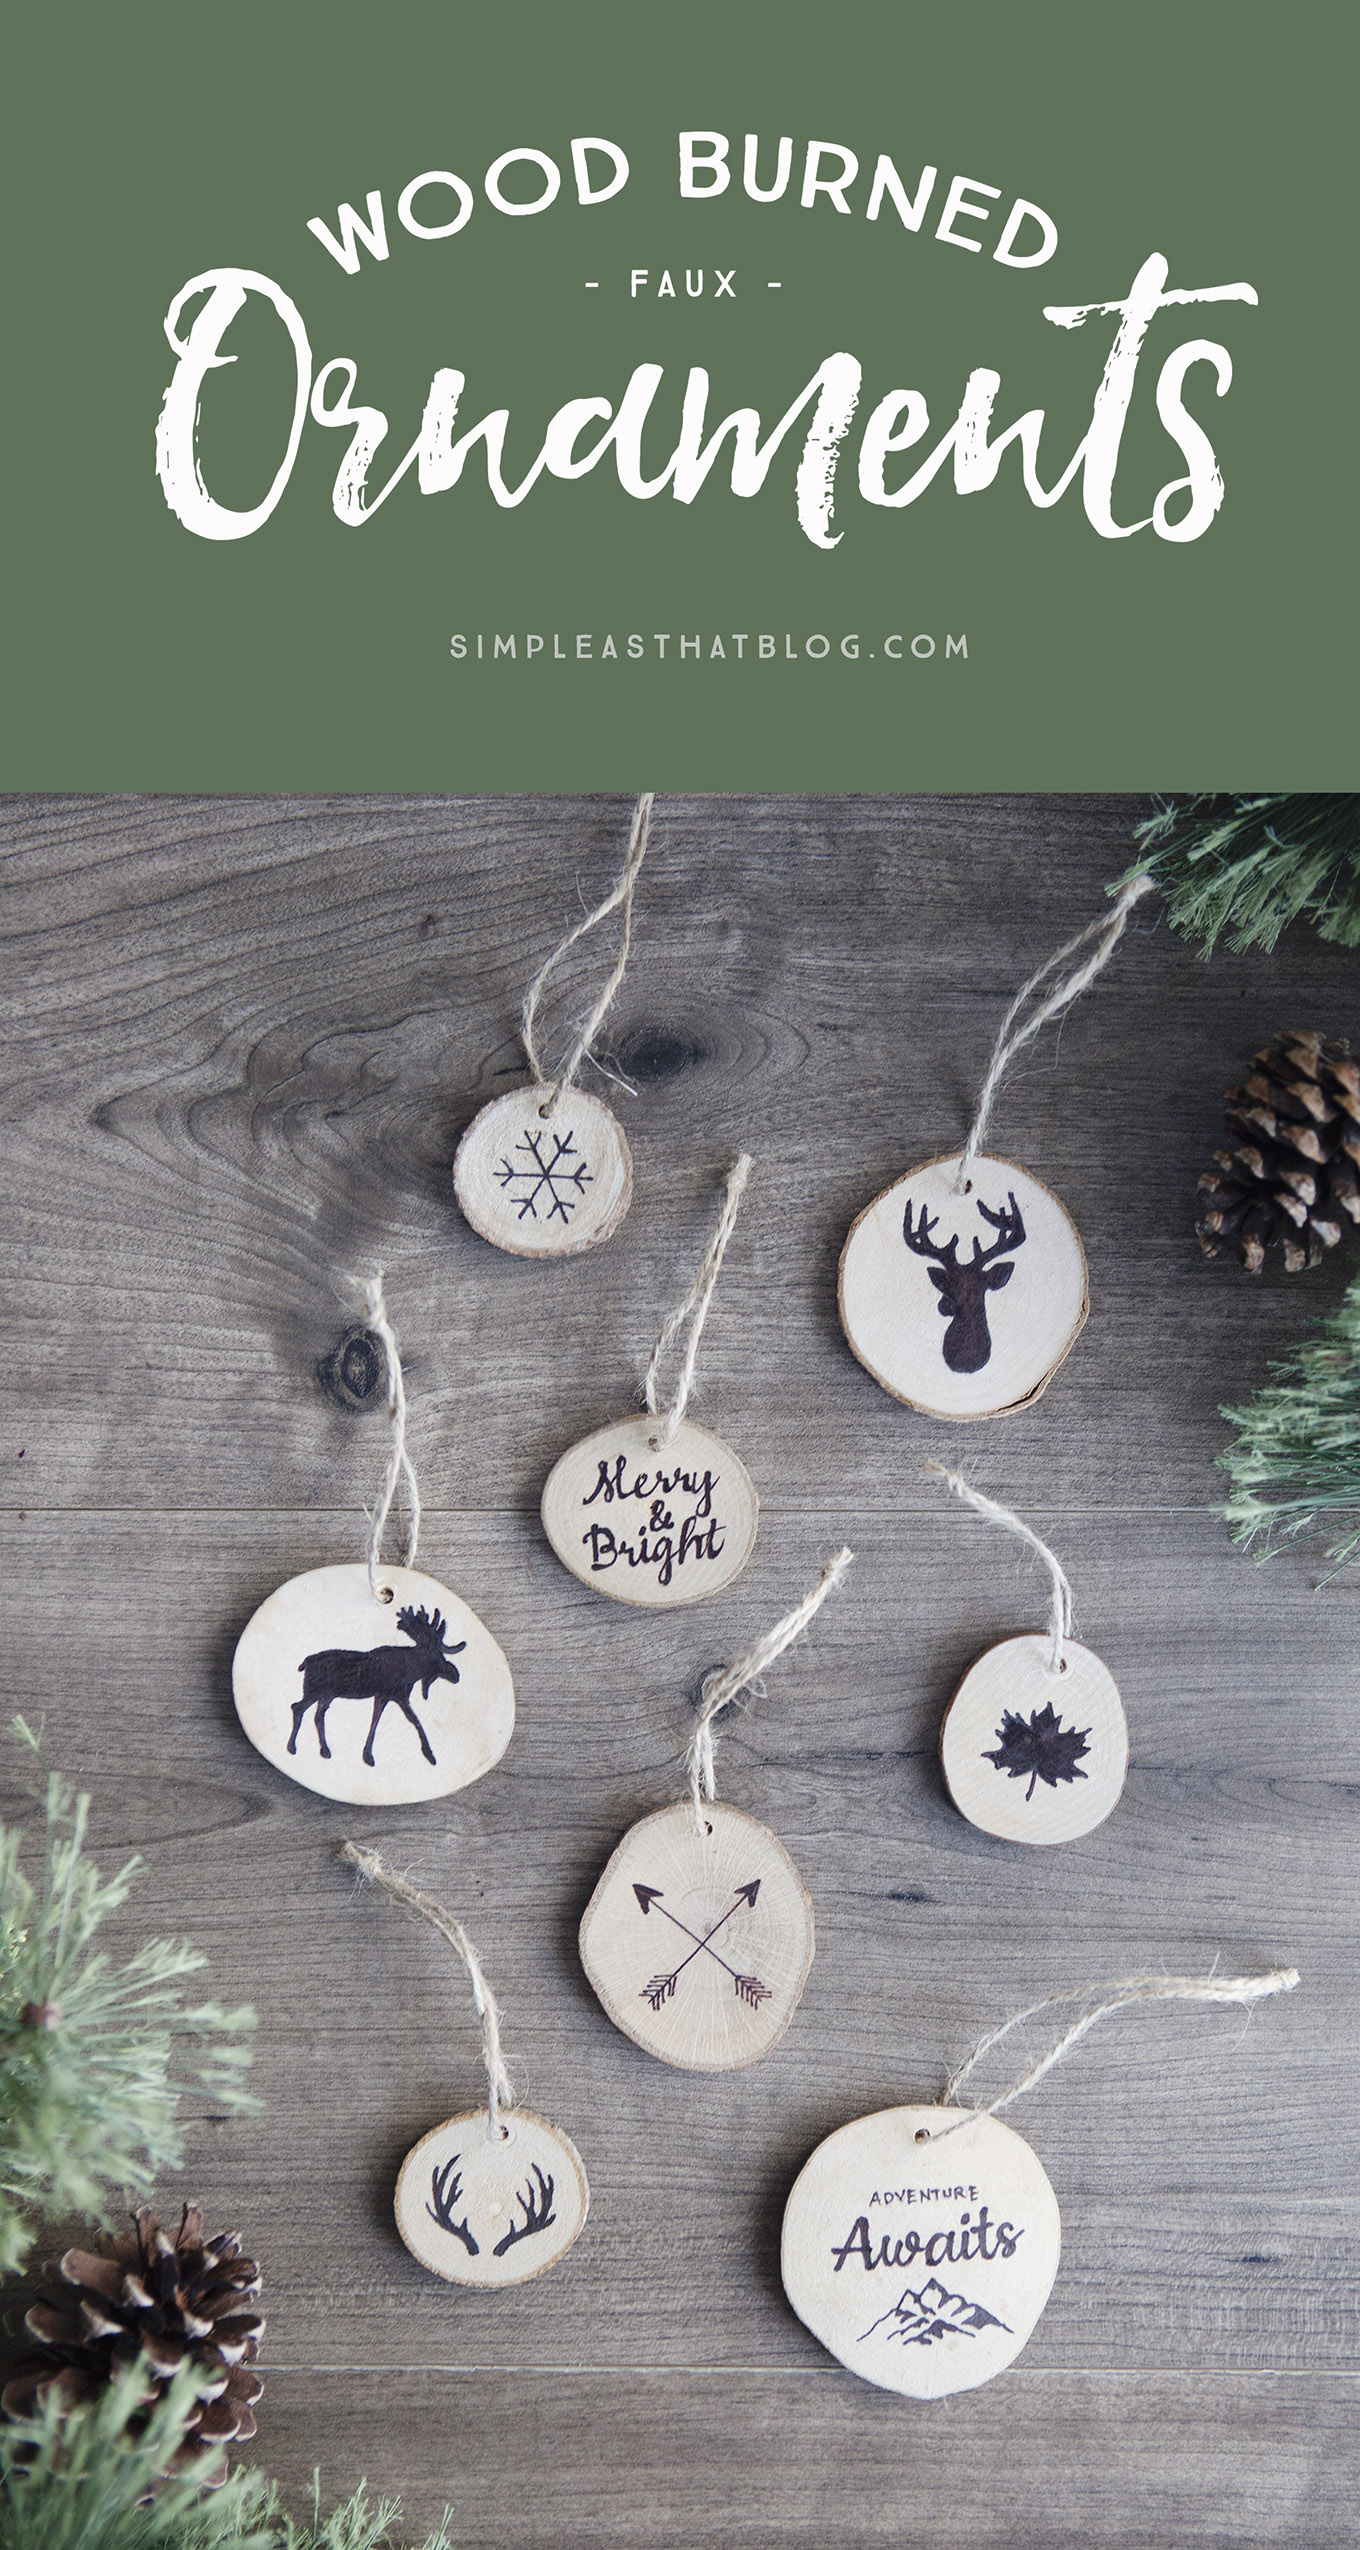
Create faux wood burned Christmas tree ornaments without any special tools. Below you’ll find the complete how-to, including printable templates to make these easy, nature-inspired keepsakes!
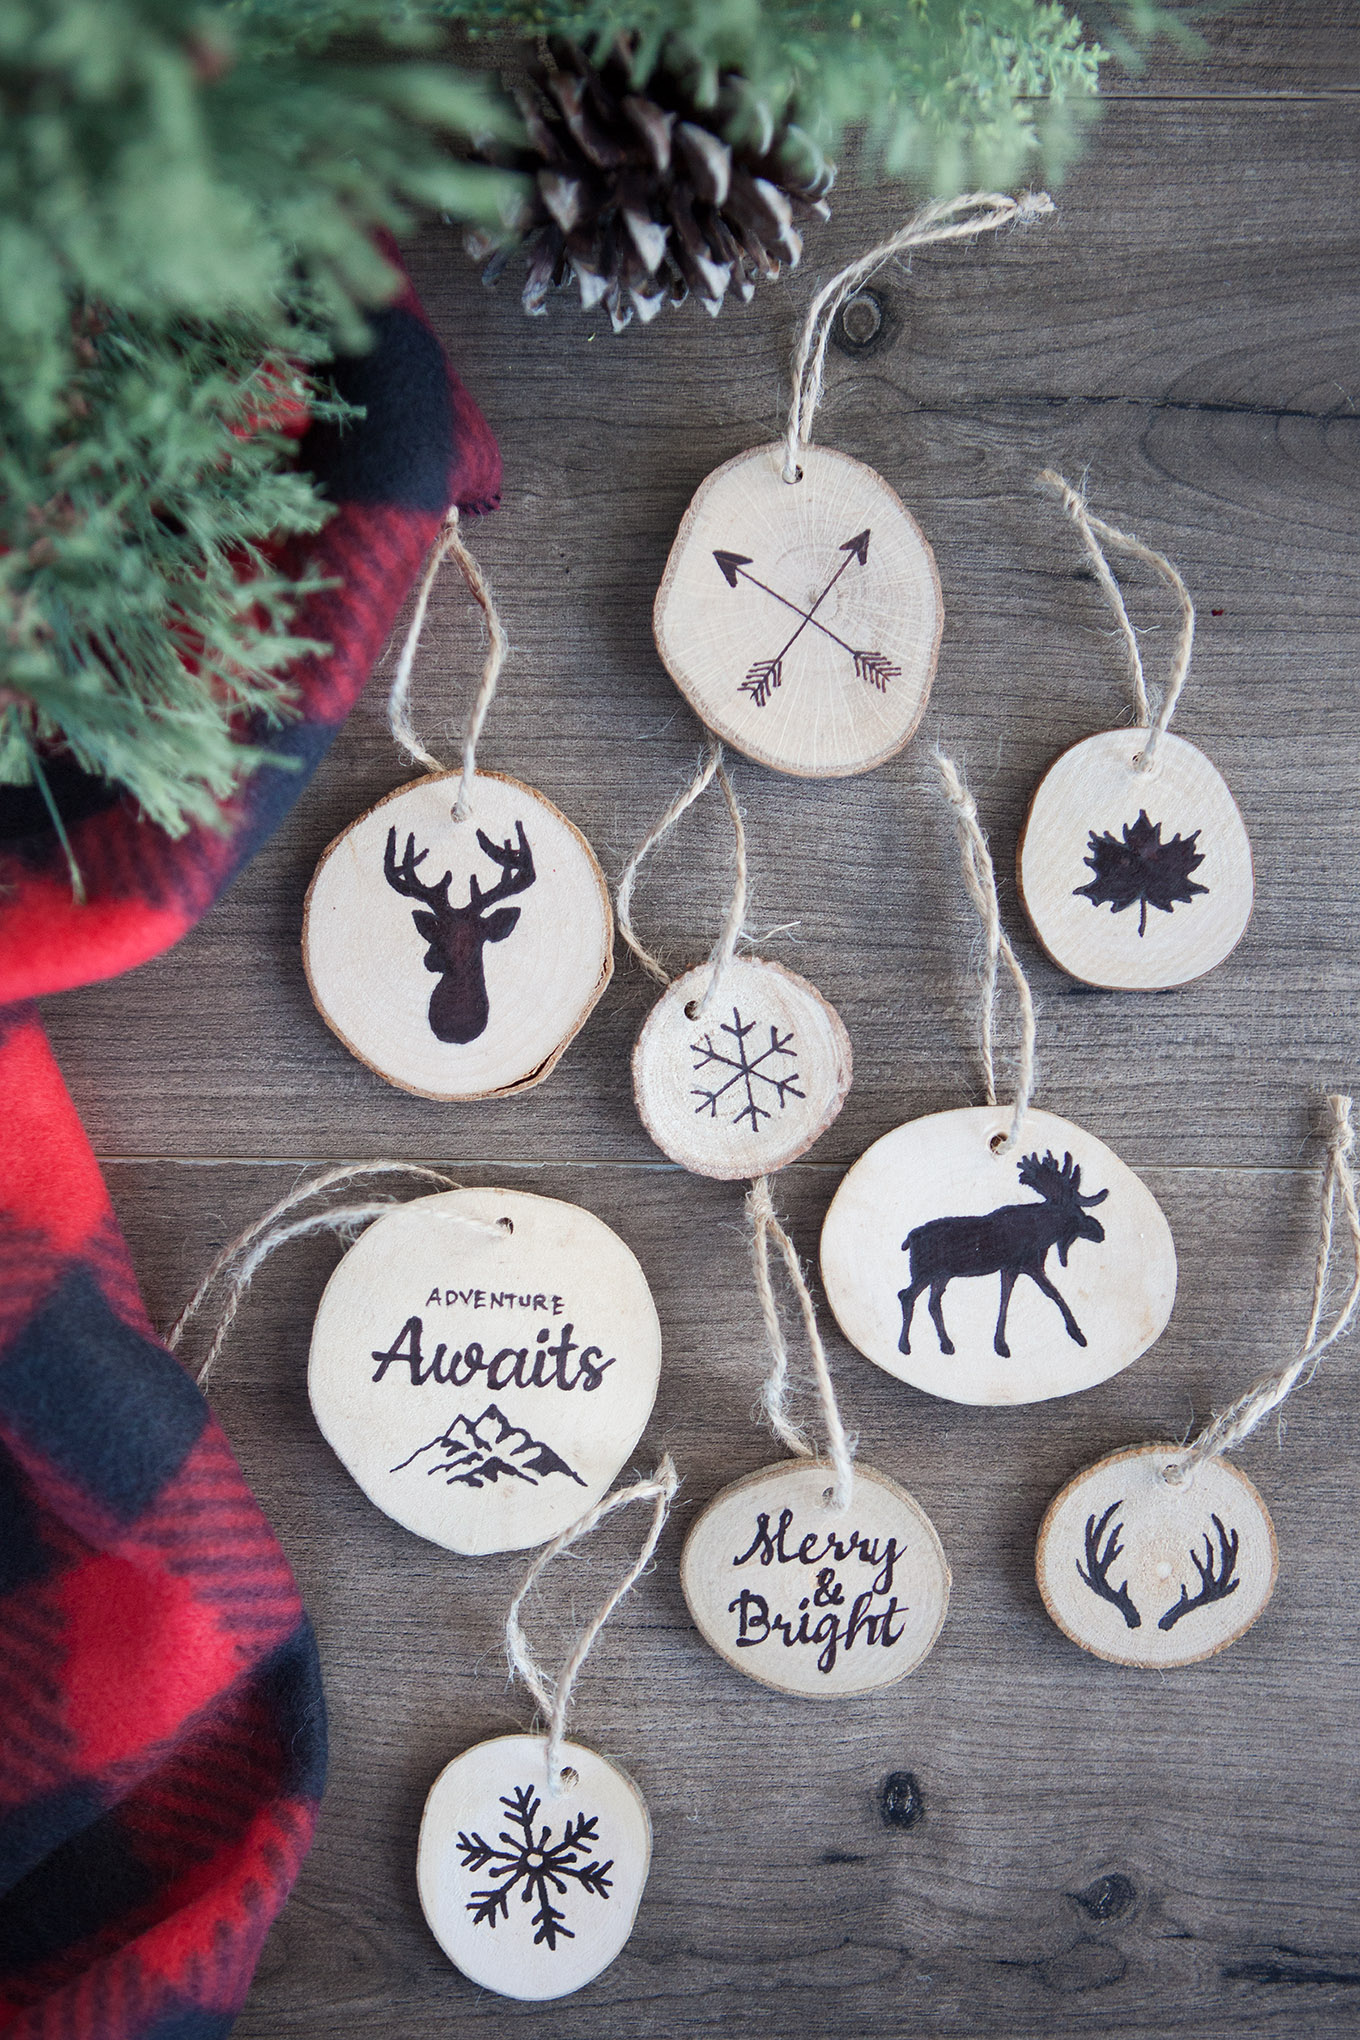
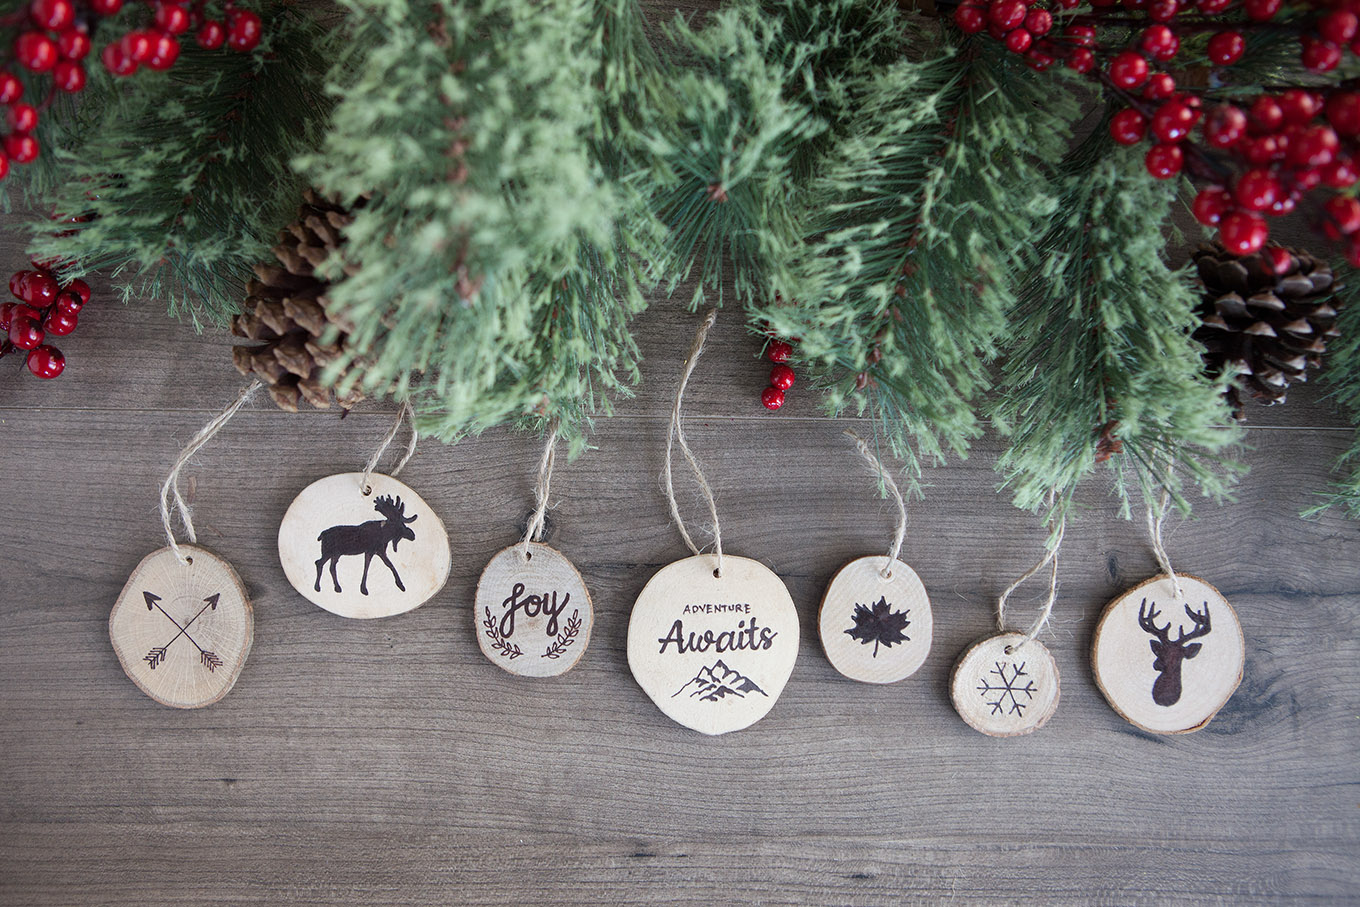
I put together an Outdoor Adventure-Themed Christmas Tree this year highlighting our family’s most memorable outdoor moments. When it came to decorating the tree I wanted to find a nice balance between store-bought and handmade ornaments.
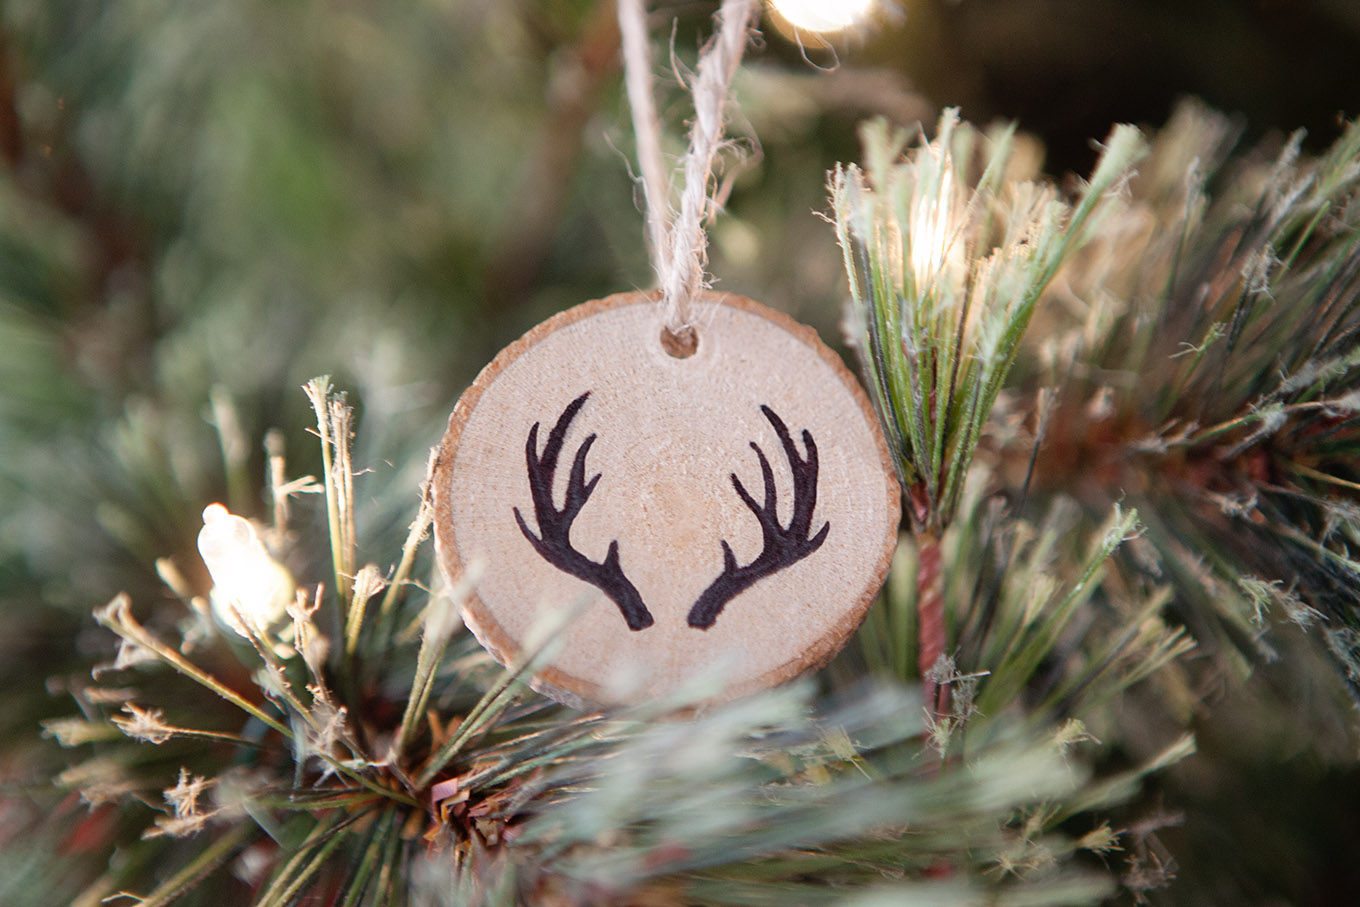
I also wanted said ornaments to have a rustic, outdoorsy feel. I love the look of wood sliced ornaments – you know the ones? They’re just so pretty and I really love the wood-burned images! But how to make them on my own.
As much as I love look of wood burning, I just didn’t feel like they’d be easy to make. I tried my hand at wood burning at the Michaels Makers Summit in September and it wasn’t as easy as it looks. I needed an easier way to get the same look without learning a new skill or purchasing special tools I may not use again.
Faux Wood Burned Christmas Tree Ornaments
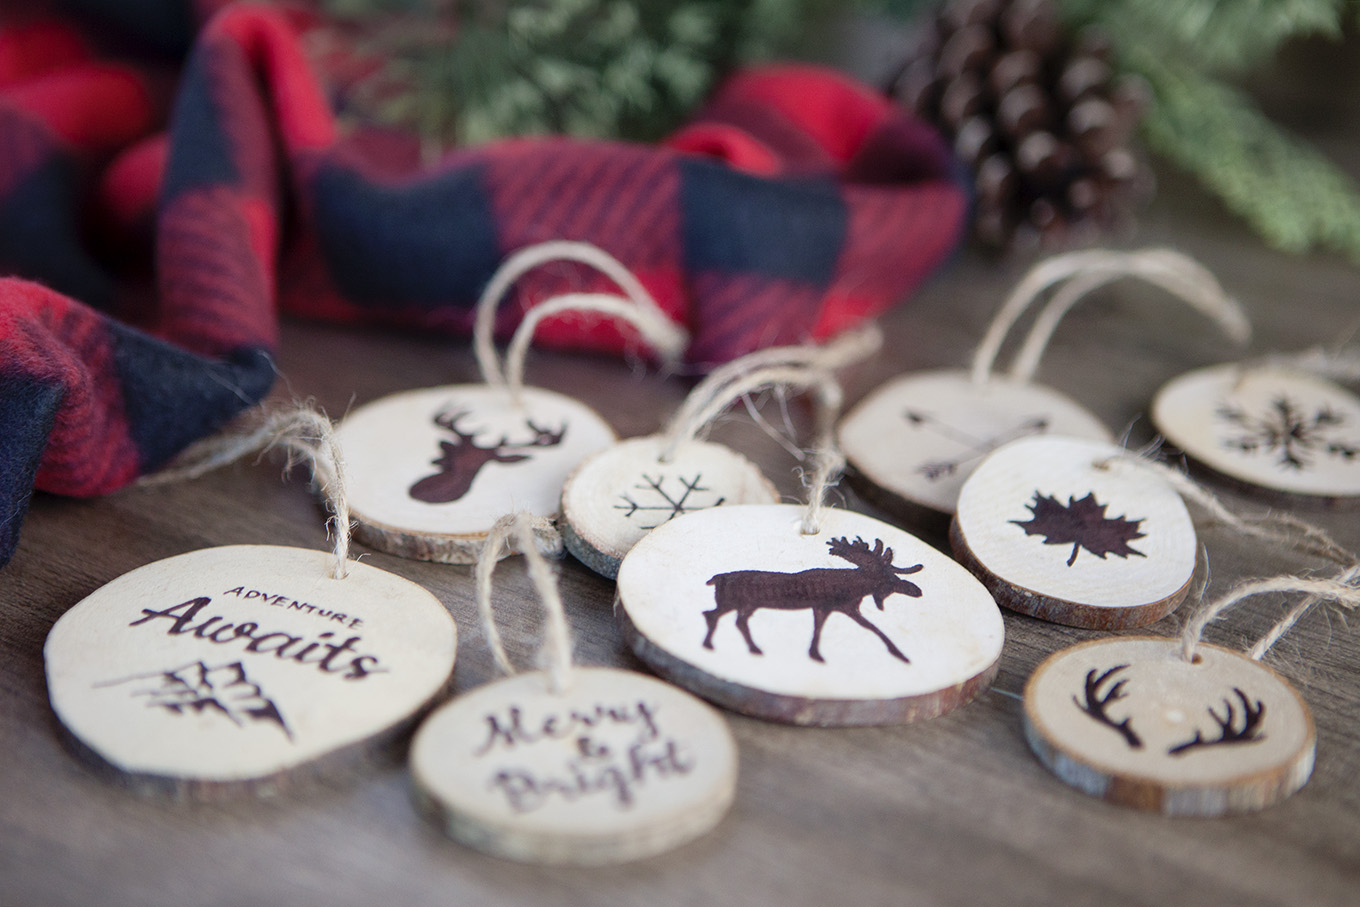
I set out trying to recreate the look of wood burning without actually wood burning and you know what – I love the result!
These ornaments are made with nothing more than a brown sharpie marker and some templates I created then traced onto these thin wood slices!
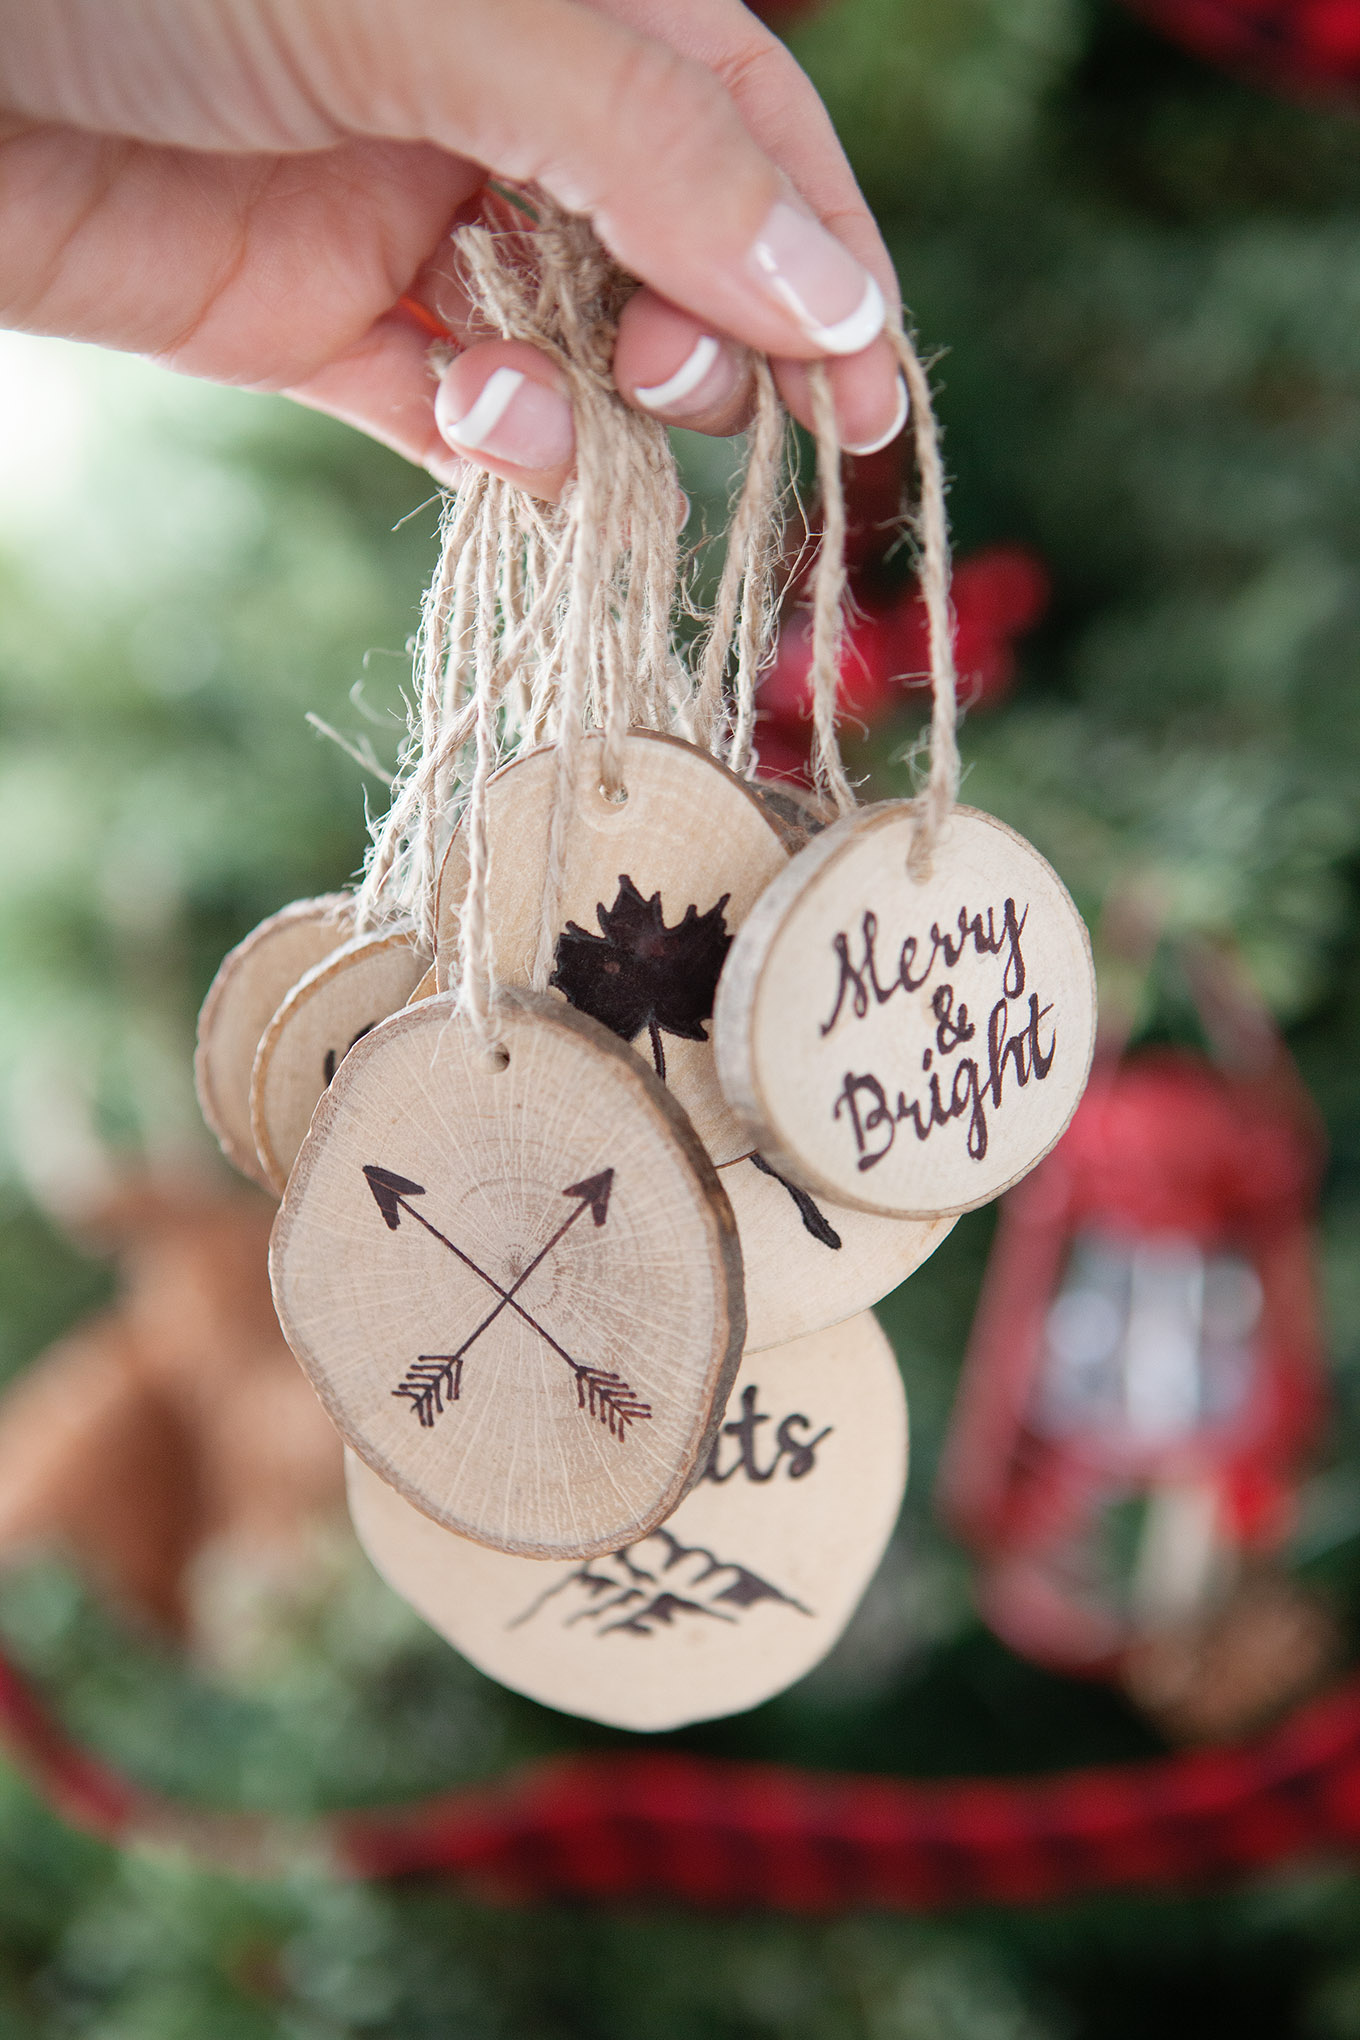
The look of wood burning without any specialized tools! These ornaments added just the right touch to our outdoorsy tree and I want to share with you exactly how I made them!
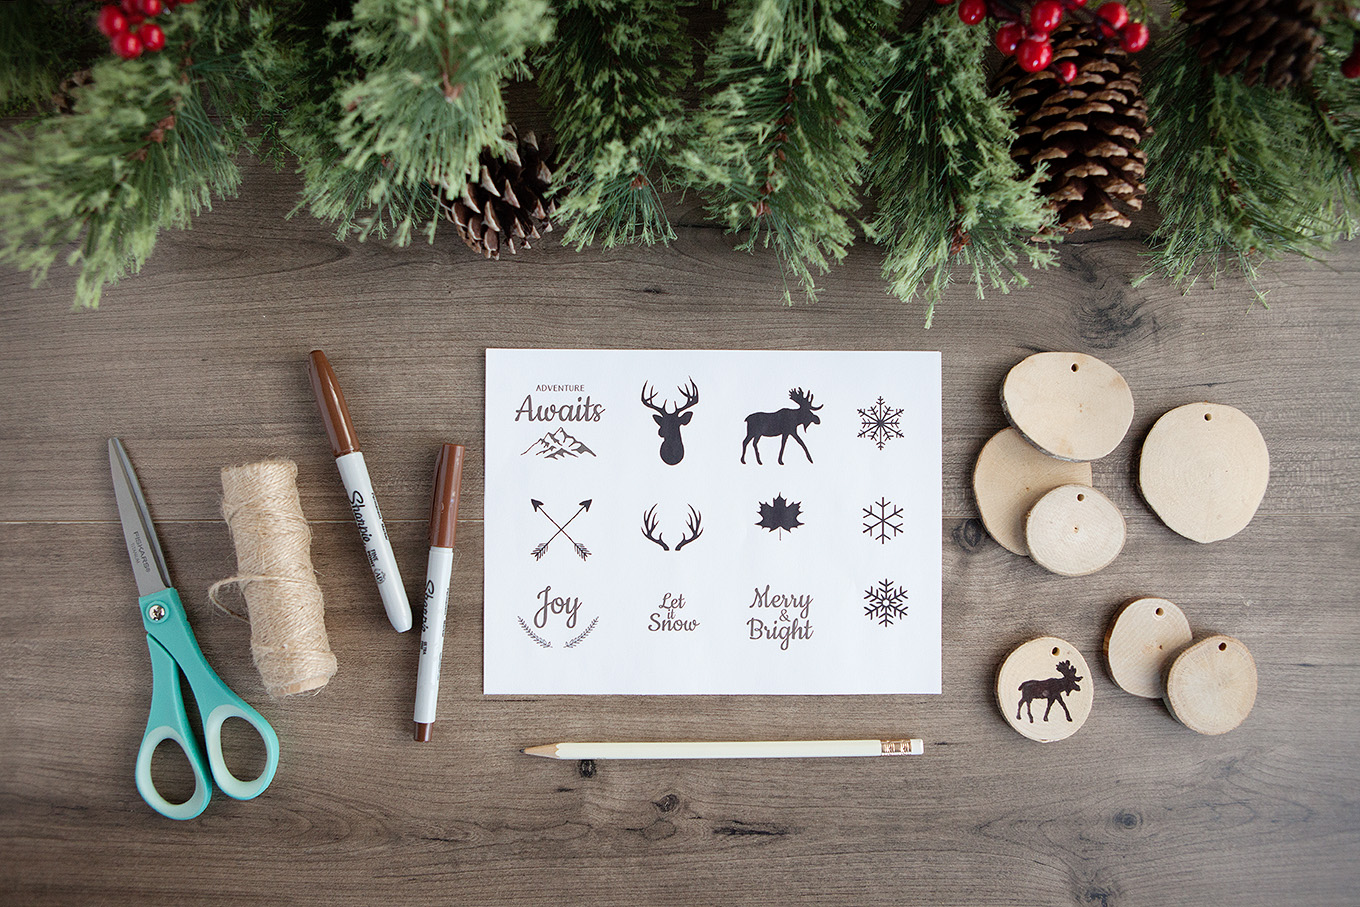
Supplies
Wood slices
Brown fine point sharpie marker
Brown ultra fine point sharpie marker
Twine
Lead Pencil
Scissors
Instructions
The first thing you’ll need to do is download the wood slice ornament template. Depending on the size of wood slice you’re working with you can scale the page larger or smaller using your printer settings.
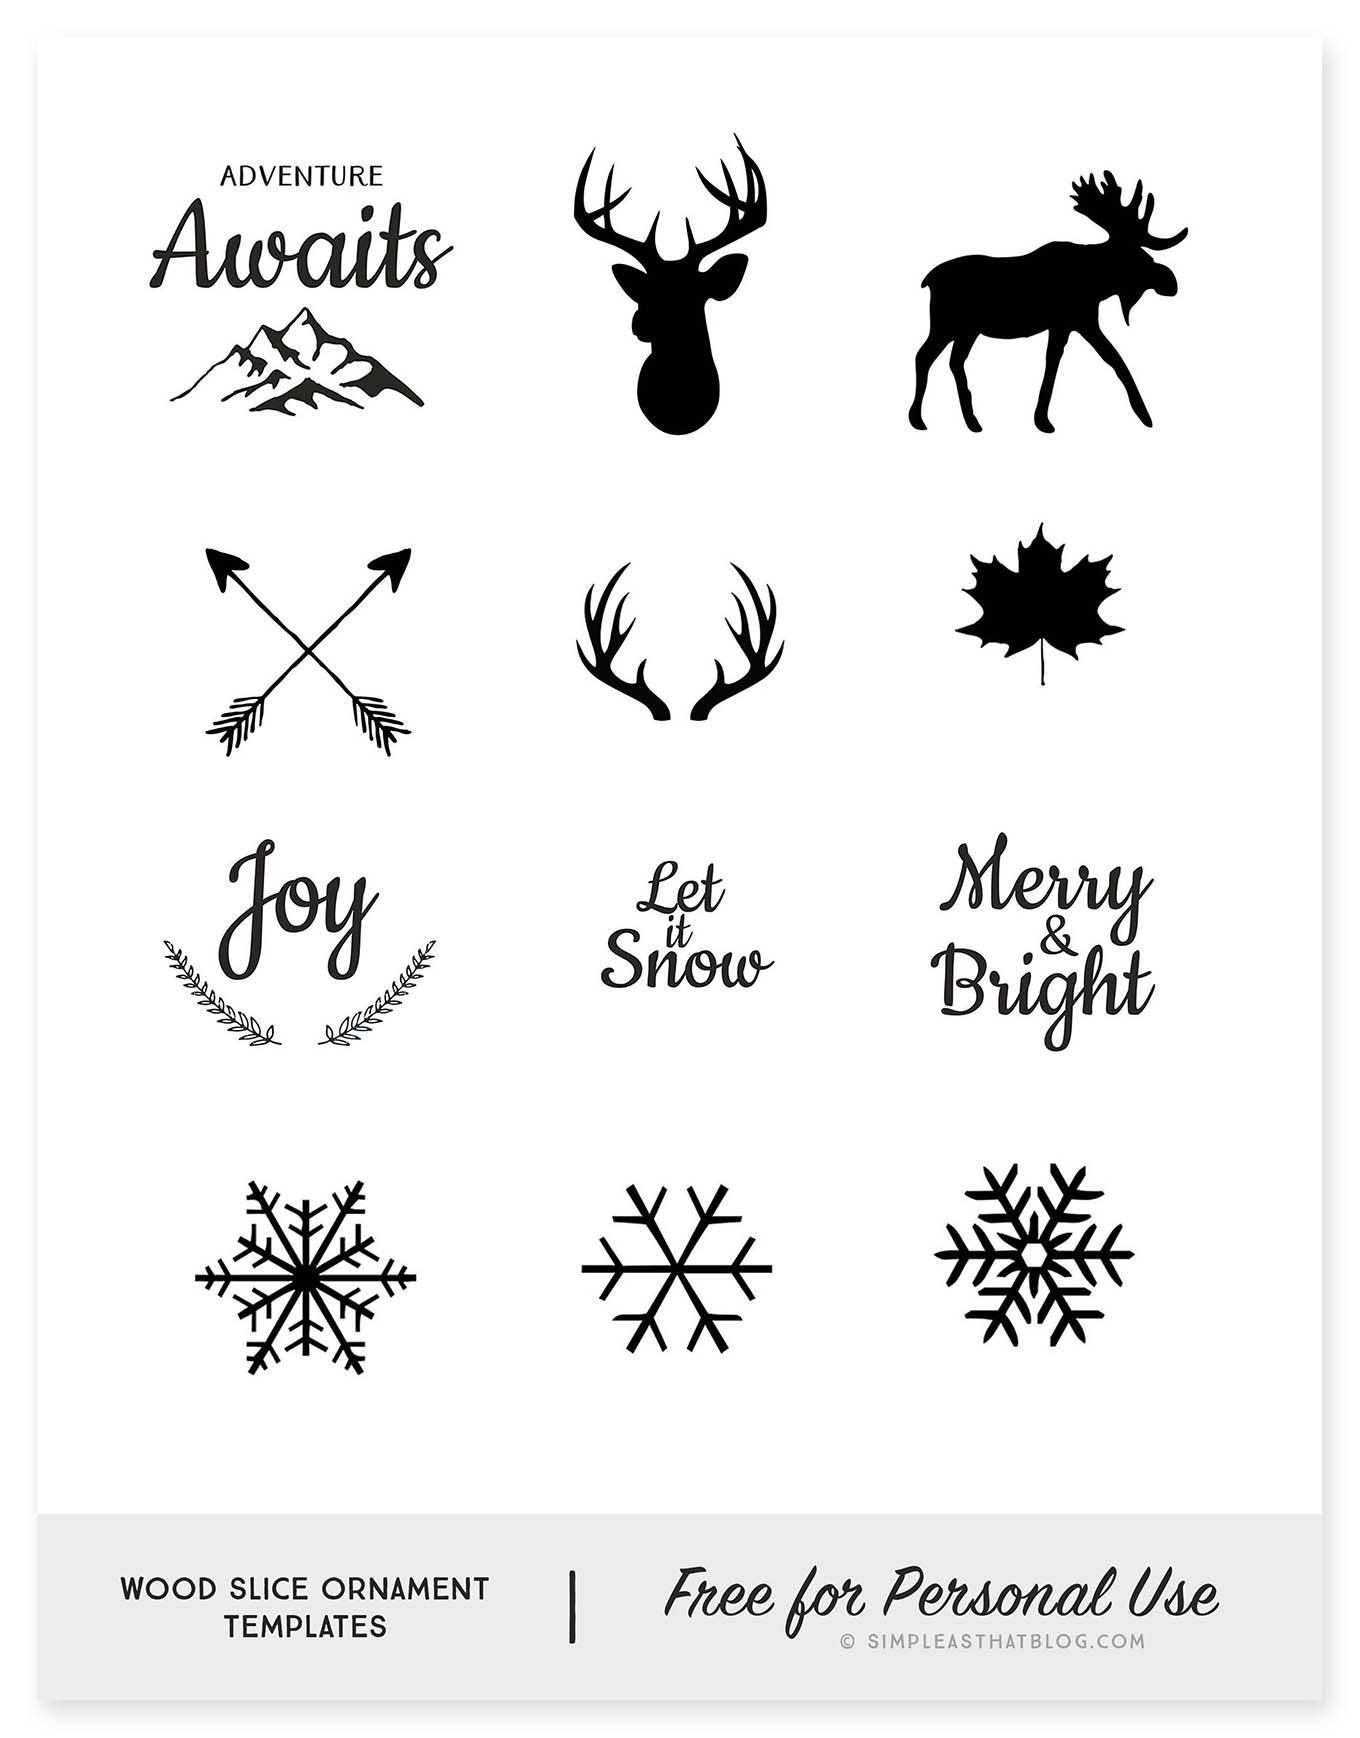
Print out the template the size that you need and select a design to work with. You’re going to flip the paper over and with a lead pencil color heavily the entire back of your selected design. This is what will transfer the design onto the wood slice in the next step.
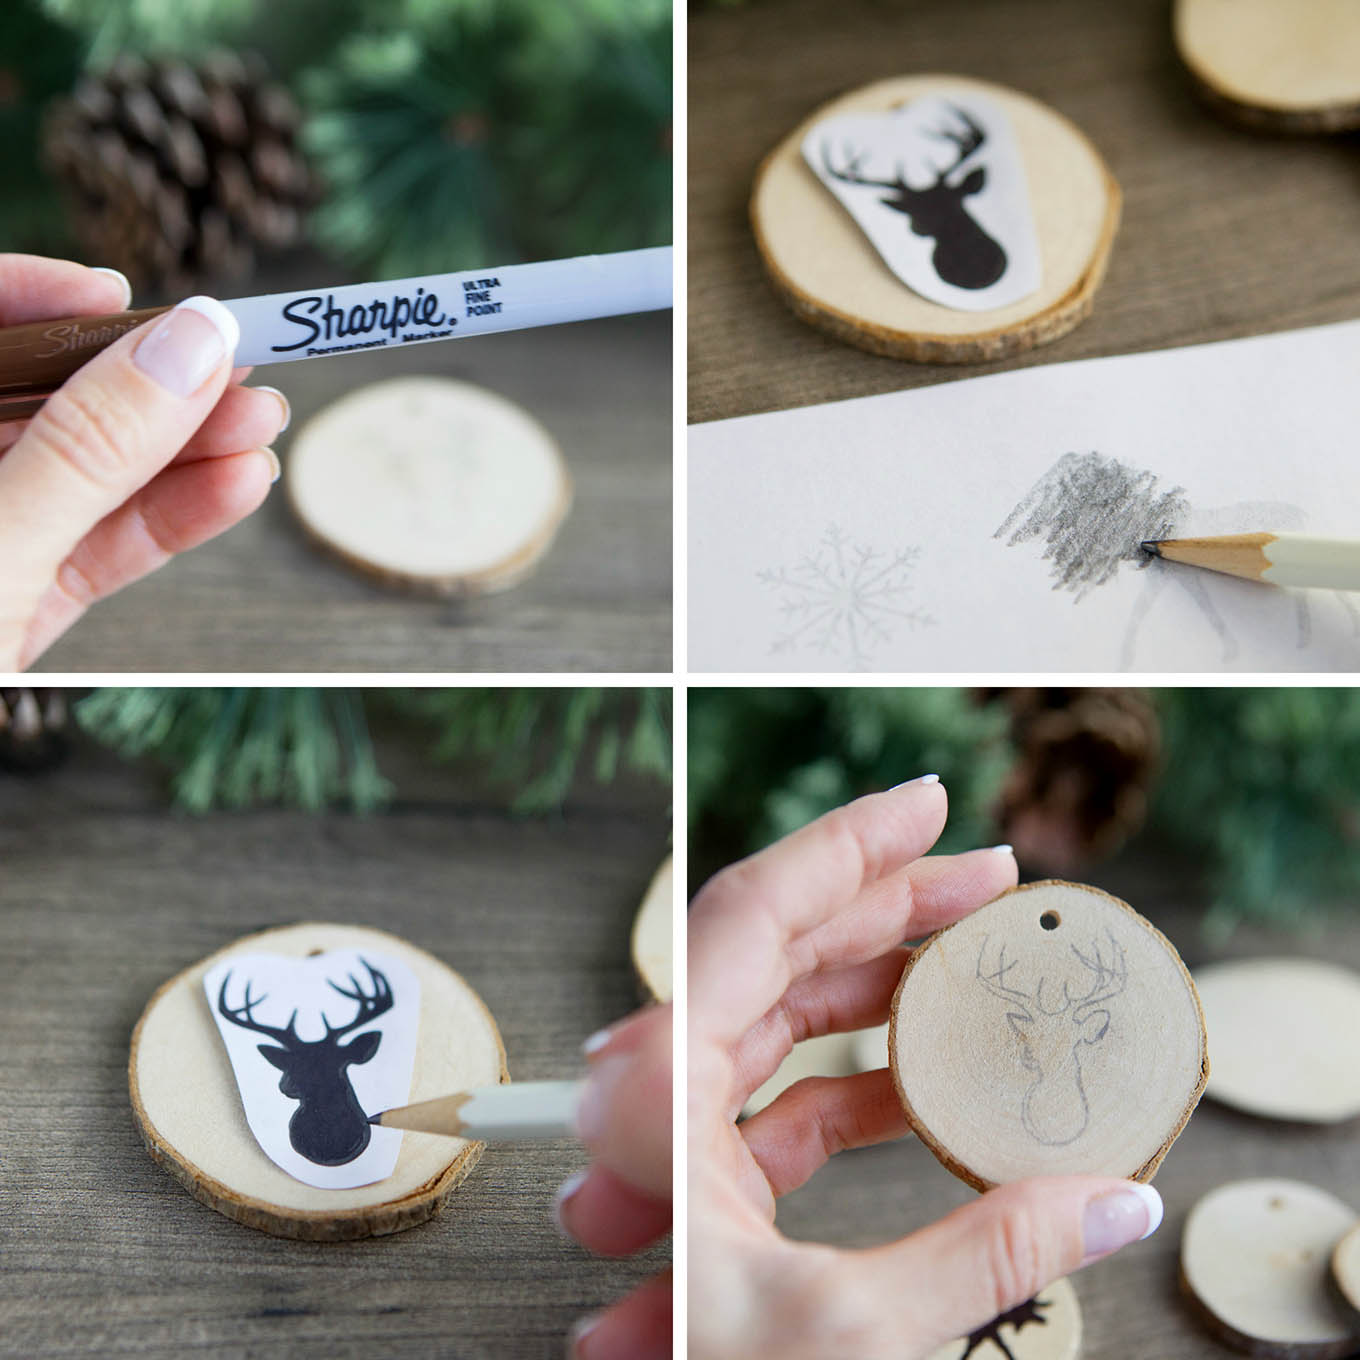
Next cut your design out, place it face up on the wood slice. The pencil coloring you just did will be against the surface of the wood.
Now trace along the edges of the entire design being sure to press hard in order to transfer the image to the wood slice.
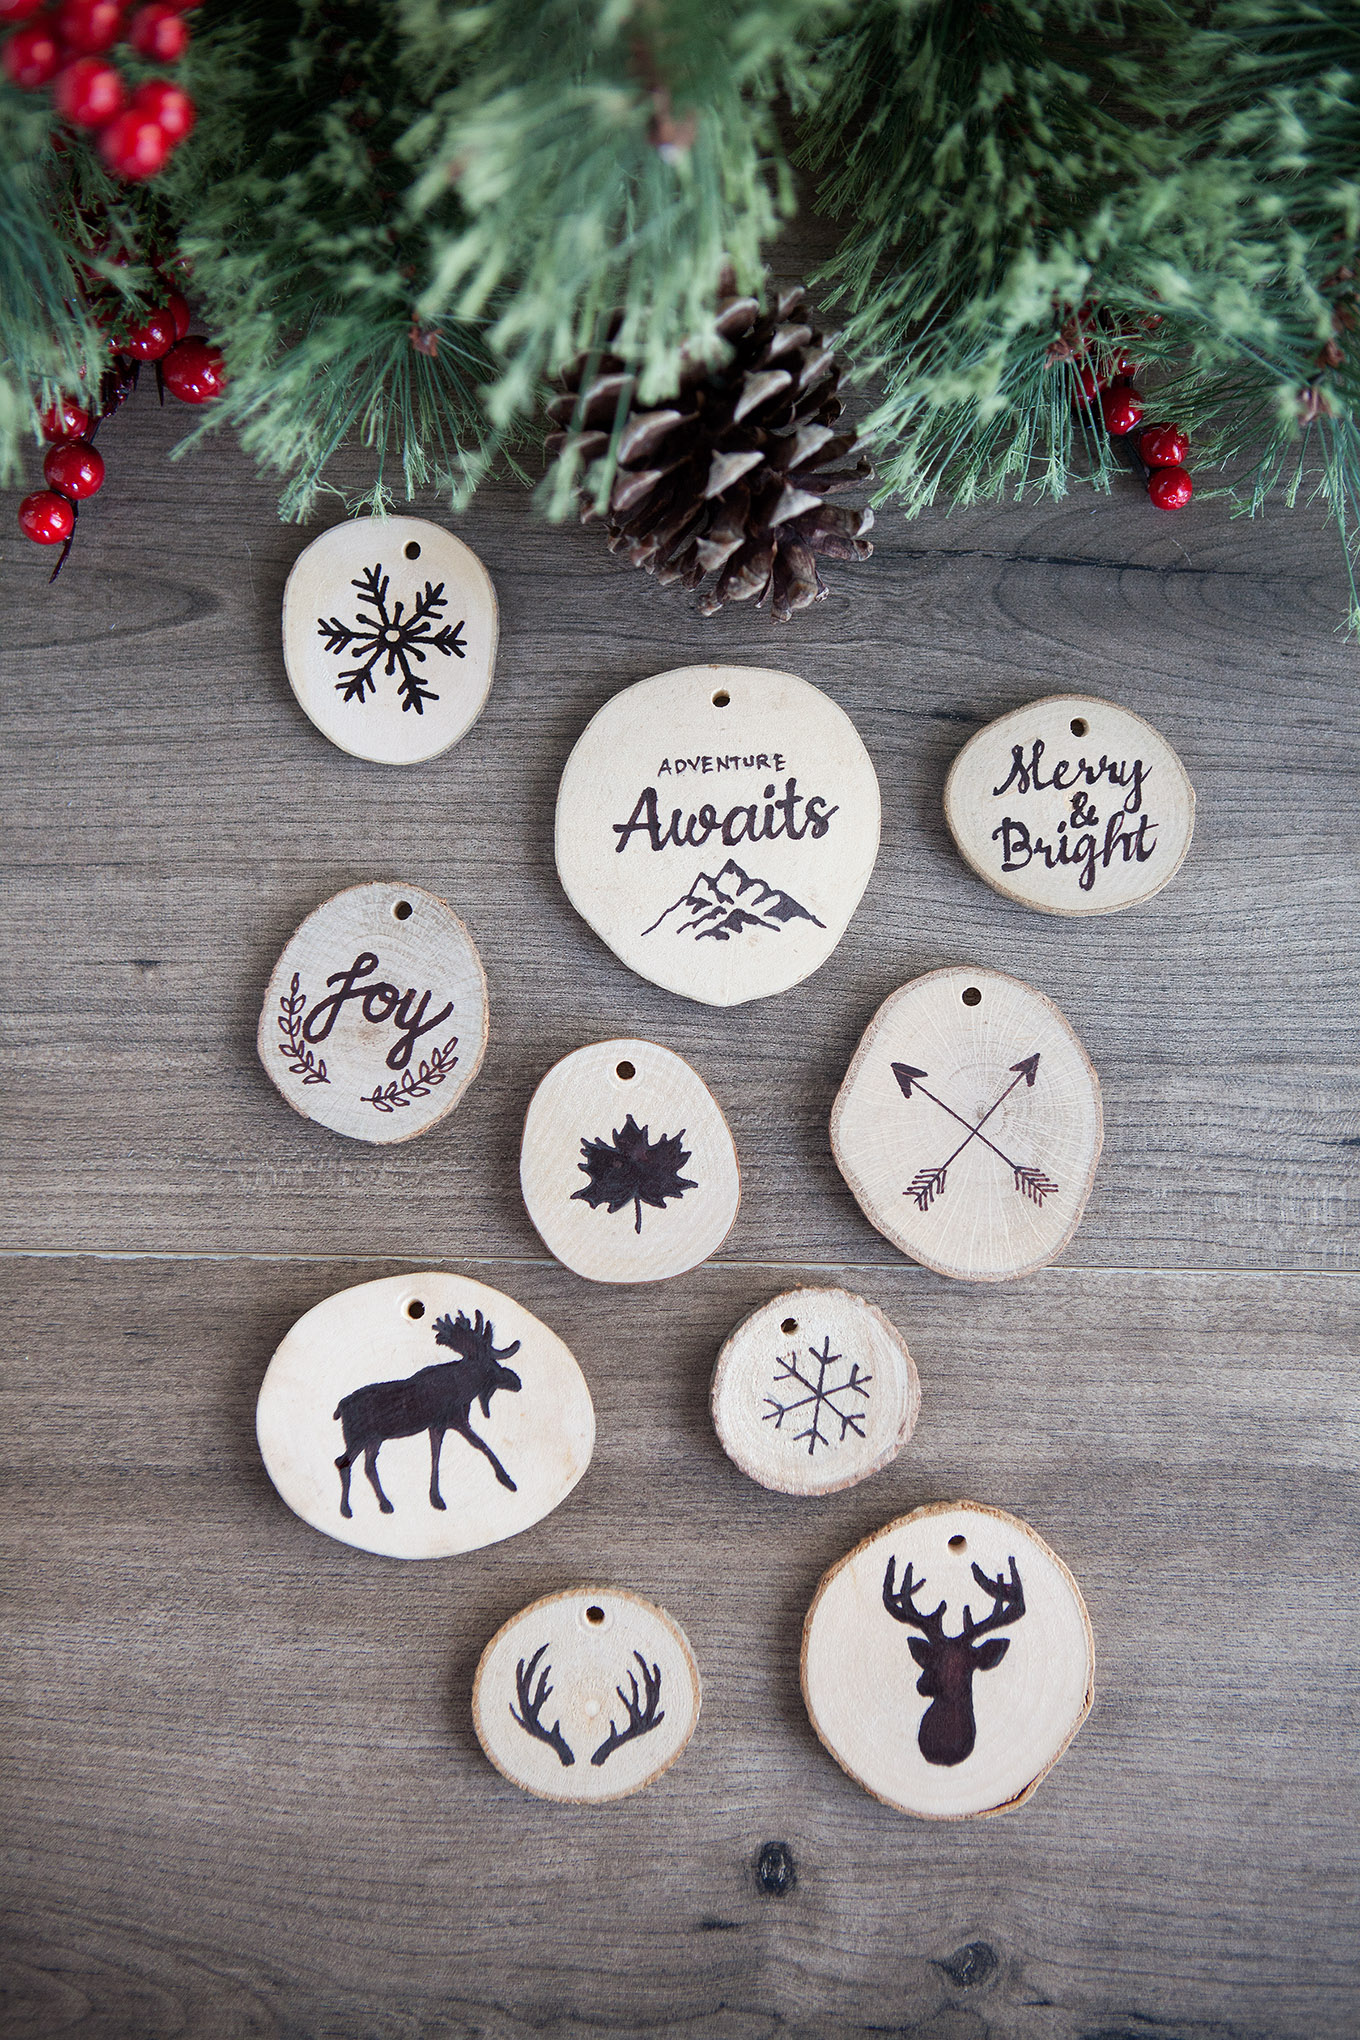
When you’ve finished tracing, remove the paper. You will be left with a pencil rendering of the design on the surface of the wood slice.
You will then take an ultra fine point brown sharpie and trace the outside edges. When finished, fill in the remainder of the design with a slightly thicker, fine point brown sharpie.

Some wood slices come with predrilled holes, if yours did not, drill a small hole in the top. Cut a length of twine and thread it through the hole. Tie in a knot and you’re done!
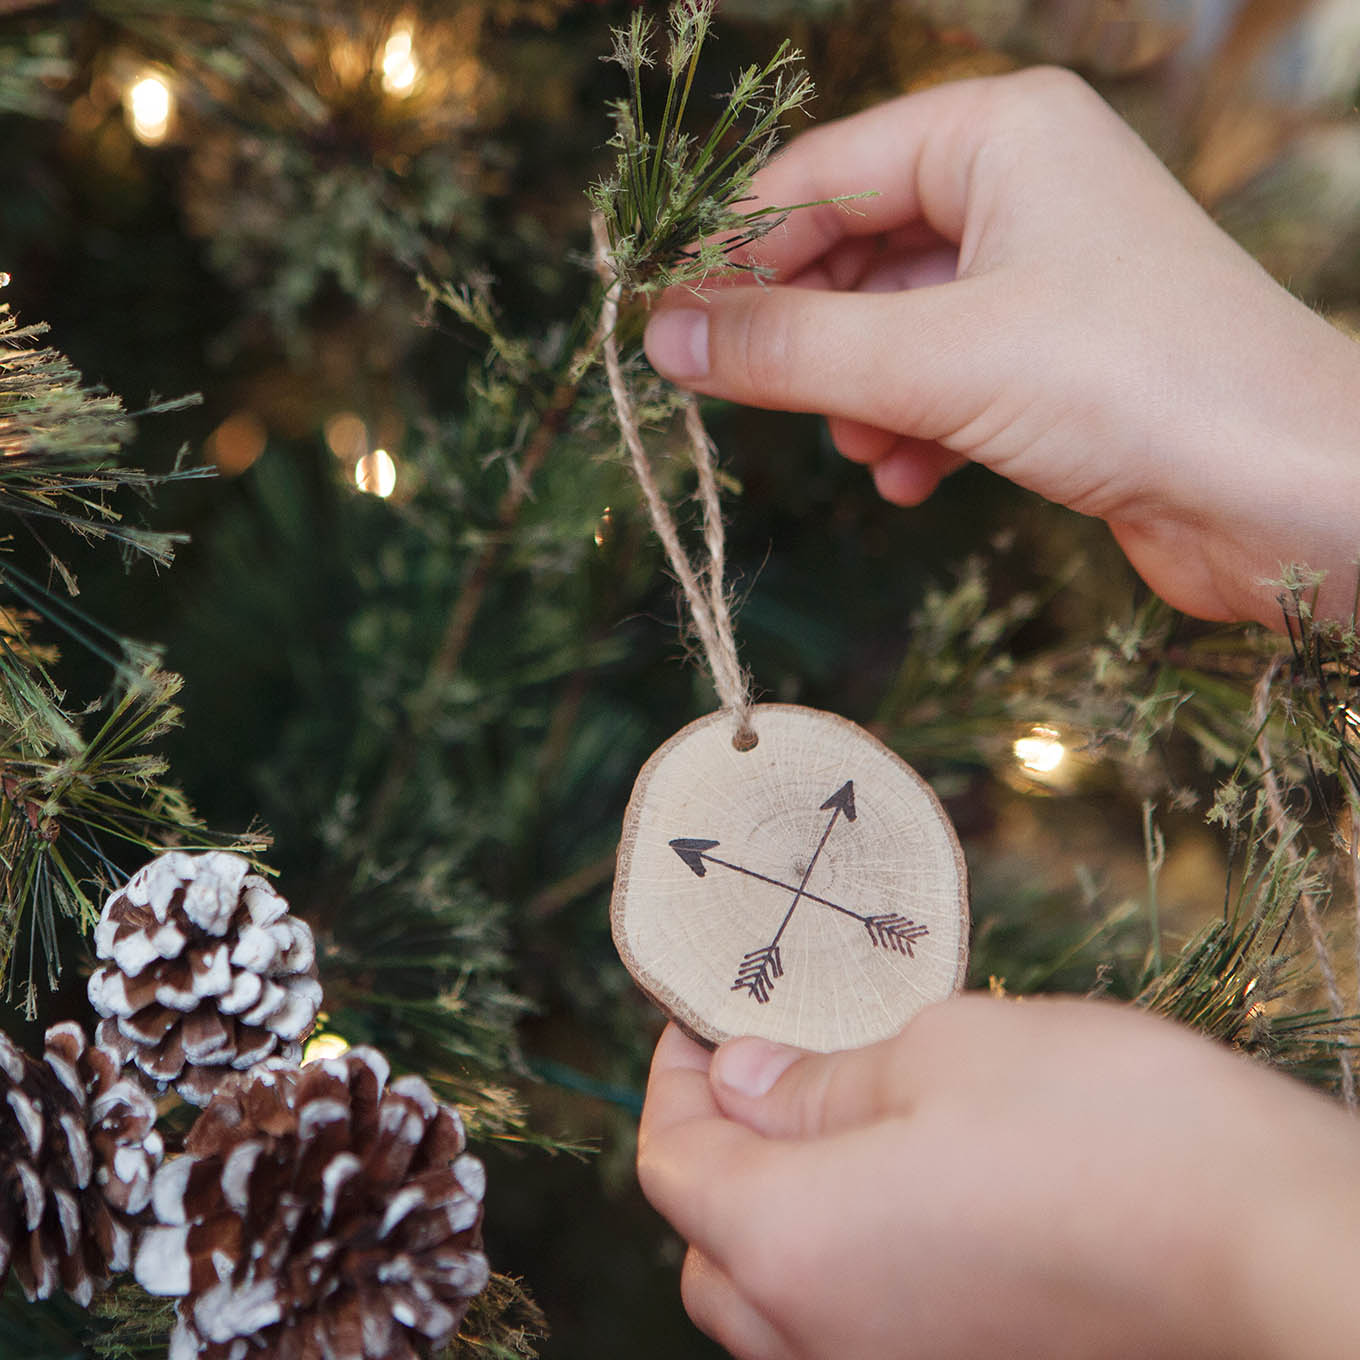
That’s really all there is too it. No, they’re not wood burned but they sure look like they were! I think they turned out beautifully and the best part is they’ve easy to create.
These ornaments would make great gifts for teachers or neighbors. They’re inexpensive and easy enough that the kids can get involved and help make them too!
If you enjoyed this post you might also like…
- Outdoor Adventure-Themed Christmas Tree
- 10-Minute Photo Keepsake Ornaments
- Free Buffalo Check Plaid Christmas Printables
- Rustic Twig Ornaments


Where can we purchase the wood slices? This is a super cute idea!
You can get all the supplies for this project at your local Michaels Store!
I love your faux wood tree decorations. Where would I be able to get the faux would in Scotland?
Do you put a clear coat on it at the end?
I have tried this method with a good outcome also. My only problem was, I found that the sharpies blead into the grain of the wood. Any solution for this problem?