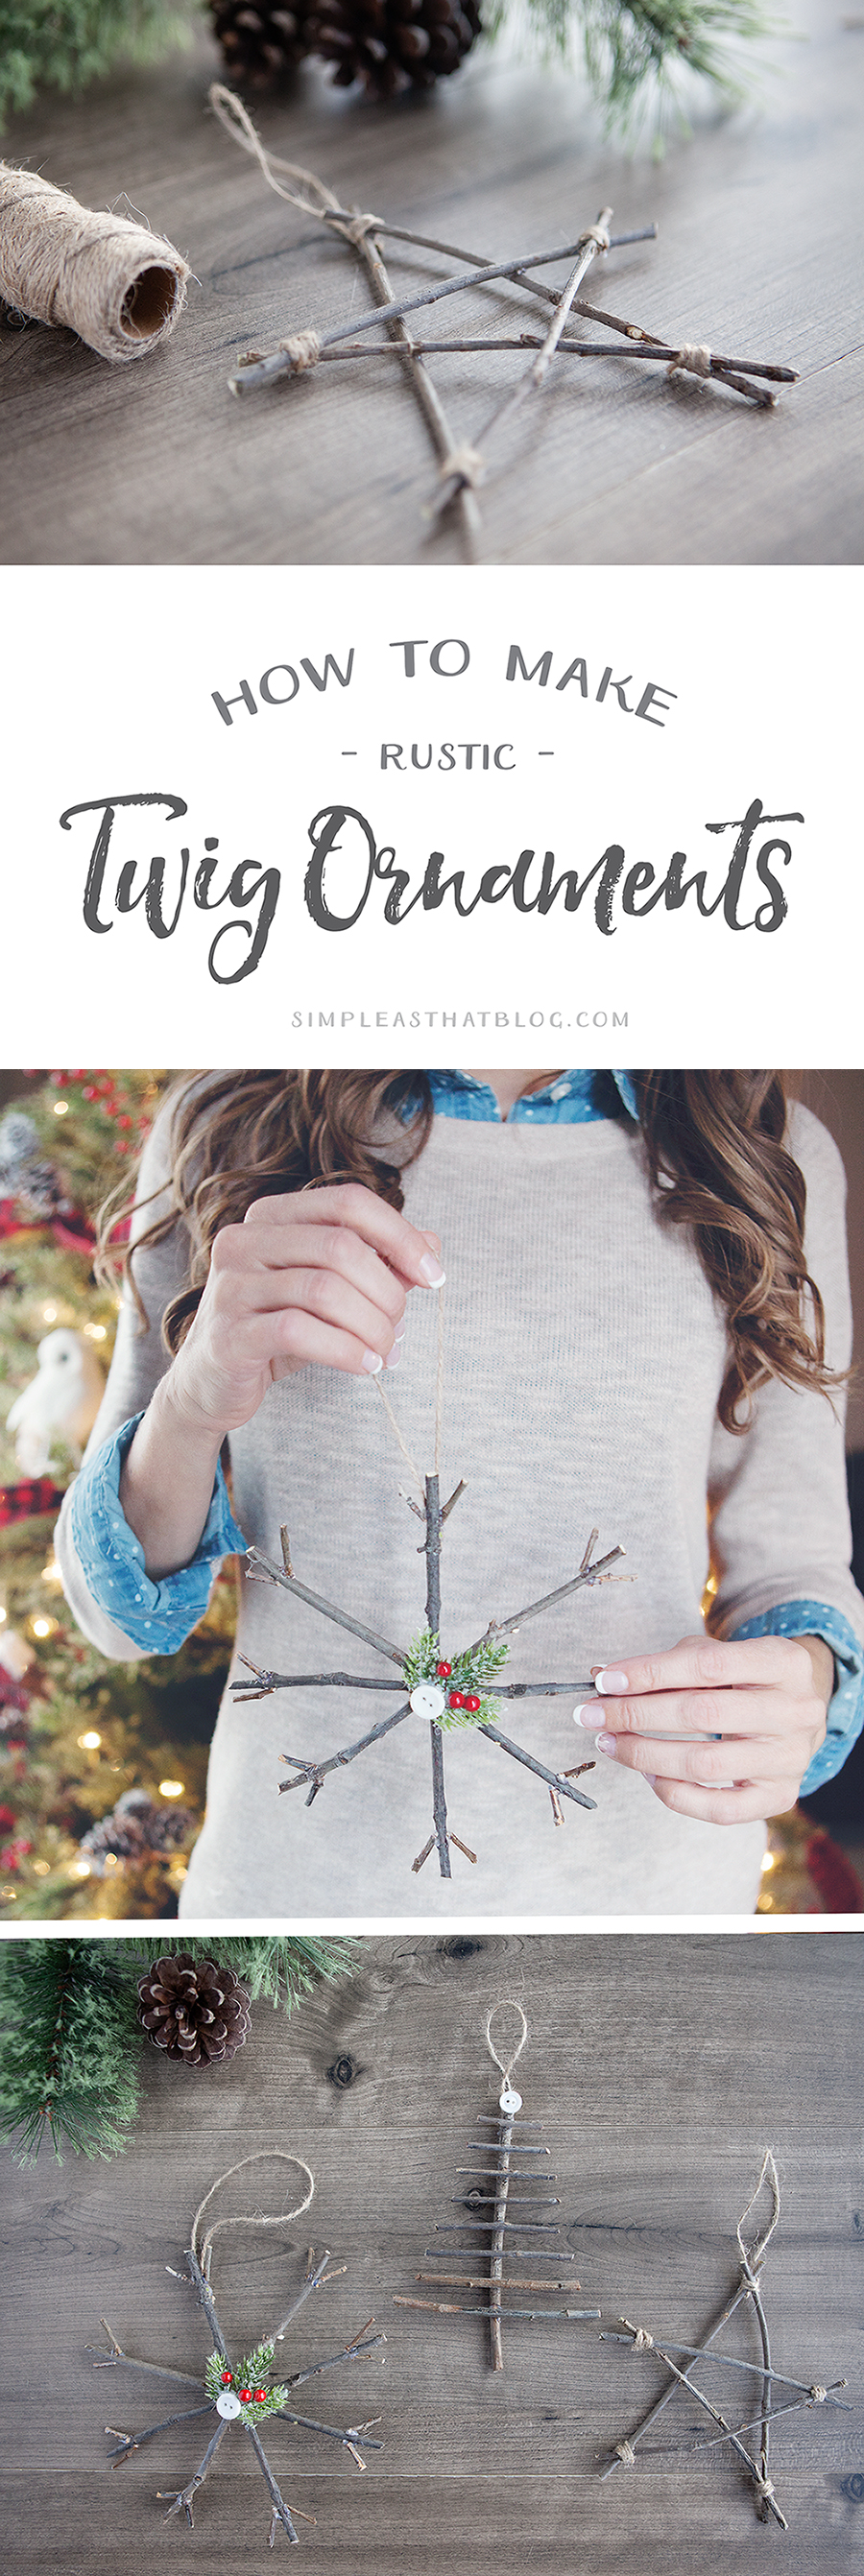
Bring a touch of nature indoors this year as you decorate your tree – learn how to make rustic twig Christmas ornaments! They’re simple, inexpensive and look beautiful!
This year we put together an Outdoor Adventure themed Christmas tree and we love it so much! From the DIY Photo keepsake ornaments, to the buffalo check accents, to the faux wood-burned ornaments – this tree has been a handmade labour of love.
We took our inspiration for the tree from nature and decorated it in a way that emphasized our families love for spending time outdoors together. Each ornament is a nod to our love of National Parks, hiking and exploring outside!
Today I wanted to share a final how-to for some of my favorite ornaments on the tree. These rustic twig ornaments were a lot of fun to make. When creating an outdoor themed Christmas tree, what else can you do but bring some elements from nature indoors! Right?
These ornaments add just the right touch to our outdoorsy tree and below you’ll find instructions and a short video showing you exactly how I made them.
*All supplies for this project can be purchased at your local Michaels Craft Store.
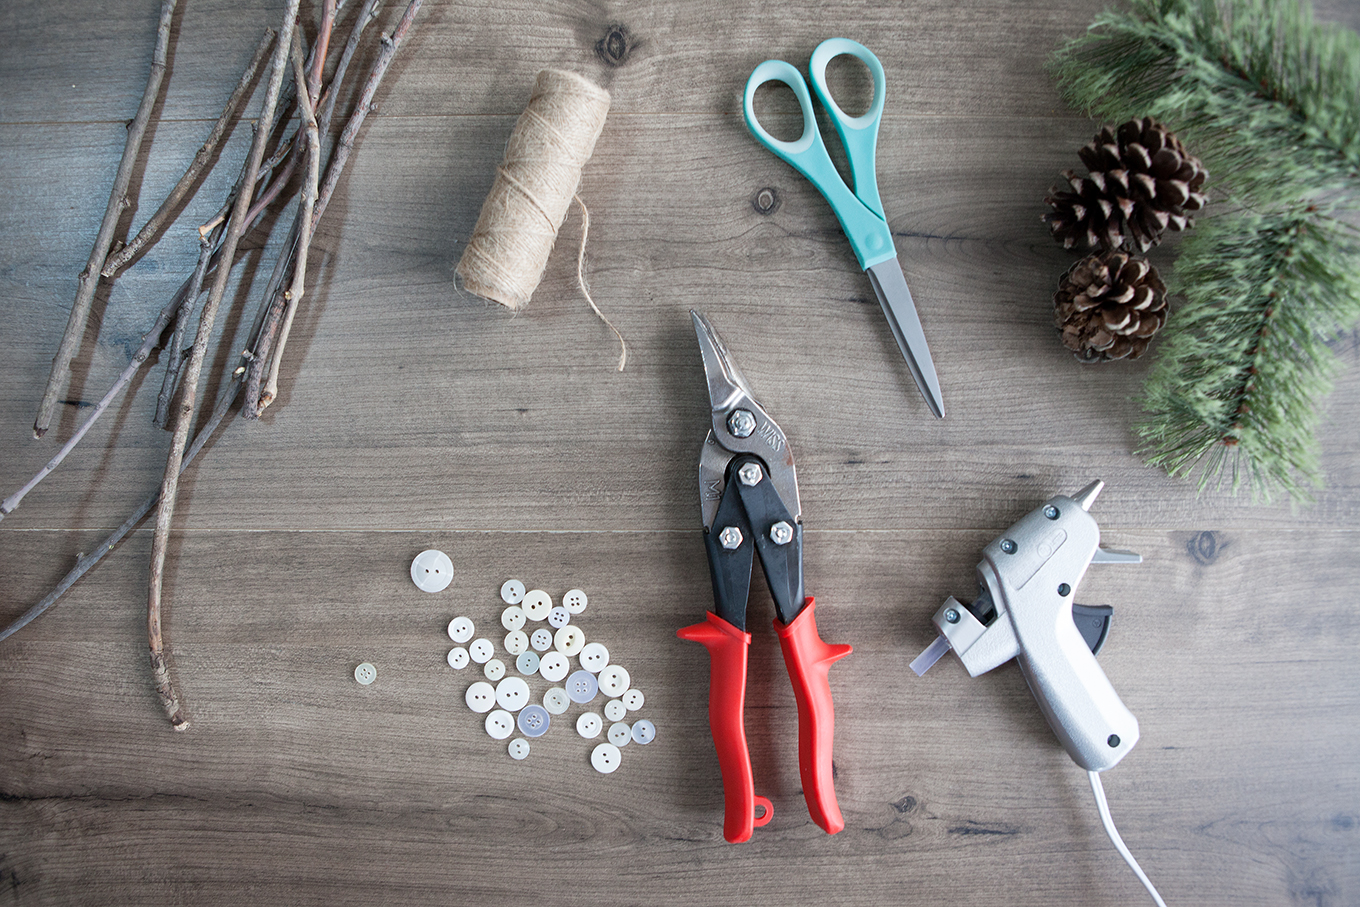
Supplies
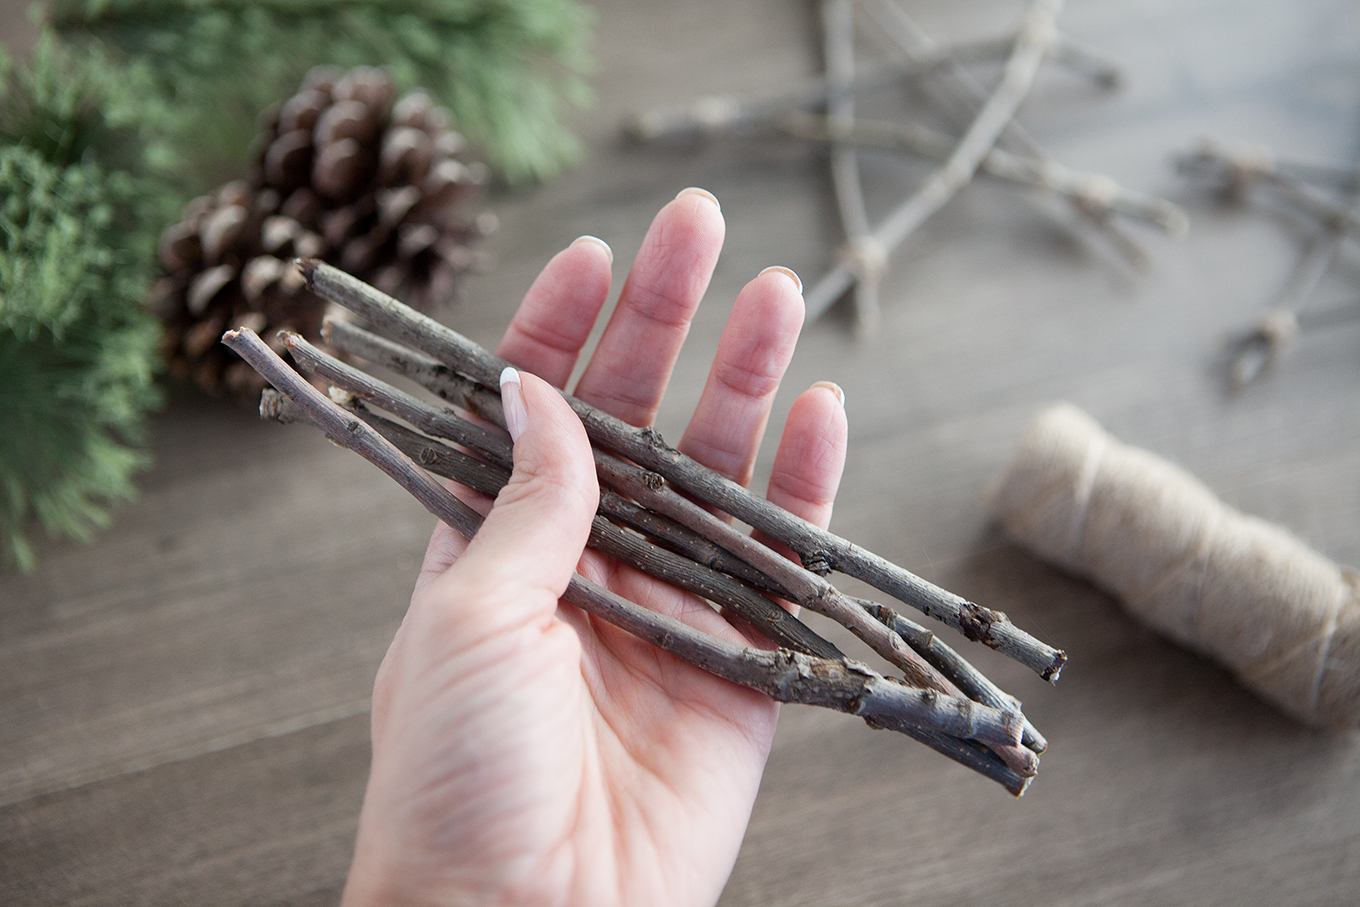
- Thin branches or twigs
- Garden shears
- Glue gun and glue sticks
- Twine
- Sharpie
- Buttons
- Sprigs of faux pine / berries
Instructions
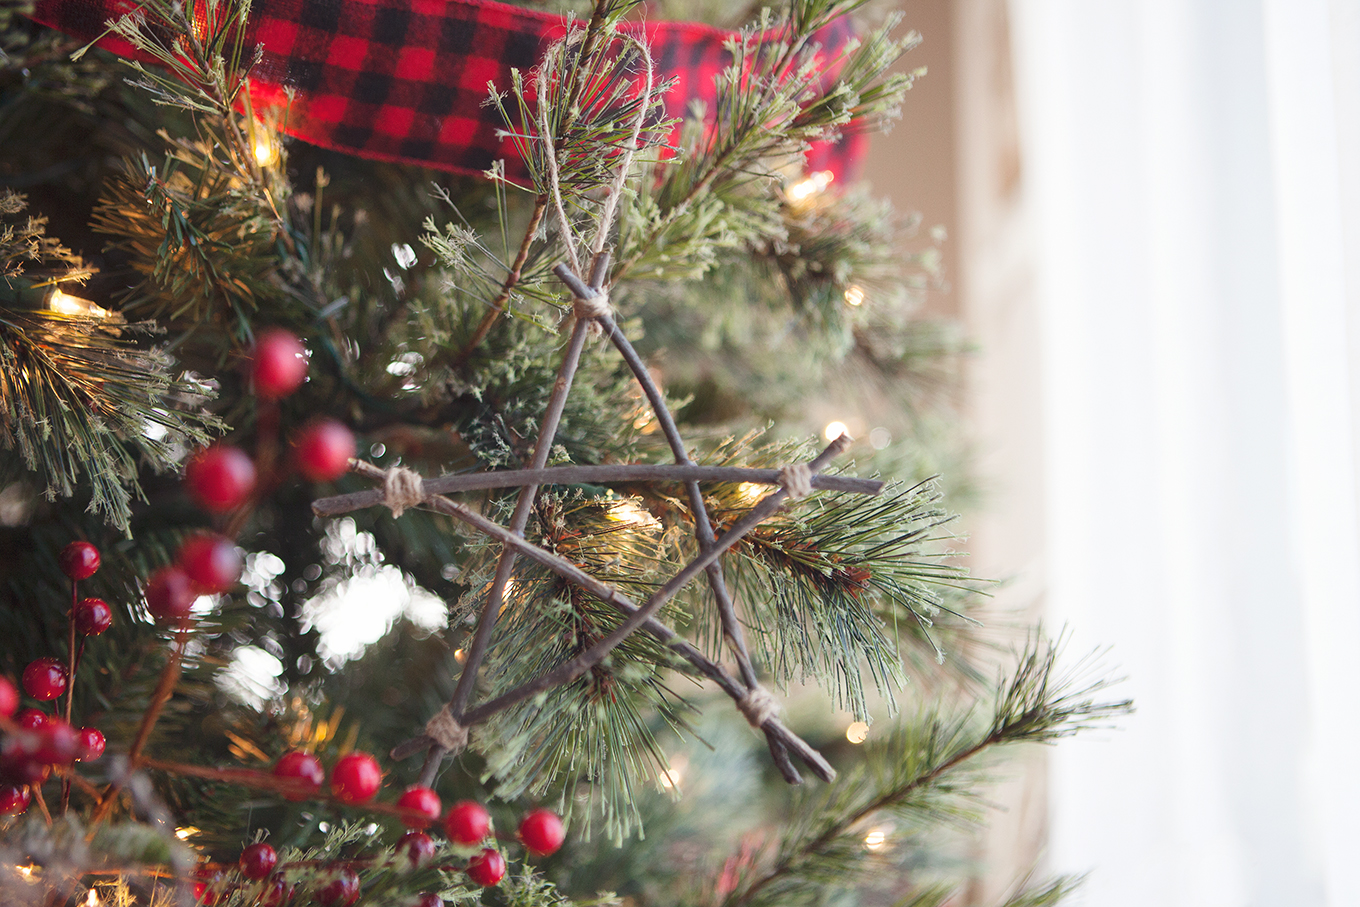
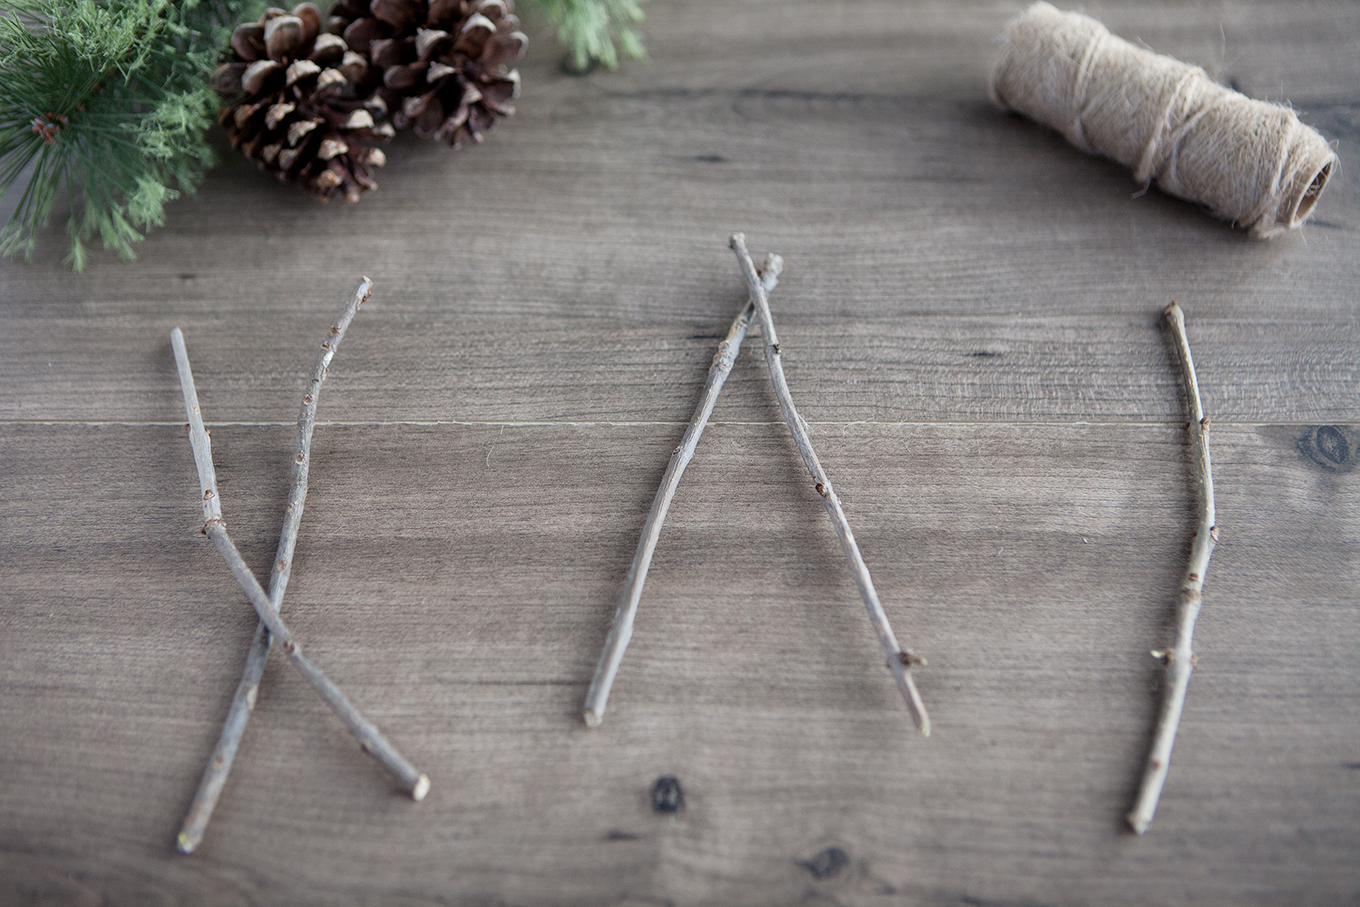
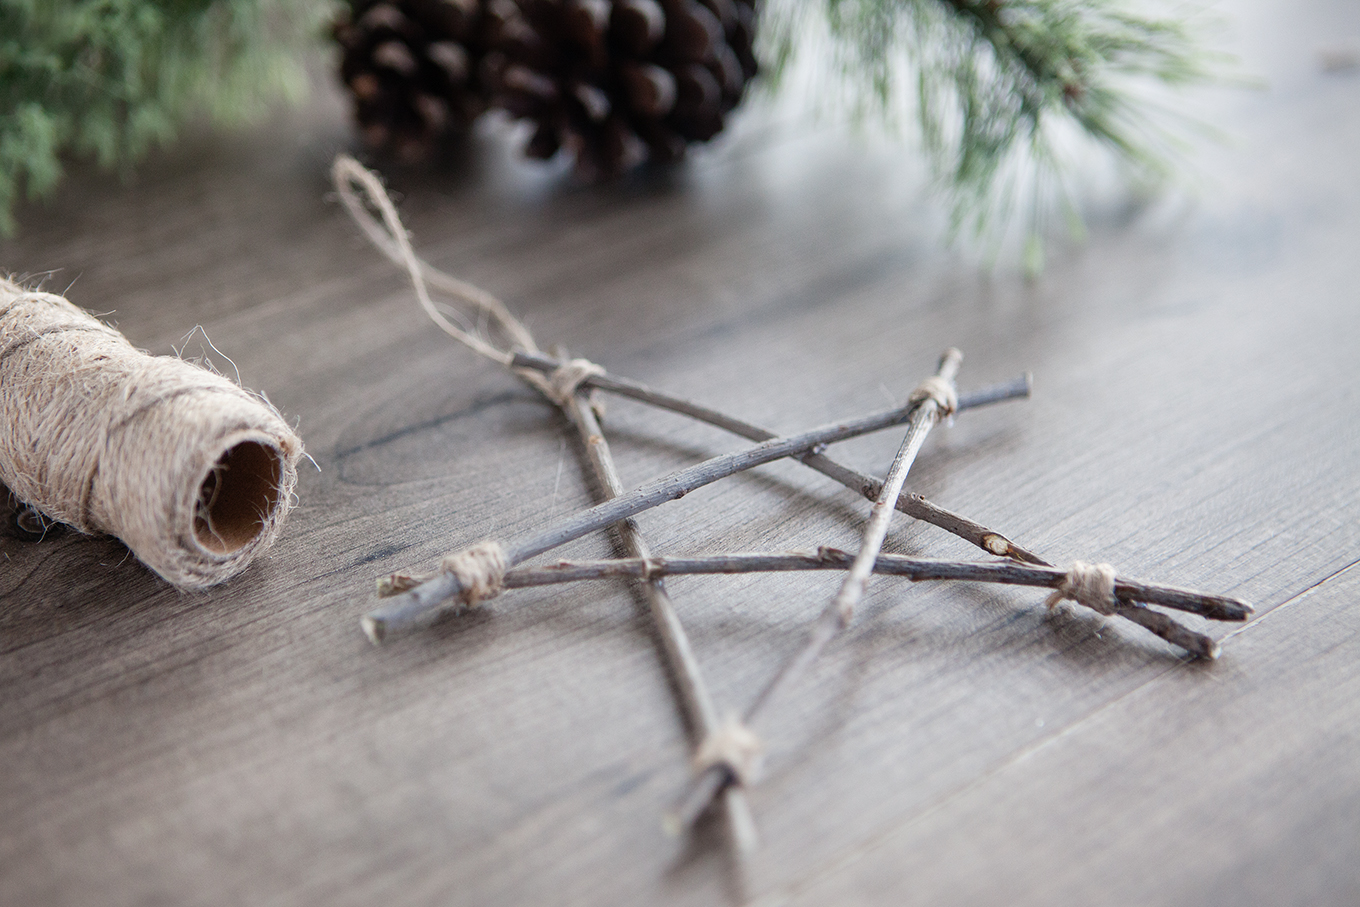
To make the star ornament trim 5 twigs to equal length with your garden shears.
Begin with two twigs, over lap them in an upside down “V” shape. Using hot glue attach the two twigs at the top as pictured.
Get another twig and attach on top of the first two twigs going across diagonally.
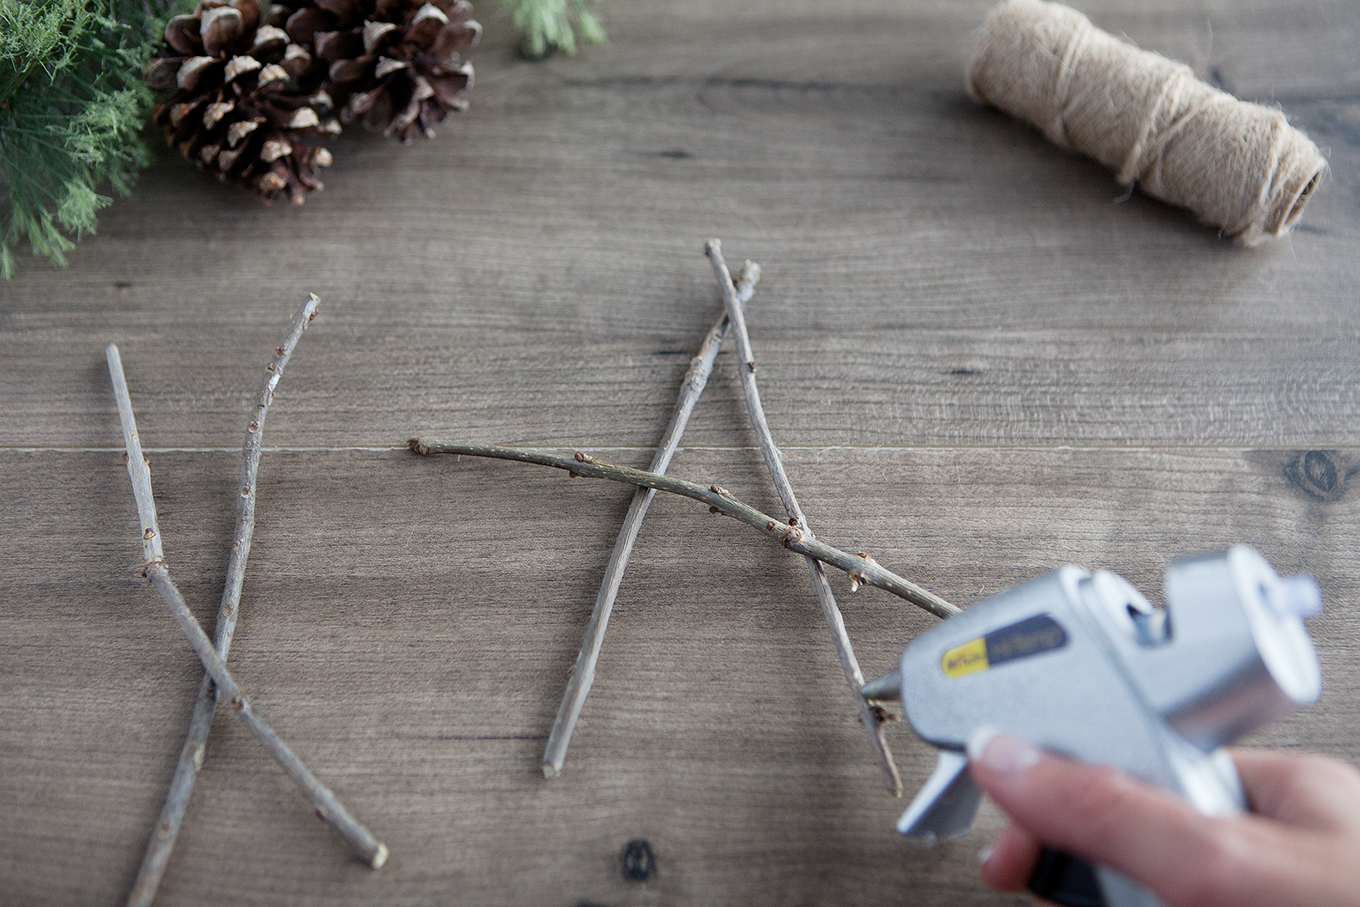
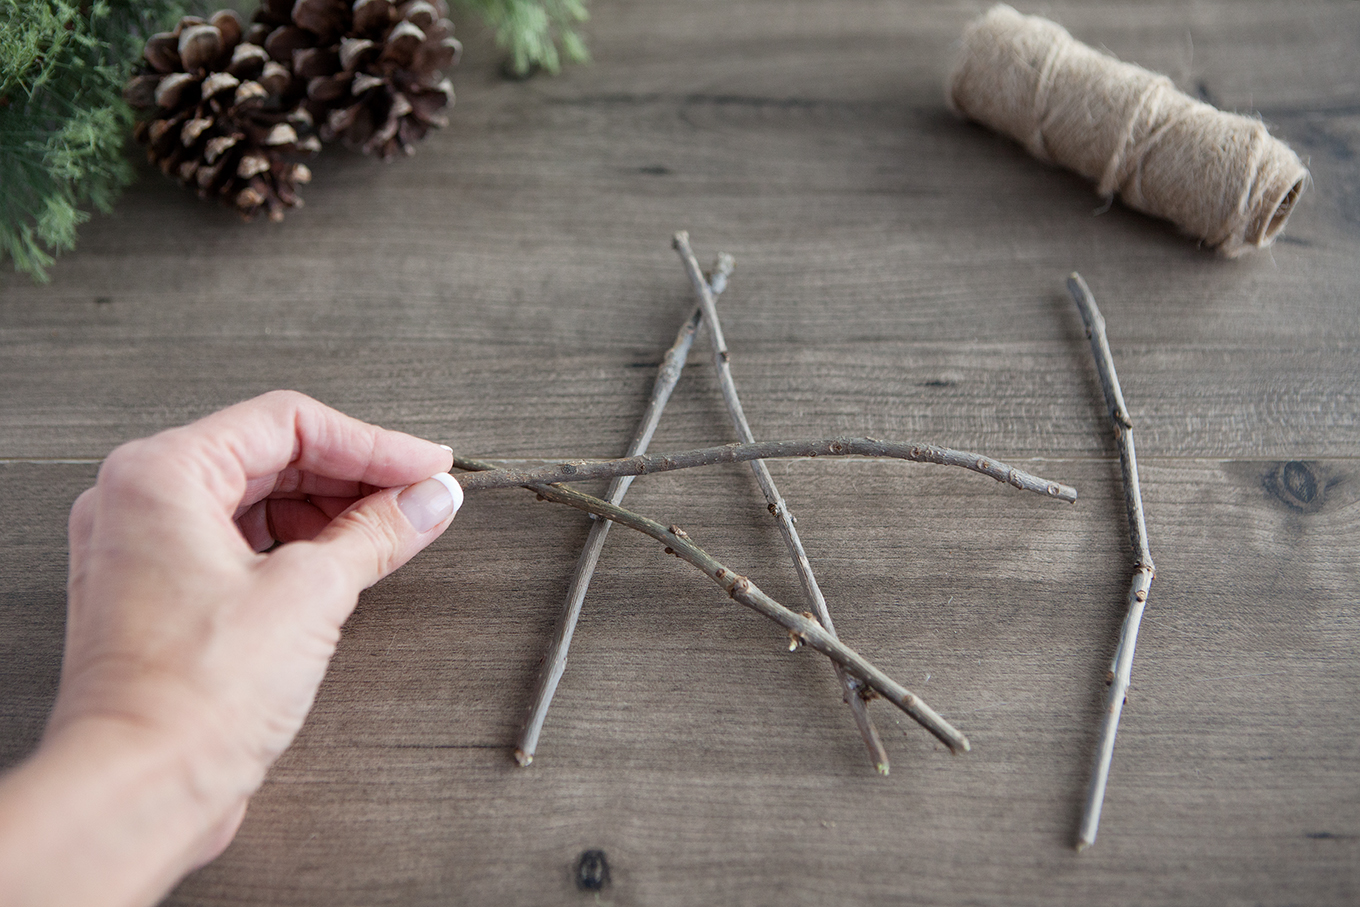
Continue adding your twigs until the star is complete.
To reinforce the point of each star, take a short length of twine. Hot glue it to the back side of the ornament at one of the points. Wrap around 3-4 times then hot glue the end of the twine to the back of the ornament. Trim any excess.
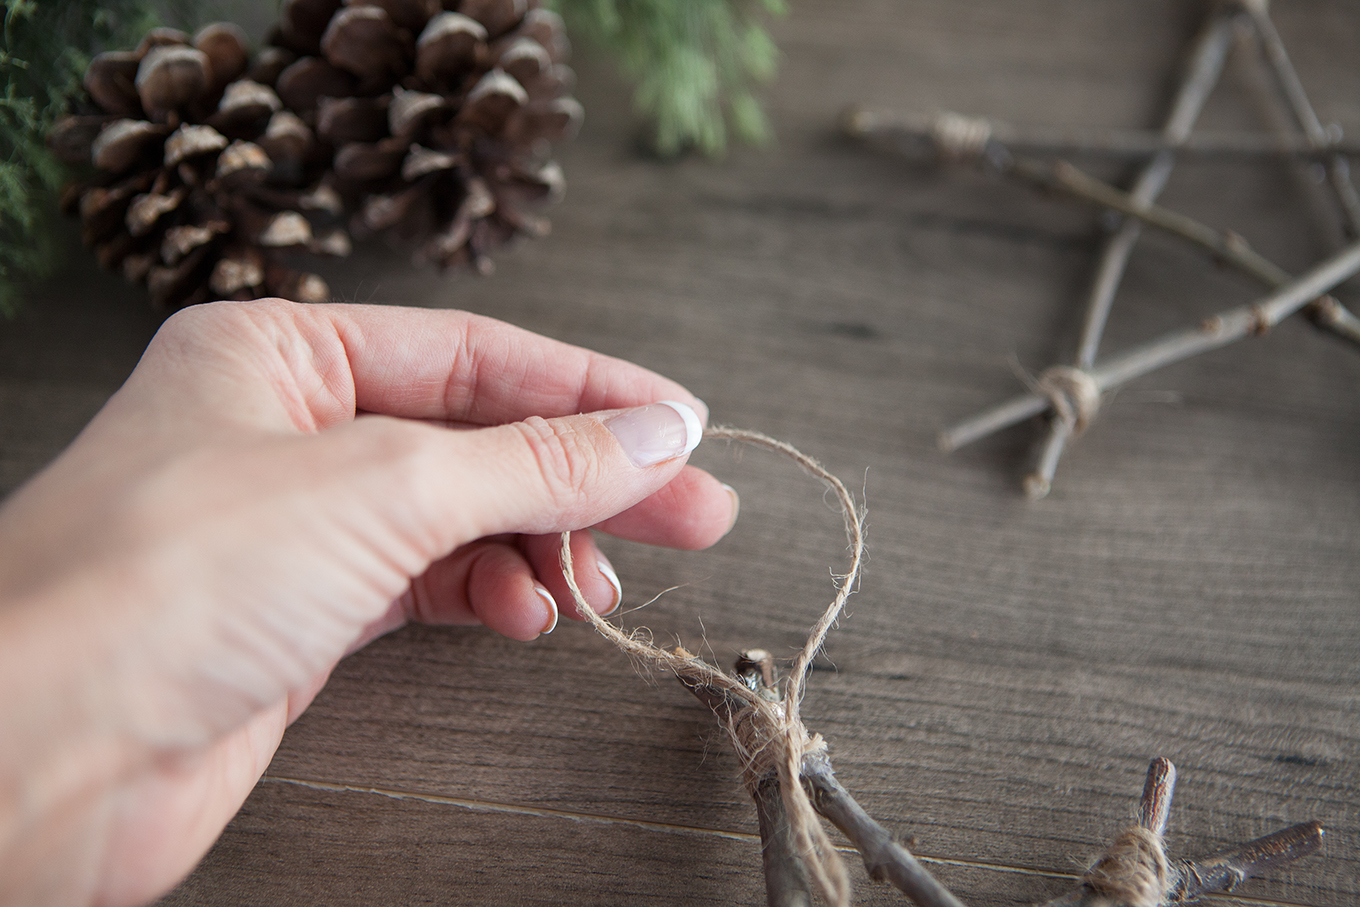
Take another small length of twine, form a loop and hot glue the two ends to the top point of the star at the back. This will be for hanging the ornament on the tree. Trim any excess.
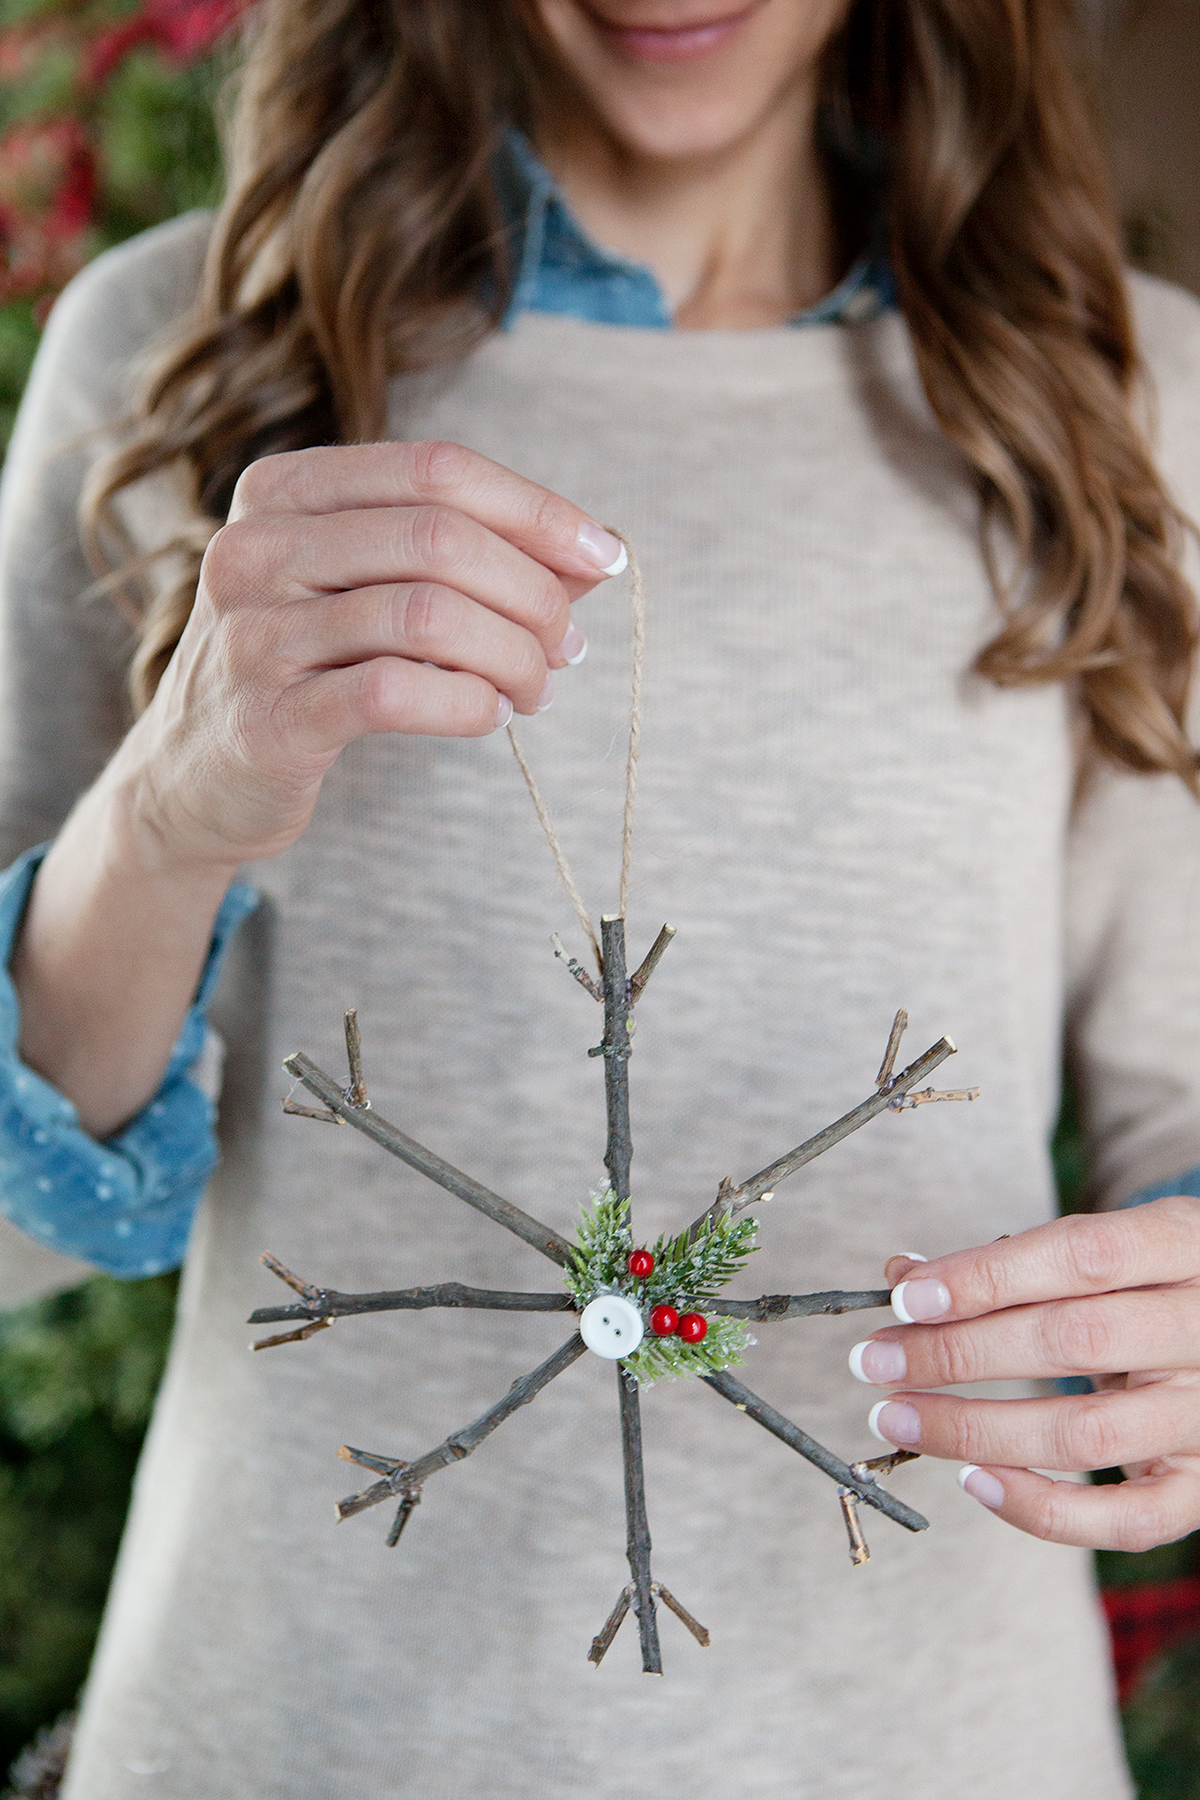
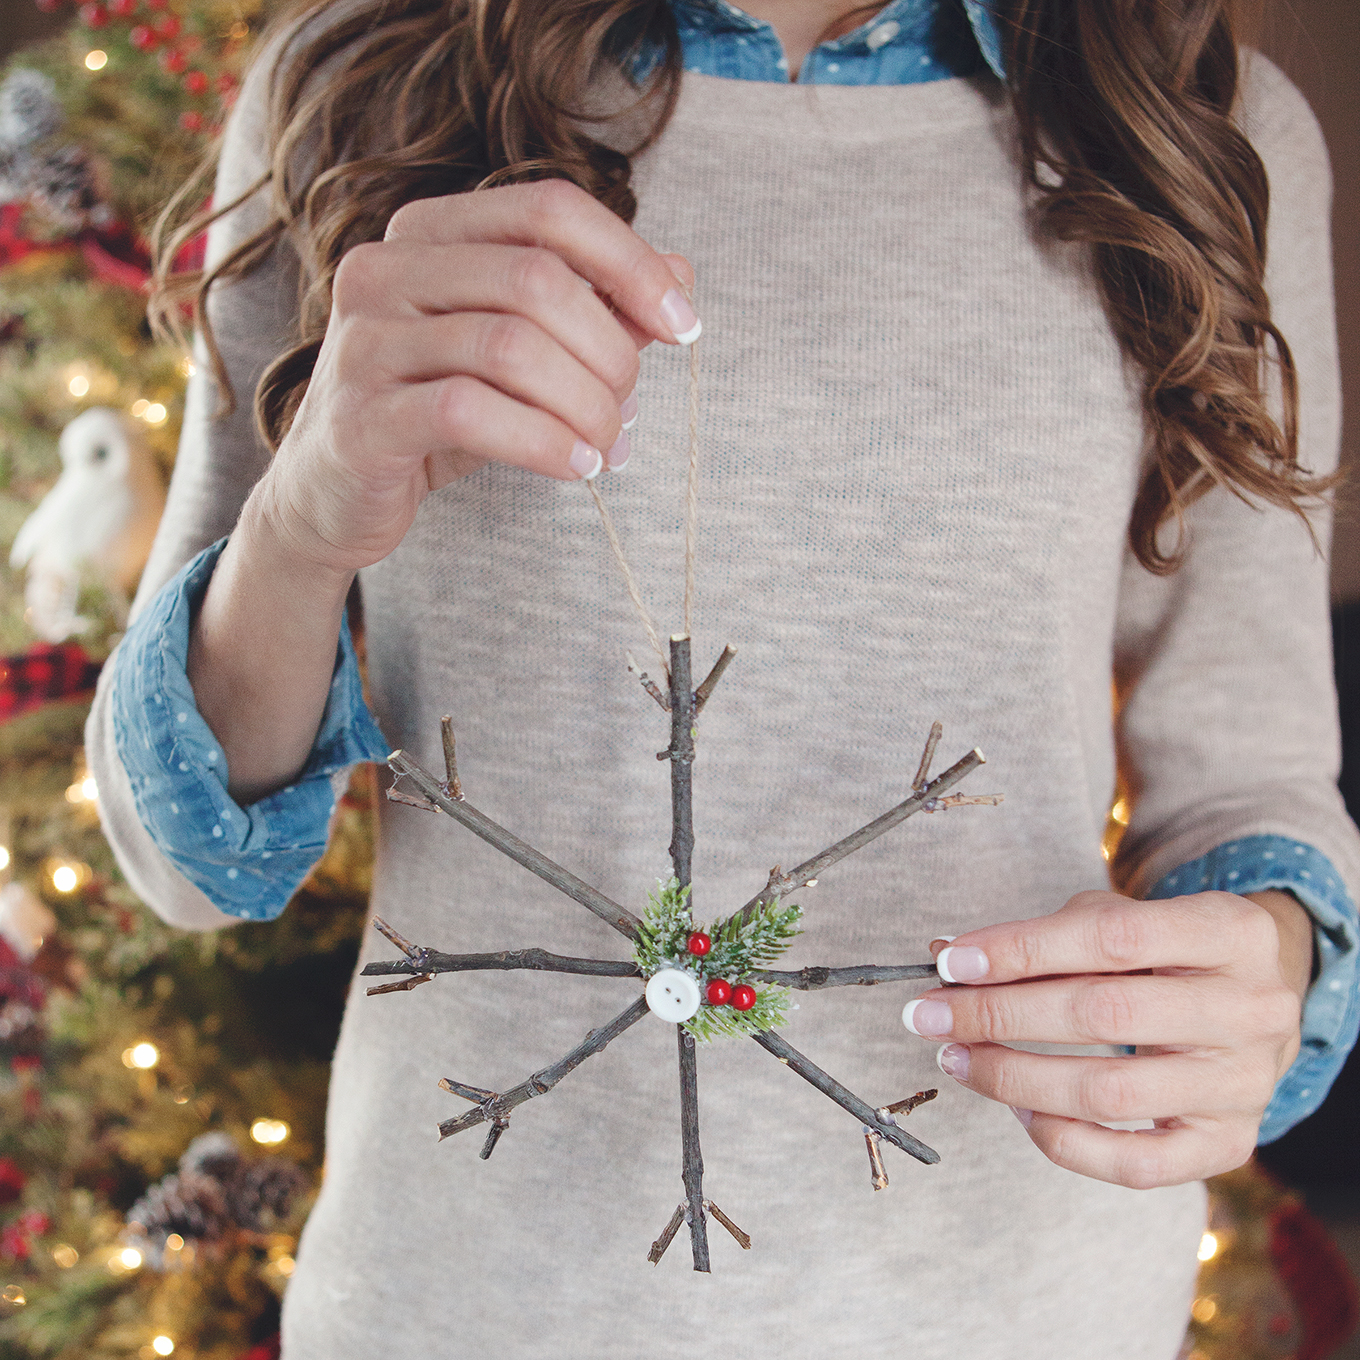
To make the Snowflake ornament begin with 1 long twig and 6 shorter twigs of equal length. Lay the long twig up and down. Arrange smaller twigs around longer one to form snowflake. Begin attaching smaller twigs to large one in the center.
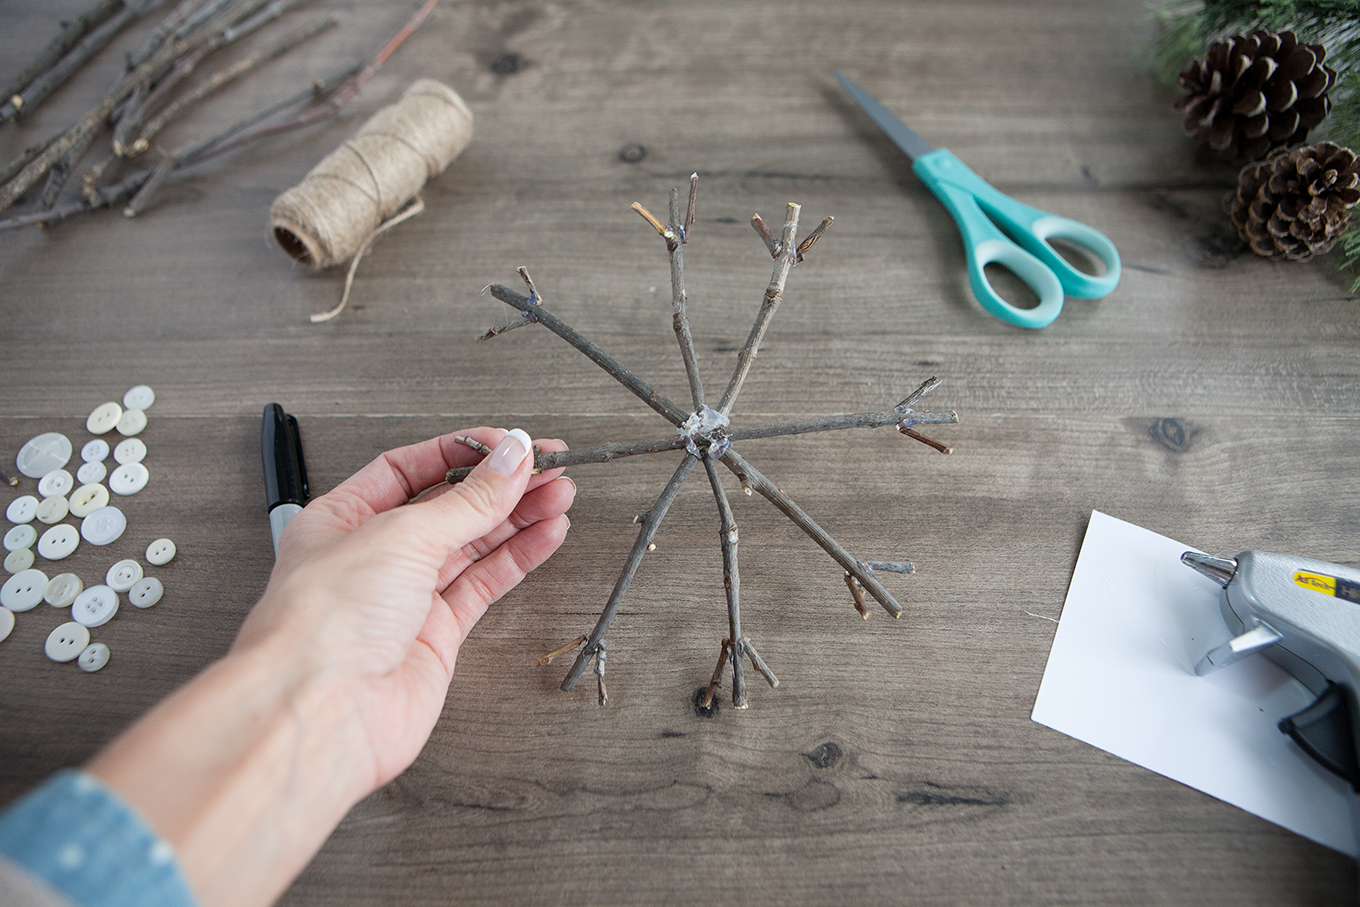
Once all the twigs have been glued to the center of the longest twig cut 16 tiny pieces to add embellishments to the end of each point on the snowflake. Attach these with hot glue.
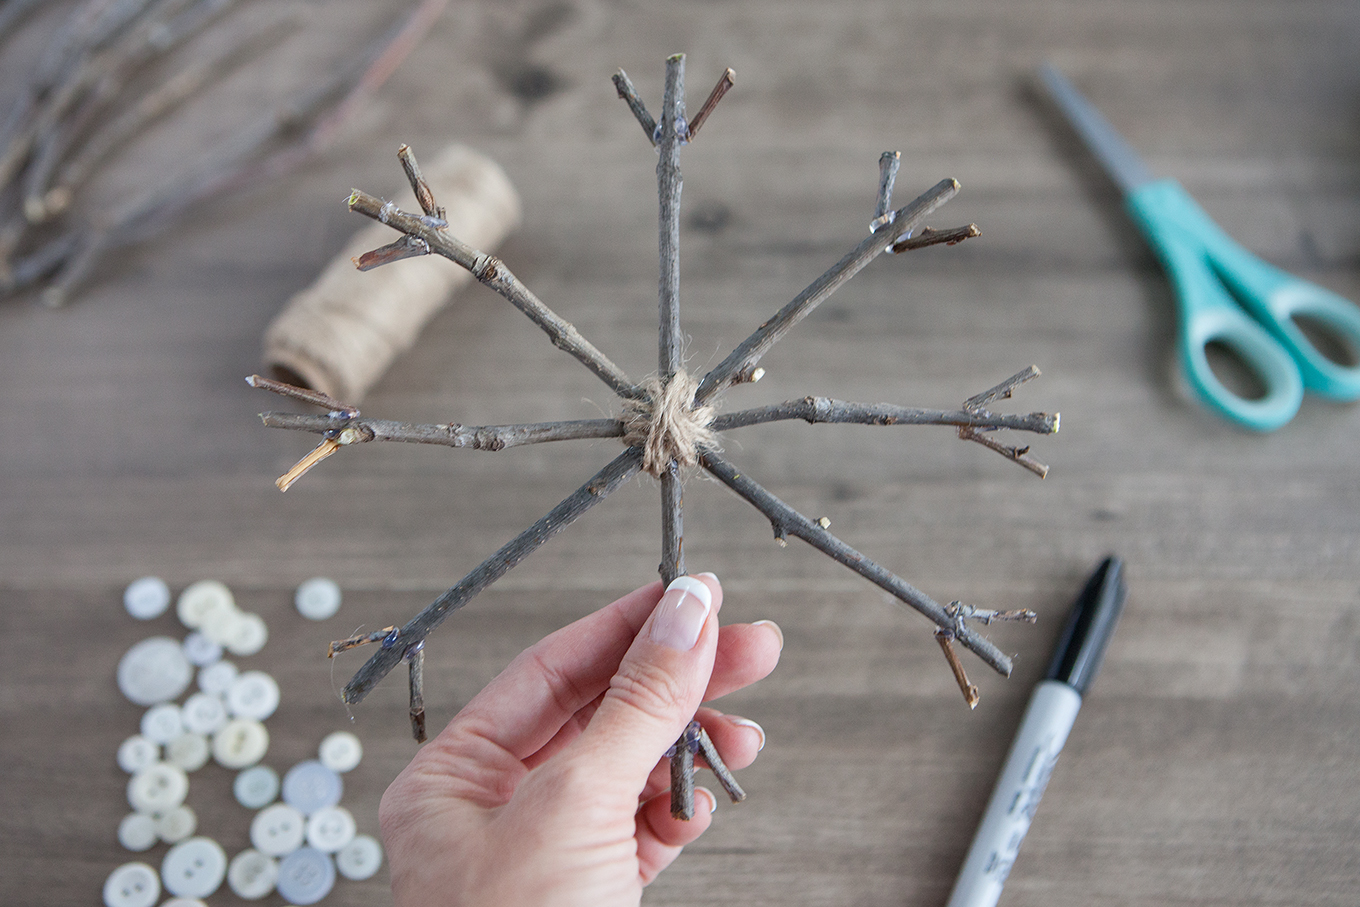
Wrap twine around the center of the snowflake to reinforce. Next decorate the center of the snowflake using sprigs of pine and berries and buttons.
Cut a short length of twine, form a loop and glue to the back of the snowflake at the top for hanging the ornament.
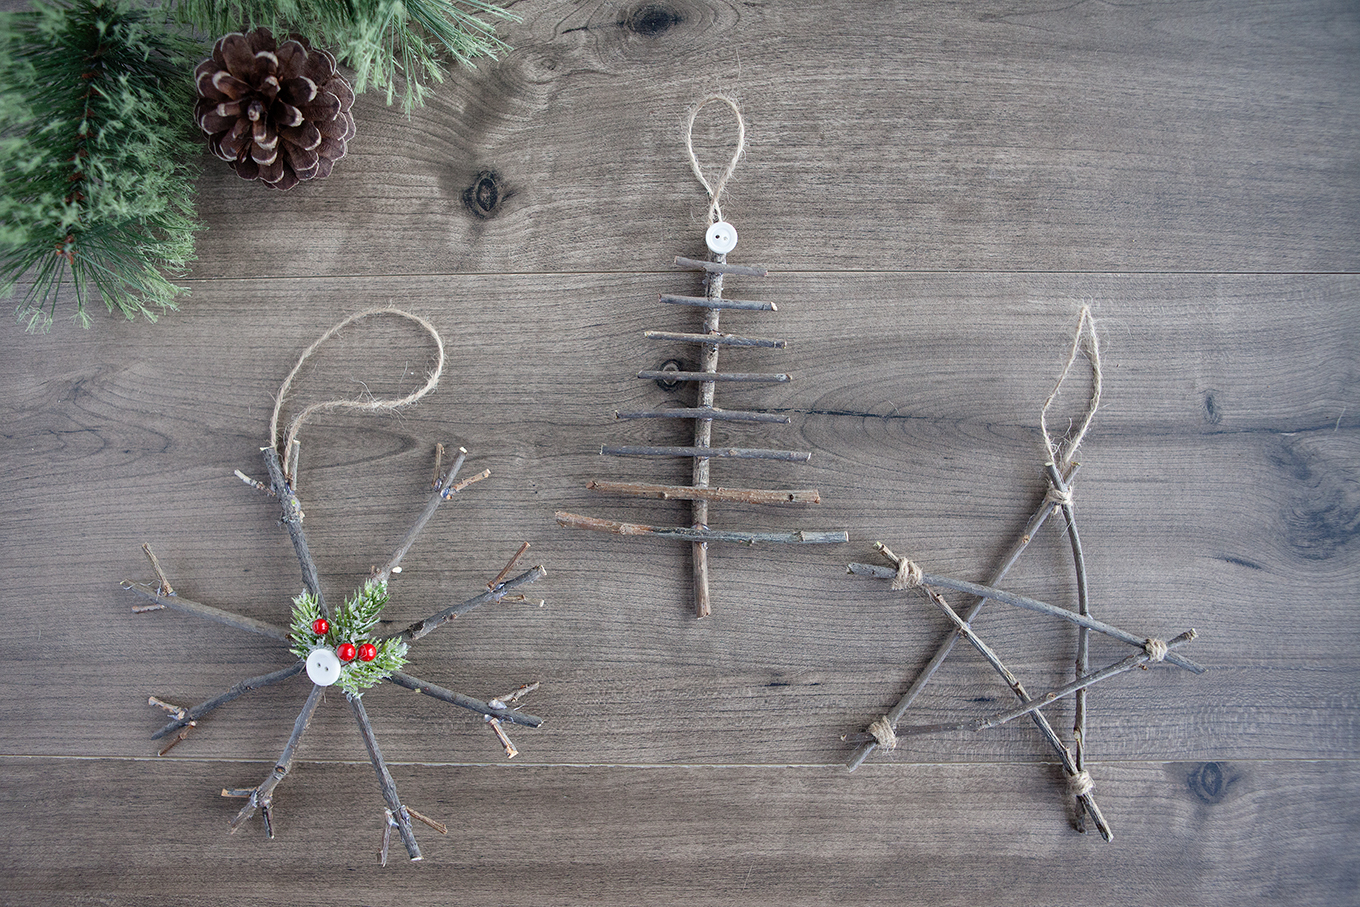
To make the tree ornament start with one longer twig. You can make these as large or as small as you want – I didn’t do any exact measuring here.
Next you’ll want to trim some twigs in graduating lengths. I used a sharpie to mark the length of these. You’ll want a smaller twig for the top of the tree and each twig will get longer as you move to the bottom of the tree. 8-10 twigs should be enough to form the tree.
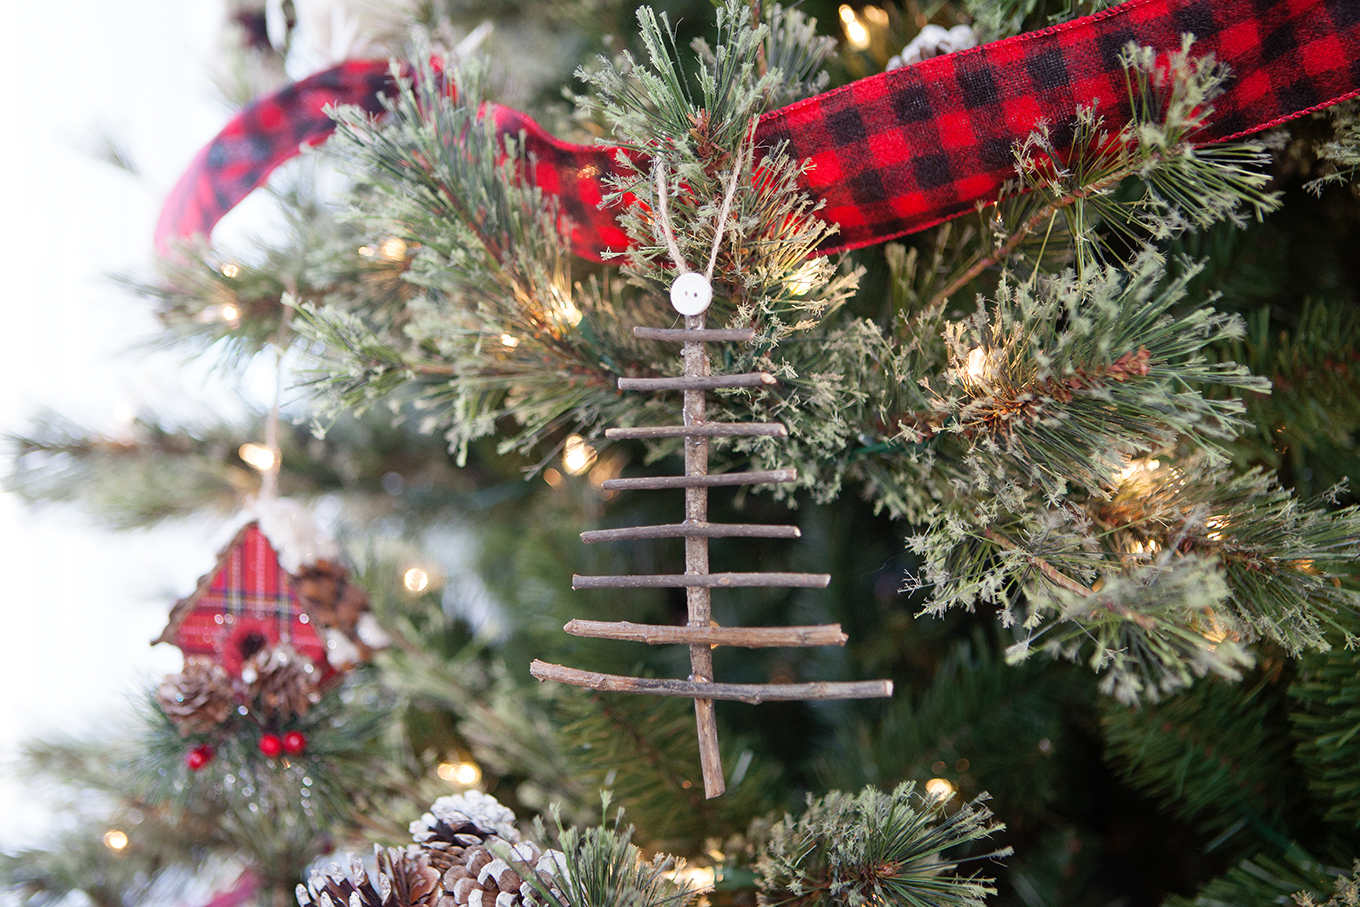
Once you have all your twigs trimmed, attach them to the longer twig with hot glue. Add a button to the top of the tree for a star. Cut a short length of twine, form a loop and glue to the back of the tree at the top for hanging.
That’s all there is to it. These ornaments really are very simple to make. They’re great to get the kids involved with too! Head out on a short nature walk to collect stick and then make these ornaments together. You can help younger ones with the hot glue or let older children work independently using a low temperature glue gun.
If you need more instruction follow the short video below that will show you how each ornament was put together.
If you enjoyed this post you might also like…
- Faux Wood Burned Christmas Tree Ornaments
- 10-Minute Photo Keepsake Ornaments
- Outdoor Adventure-Themed Christmas Tree
- Free Buffalo Check Plaid Christmas Printables

Latest posts by Rebecca (see all)
- Printable 2023 Calendar - Monday, December 5, 2022
- SMART Goal Setting Bookmarks - Sunday, June 12, 2022
- Free Printable 2022 Calendar - Thursday, September 9, 2021

Leave a Reply