Thanks to digital photography, it’s never been easier to capture moments of our everyday lives, and not save taking photos for special occasions. Thanks to this ability to take more photos than ever, over the years you will amass hundreds of images. That number is only going to get bigger!
It can get overwhelming, so if you are new to digital photography, I strongly advise that you get a system up and running as quickly as possible. It may take a few hours to set up now, but trust me when I tell you that it will save you countless hours and headaches further down the line.
In today’s post, I’m going to help you come with with a simple system for organizing your digital photo collection – and more importantly, staying that way!
Step One: Decide on one main location for your photo files
I suggest you start by deciding on one single location where ALL your photo files are going to be stored.
You don’t want to have some photos on your laptop’s hard drive, another stored your desktop PC, some in the cloud and even more still sitting on your phone. The idea here is to have one central “hub” for all of your images going forward.
Although you can make your computer’s hard drive the main storage area, I suggest that you get yourself an external hard drive. The reason for this is simply so that you are not using up storage on your computer drive. Apart from eventually slowing down your computer, you will get to a stage where you simply run out of room and you’ll have to transfer them to an external hard drive anyway. Start from day one with an external hard drive and you save yourself time later on!
File storage is also pretty cheap these days, so you can pick up a 2TB hard drive for under $100. It really is so worth it! You will be able to save years worth of photos on there even if you take a lot of photos per year.
You can also leave this attached to your computer all the time, so you have easy access to your files whenever you want them.
Step Two: Create folders within that drive
Once you have your location determined, it’s time to create some folders so you can keep your images organized. This will make it easier to find photos when you want to use them or share them.
The easiest way to do this is to simply create folders for each year, and then within that, folders for each month. So, for example, you will create one folder for 2017, and then within that 12 different folders – one for each month of the year. So these don’t get messed up, put a number in front of each month, for example, 01-January, 02-February. This makes sure that they stay in order.
Every time you upload images from a memory card you are going to create another new folder within that particular month’s folder. So for example, if you went to the beach in June, you are going to have a folder inside your “06- June” folder called “Beach ”. Try to make the name as descriptive as possible to help you know exactly what is inside each folder.
Step Three – Upload regularly
As often as you can (but at least every month) get into the habit of uploading ALL your images into these folders. You want to upload them from every single device you use to take photos.
So, if you have a DSLR, and a point and shoot, and a camera phone that you use to take pictures with, upload from them all regularly. Make it a rule that you have this done by the end of each month. (Ideally, you want to do it every time you take photos, but I appreciate this isn’t always possible) This will help make sure the process doesn’t get on top of you.
Step Four – Back Up!
My final piece of advice to you is to create at LEAST one other copy of your digital files.
A hard drive will ALWAYS fail at some point. (It really is a question of when, not if) If you don’t have a second copy somewhere, all your memories will be lost forever. Can you even begin to imagine how devastating that would be? To lose all the photos of your children as babies? Or their first steps? Take some time now to make a second copy of your images so that never happens to you.
There are several ways you can do this. You can simply buy a second hard drive and just manually copy them over or use something like Time Machine on a Mac to do it automatically for you. You could also store them online in places like SmugMug or Amazon Drive or even Dropbox. I personally use SmugMug for my online photo collection and love it! It’s so easy to share photos with family and friends, and I love having easy access to viewing them.
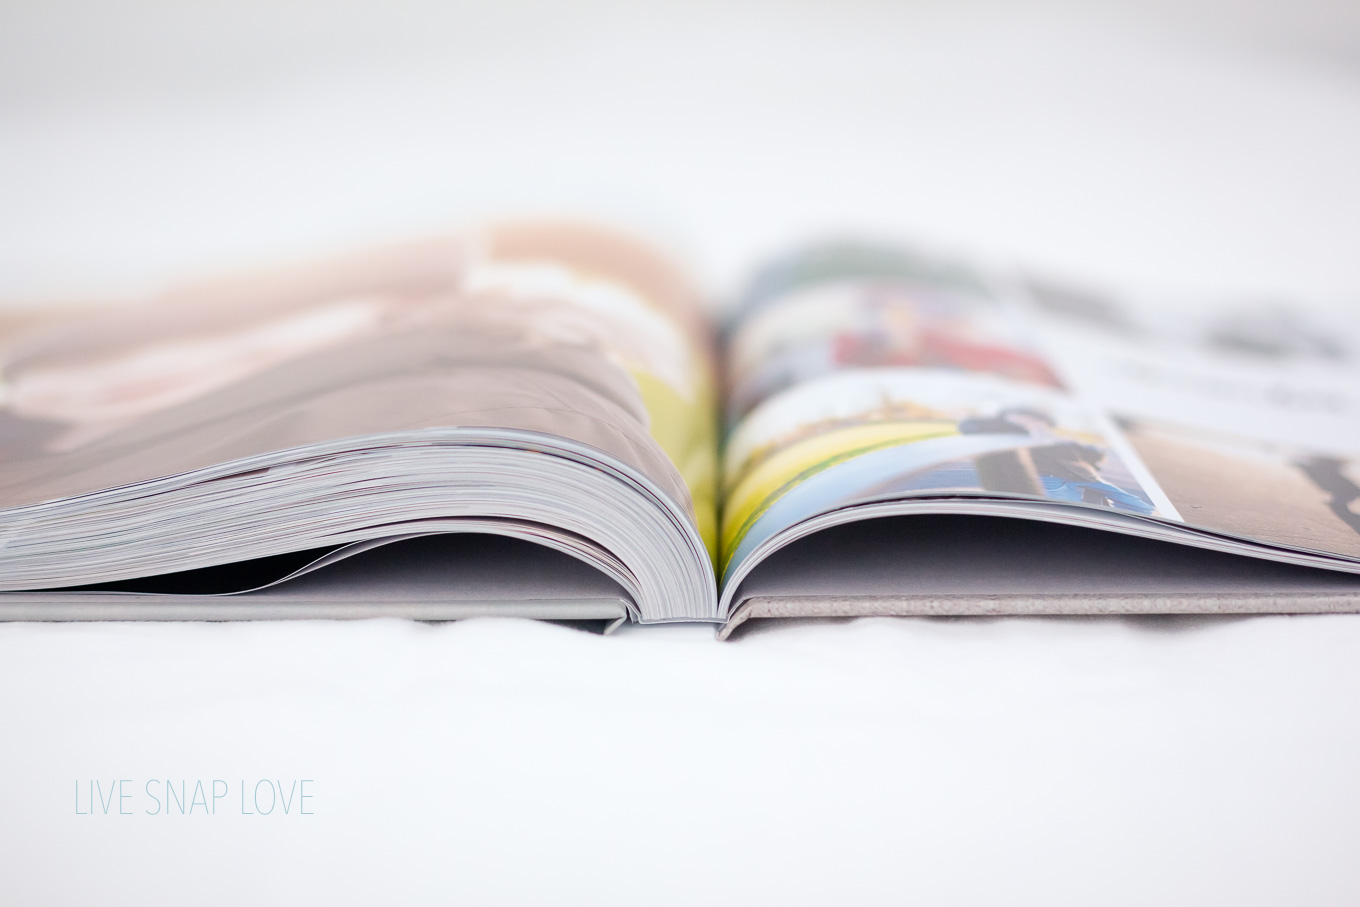
The more copies you have the more secure your memories are. I have my first copy on an external hard drive, a second copy on another external hard drive, a copy uploaded to SmugMug, and I create a photo book each year with my images.
Although it sounds like it is a lot to do, it really doesn’t take that much time once you have a system up and running. A couple of hours a month is all it takes to get and stay organized! You’ll be glad you did.
Other Photo Backup Options
Unlimited Photo Storage with Amazon Prime
Use Dropbox to Store and Share Photos
If you enjoyed this post you might also like…
Starting a Photography Blog: 5 Simple Steps
Tell Your Family Story With Meaningful Photo Books
Audrey
Latest posts by Audrey (see all)
- 5 Ways to Improve Your Photography Skills - Tuesday, September 26, 2017
- 3 Tips To Help You Get Flattering Light For Portrait Photos - Tuesday, August 15, 2017
- 4 Photography Projects to Document Summer - Tuesday, July 4, 2017

I am at that overwhelming stage, dreaming (nightmares are more like it) about all the photos I have on various devices….yikes!!!
I have a good majority of them saved on an external hard drive. But I am finding out that you cannot do any editing,etc. Is this right or am I doing something wrong? I am with a company called Forever to store and share pics etc.
It is a work in progress but a daunting one at that!!!!
Hi Karen, you should be able to edit your images if they are on an external hard drive that is connected to your computer. If you are using a service like BackBlaze or similar (where the images are stored on the cloud) then you won’t be able to to edit them. Hope that helps!
Thanks for sharing these tips! It was a very good idea to have the photos on an external harddrive instead of actually on the computer itself ( like i have)!
And I too want to make a photo book of each year, but havent gotten that far…its a huge task!!
Thank you again!!
/Pia
Thanks for the tips!!!
I’m trying to do that, but my problem is editing and get the good ones every time I upload photos from my camera.
How do you usually do???
Thanks
Elisa