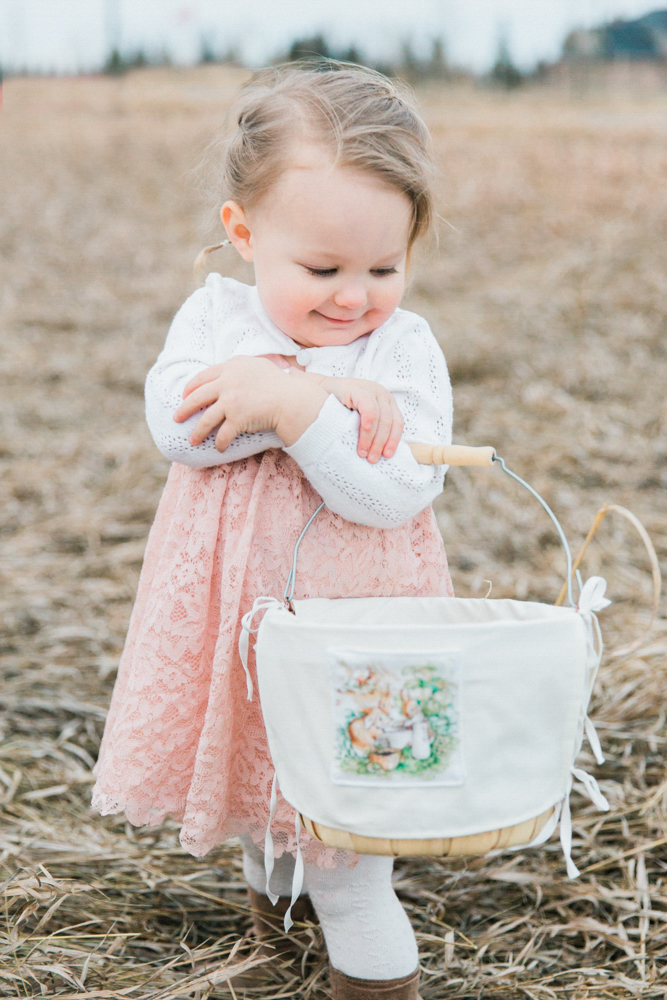
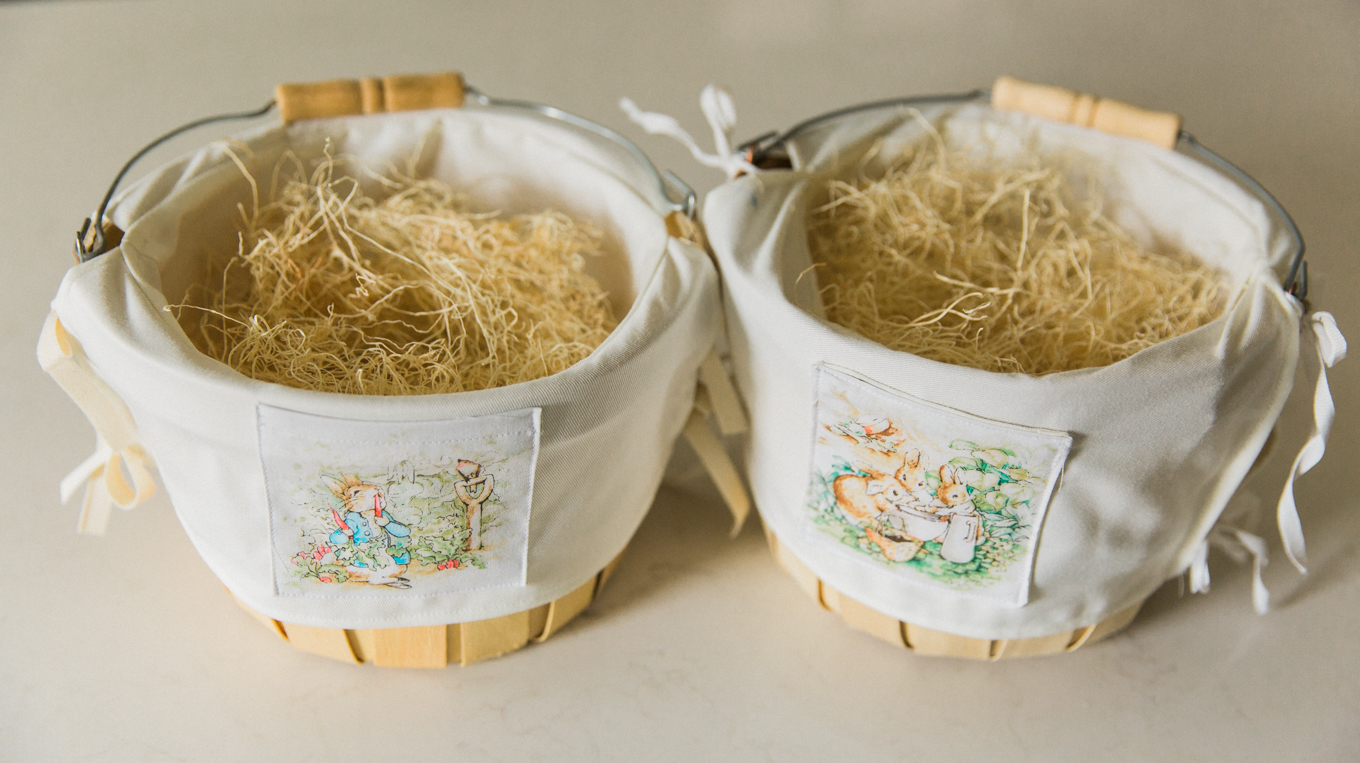
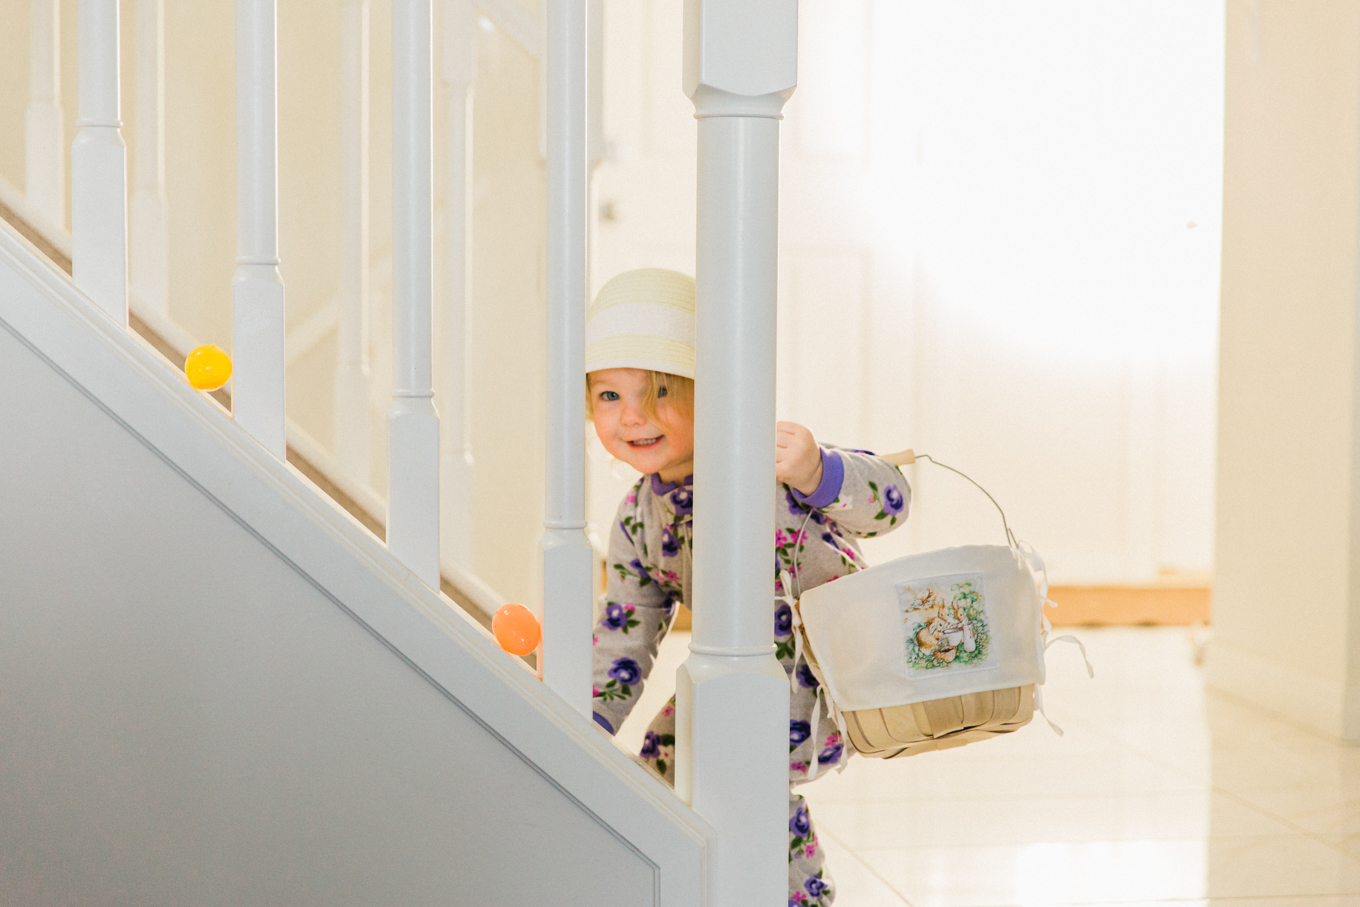
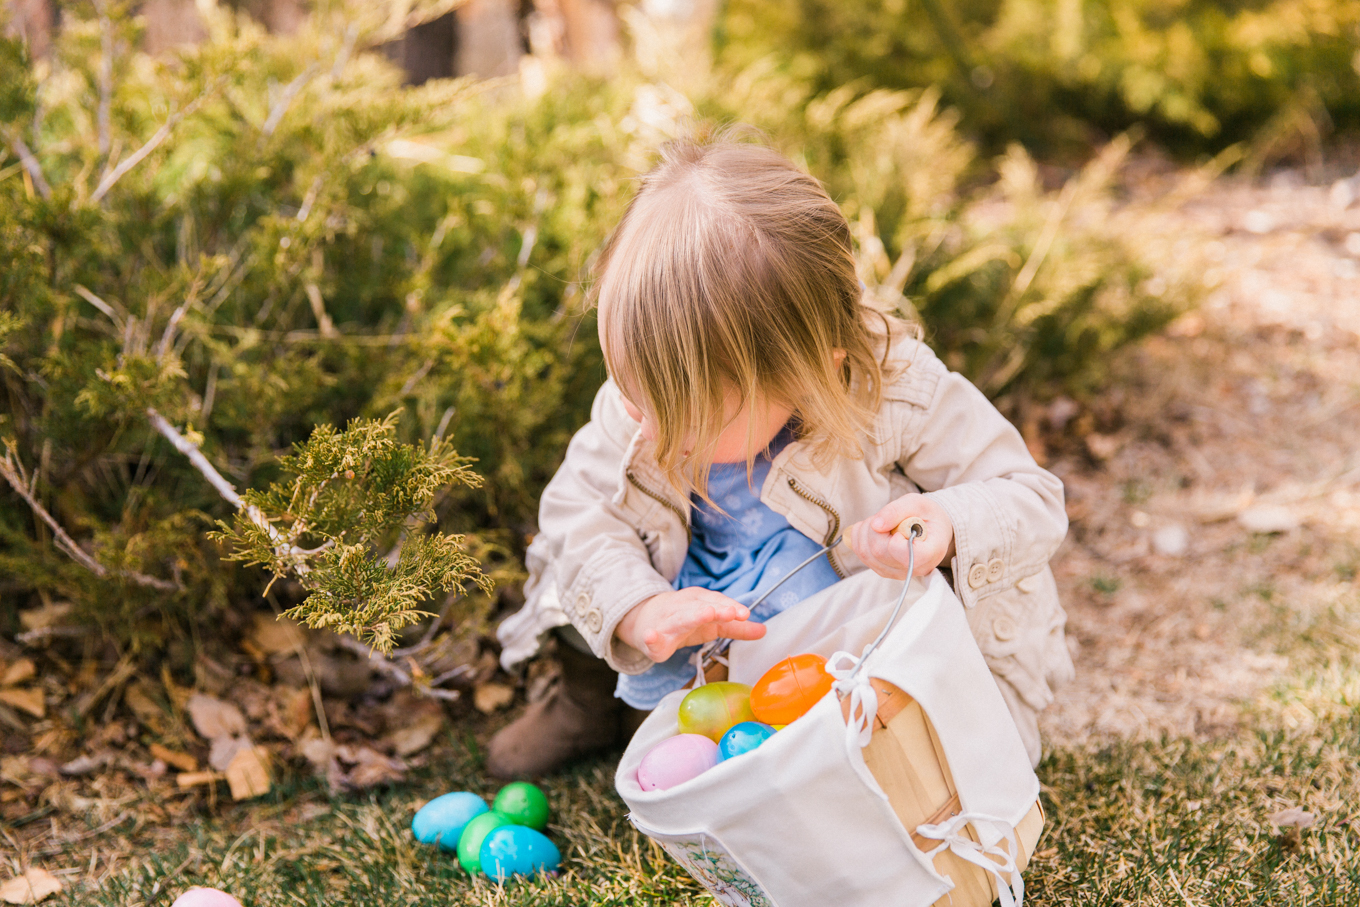
Decorate for Easter with these simple to make Easter basket covers. Small enough for your little one to carry, yet deep enough to hold all their goodies, these Easter baskets are the perfect Easter accessory.
As you may have noticed over at The Lovely Little Nest we love nature, and when I saw these Ashland Chipwood Bushel Baskets I fell in love and knew I had to have them. You will find them at your local Michaels craft store.
Hi, it’s Jennie from The Lovely Little Nest here to show you how to make this adorable fabric cover for the perfect Easter basket.
Start by collecting your supplies.
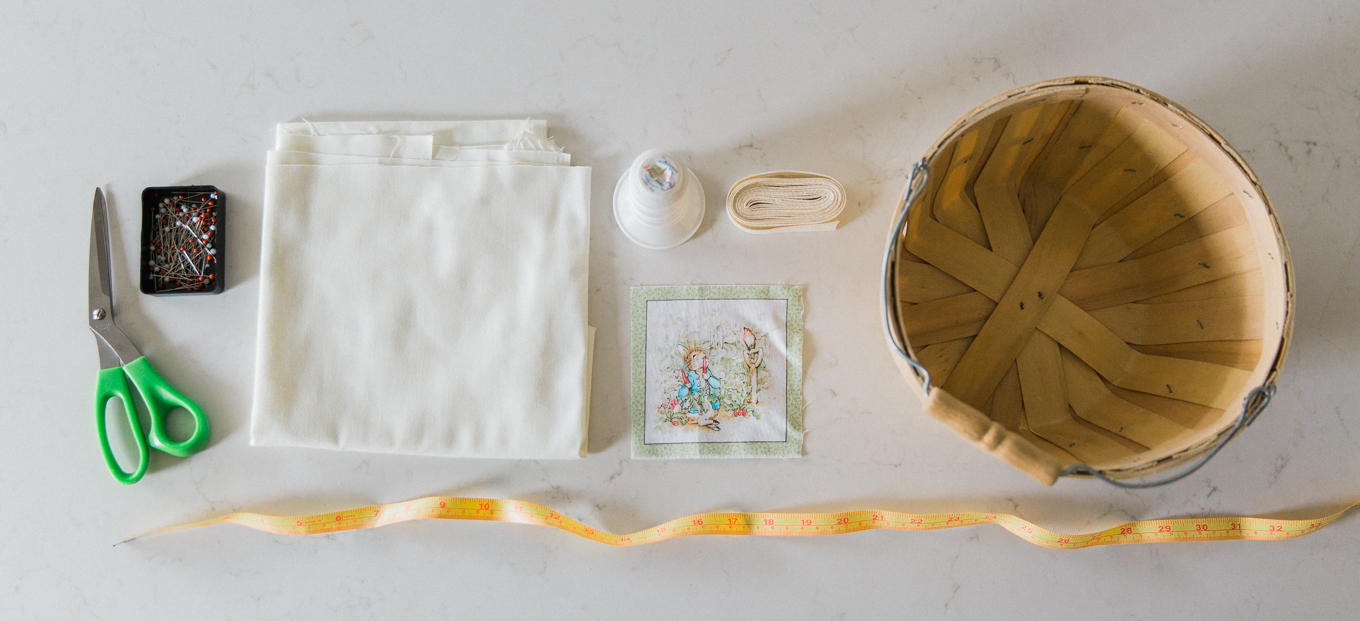
Supplies for your Easter basket cover:
- 9″ x 6.5″ Chipwood Bushel Basket with Handle
- 10″ of 45″ wide Fabric
- 4″ square of Coordinating Fabric
- 2 yards of Twill Tape or Ribbon
- Pencil
- Measuring Tape or Ruler
- Scissors
- Straight Pins
- Thread
- Sewing Machine
Simple step by step instructions:
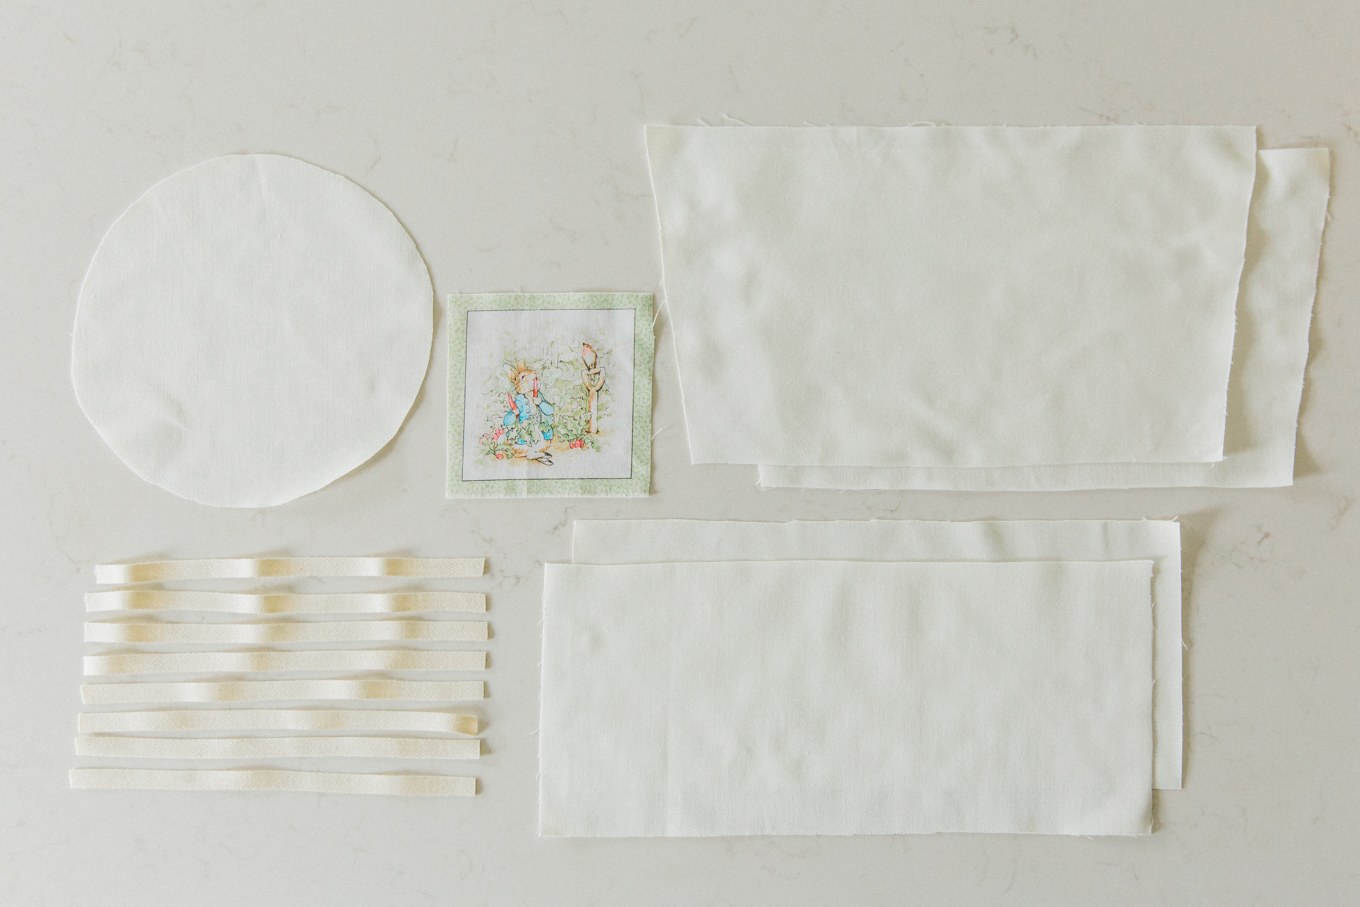
1. Cut the fabric into the following pieces:
- 1 – 8″ circle. You can use the bottom of the basket and trace around it.
- 2 – 15″ x 6″ rectangles
- 2 – 15.5″ x 7″ tapered rectangles . To taper these rectangles fold in half width wise and mark the middle point at the bottom. Then using a ruler, measure and mark 6″ from each side of the center mark. Draw a line from the 6″ mark on the left-hand side to the top left-hand corner of the rectangle and cut along that line. Repeat on the right side.
2. Cut the twill tape or ribbon into 8 – 9″ strips.
Now to put it together.
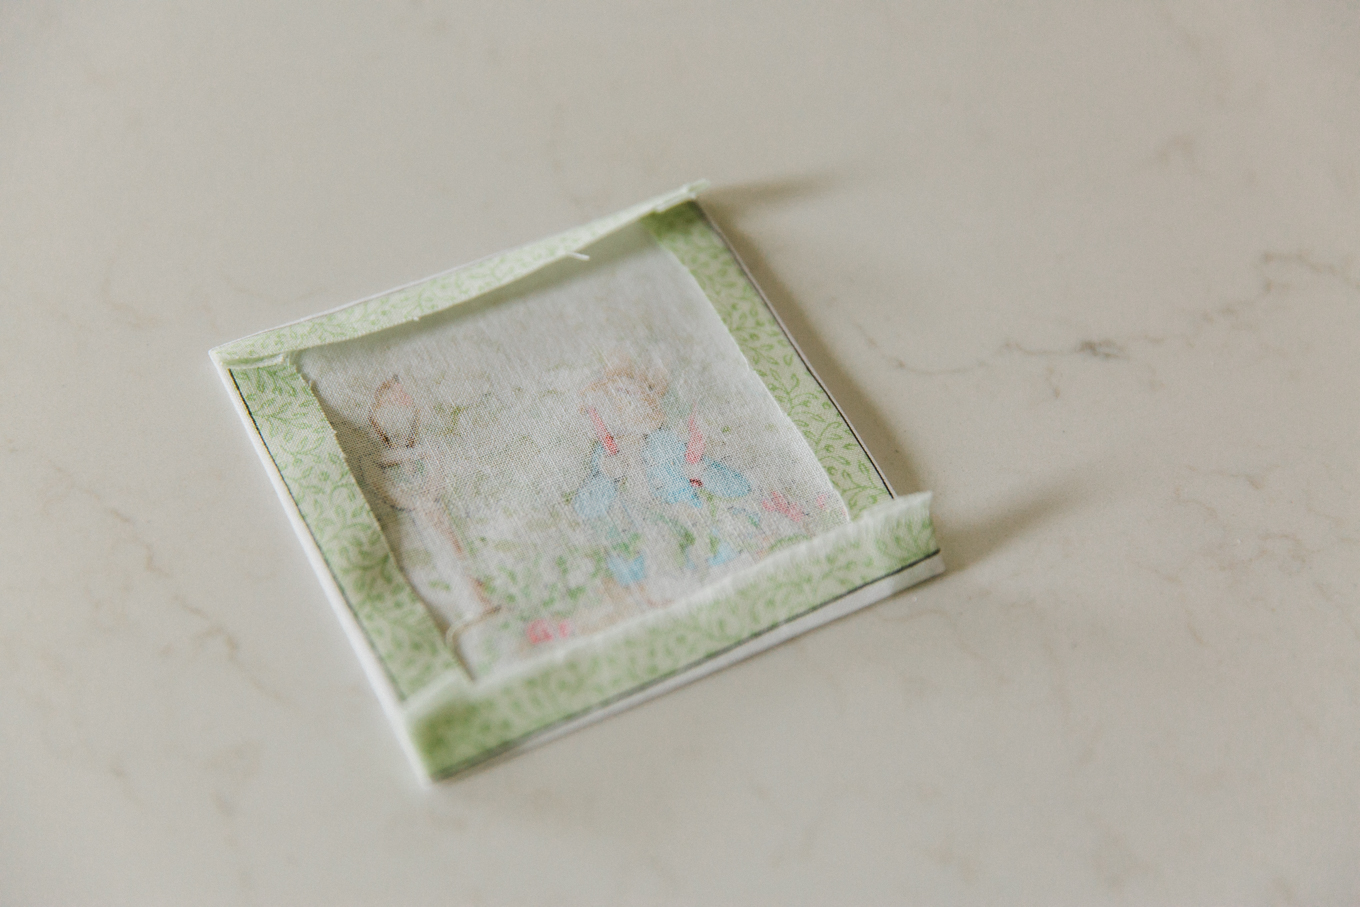
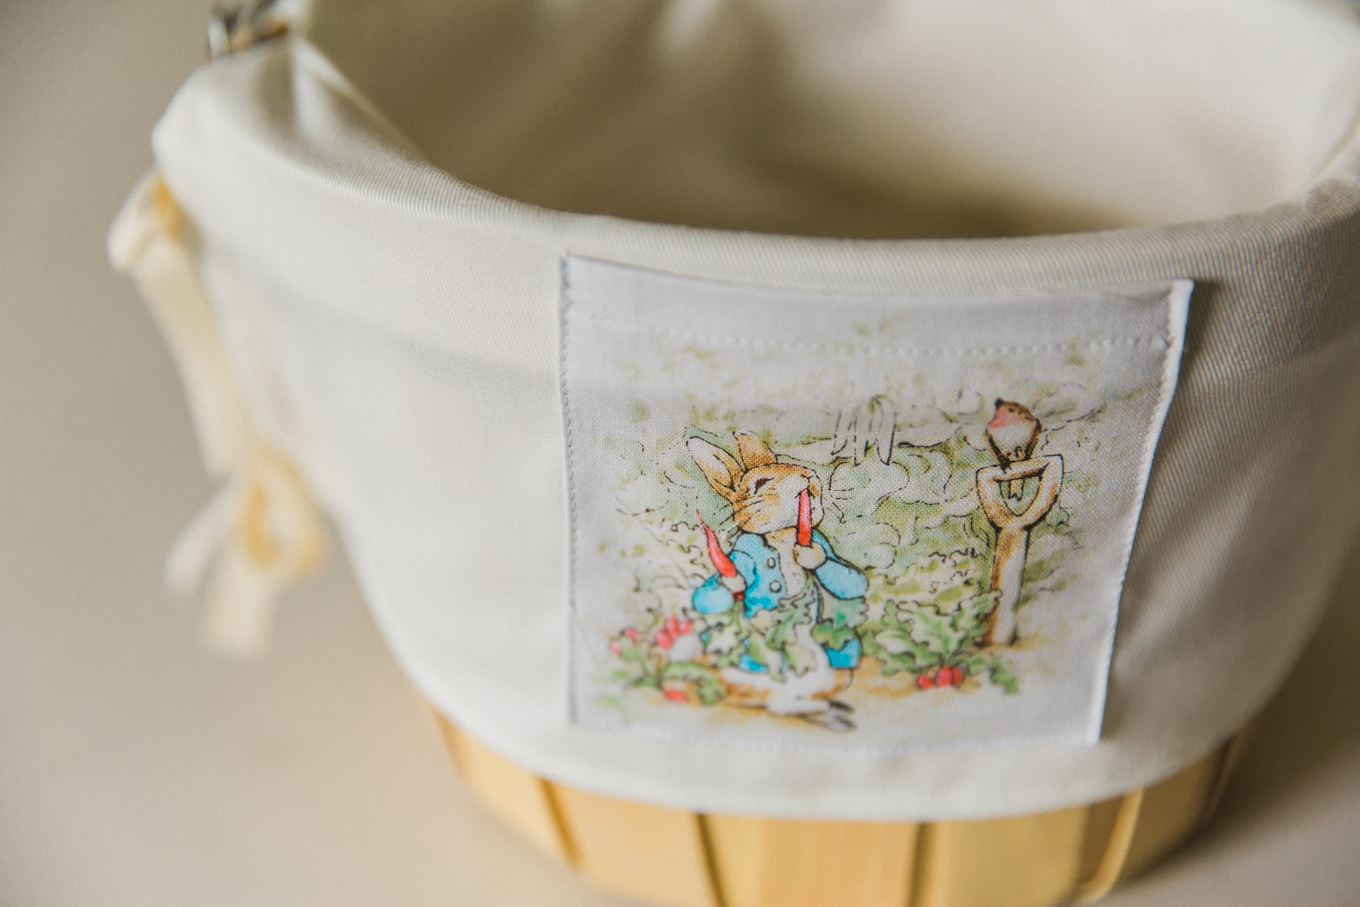
3. Cut a 4″ square of the coordinating fabric and iron under a 1/4″ on all 4 sides. Sew along the top front of the pocket to keep the seam down.
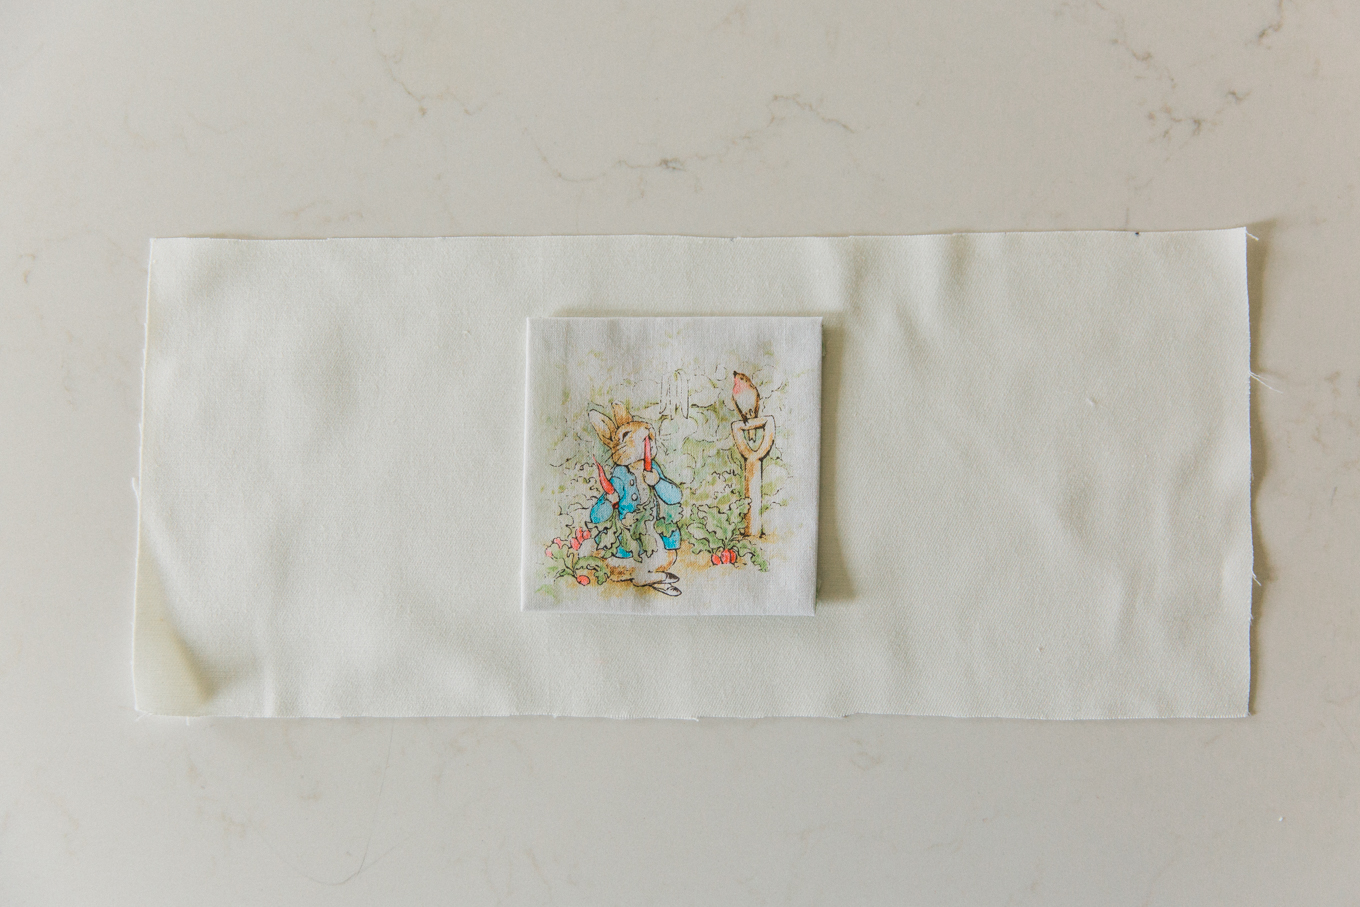
4. Center the pocket in the center of one of the 15″ x 6″ rectangles and sew in place along the sides and bottom.
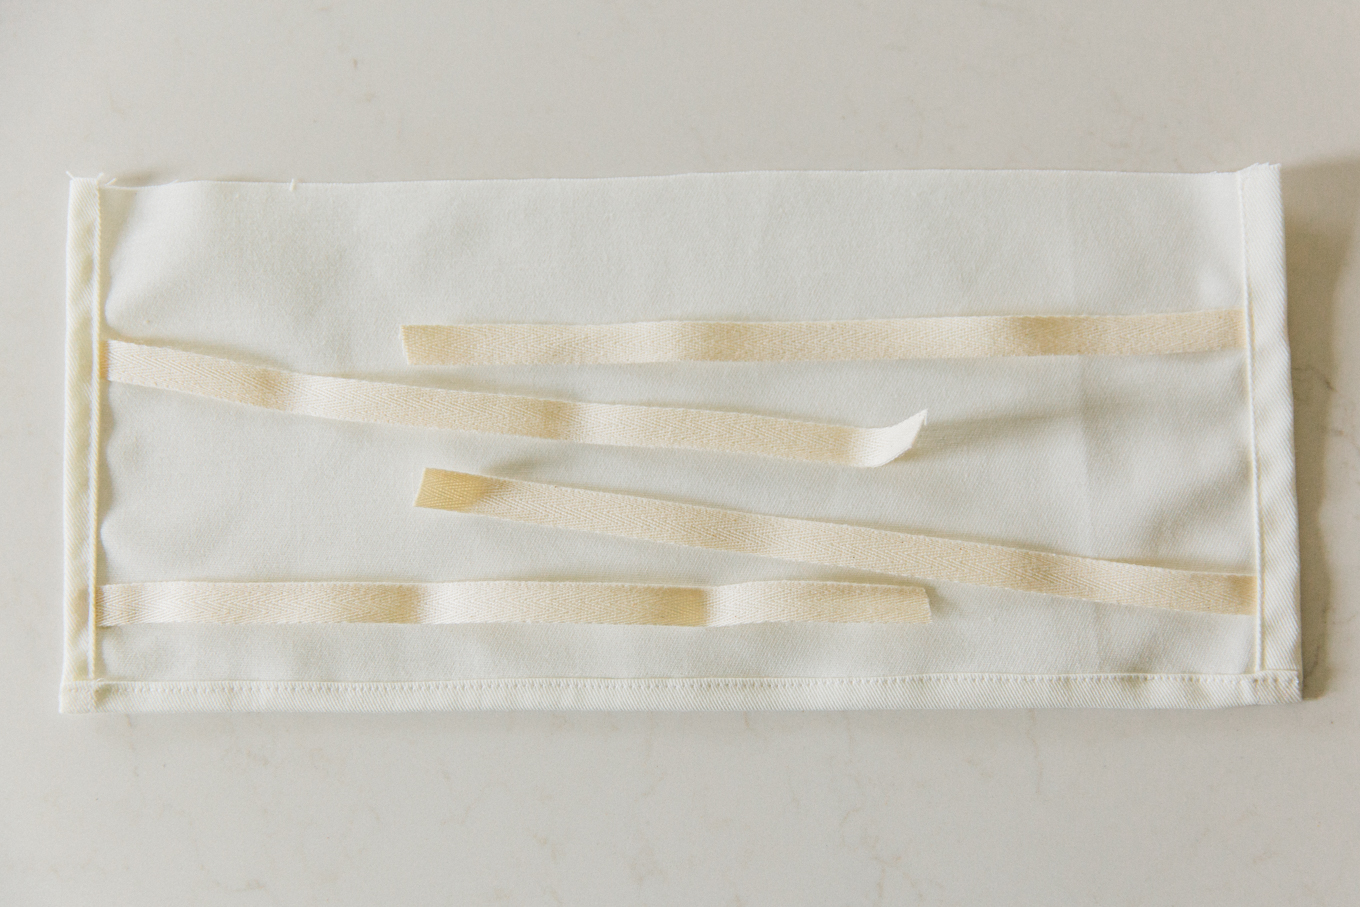
5. Hem the sides of the 15″ x 6″ rectangles by folding under a 1/4″ once and then twice. Pin in place. Slip the twill tape or ribbon pieces under the hem as shown above 1.5″ from the top of the rectangle and 1.5″ from the bottom, pin in place and sew the hems. Now hem the bottom.
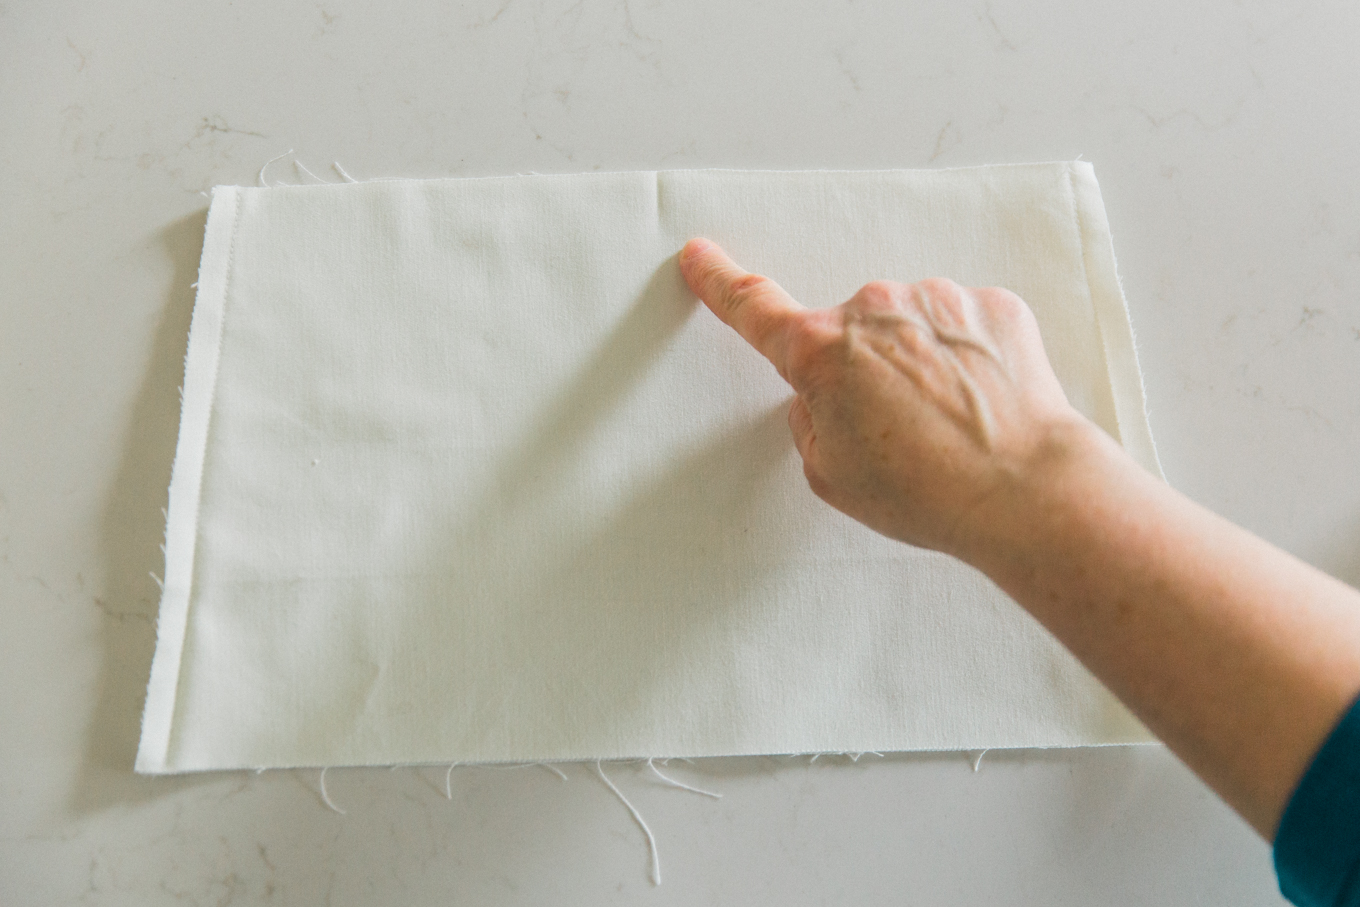
6. Placing right sides of fabric together sew the 2 tapered rectangles together along the sides using a 1/2″ seam.
Then fold the piece in half and make a small crease in the middle with your finger as shown above.

7. Fold the circle in half and make a small crease on each side. Unfold and refold placing the two creases together at the top and crease the edges on this fold as well. You will now have four creases dividing your circle into quarters.
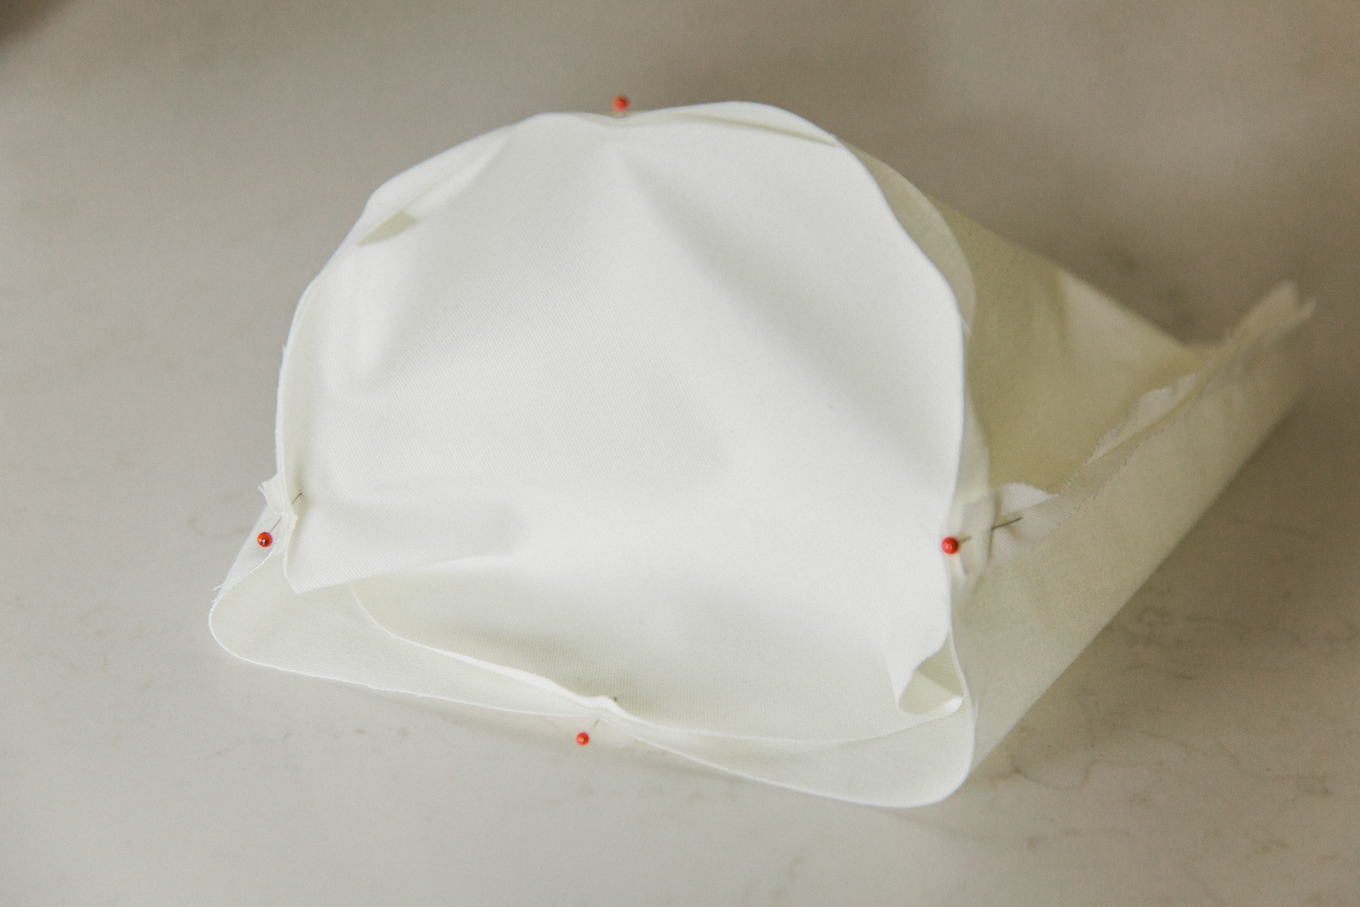
8. Match the 4 creases on the circle up with the creases and seams on the bottom of the tapered pieces and pin in place. Continue by pinning in between these pins to secure the pieces together all the way around.
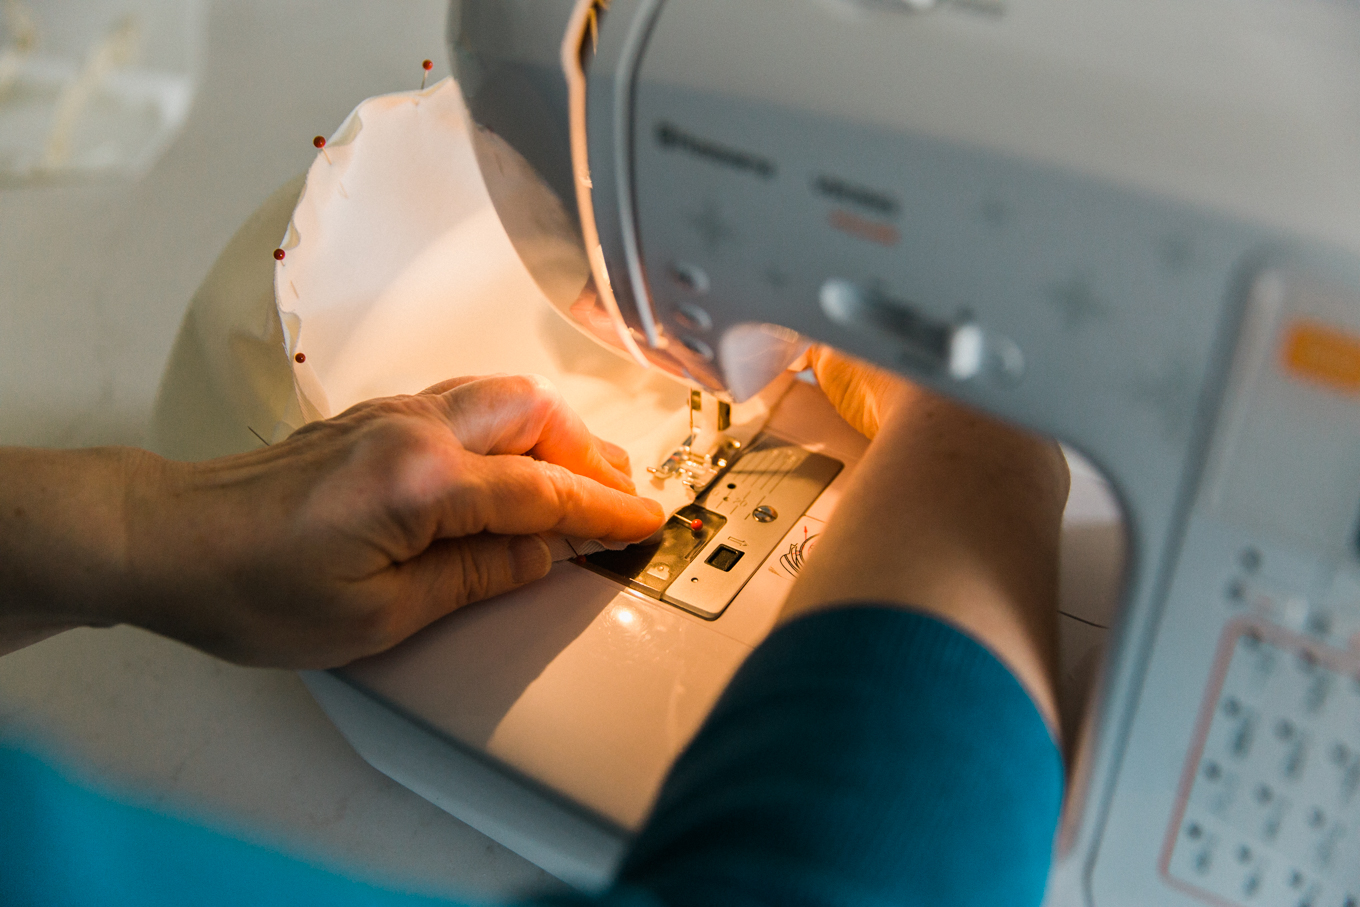
9. Sew in place using a 1/2″ seam.
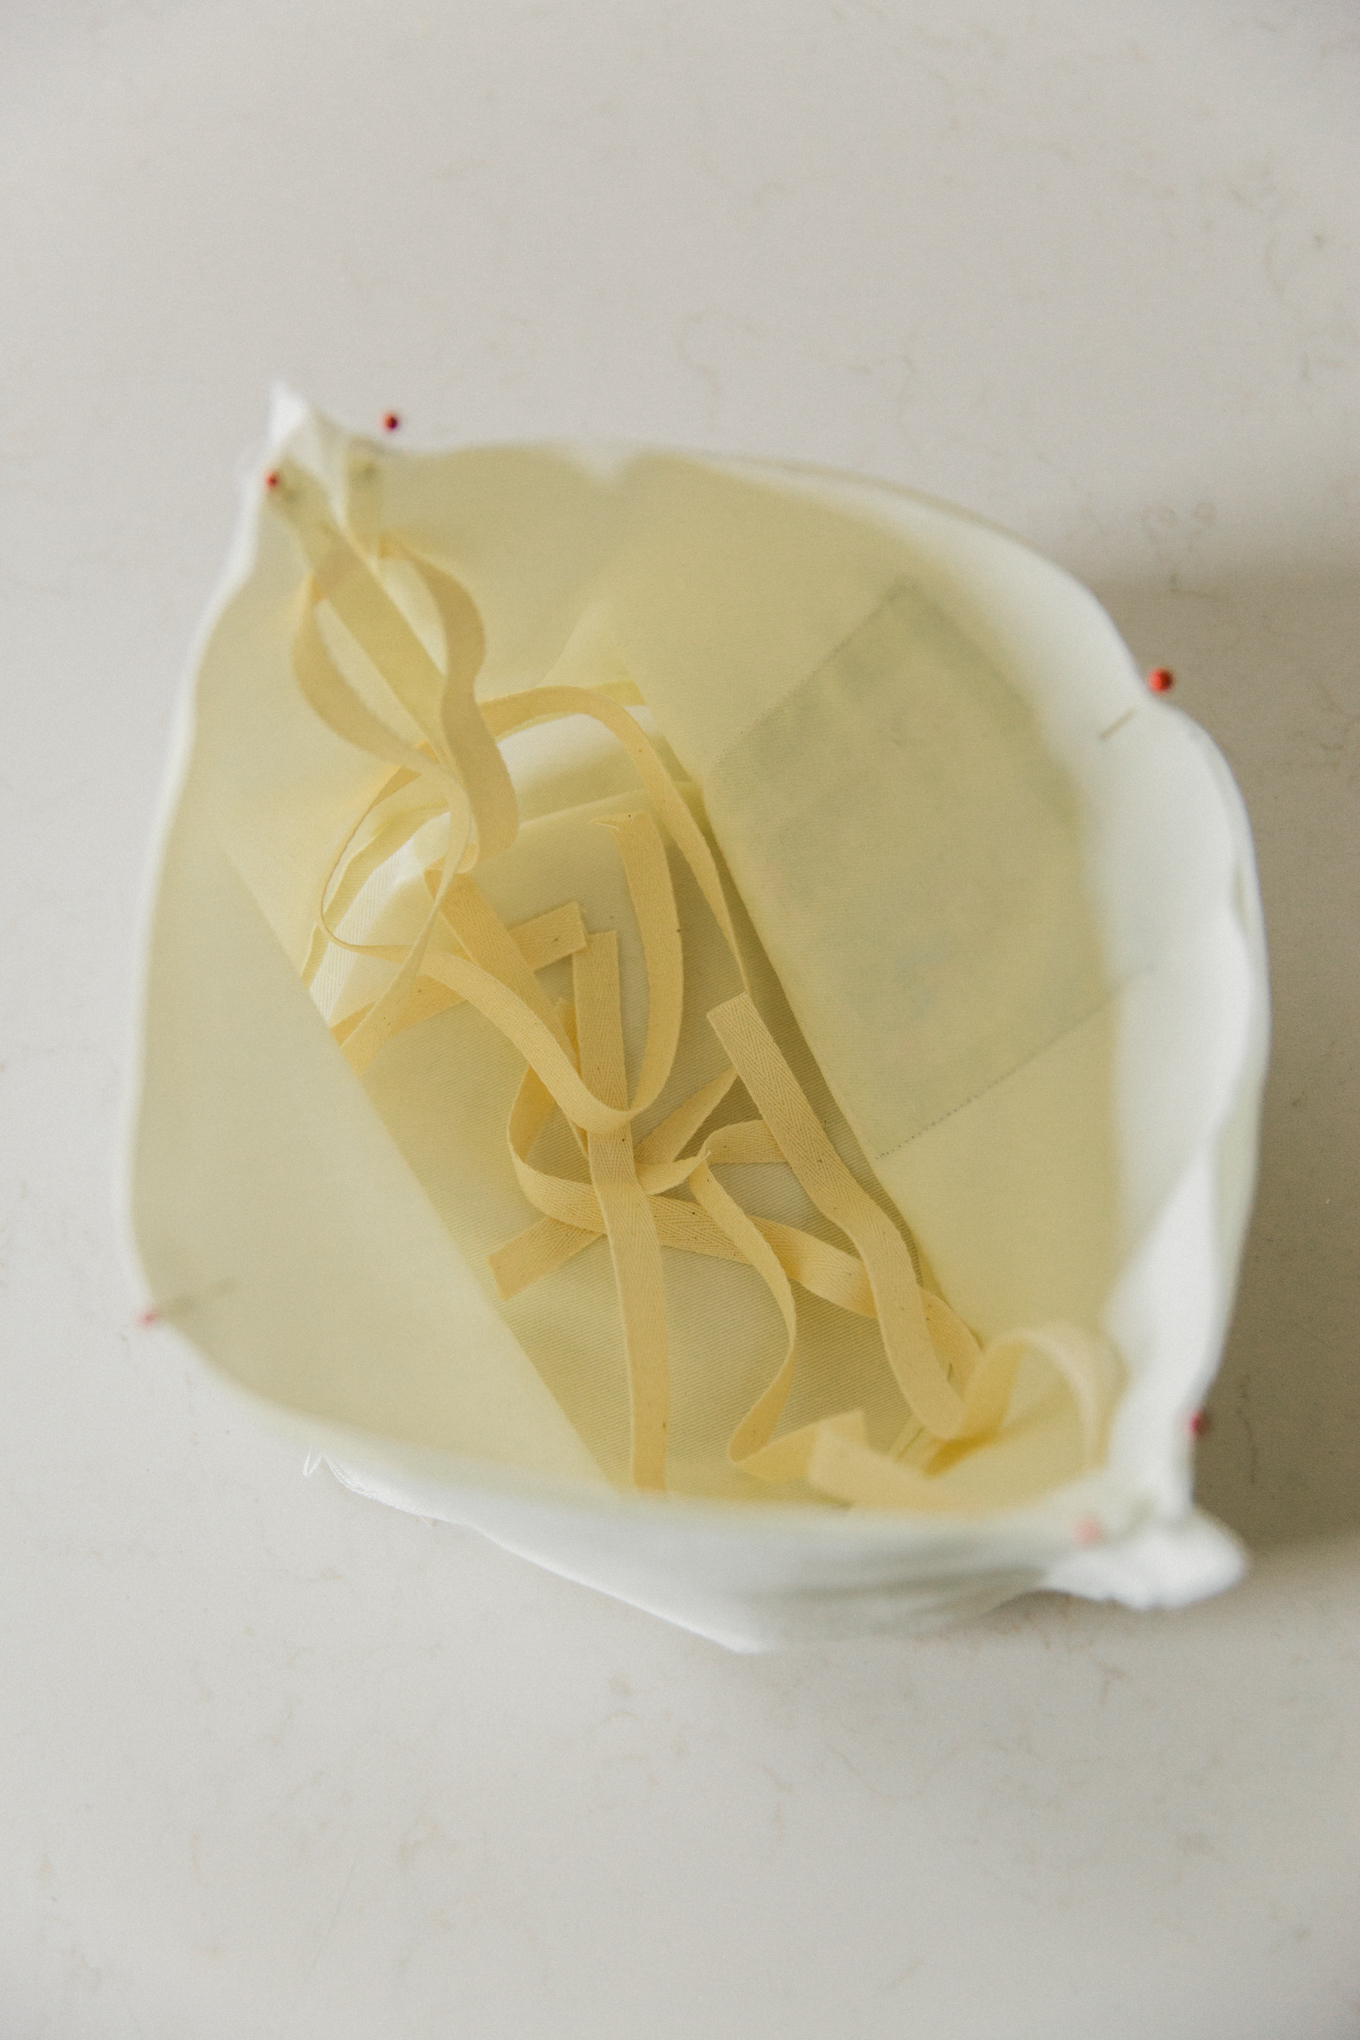
10. With right sides of your fabric pieces together pin the outer flaps to the inside of the fabric basket matching the middles first and then pinning along the side from that center point. The flaps will not reach all the way to the seams, to allow a space for the basket handles. Sew pieces together using a 1/2″ seam.

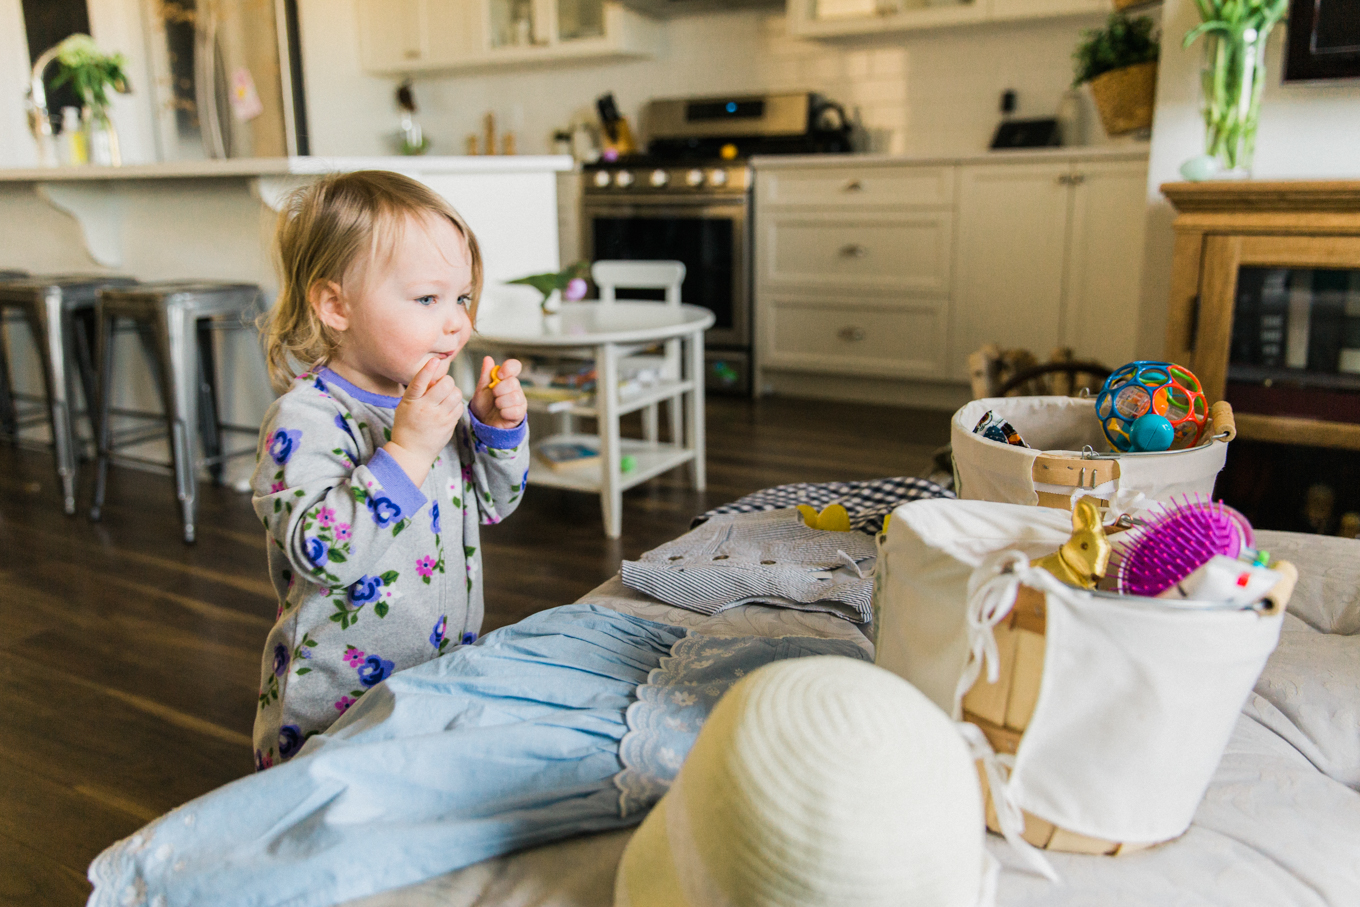
Now it’s time to put the cover into your basket, fold the flaps over to the front and tie in place. It’s it the cutest thing?
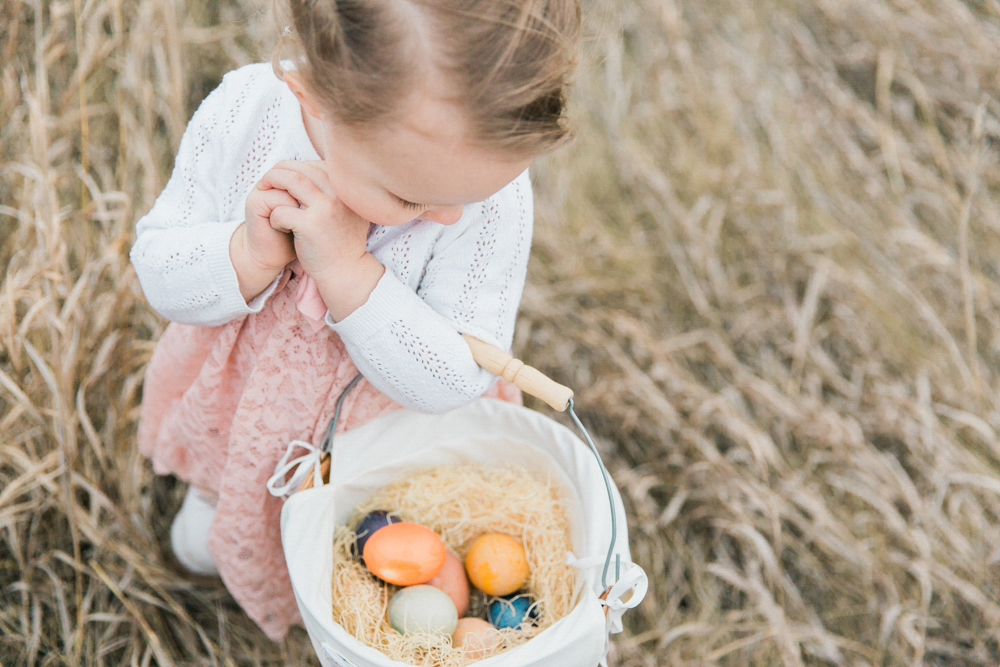
Fill with a little grass,
and your Easter baskets are ready!
If you liked this post make sure you check out my post on how to Naturally Dye Easter Eggs.
Latest posts by Jennie Guenard (see all)
- DIY Old Fashioned Kite - Monday, September 11, 2017
- Recycled Fabric Coiled Baskets DIY - Monday, July 31, 2017
- Woodland Creature Pet Rocks Tutorial - Monday, June 19, 2017

Leave a Reply