Hello, Simple as That readers! Suzanne O’Brien here excited to guest-post about one of my favorite topics, creating meaningful family photo books. Perhaps this can serve as a point of inspiration as you follow along with Rebecca on her year-long photo organization project. To start, I’d like you to close your eyes and think about the one family story that you feel most compelled to document right now. Keep that vision in your mind and apply your story to the steps below.
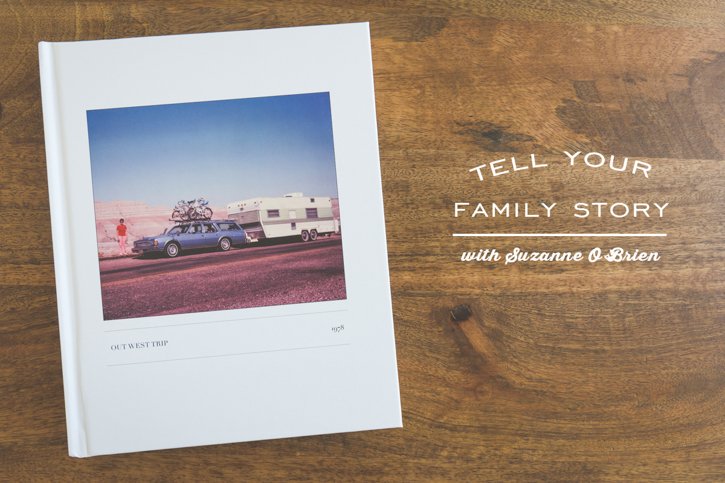
Several summers ago I began helping my mom organize all of our family memories. The story that quickly rose to the top of my list as a manageable, discrete project was the summer our family camped our way from Wisconsin to California. I had slides, hard copy photos, my scrapbook and, most importantly, daily journals that both my mother and I had kept, detailing our journey. If there was ever an argument for taking a few moments at the end of your travel days to record the story, these journals are it! Being able to document our unique perspectives on the same experiences is truly priceless. Here is a quick look at how I pulled these mementos into a tangible story book.
STEP 1 | Gather & Digitize
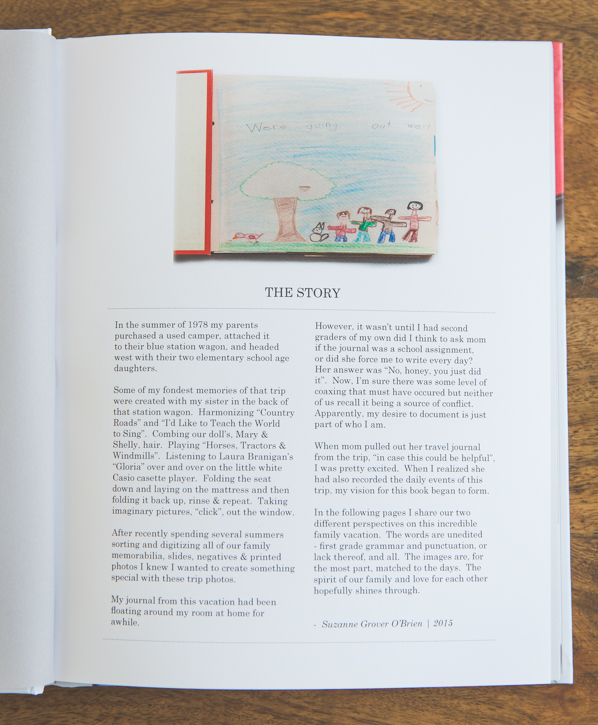
We spent many wonderful nights as a family reviewing old slides and selecting our favorites. Printed photos were also culled for the best of the best. To digitize, I dropped the slides at Costco (~$.30/slide) and sent the hard copy prints to Scan Digital because I wanted my memories to be processed in the US. Scan Cafe now offers a US-based service and is another great option (~$.30/print scan). I took a photo of my scrapbook title page (first-grade artwork at its finest) to include on my book intro page.
STEP 2 | Choose Photo Book Provider & Book Size
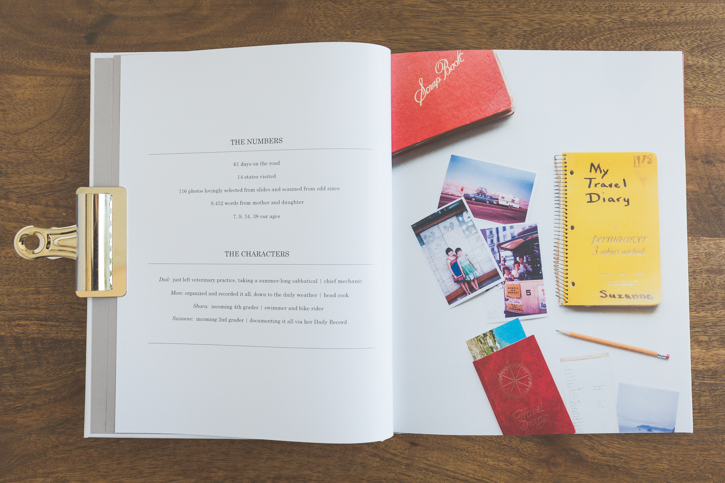
I selected an 8×10 vertical hardcover album from Blurb. Their value and design flexibility are hard to beat. This book was designed using Adobe inDesign but all of these steps can be applied to Blurb’s free bookmaking software tools. There are many other wonderful self-publishing options available today, stay tuned for a future post where I will share some of my other favorite printing companies!
STEP 3 | Determine Design
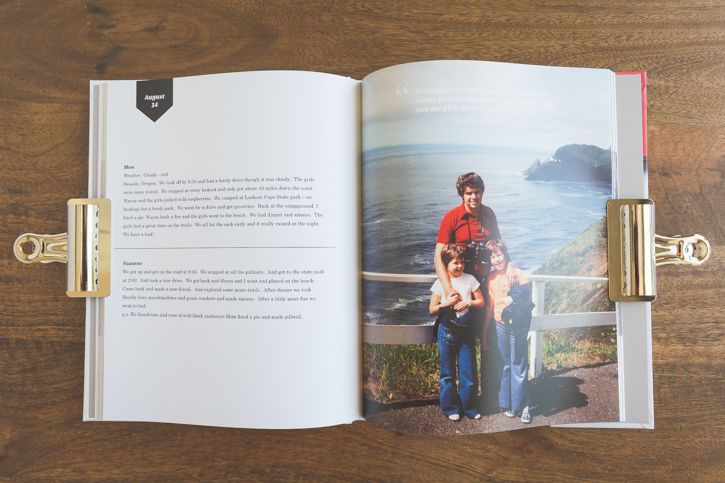
I knew I needed to keep the design simple or this story would never get told, so I quickly decided on this formula: date and words on left side + 1 photo on the right side. To highlight favorite memories I occasionally pulled quotes to overlay on the images. Creating a consistent design formula that is easy to replicate is one of my favorite tricks to simplify the design process.
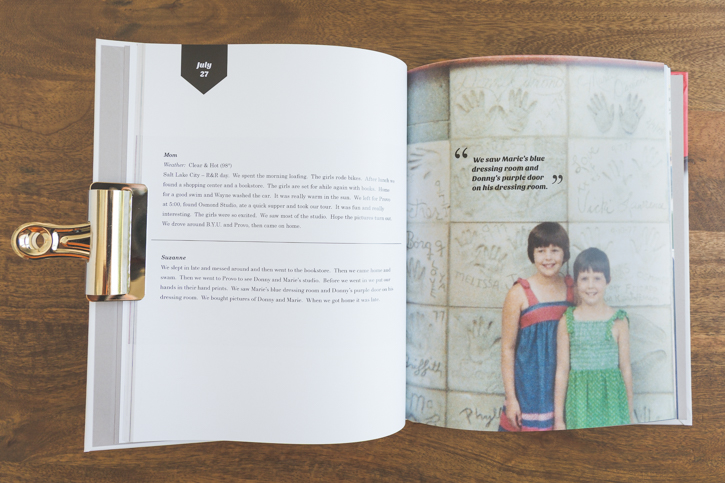
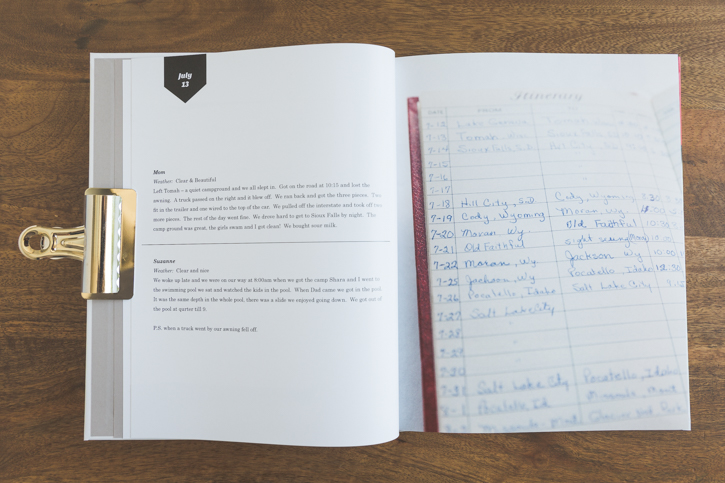
Several of the days did not have an obvious image to associate with the journaling, so I used those pages as opportunities to incorporate memorabilia into the book. My 7-year-old handwriting and my mom’s neat cursive are so fun to have captured.
For more design inspiration check out my Photo Book Ideas Pinterest board or some actual books I have made for my family and clients. Sketch out a few designs you are drawn to and try not to overthink it too much. Getting it done is more important than having the perfect design.
STEP 4 | Do The Work
This middle part of the project is often where enthusiasm wanes, and the tediousness of the task can seem daunting. My favorite trick to get through this critical step is to break the work into discrete tasks, i.e. upload images, add text, proofread, etc. I use this cute printable to jot down these tasks and assign deadlines to keep me on track.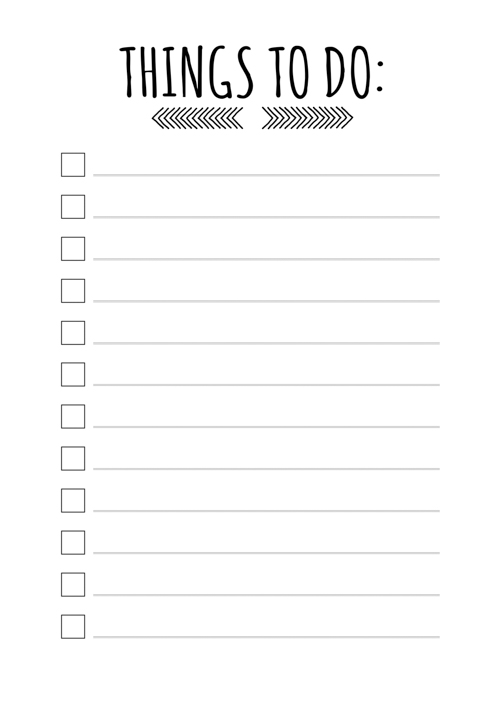
STEP 5 | Enjoy the Benefits of Your Efforts!
Creating a tangible keepsake that tells a family story is a true gift to your family. Photos and memories of this trip inspired a recent road trip to the Oregon Coast with my family. And after seeing this book, my big sister is now planning a trip with her family to some of the other beautiful spots we visited as girls!
For more photography and photo book inspiration please visit Suzanne O’Brien Studio or say hello on Instagram, I’d love to hear what family story is at the top of your list!


Thank you for laying out these steps on how to create a book. The book you made is gorgeous. What a treasure! I bet your mom loved it! And thank you for the resources on where to digitize slides. I have a box full of slides from my mom and am now motivated to see what kind of story I can create.
Great tips Suzanne! I love how you break it down to seem much more manageable. For me, the hardest part is simply to get started. I’d love to tell our everyday story.
What a great post and love your blog. Adore Suzanne and her memory books. Met her at a photography retreat last fall.
Wow, that is a really beautiful photobook! I love it.
Wow, Suzanne, you are really sharing all your trade secrets here. This is so generous of you and valuable to the rest of us. Your design sense is unbeatable; such a beautiful project physically and also so touching. I love reading your organizational tips. too — someday I’ll put them in action!
What wonderful tips and suggestions. Thank you for laying them out in such a clear and digestible way. Your work is simply amazing Suzanne – what a talent you have!!!!!
Suzanne,
You are an absolute inspiration to me! I love the idea that these beautiful creations are not simply for immediate family memories, but that they will turn into family heirlooms that can be passed down from generation to generation! It is also fantastic that you don’t have to stop at one family story, if you don’t want to!
I hope to your plan and guidance. You truly have a gift. Thanks for sharing.
Suzanne – what a talent you have! I find the thought of documenting significant memories to be utterly daunting, but reading your blog post actually made it appealing… I am inspired now to finally (10 years later, alas) pull together my journal and souvenirs and mementos and photos and other artifacts from the trip that my father, brother, and I took to Armenia. Thank you, thank you for giving me the confidence to do so!
Suz, fantastic work! Loved seeing you and Shara in the good old days. And remembering when cross-country road trips were the best way to spend a summer! Thanks for sharing. xx
I love your comment, “Getting it done is more important than having the perfect design.” I tend to get caught up in overthinking and tinkering, and you’re right – having a great finished product does not have to be complicated. I love the simplicity and consistency of this design, and that the single photo seems to be more impactful than a pageful. Great memories here (and yes, great hair…). Love your work!!!!
Also really appreciate your publishing suggestions, I have been looking at other companies (have used Shutterfly forever) but don’t know much about the other options
I just found your blurb books on pinterest and I have to tell you, I completely fell in love! I’m a graphic design-hobbyist so I know my way around the Adobe suite and you are one of the only people I’ve found that create their book layouts first and then use that rather than use the blurb software. I’m not really sure I totally trust the software since I’ve always been told not to resize/mess with ANYTHING outside of Adobe since it distorts the quality.
I’m wondering what your workflow was for using indesign and whether you used blurb’s indesign module or just saved your indesign files as JPEGS, imported the files, and just placed them in an image container that was as big as you could make it? I’m finding that you have to use the image container, but it doesn’t stretch across the whole page. So if I’m making a 8×10 book and insert my layout (with the margins exactly how I want them) they become distorted because the image container is something like 9.78×7.8. Did you have a similar issue?
I’m also curious if the fonts that you used were only the fonts that blurb licenses or did you create outlines in illustrator or use any other technique? Still trying to figure this all out since I love the quality but I’m not so sure about the software, thank you for any help you can offer!
Hi Megan, thanks for your kind words! To answer your questions, I use Blurb’s plug-in for Adobe inDesign, allowing me to go straight from inDesign to print. Regarding fonts, I created a pre-flight notification that alerts me if I’m using a font that Blurb won’t accept. Another approach is to do a trial “print your book” at the start of a project to make sure the font will be accepted. Happy designing!