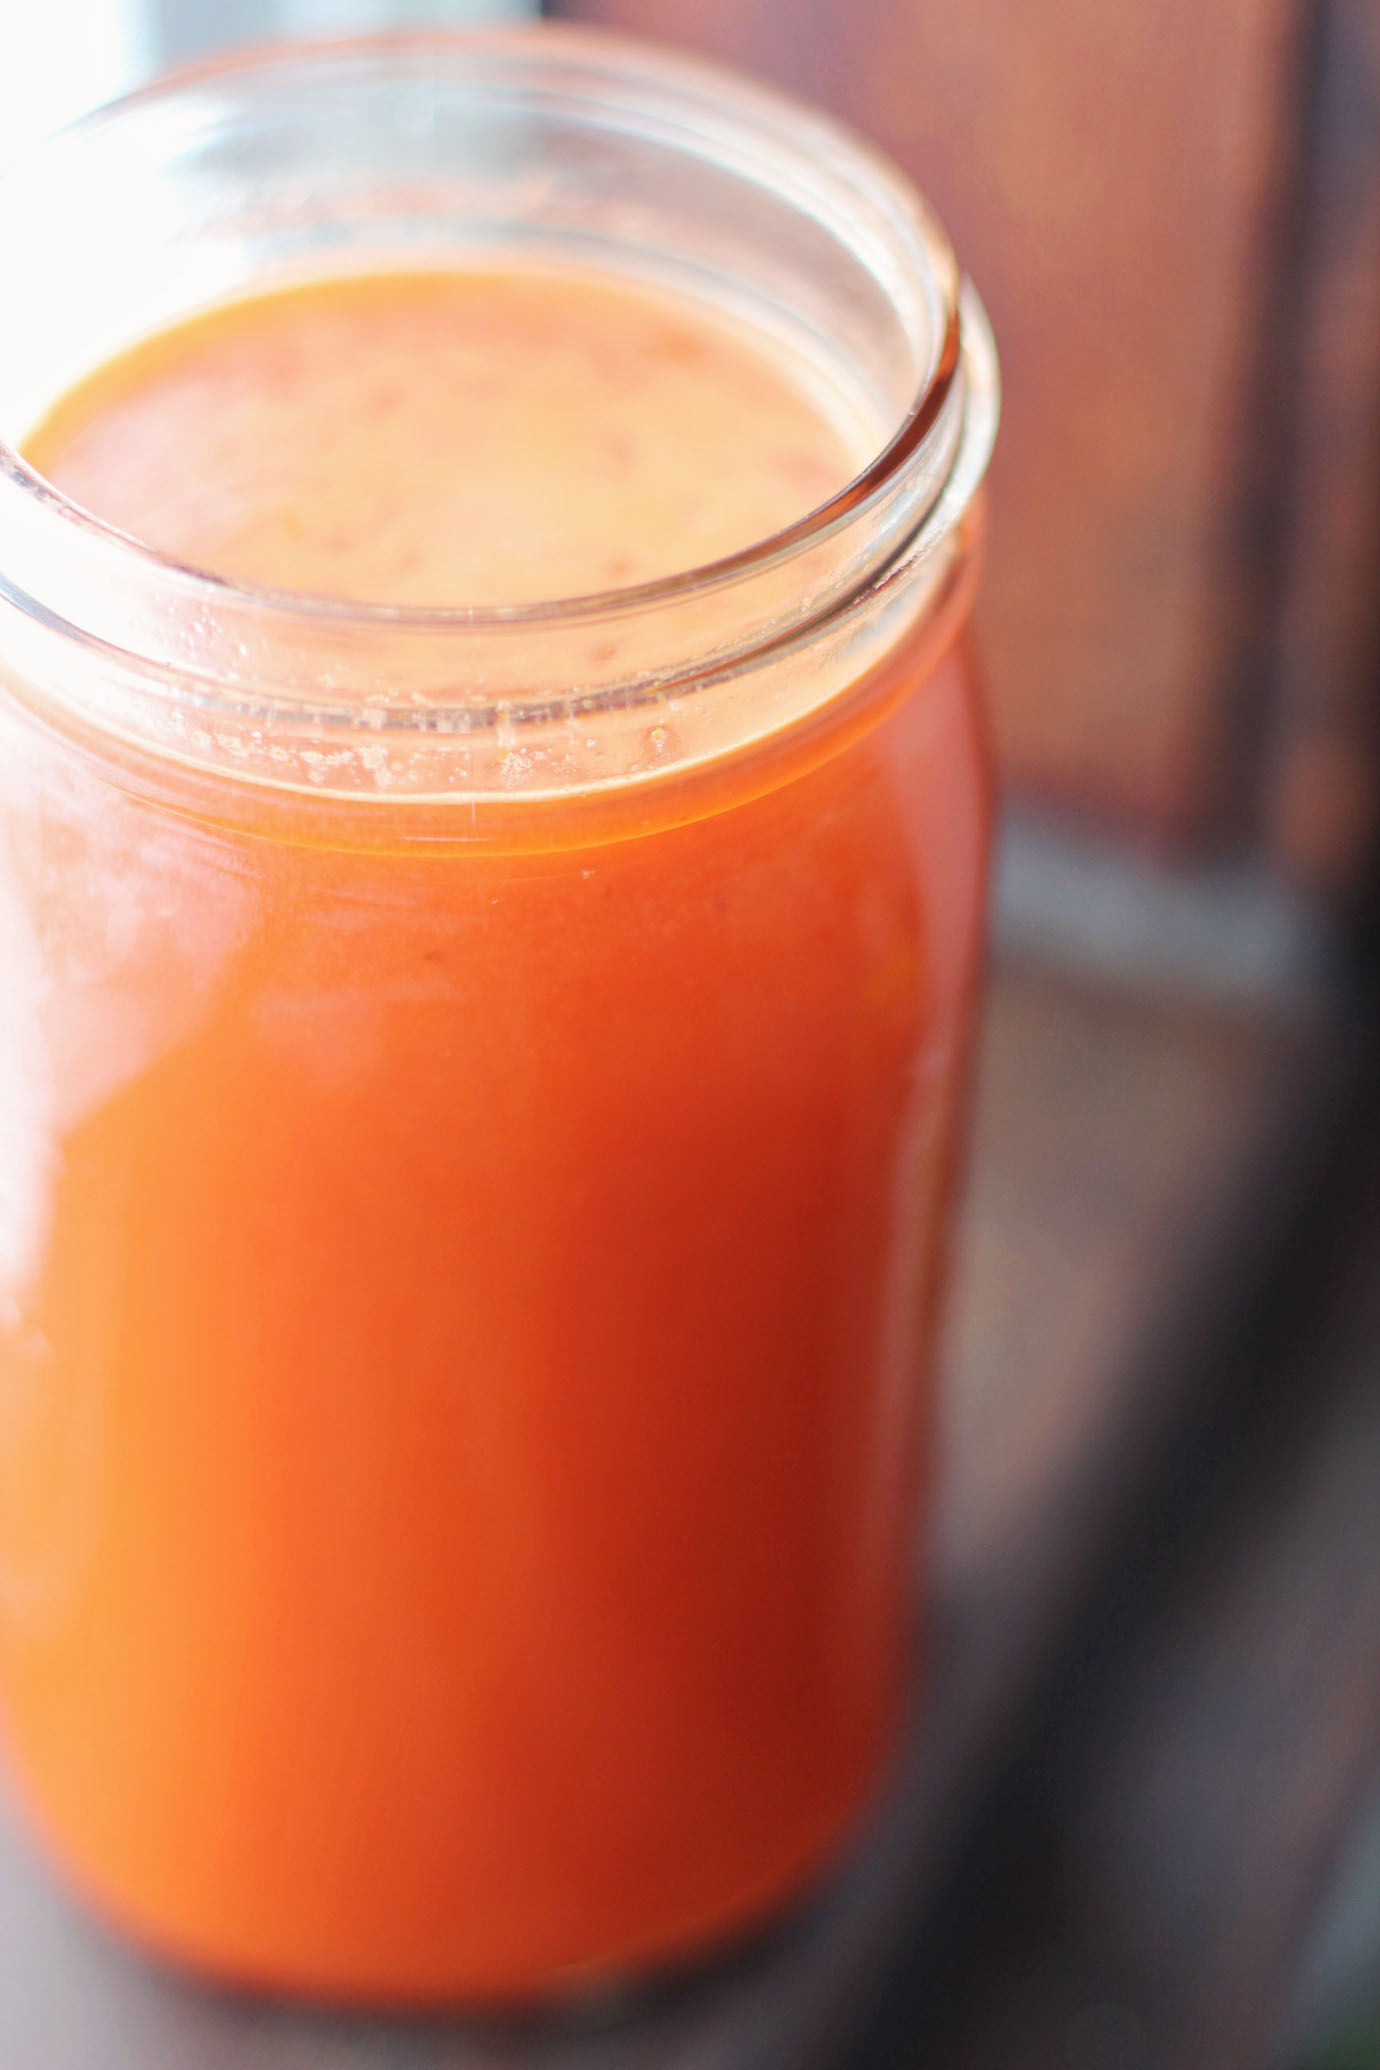
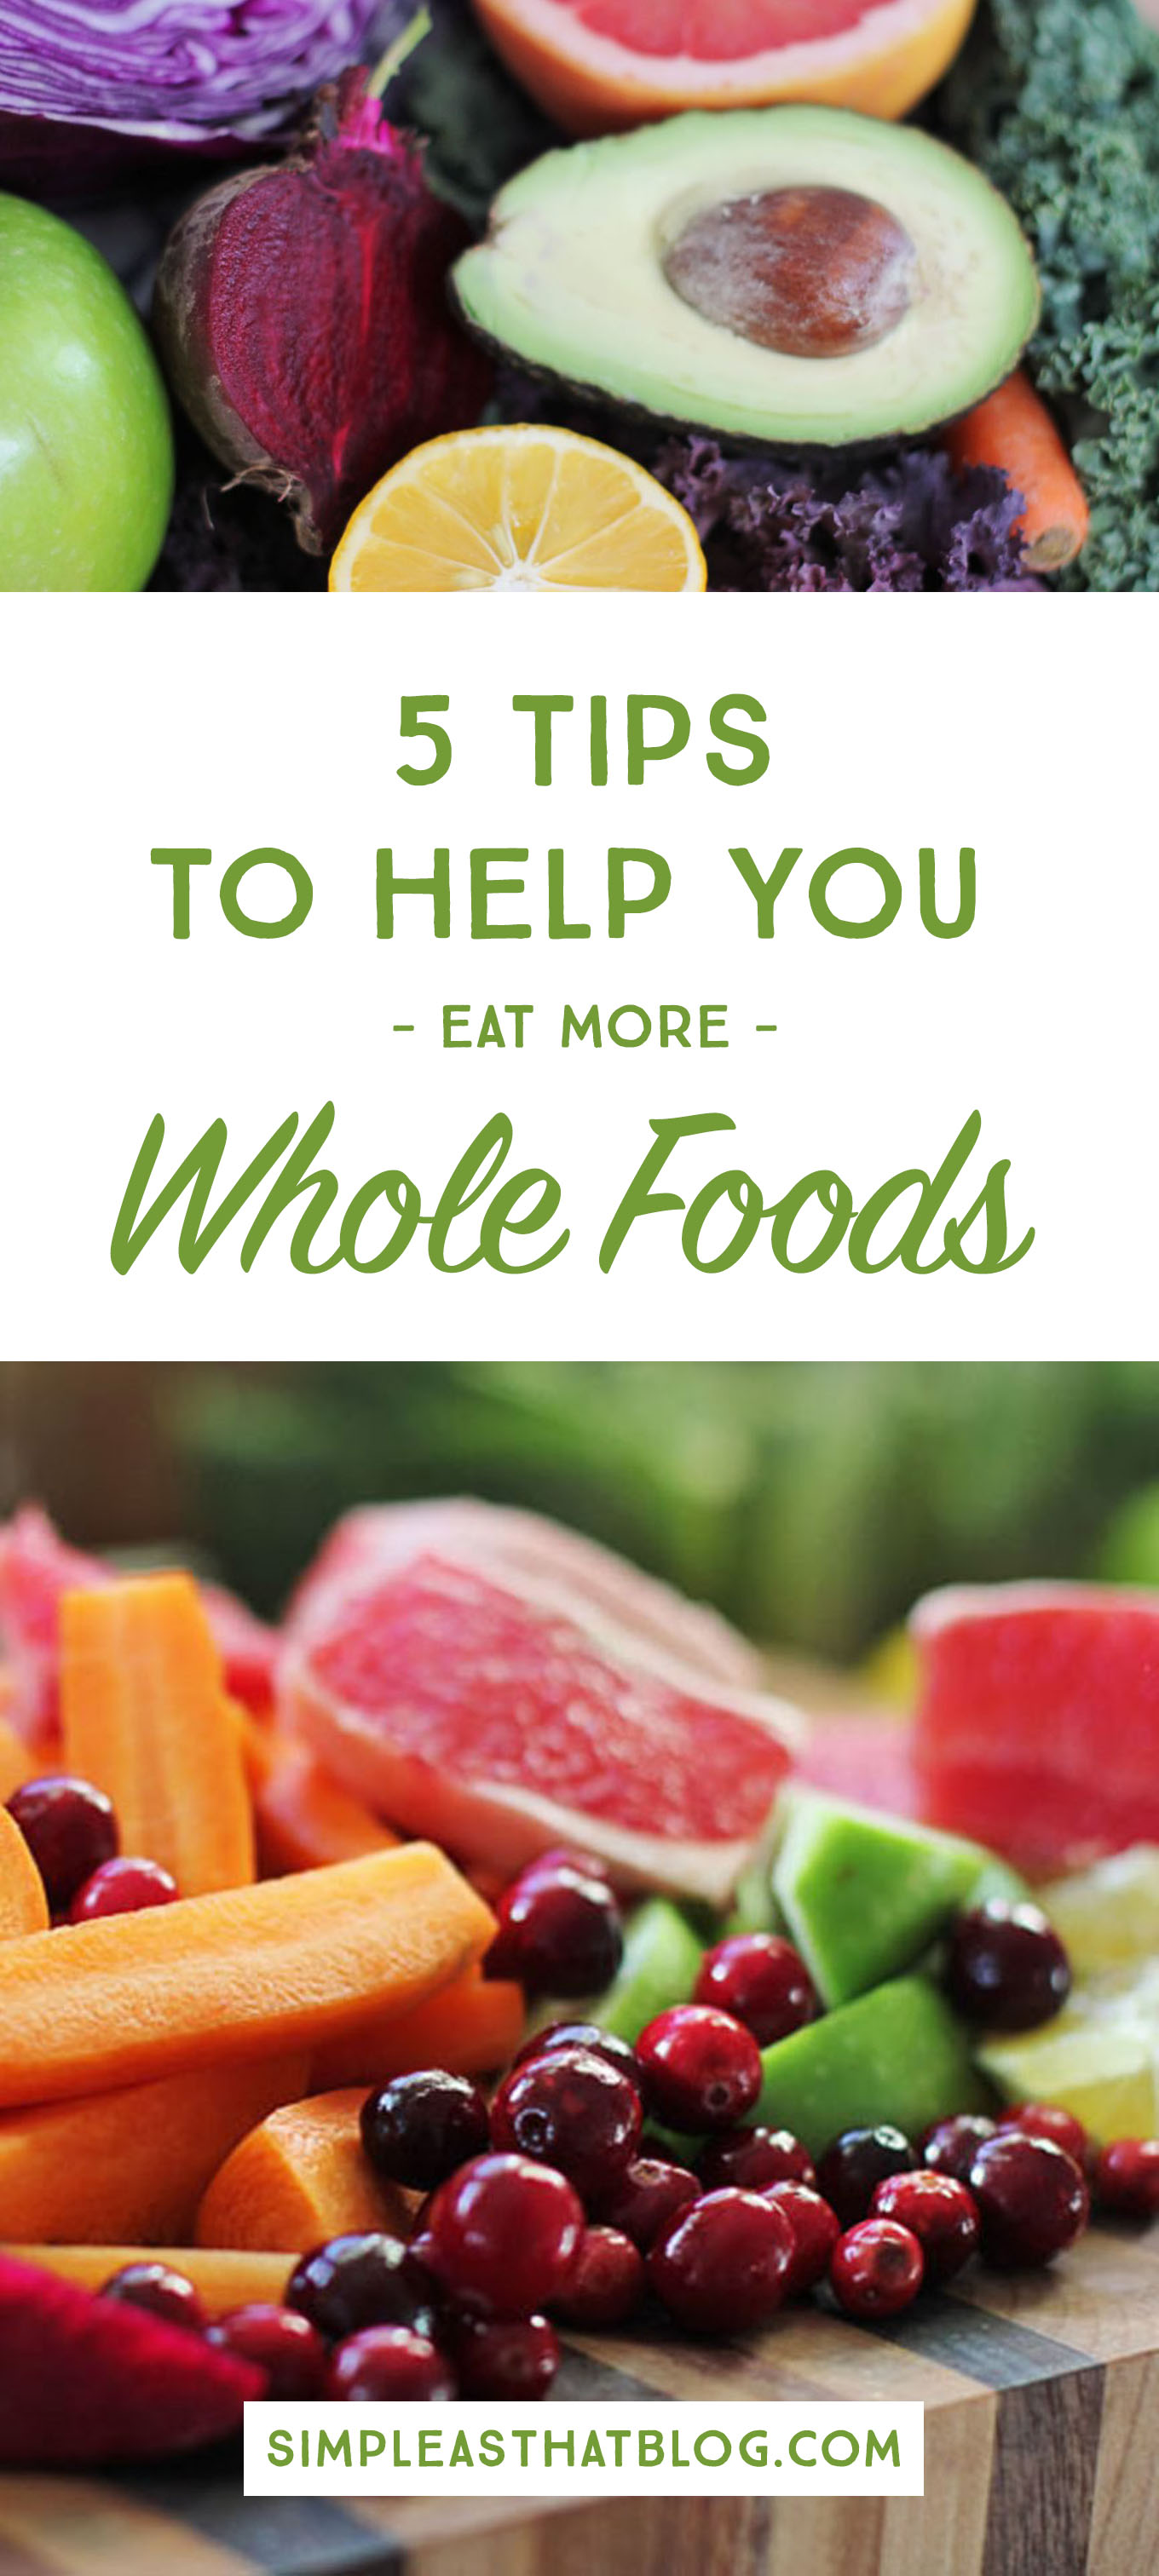
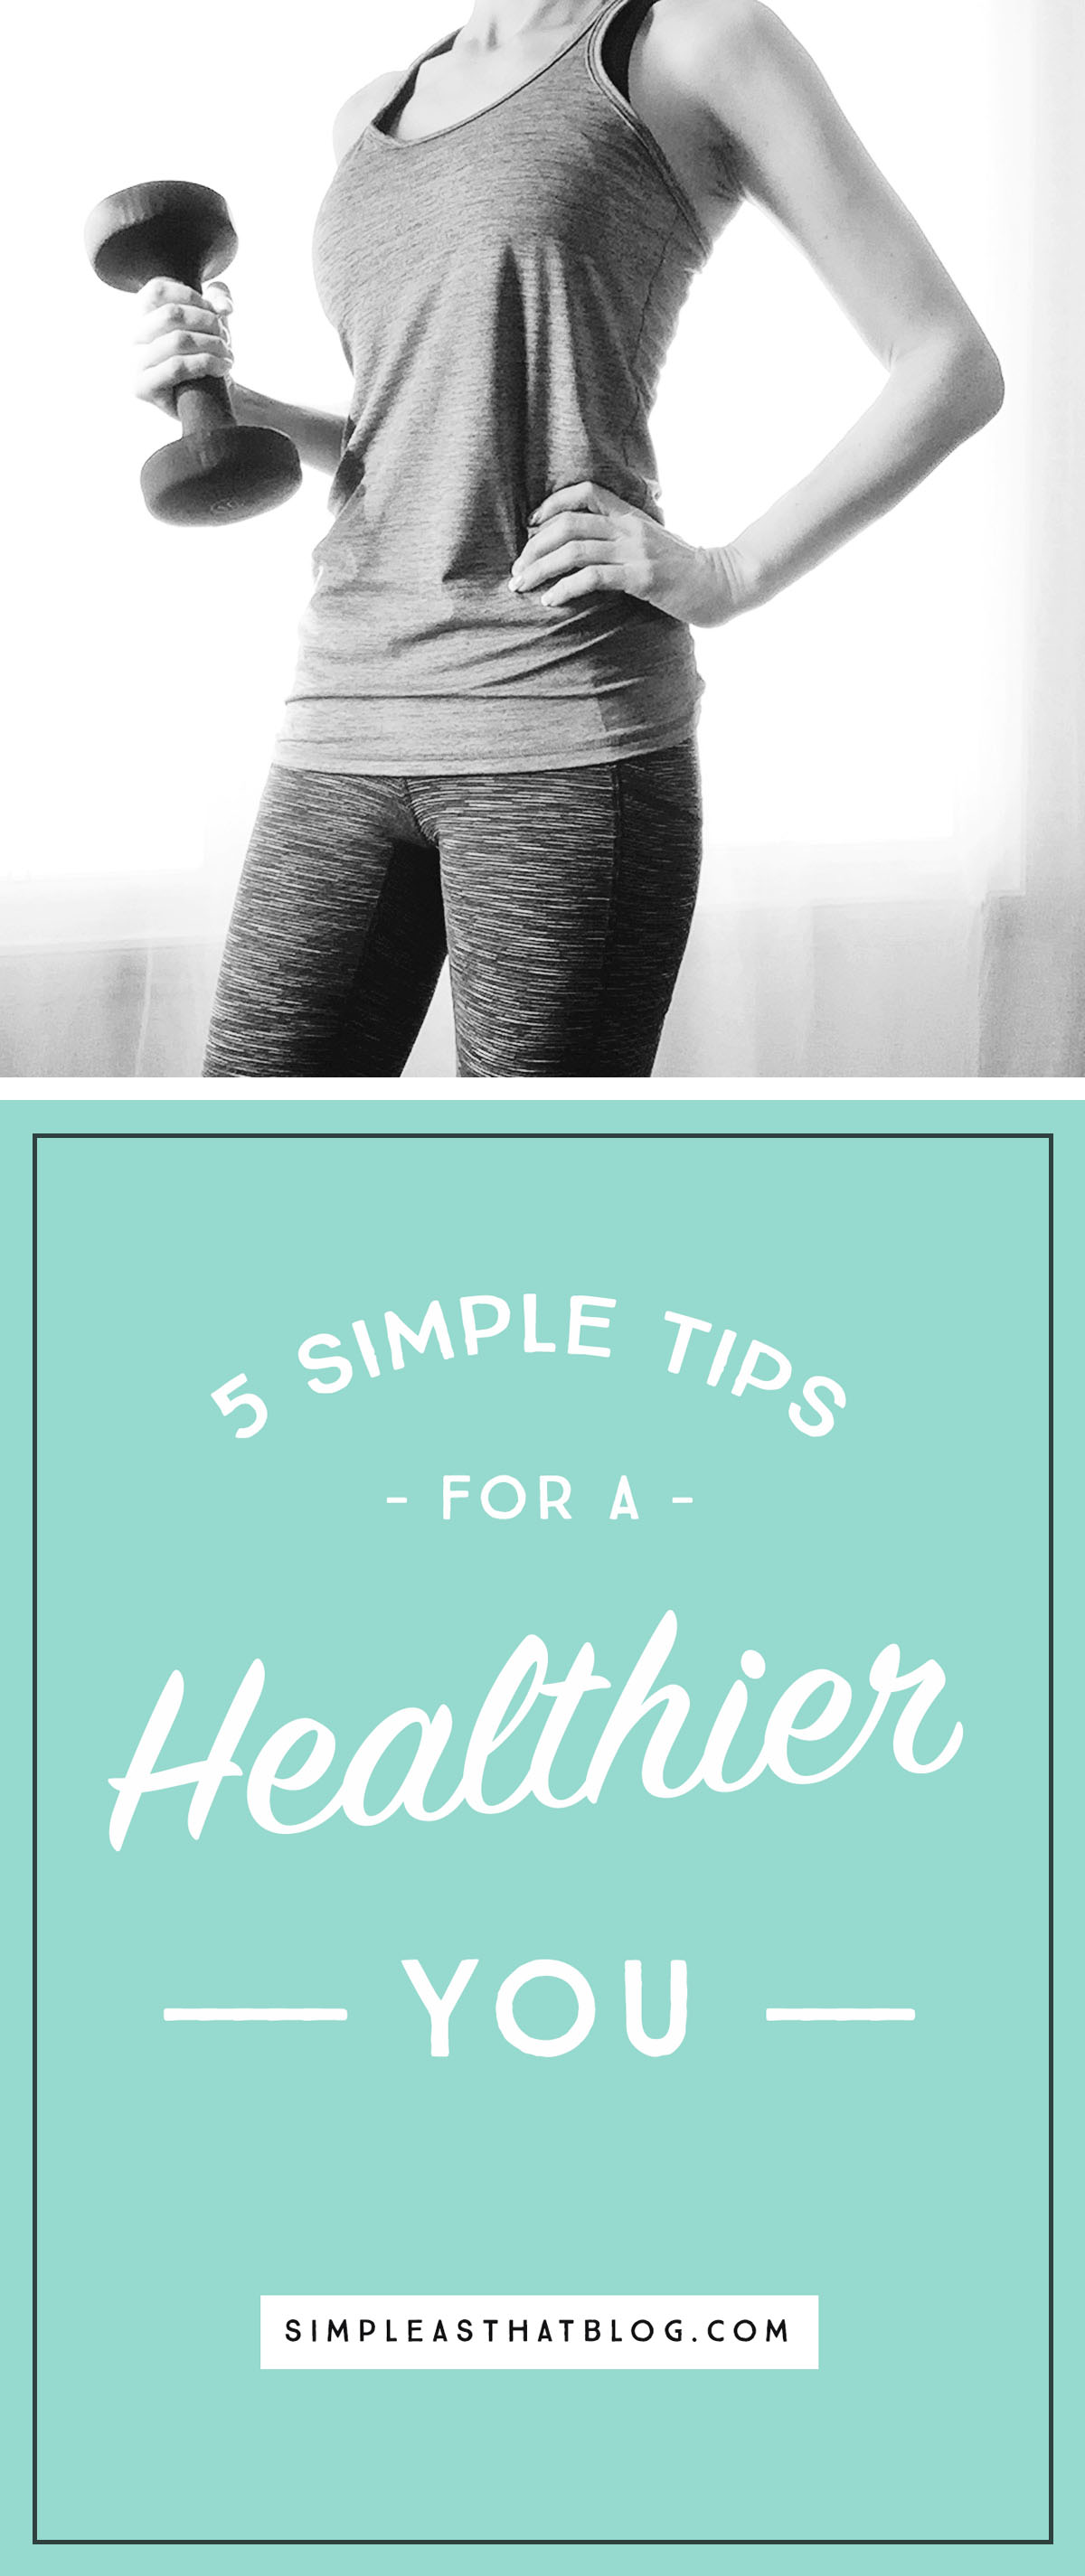
Hello! My name is Kelsey and I am a new health and wellness contributor coming to you from Simple Life by Kels. I am excited to get to know you and help you along your journey to health! Today I am going to share 5 Simple Tips for Transitioning to a Whole Foods Diet.
I have been eating clean and feeding my family real food for years. One look on the internet under “healthy food” and your head may start swimming. It can seem daunting. Hopefully these tips will break down some of the trepidations you have about making healthier choices for your family!
1. Read Your Labels
I want you to disregard the nutrition facts. The place you should look very first, every time, is the ingredient list. Every packaged item I pick up in the grocery store gets turned over immediately.
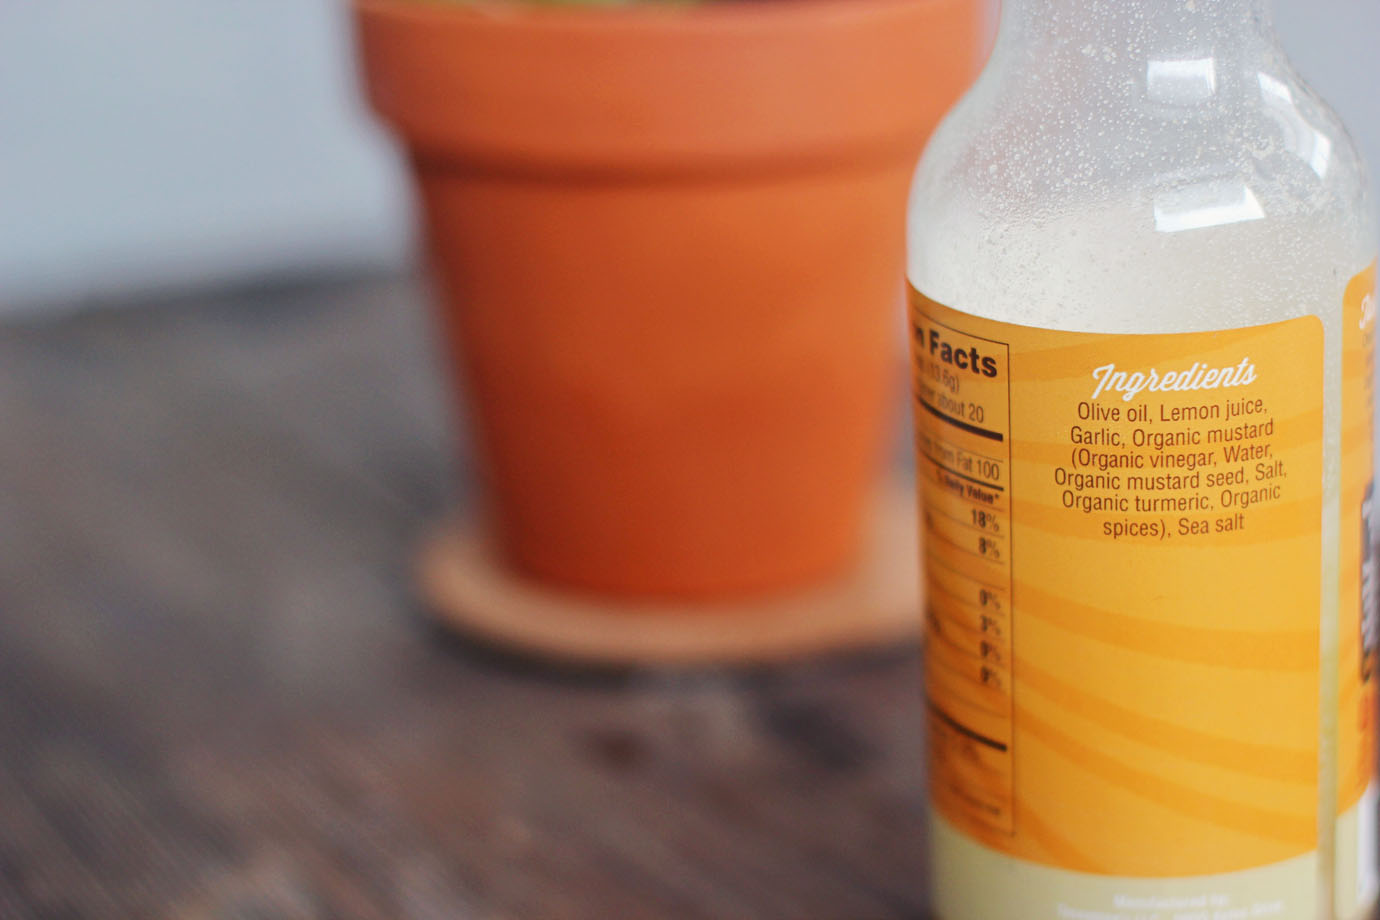
I scan the ingredients and ask myself a few things:
How long is the list?
If there are minimal ingredients I am more likely to stick around and check them out.
If I see a massive list, I put it back on the shelf and keep strolling.
Can I pronounce the items?
If I can’t spell or read the word, chances are, it isn’t real food. Move along.
How is it sweetened?
I stay as far away from artificial sweeteners as humanely possible, so my eye scrolls for sugars first. Ones to start avoiding: aspartame, sucralose, acesulfame, and saccharin.
 2. Shop the Perimeter

Think about the layout of your local grocery store. If you could make a mental map, what does it look like? Where do you spend the most time? People often ask me how I take four small children shopping without going crazy. The answer? I shop the perimeter!
Almost everything I need or use is found along the outside edges of most grocery stores. This is where the eggs, dairy, or nut milks are. It’s where you find the meat, and the produce. Once you start weaving in and out of those aisles you are lost in a maze of processed foods. It can become confusing (not to mention tempting), pushing a cart past all of those boxes and cans.
It’s easy for me to get my shopping done because I know exactly what I need, and it’s easy to find. Most of it is in the produce section! For those few items that I can’t find around the edge of the store, I know exactly what I am going after before venturing into the dreaded “middle” section.
The aisles are where I grab my tea, canned tomatoes, beans, pickles, etc. Those aren’t items that I buy all the time, so on most trips I am in and out without ever going down a single aisle!

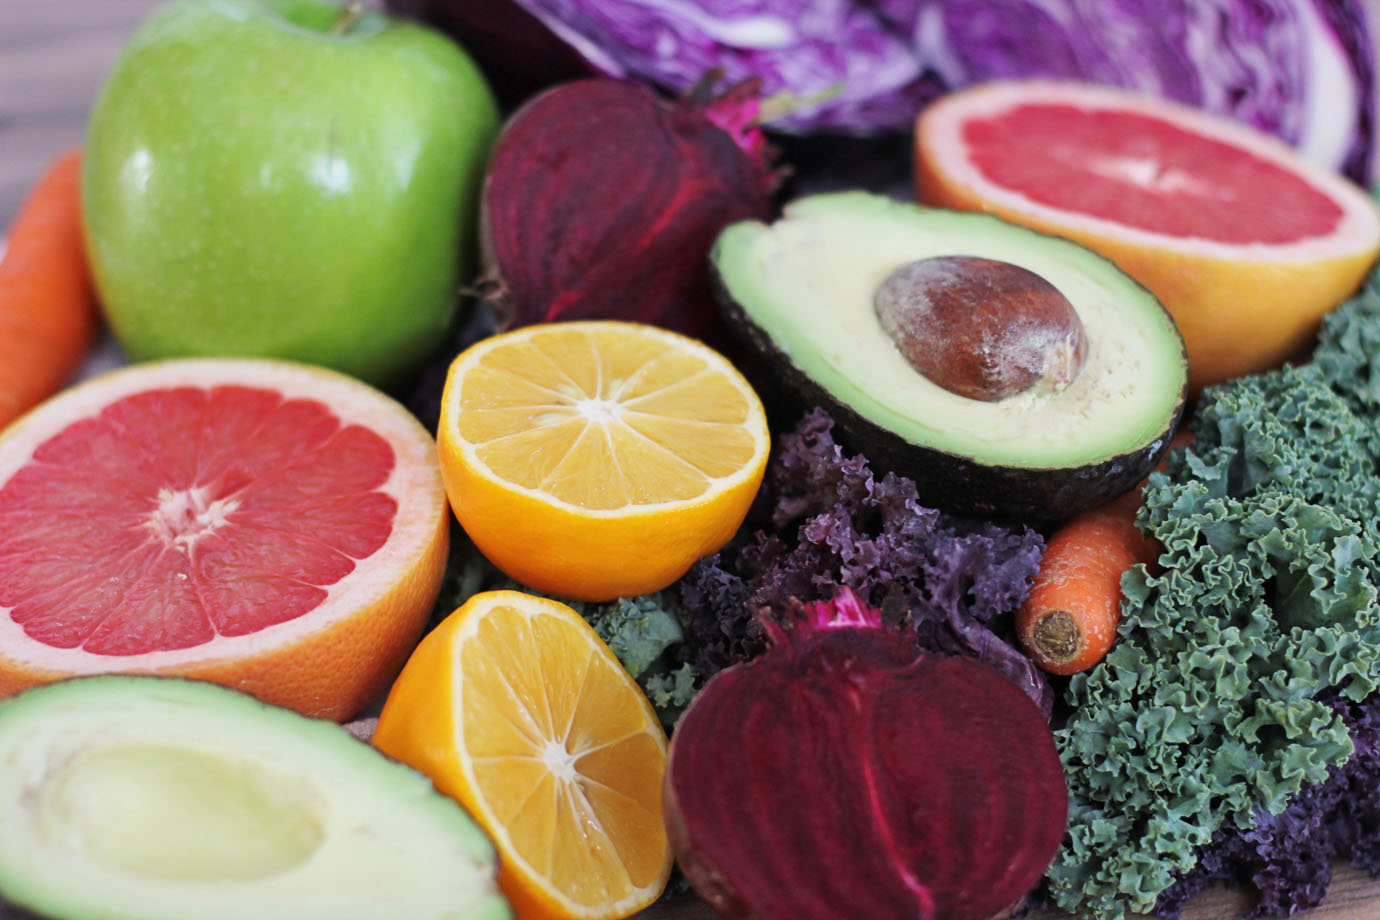
3. Eat the Rainbow
I know, I know, you have heard this one a million times. However, I am going to put it in a different context that makes it kinda fun. I like to call it The Rainbow Game.
Here are the rules:
- While shopping, head to the produce section FIRST. I am less likely to add junk to my cart after filling it up with beautiful, colorful fruits and vegetables. It works. I don’t want to taint it by adding in foods that clearly don’t belong with my kale or sweet potatoes.
- Choose at least one fruit or vegetable that fits into each color: RED, ORANGE, YELLOW, GREEN, BLUE/VIOLET.
- It can be as simple as adding some plums to your cart, or you can try something new like eggplant or acorn squash. Don’t be afraid to branch out and try new things. You never know what you (or your family) might love.
- Try to expand beyond your usual bananas, carrots, and spinach. Try collard greens in your smoothie this week, grab some kale to saute, get a pomegranate for your kids to try, be brave!
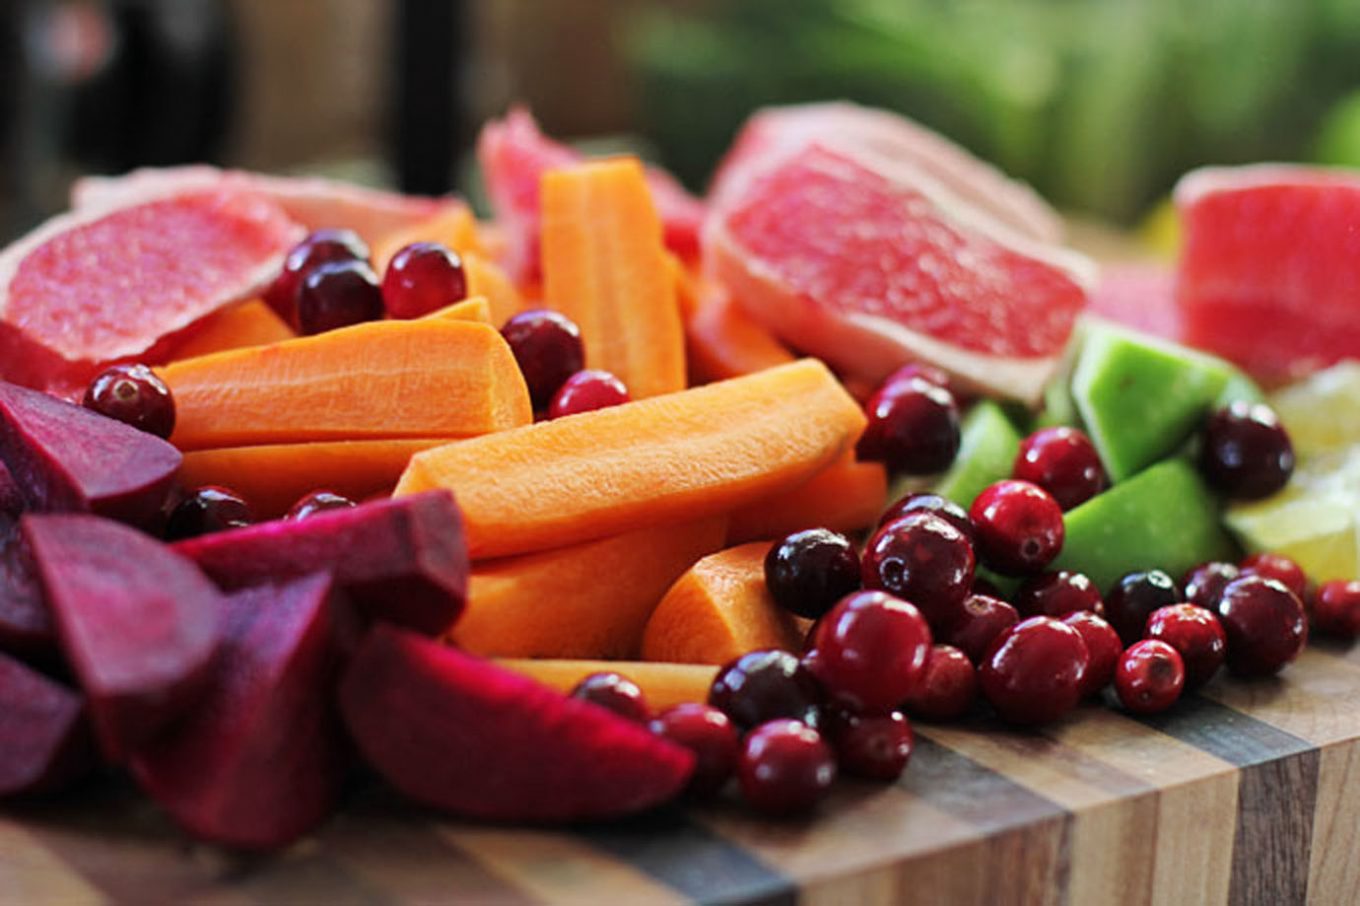
 4. Start the week with some simple prep

The internet might tell you to make yourself 5 lunches in neatly packed containers every.single.Sunday afternoon. I am here to give you permission to let go of that dream. It’s okay if you don’t have lunch for you and your husband plus snacks and dressings all made up. But a little bit of prep can help keep you on the right track.
When I take an hour or two once a week to do some simple prep, everything goes much more smoothly and I am less likely to fall back on convenience foods.
What I do each week:
Potatoes
- I bake or use my instantpot to cook both white and sweet potatoes. These are great for a quick hash or warmed up for baked potatoes topped with roasted veggies.
- spiralizing a sweet potato or two has saved me many times. Other great veggies to try with a spiralizer: zucchini and yellow squash, carrots, and cucumber.
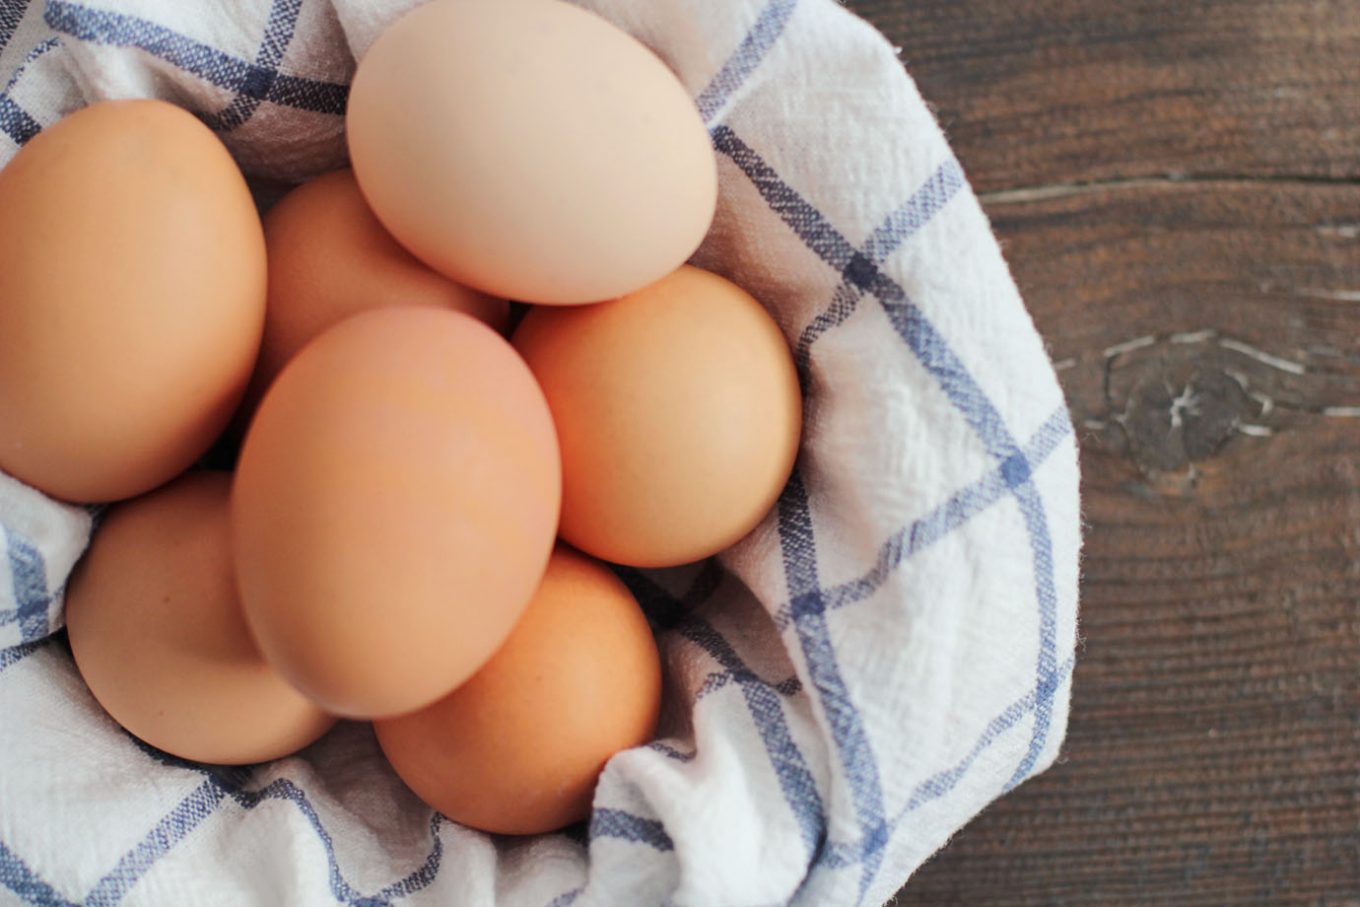
Eggs
- each week I boil 8-12 eggs. My kids love them for a snack and they are an easy source of healthy fat and protein that you can grab if you are running out the door.
- they are a great option for lunches too.
Chopped veggies
Some vegetables keep better than others.
Those I cut up ahead of time:
- carrots and celery – sit them in a little water to keep them fresh and crunchy
- bell peppers
- broccoli
- cauliflower – I also make cauliflower rice often as part of my meal prep
Rice/Quinoa
Cooking up a pot of rice or quinoa gives me great options during the week. I can throw together a quick fried rice, salad, wraps, or put it in a simple soup with veggies and chicken stock.
 5. Involve your family
Kids are a lot smarter than we give them credit sometimes. If you start learning more about real food and how it effects the body, they will get interested as well. Use little opportunities to discuss and teach.
How to talk to kids about food
- Take them shopping with you. Have them pick up items, explain what everything is, try something they are excited about. If your picky eater sees a kiwi and wants to try it — get some!
- Let them see you reading labels. As my kids have gotten a bit older they notice me turning everything over. They are now reading their own labels and telling me what they find. They know certain triggers that we don’t allow in our home (artificial dyes, for one). It’s fun to see them learning and it leads to great discussions.
- Talk with them about where food comes from and explain what real food is. Most children believe that milk and eggs come from the store. Let’s make connections for them to get them thinking about what they are eating!
If you enjoyed this post you might also like…
25 Healthy Cauliflower Recipes
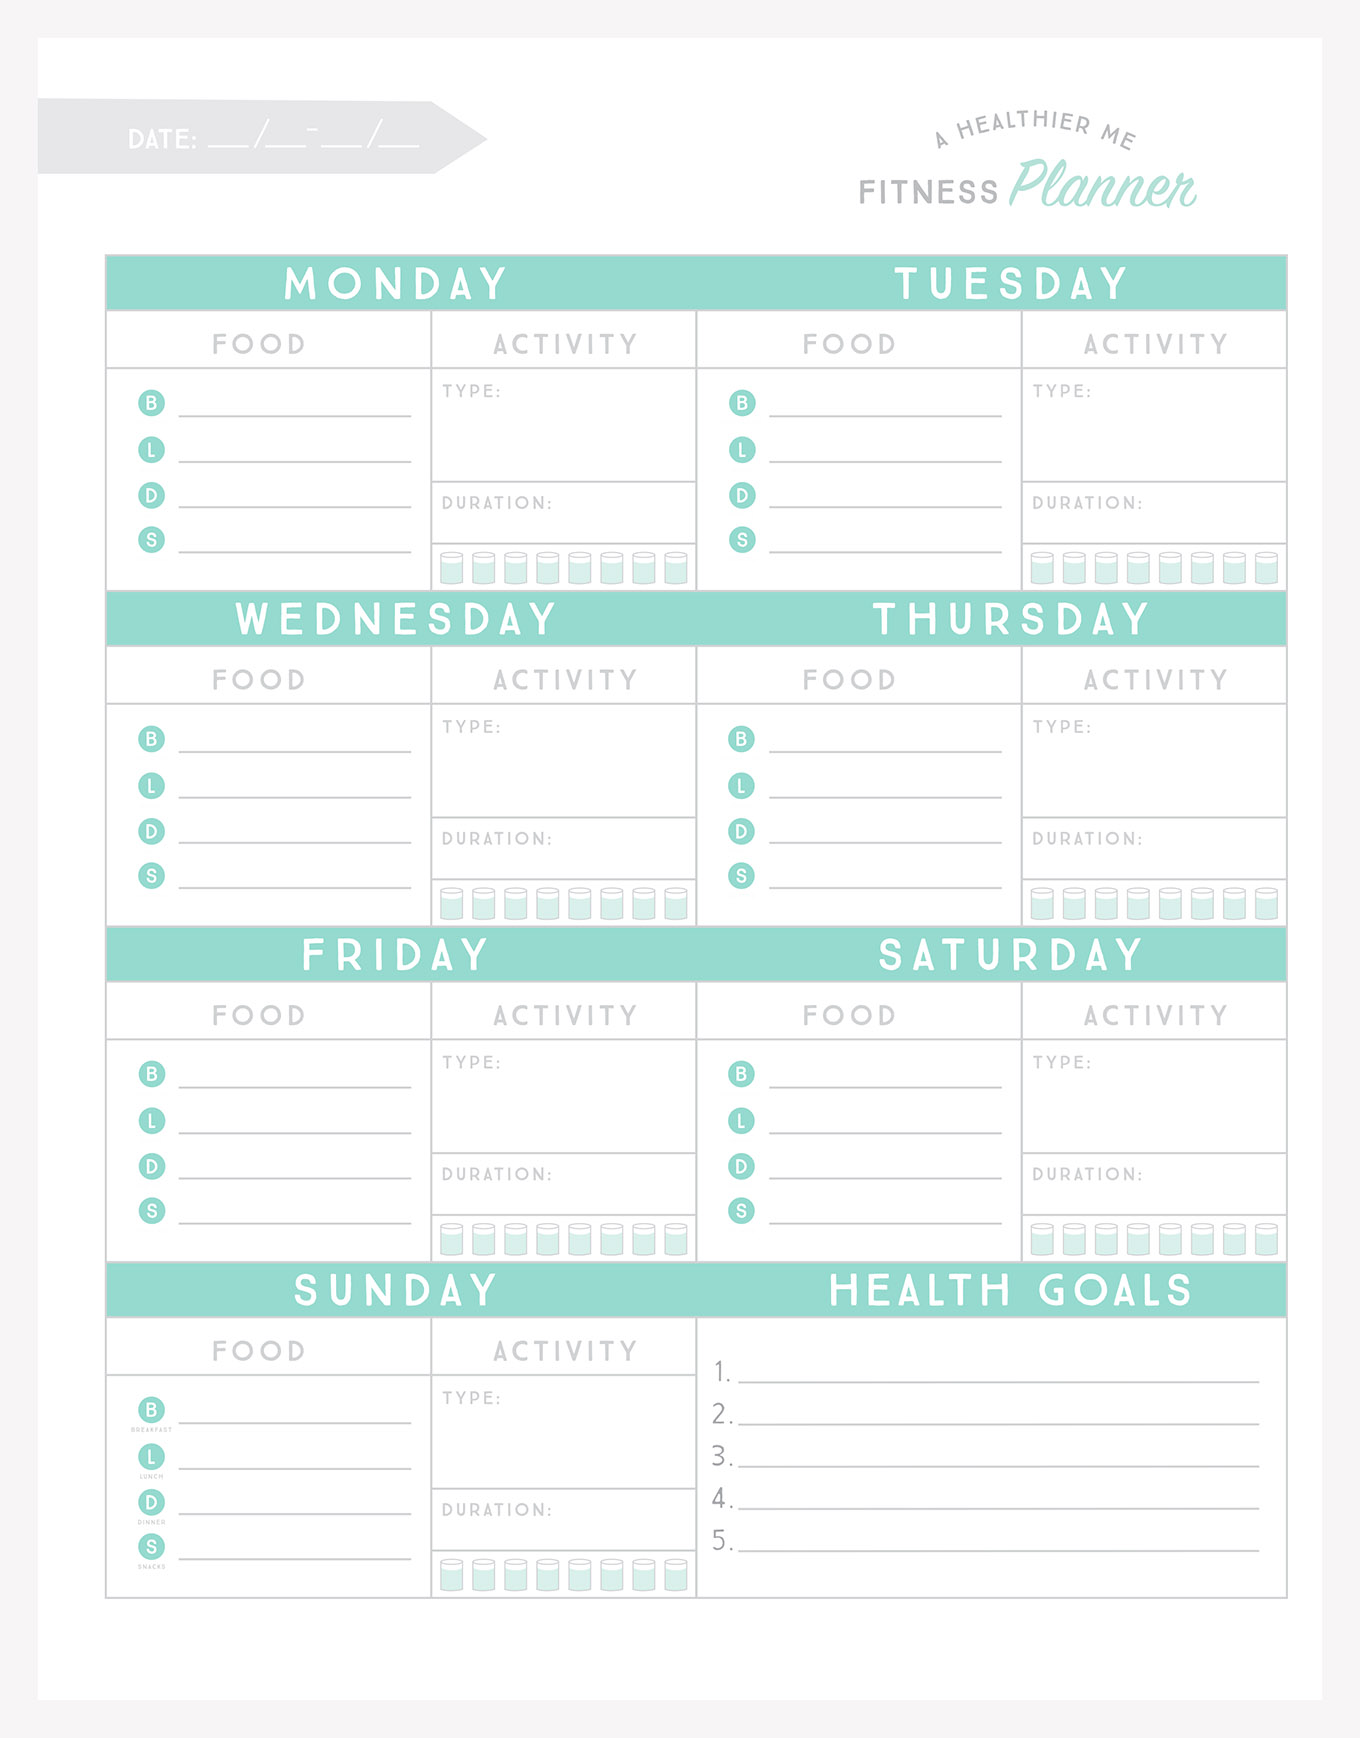
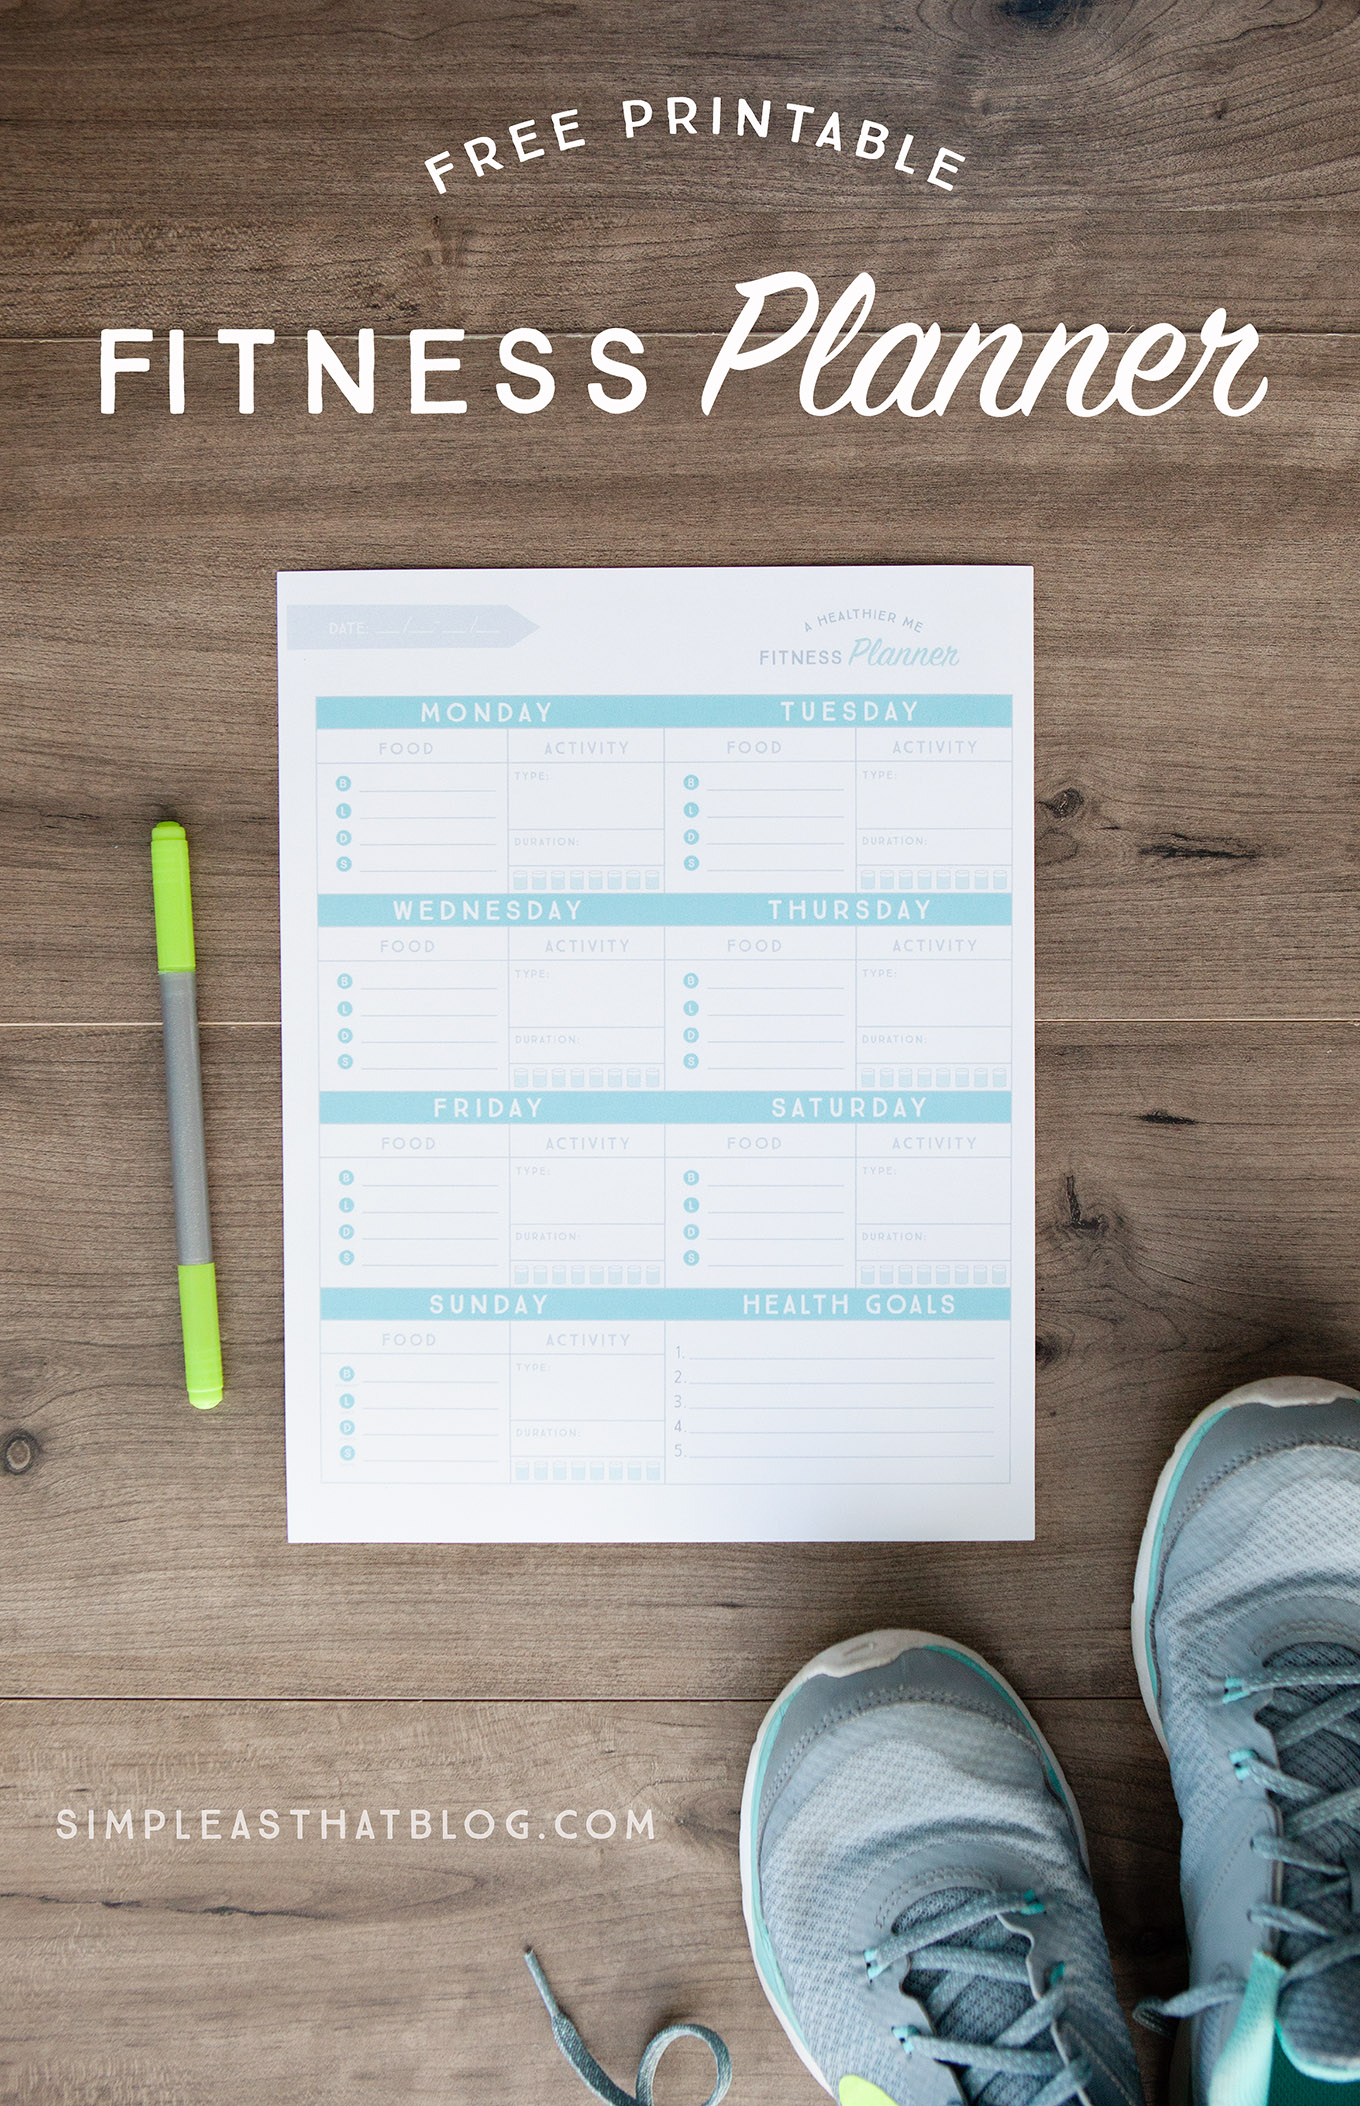
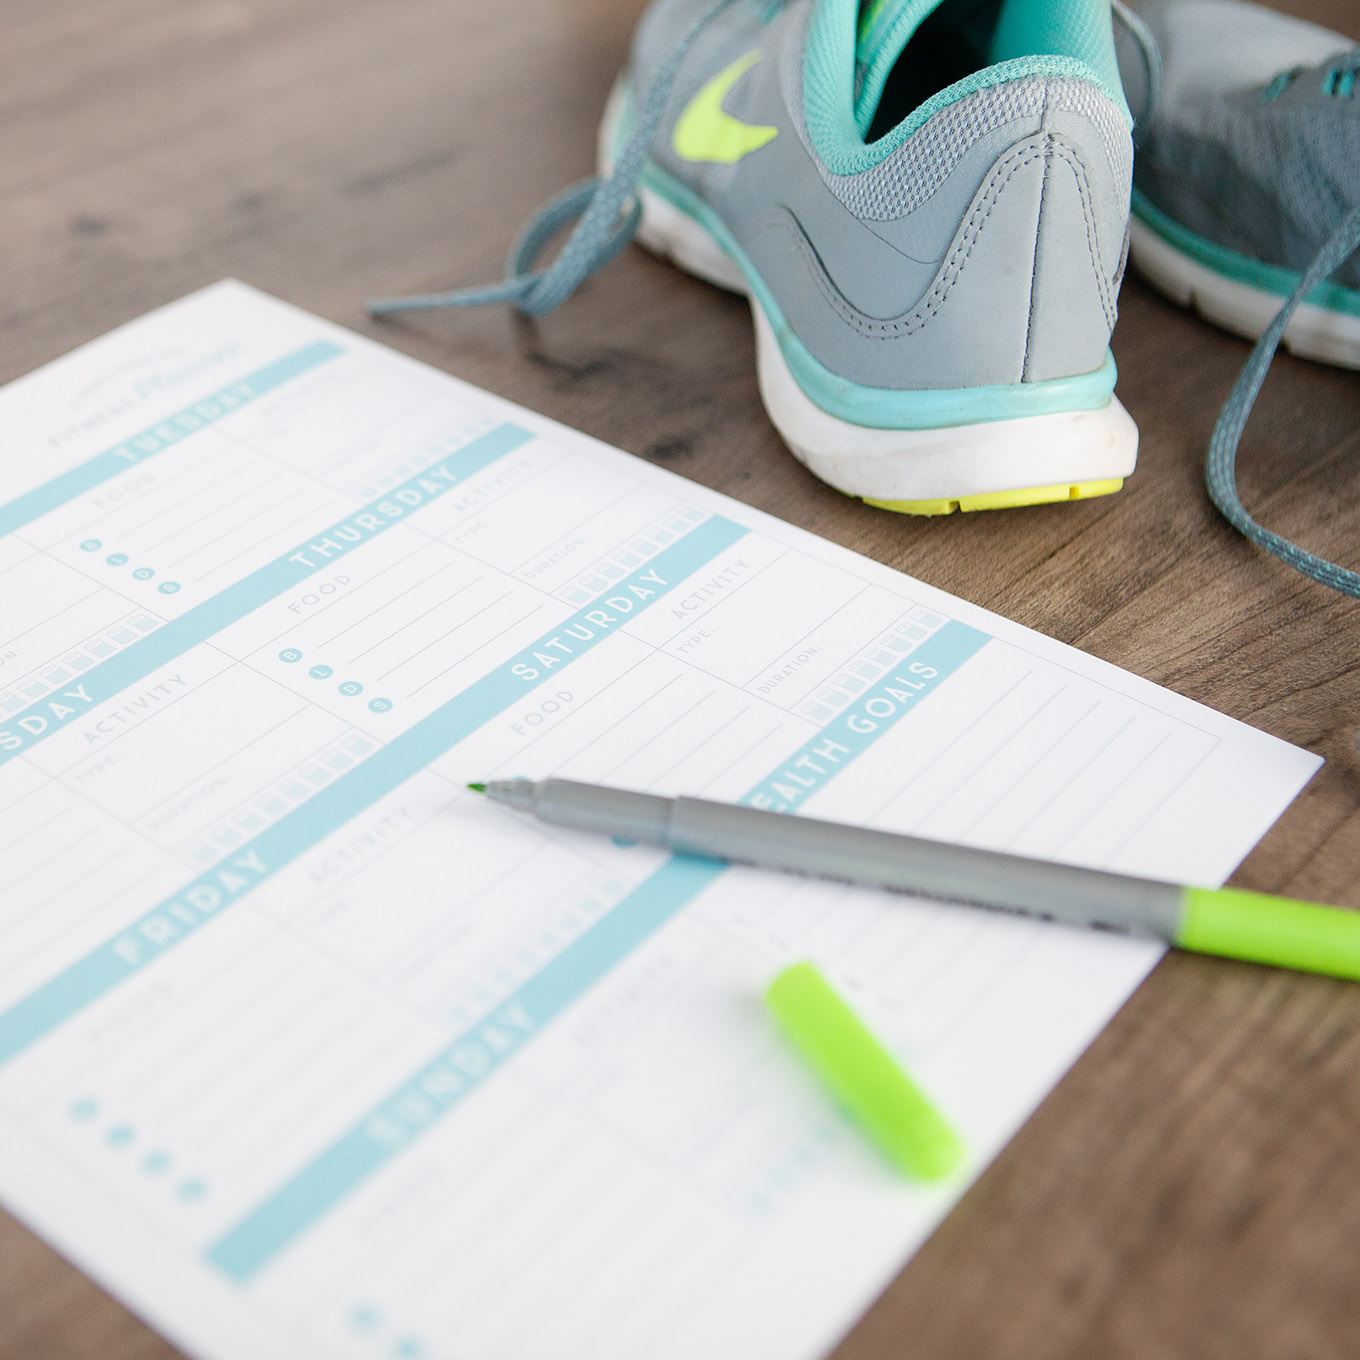
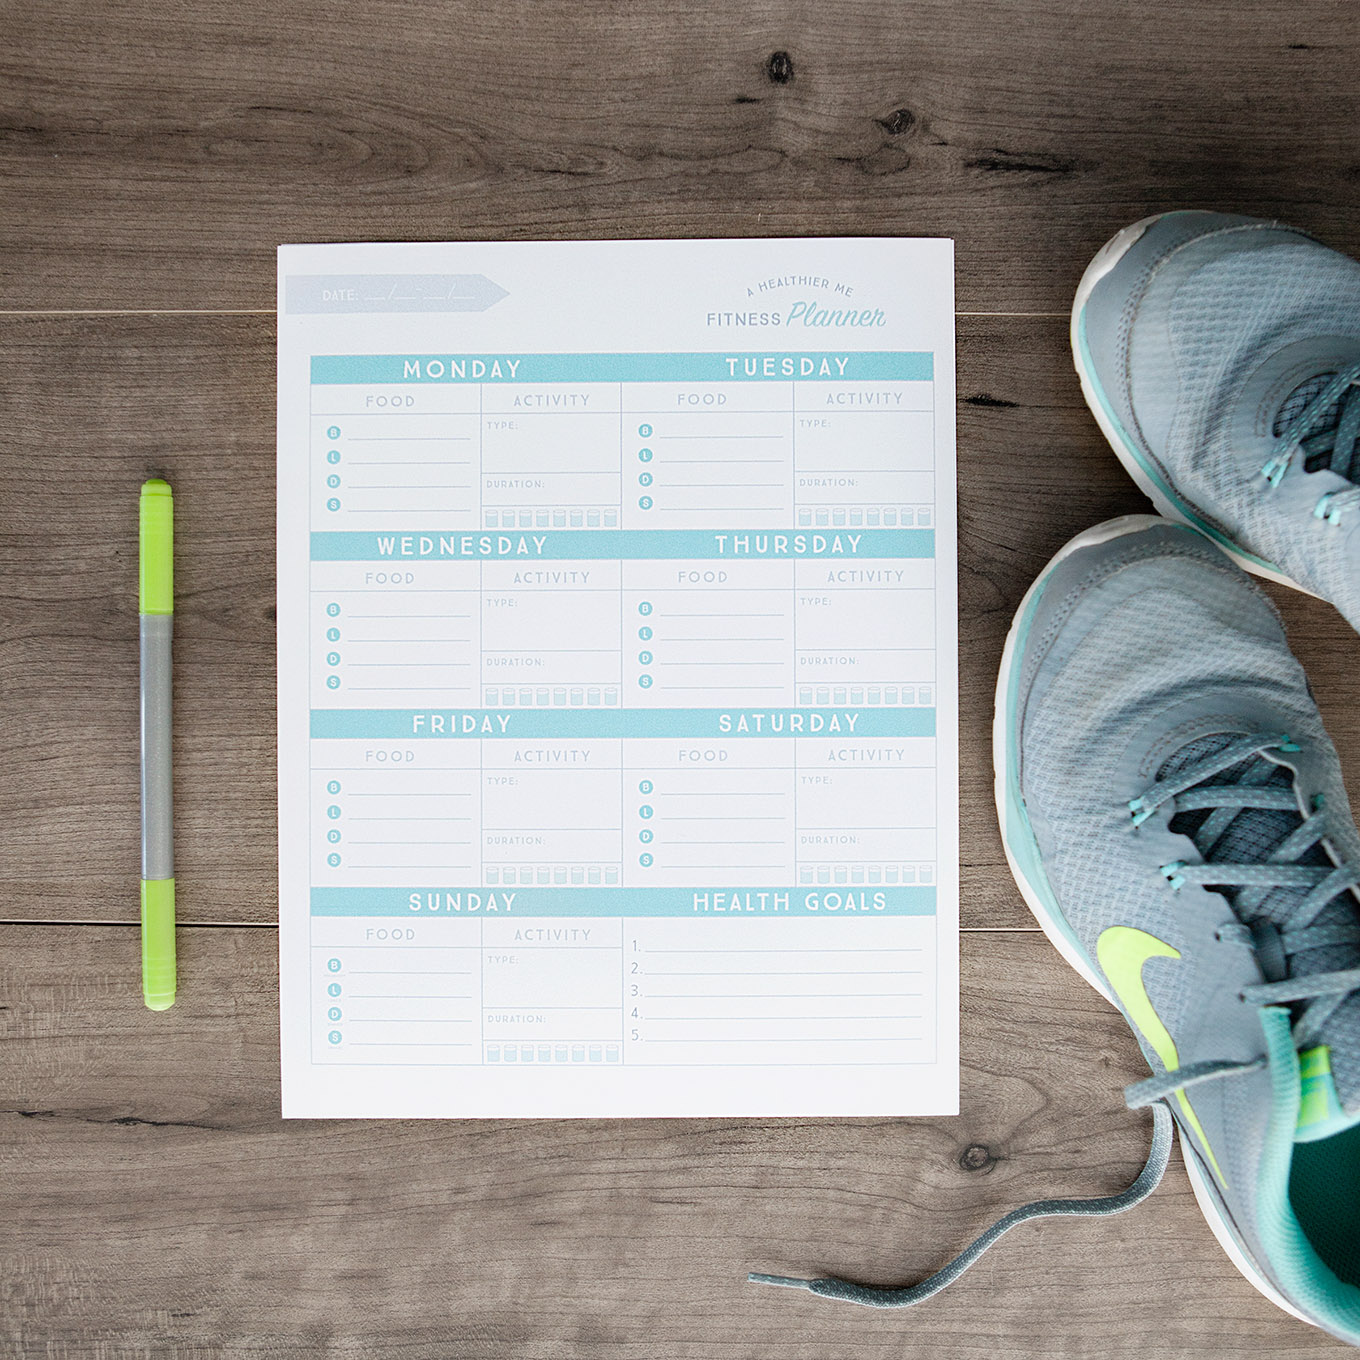
Free Printable Fitness Planner


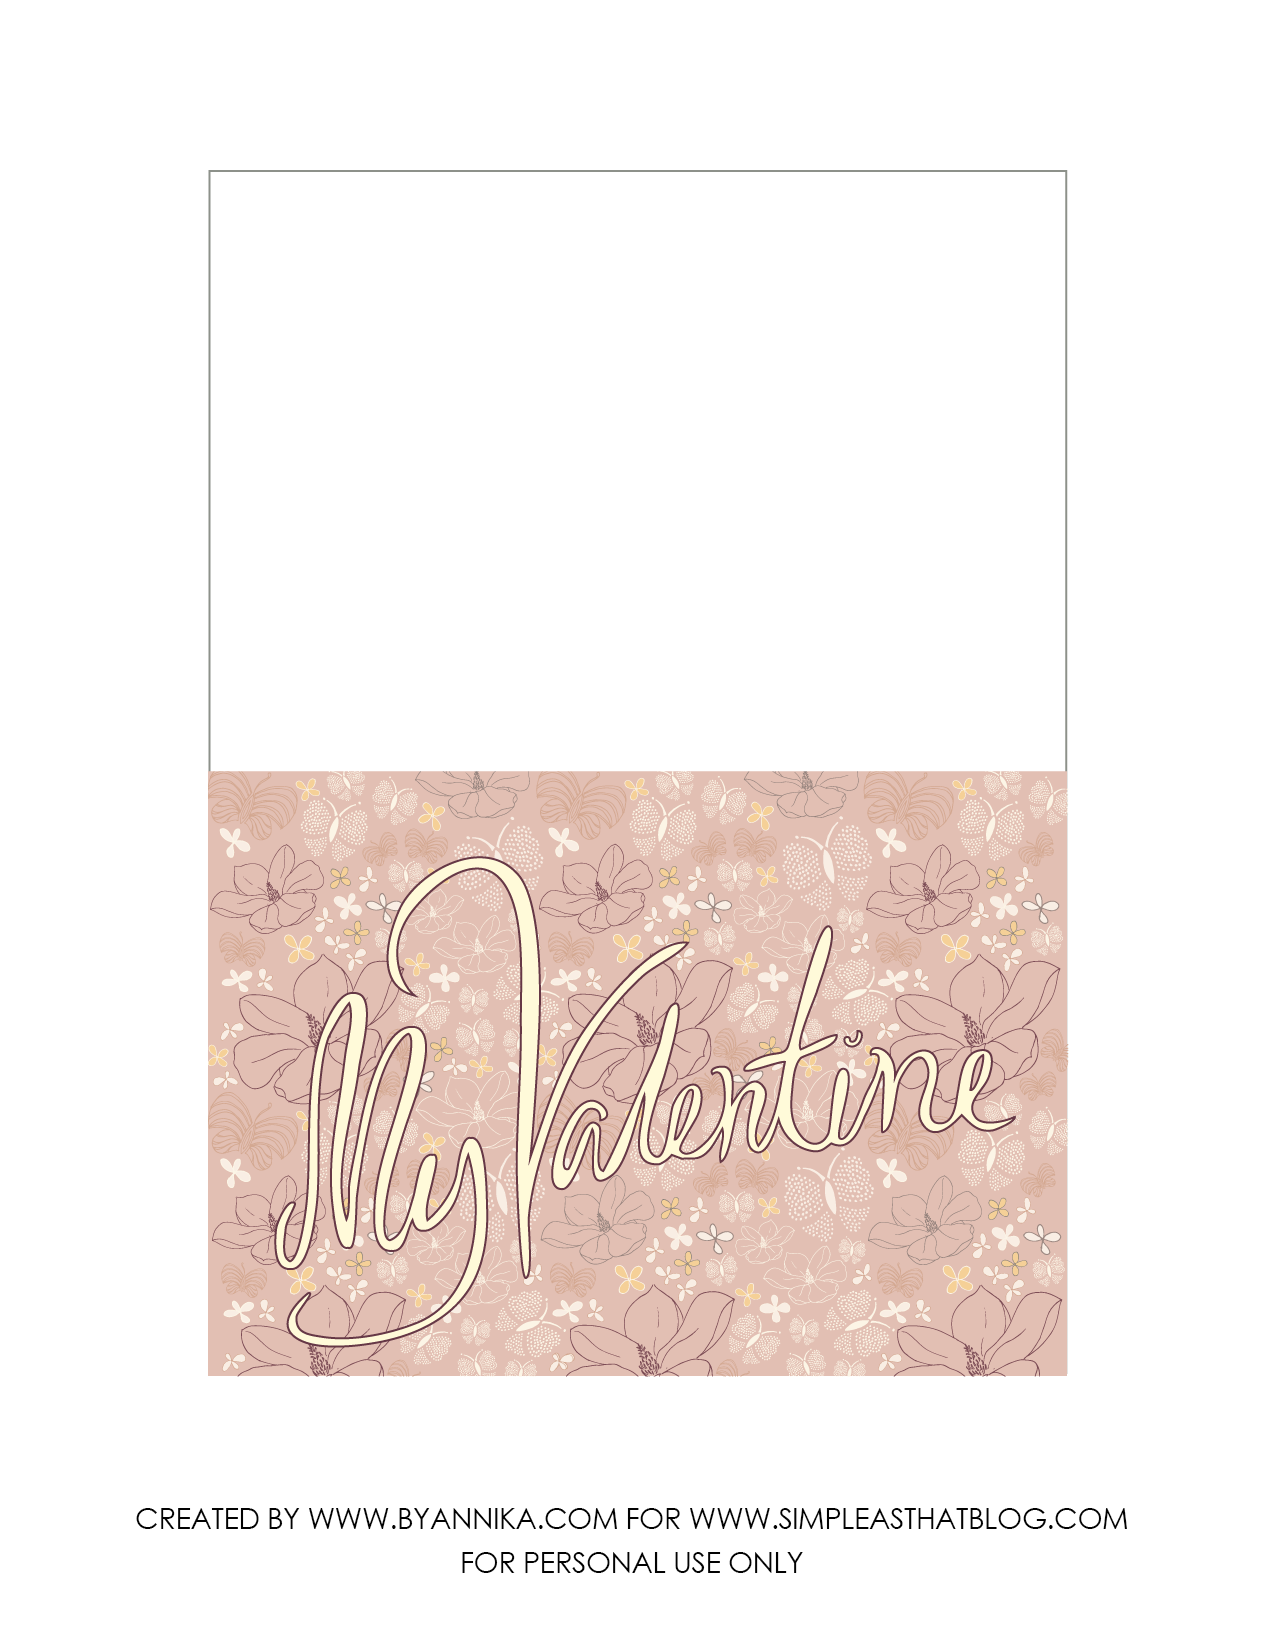
 Download your free card and box printable below:


