• About
    • About Rebecca
    • Meet the Team
    • Media Kit
    • FAQ
  • Photography
  • Holidays
  • Recipes
  • Printables
  • 2019 Calendar
  • Write for Us
  • Beyond Snapshots

Simple as That

Making Everyday Beautiful

Blog

5 Photos to Take This Halloween

Tuesday, October 25, 2016

I love Halloween – the kids’ excitement, the decorations, the costumes, everything! As a photographer who likes to document daily life, it’s also a great time to take some different types of images.  I know that the one thing you are going to take photos of each year is your kids dressed up in their costumes, but here are ideas for 5 other photos to take this Halloween – along with tips on how to take them!

5-photos-to-take-this-halloween-7

1) Jack O Lanterns

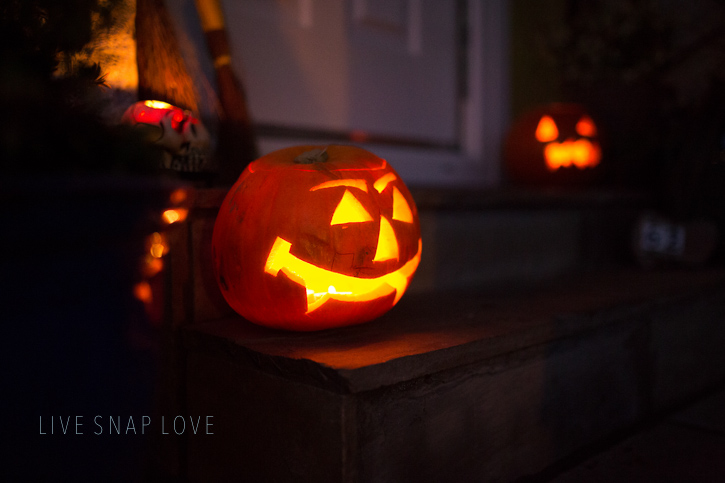
You absolutely have to capture an image of a glowing Jack “o” Lantern!

Here’s how to do it: Turn off all the lights and be sure to turn off the flash on your camera too – you want the only light source to be your pumpkin.  You want to make sure that it is dark when you do this too – doing it in daylight just isn’t the same! It is also really helpful if you can put your camera on a tripod or other stable surface, as your shutter speed is going to be low and that can lead to blur.  A useful trick is to add more candles than you normally would, to get a really good glow.
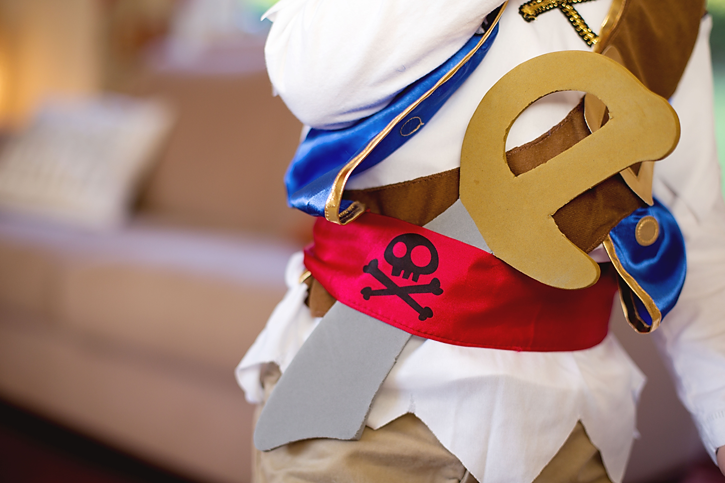
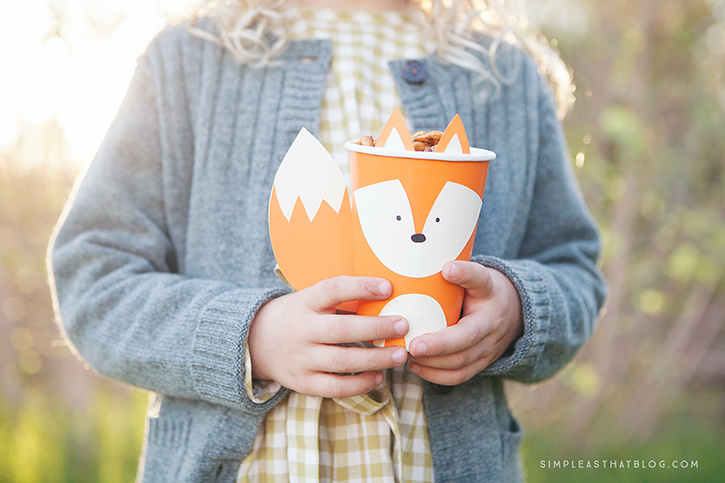
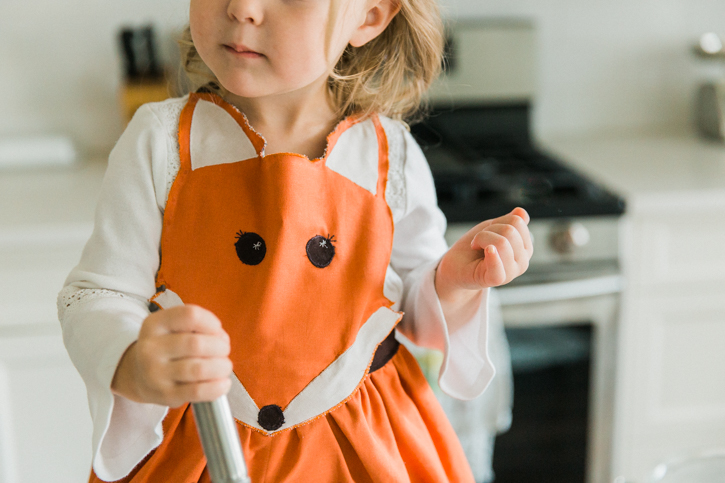
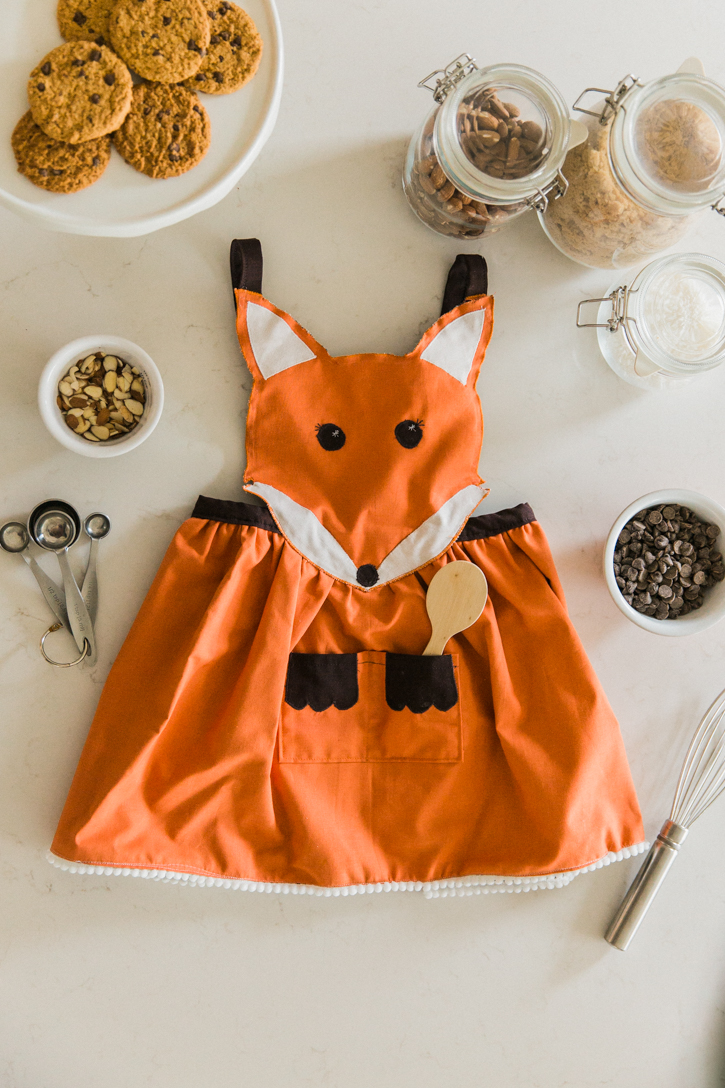
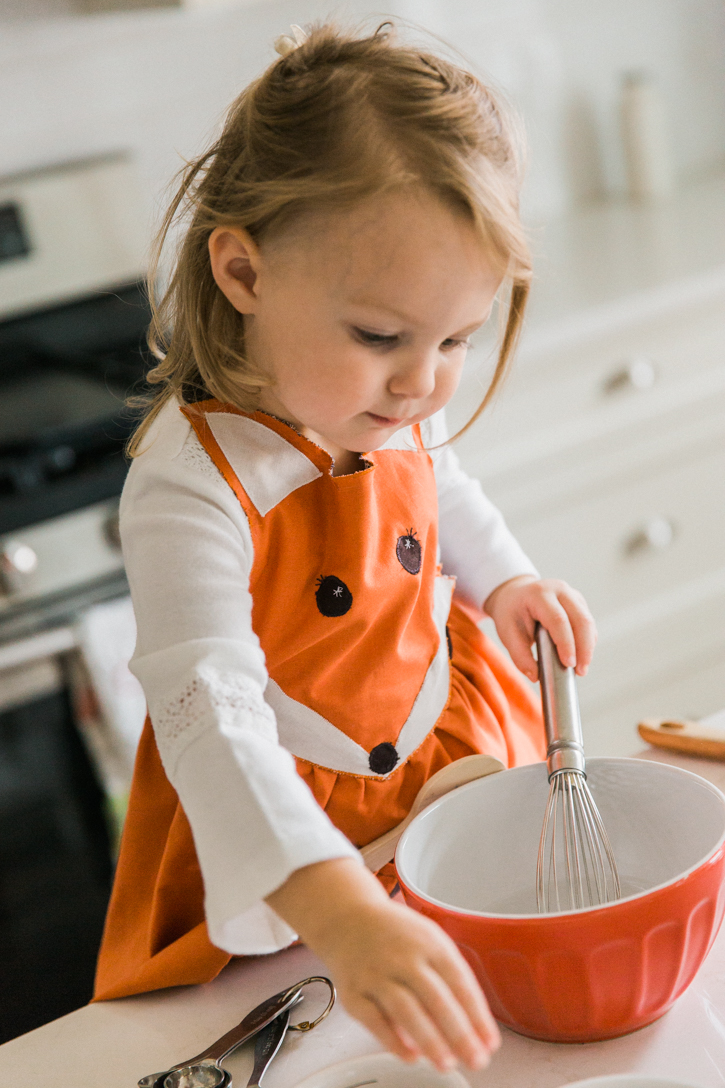
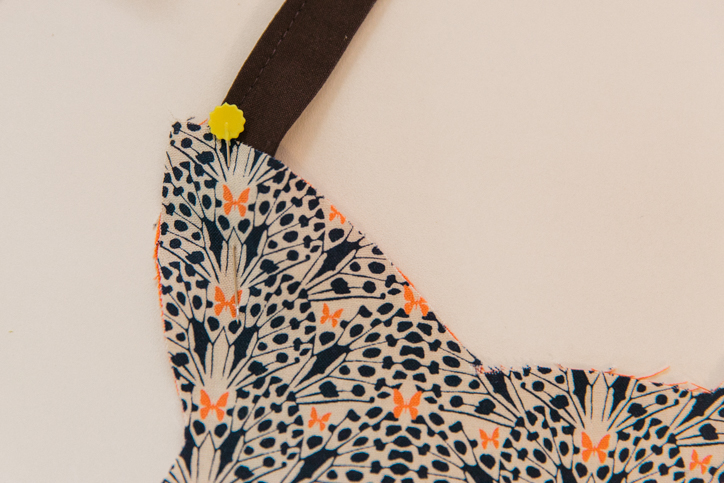
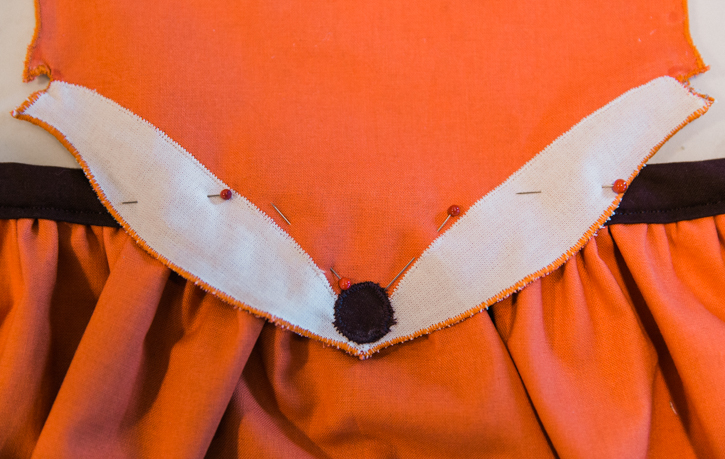
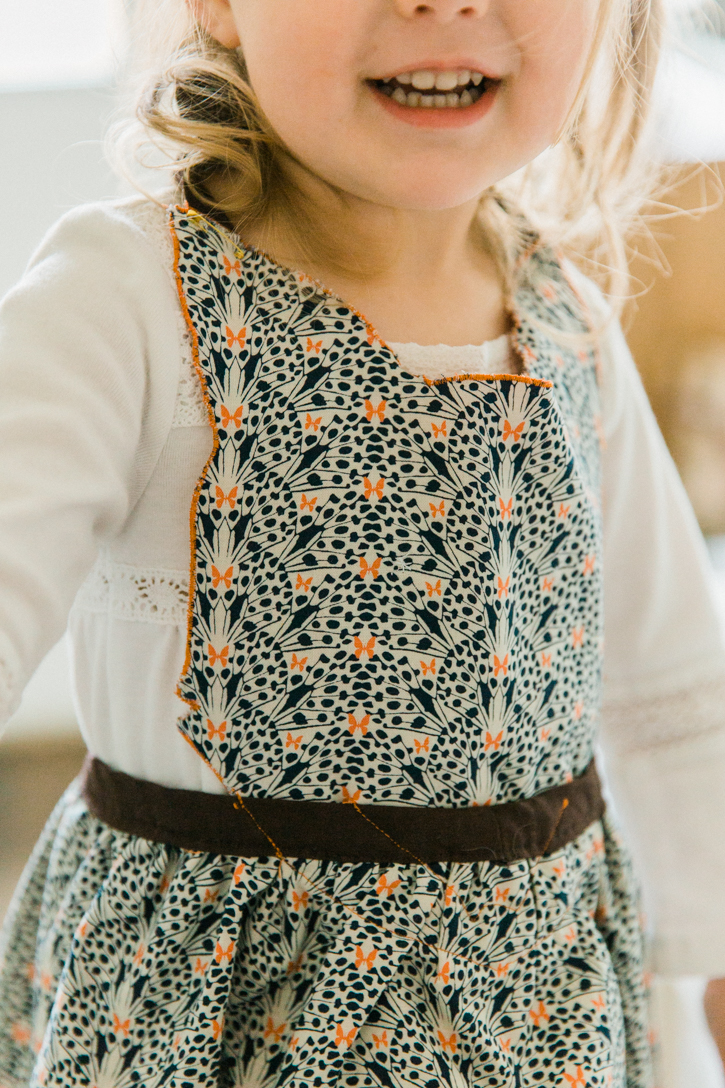
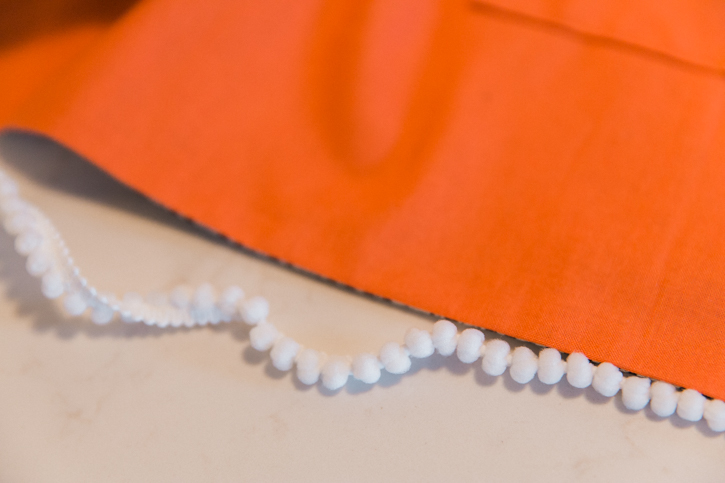
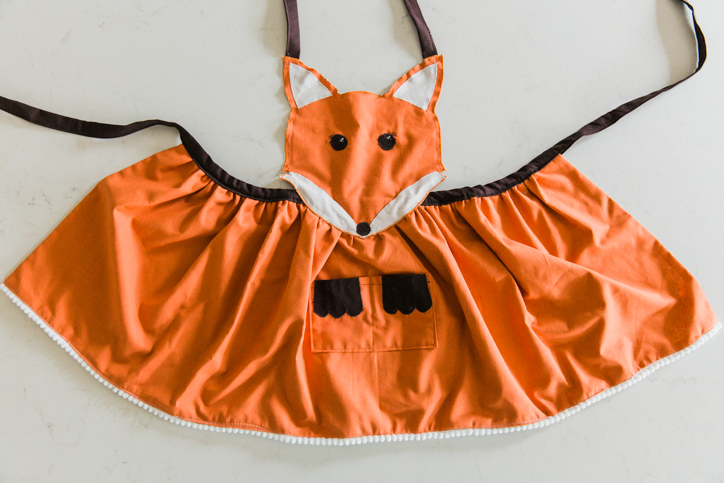
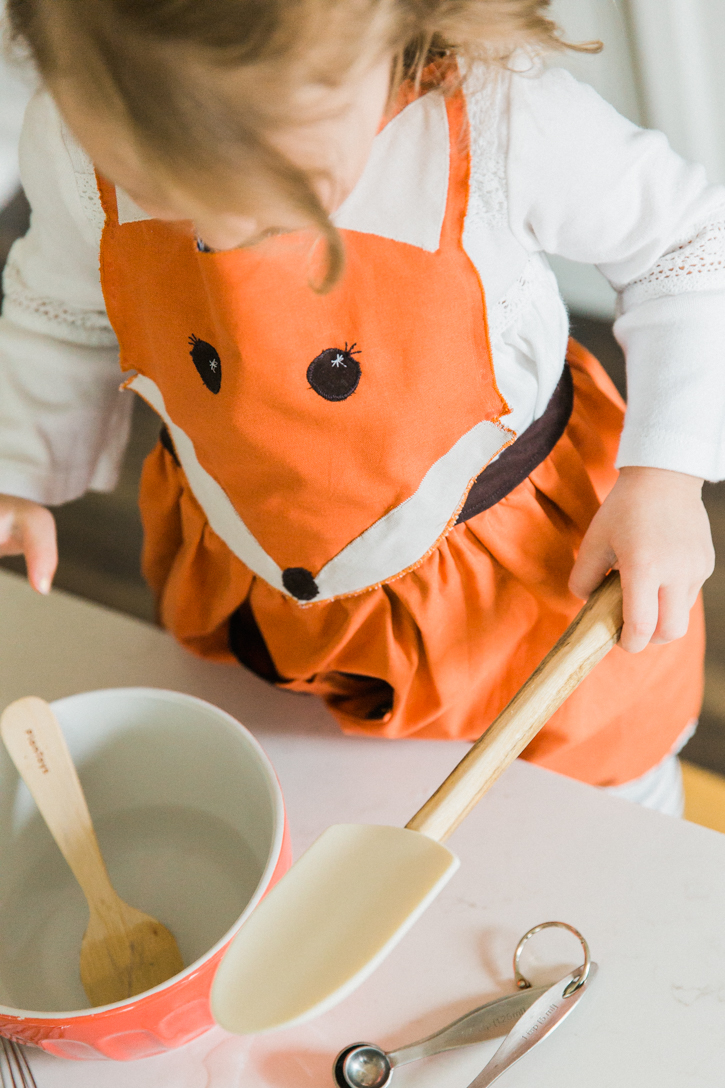
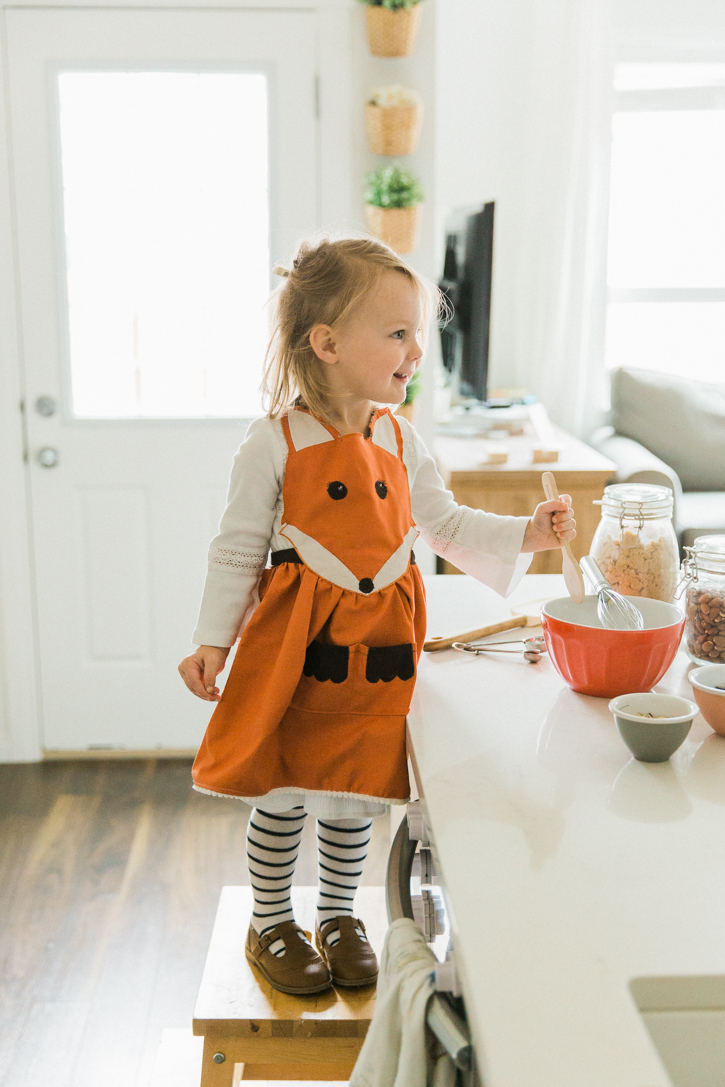
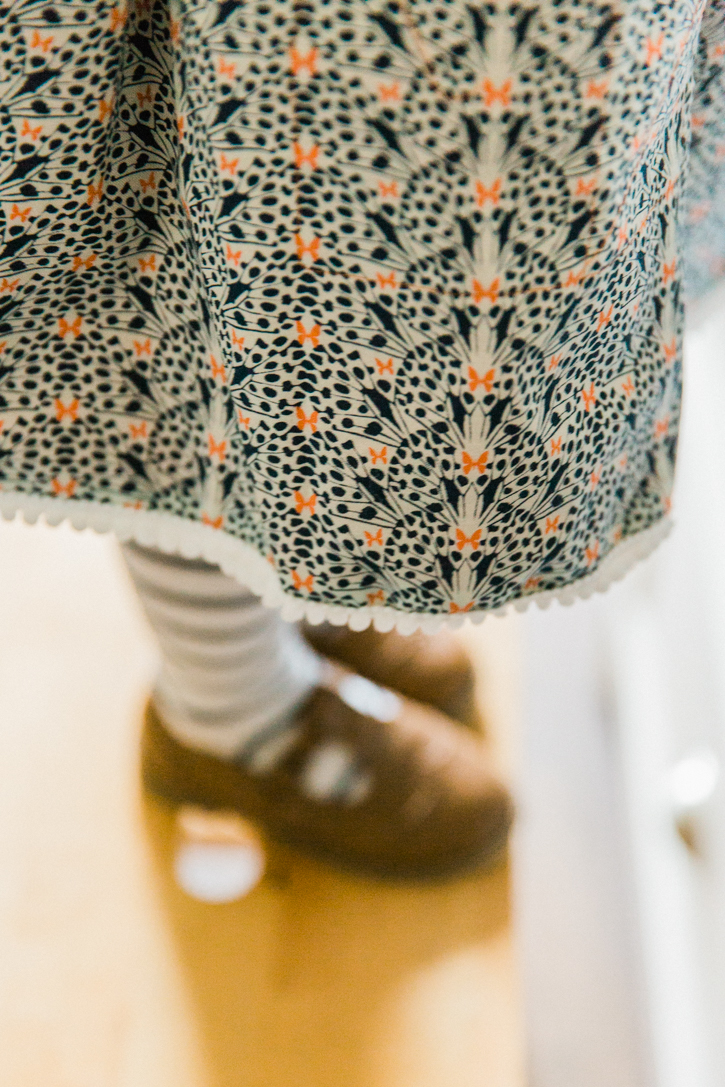
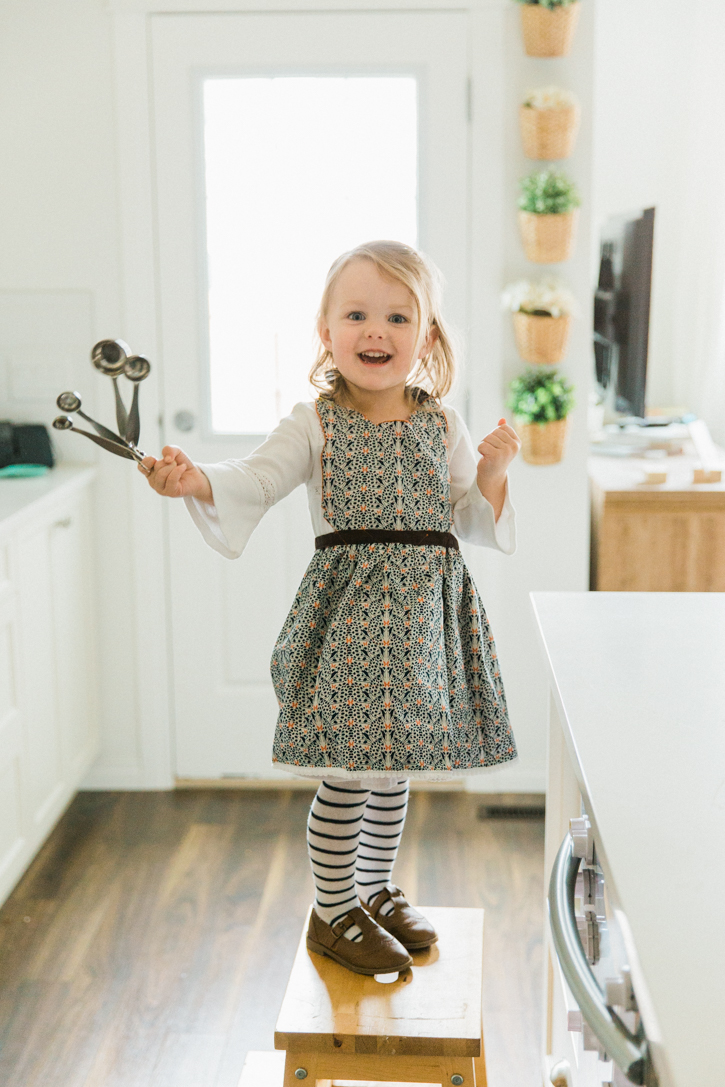
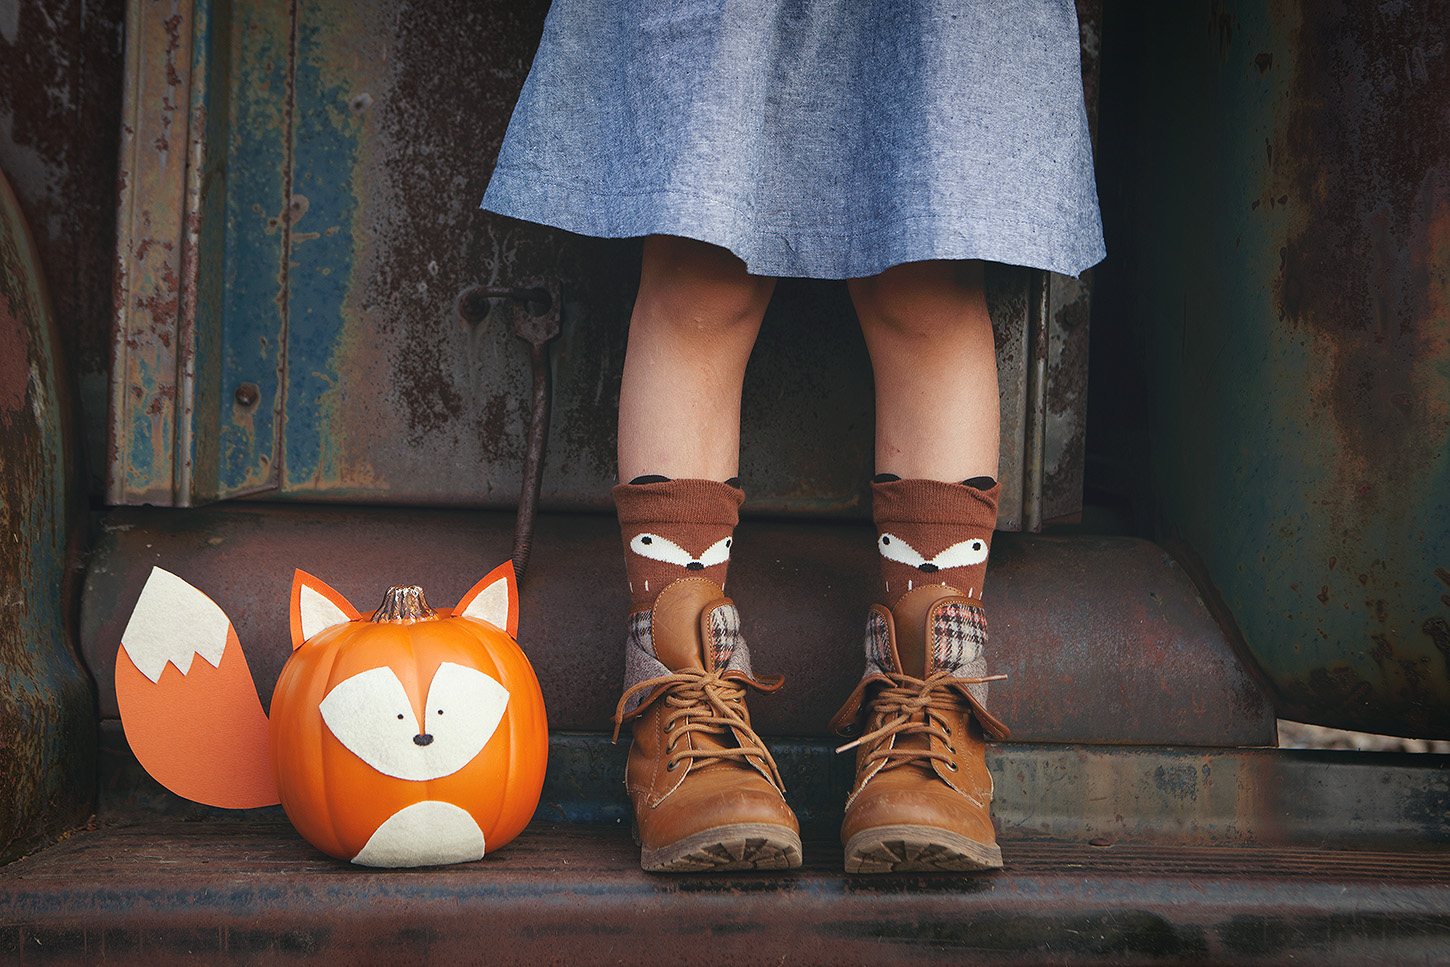
5-photos-to-take-this-halloween-5

2) Costume Details

Of course, you are going to get images of your kids in their full costume, but it’s also nice to get pictures of the DETAILS of the outfit. Get in nice and close and take photos of the various elements of the costume. It is actually better to do this one during daylight, or in a room with lots of lamps, as you will need plenty of light to work with! This is one photo that is great taken ahead of time.

5-photos-to-take-this-halloween-3

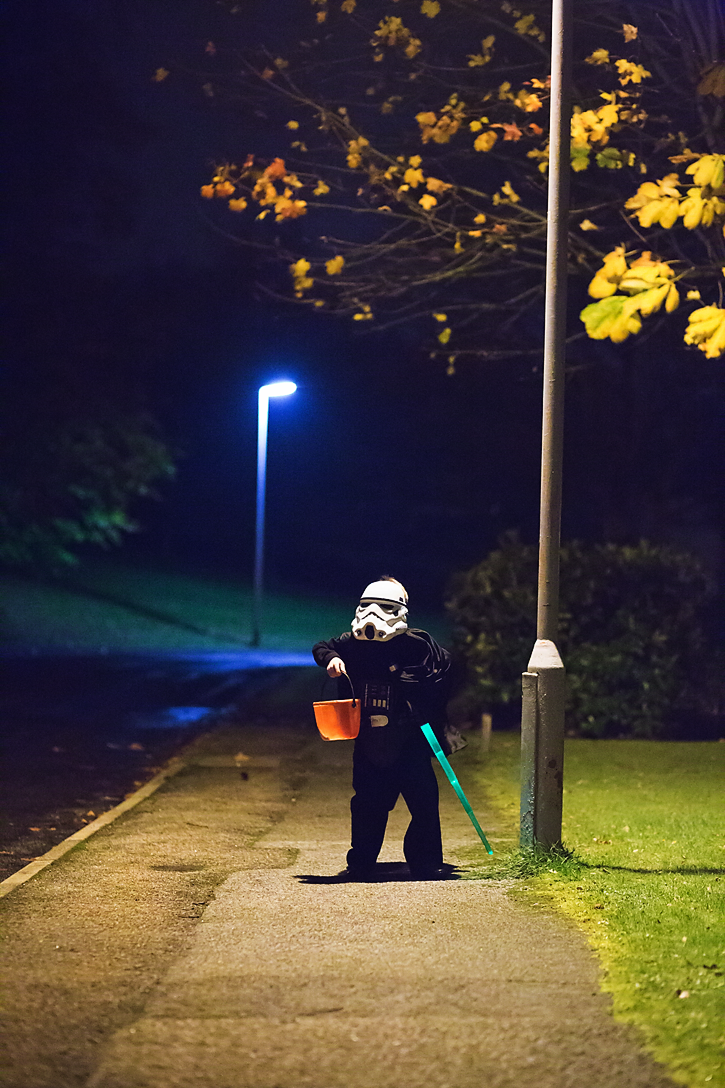
3) Trick or Treating

The downside of capturing the kids trick or treating is that it is usually dark by the time you want to take photos, and that’s usually when the dreaded flash pops up. As that bright, glaring light will ruin the atmosphere, turn off your flash and try to capture your subject when they are under or in front of a light source, such as light from a front door, or when they are under a street lamp.  Your subject will be bright and well-lit, but the surrounding area will fall into darkness and keep that spooky feel.
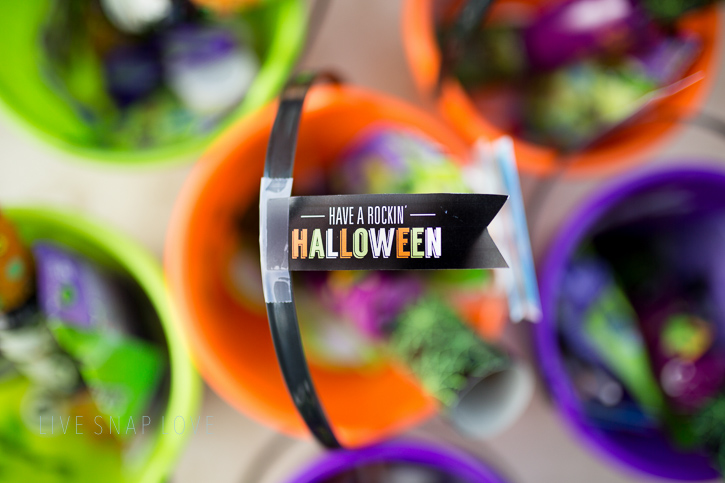
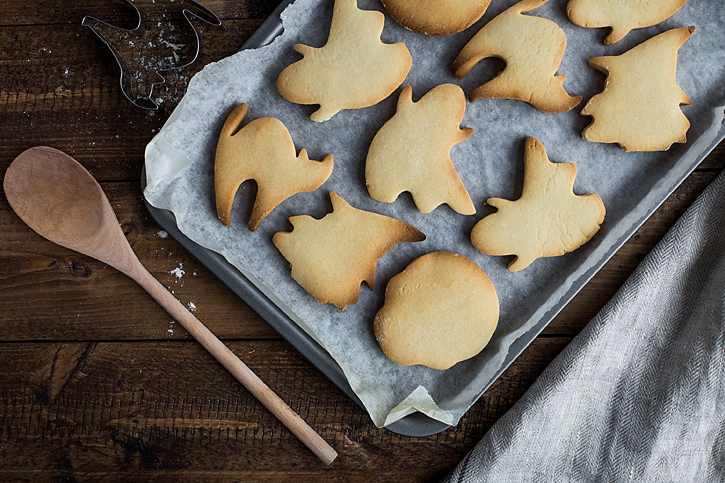
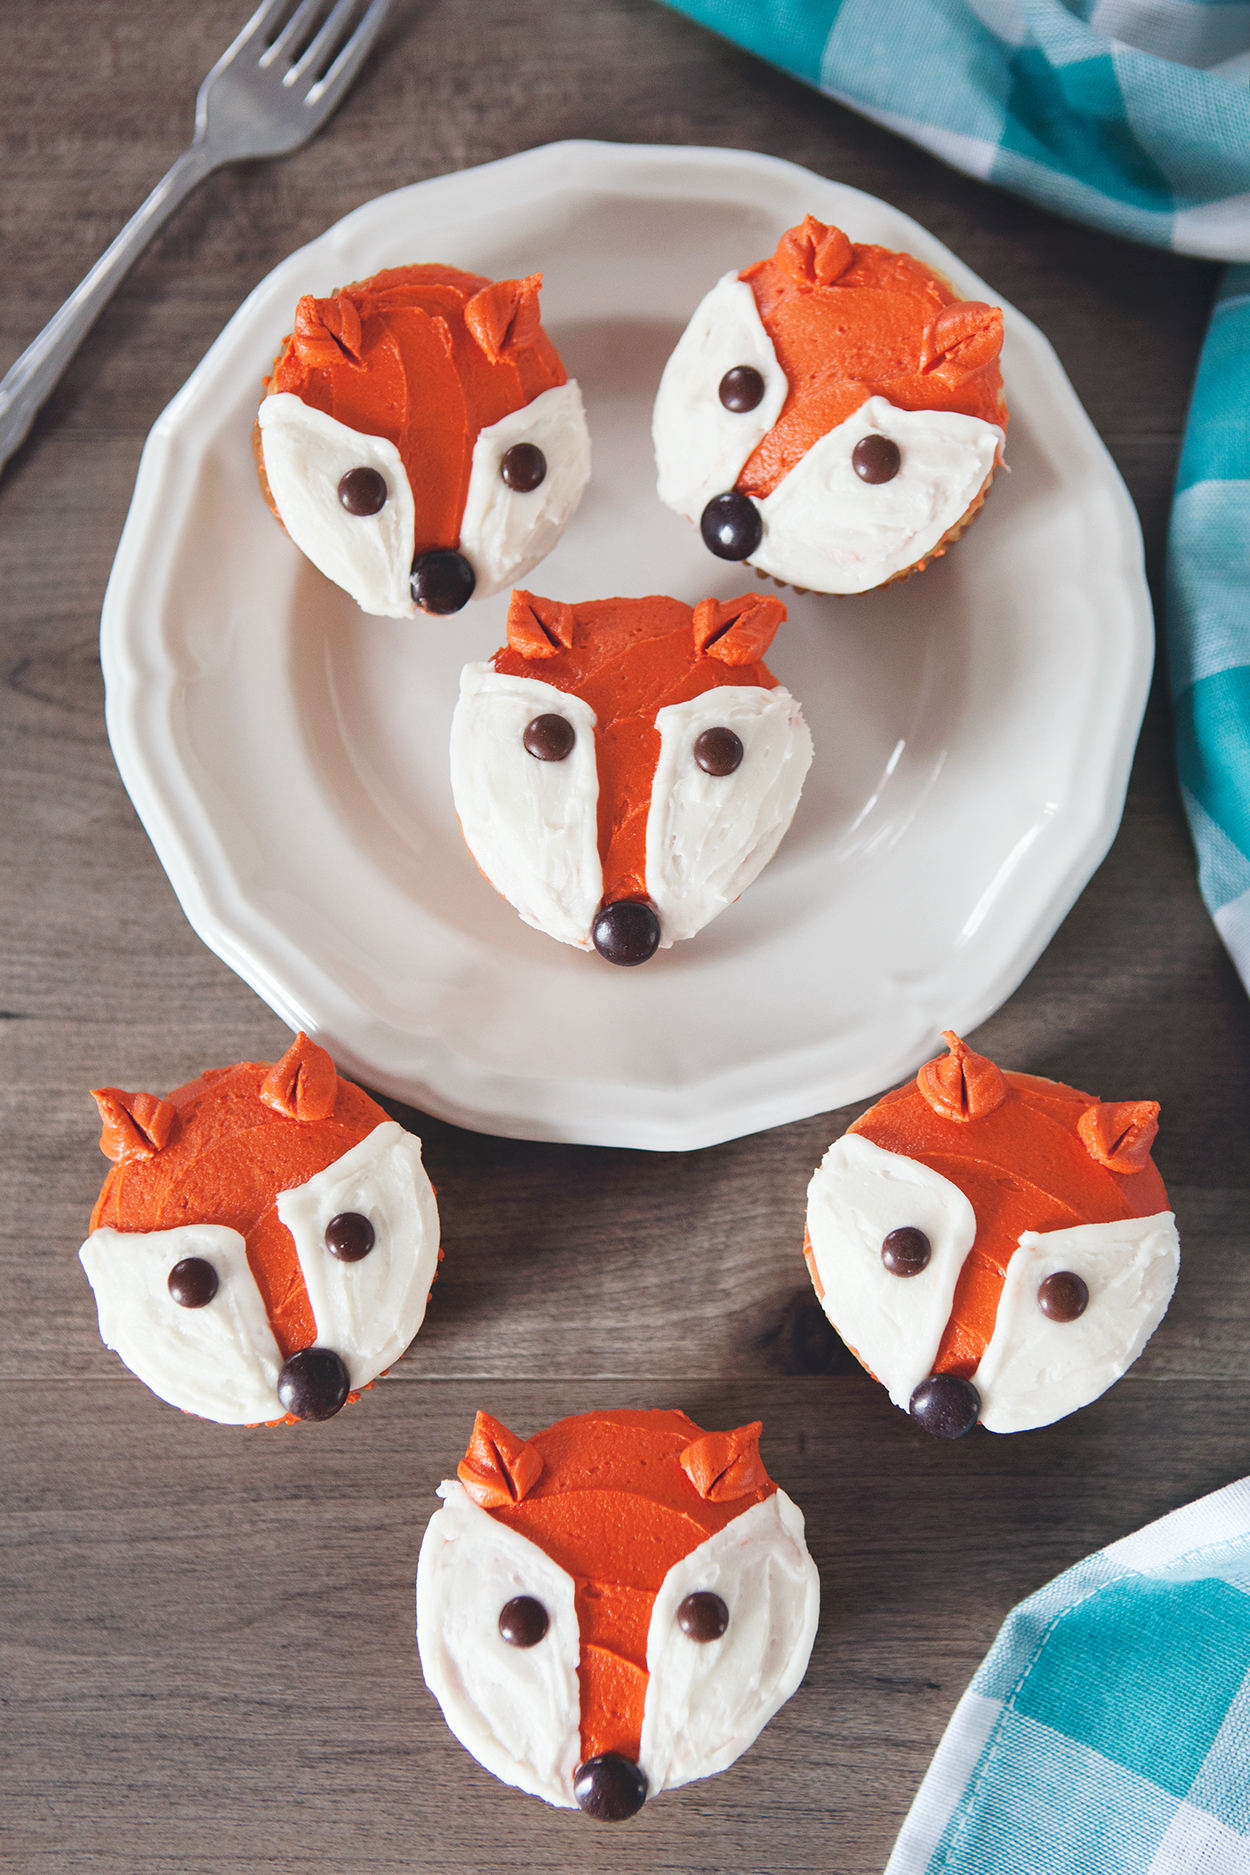
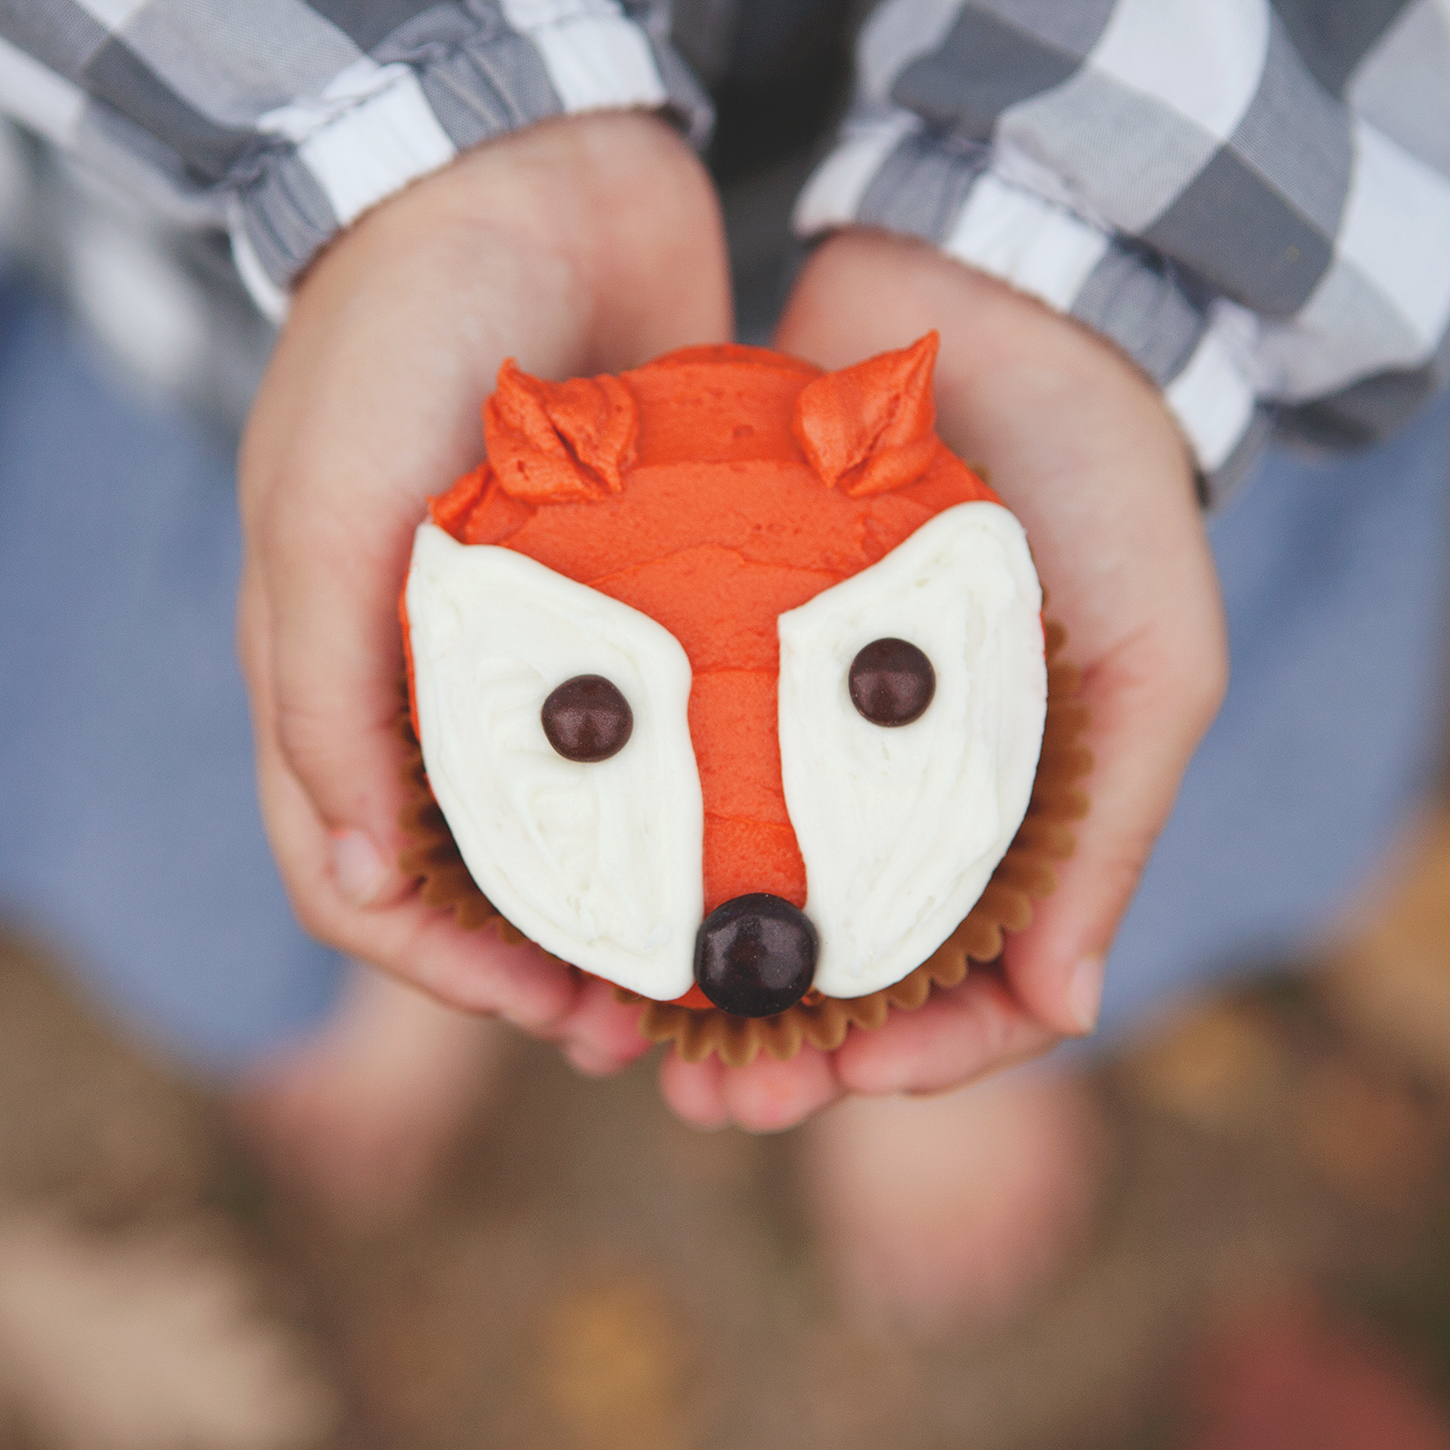
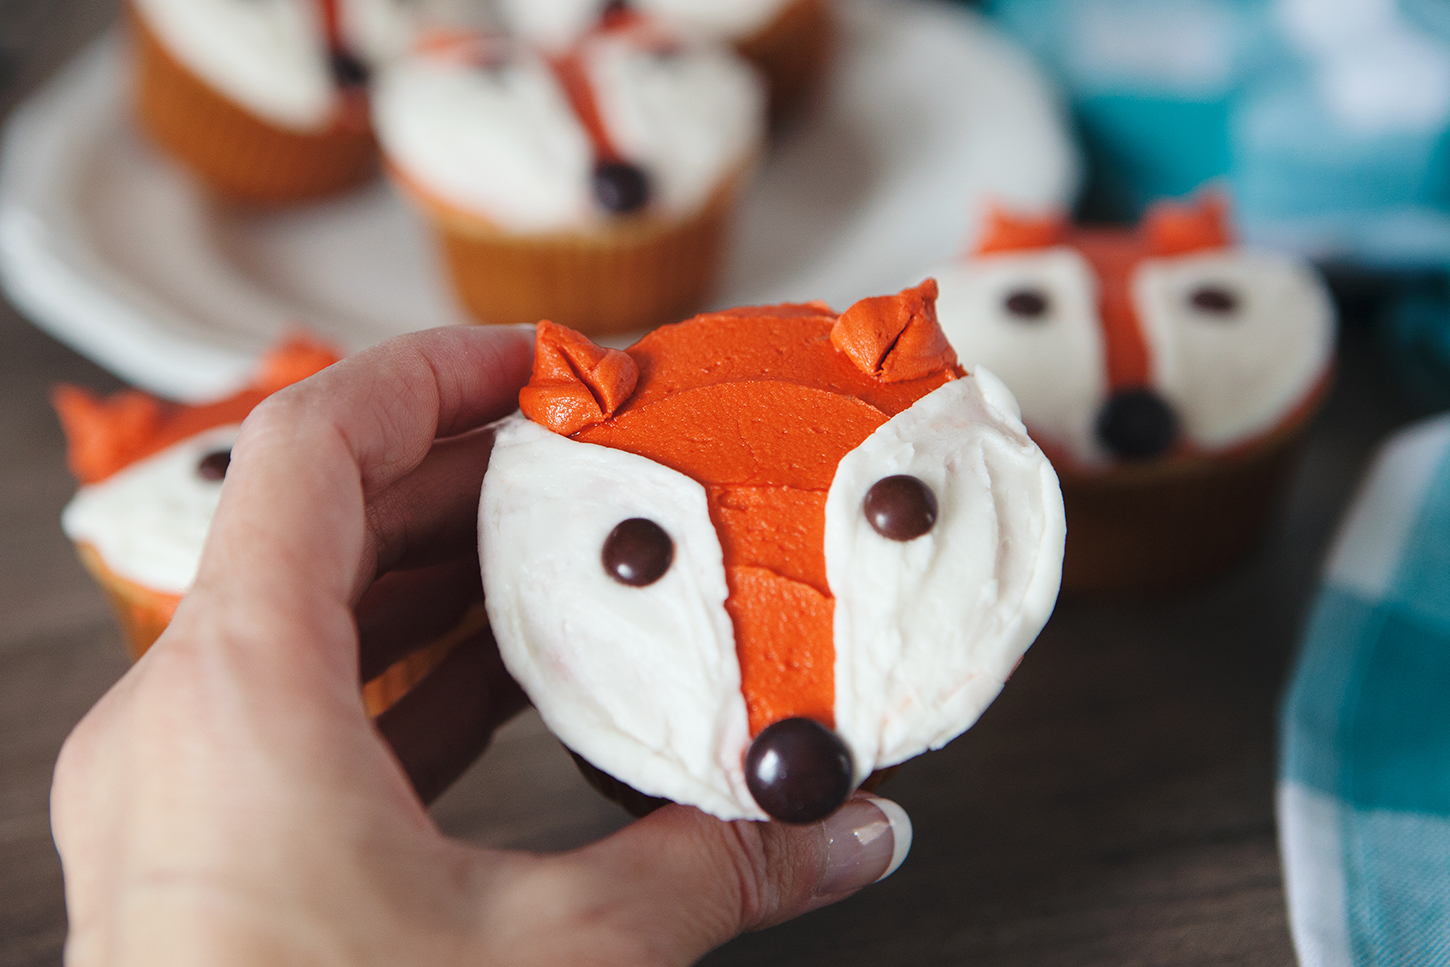
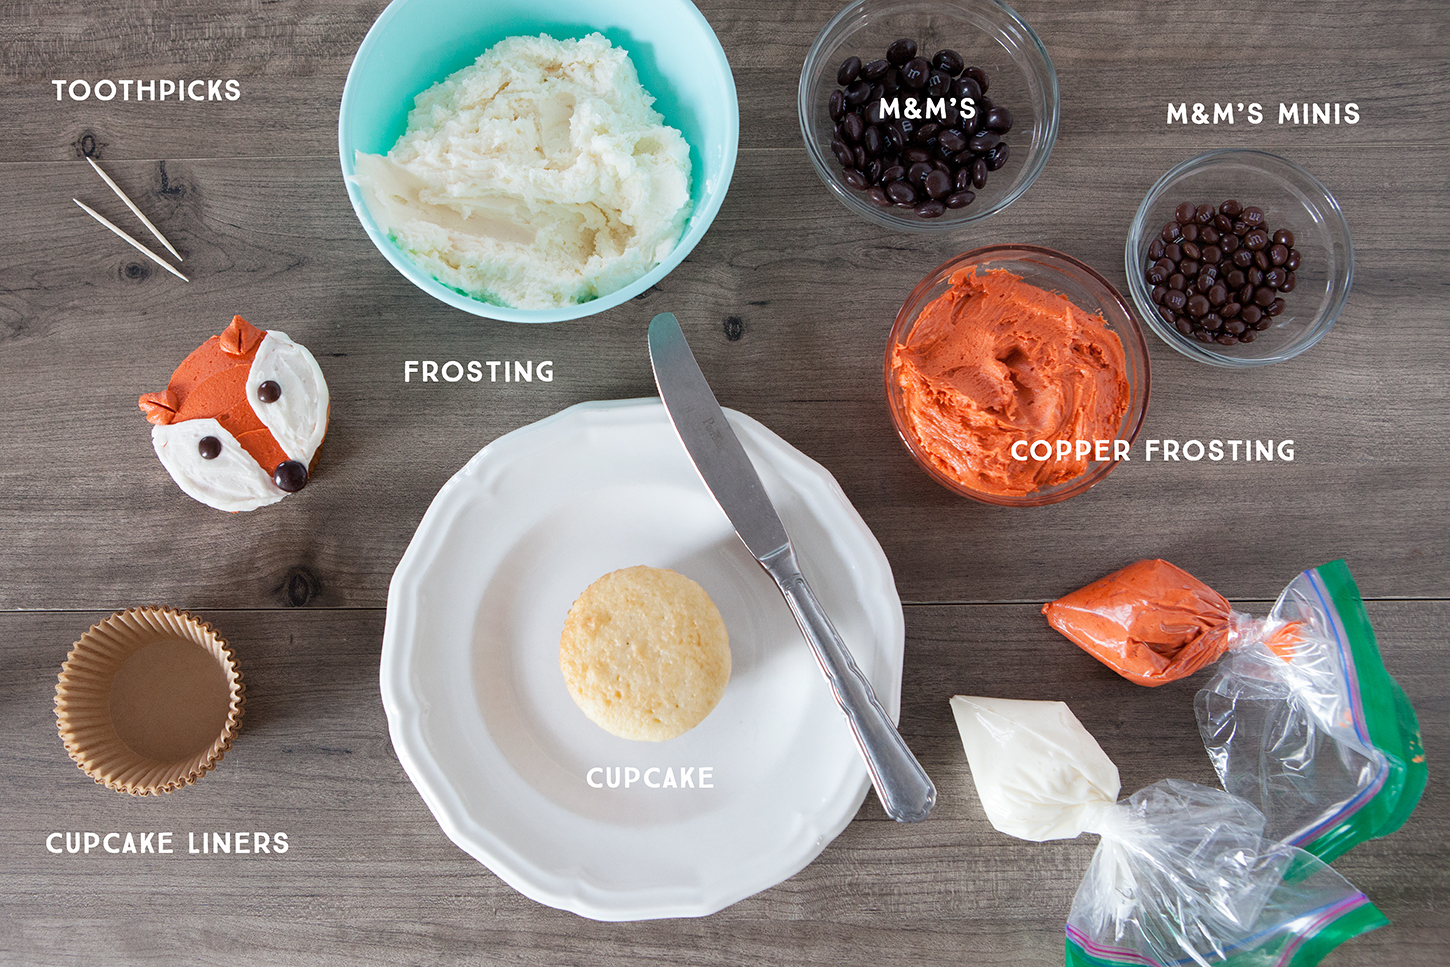
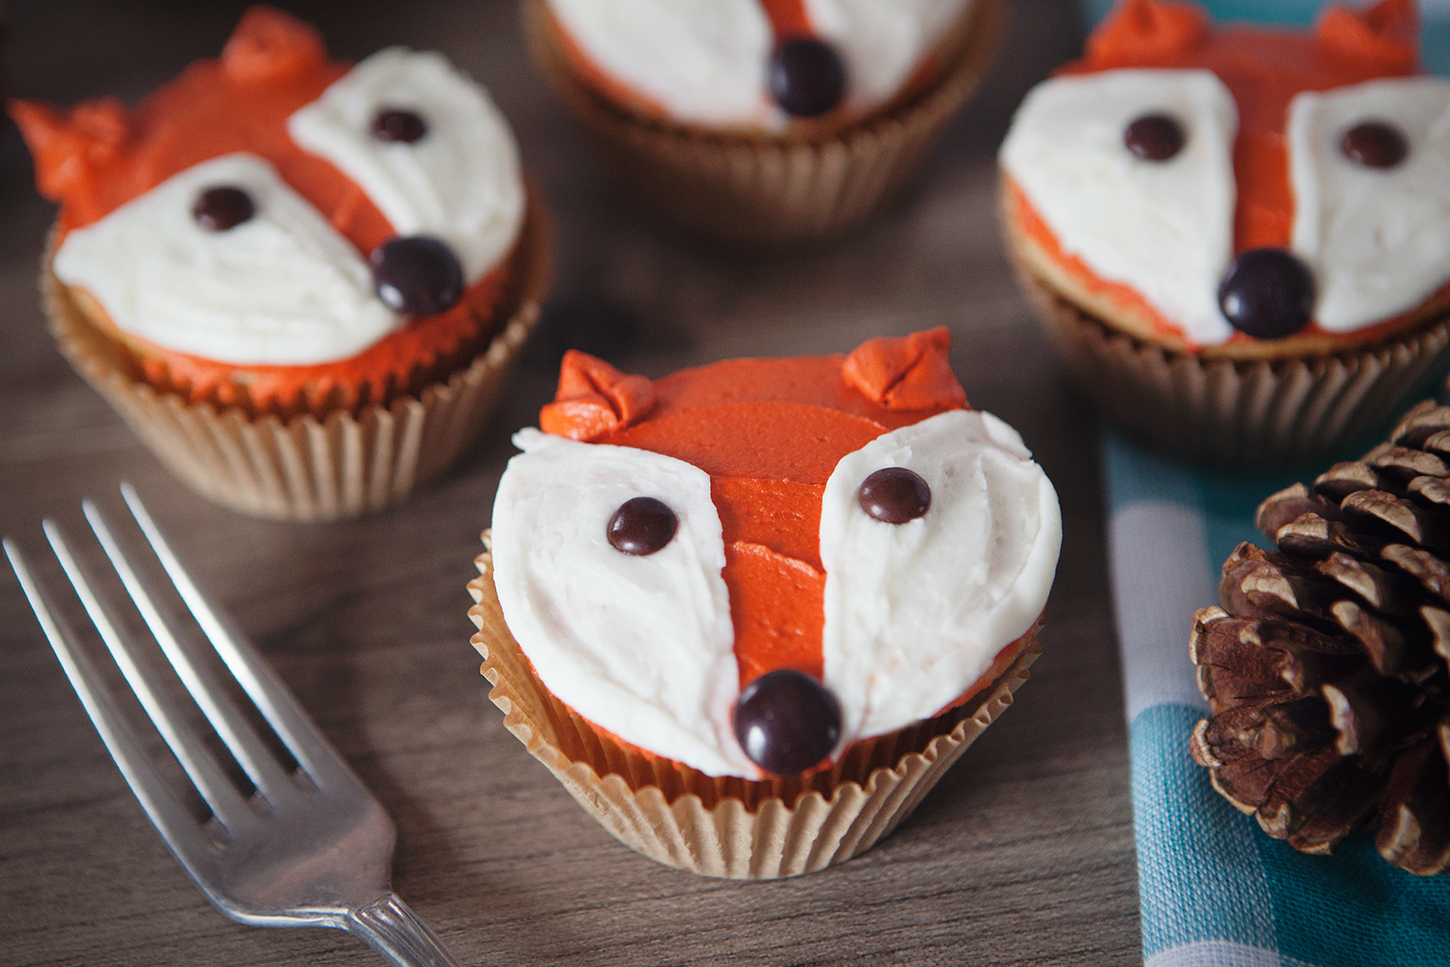
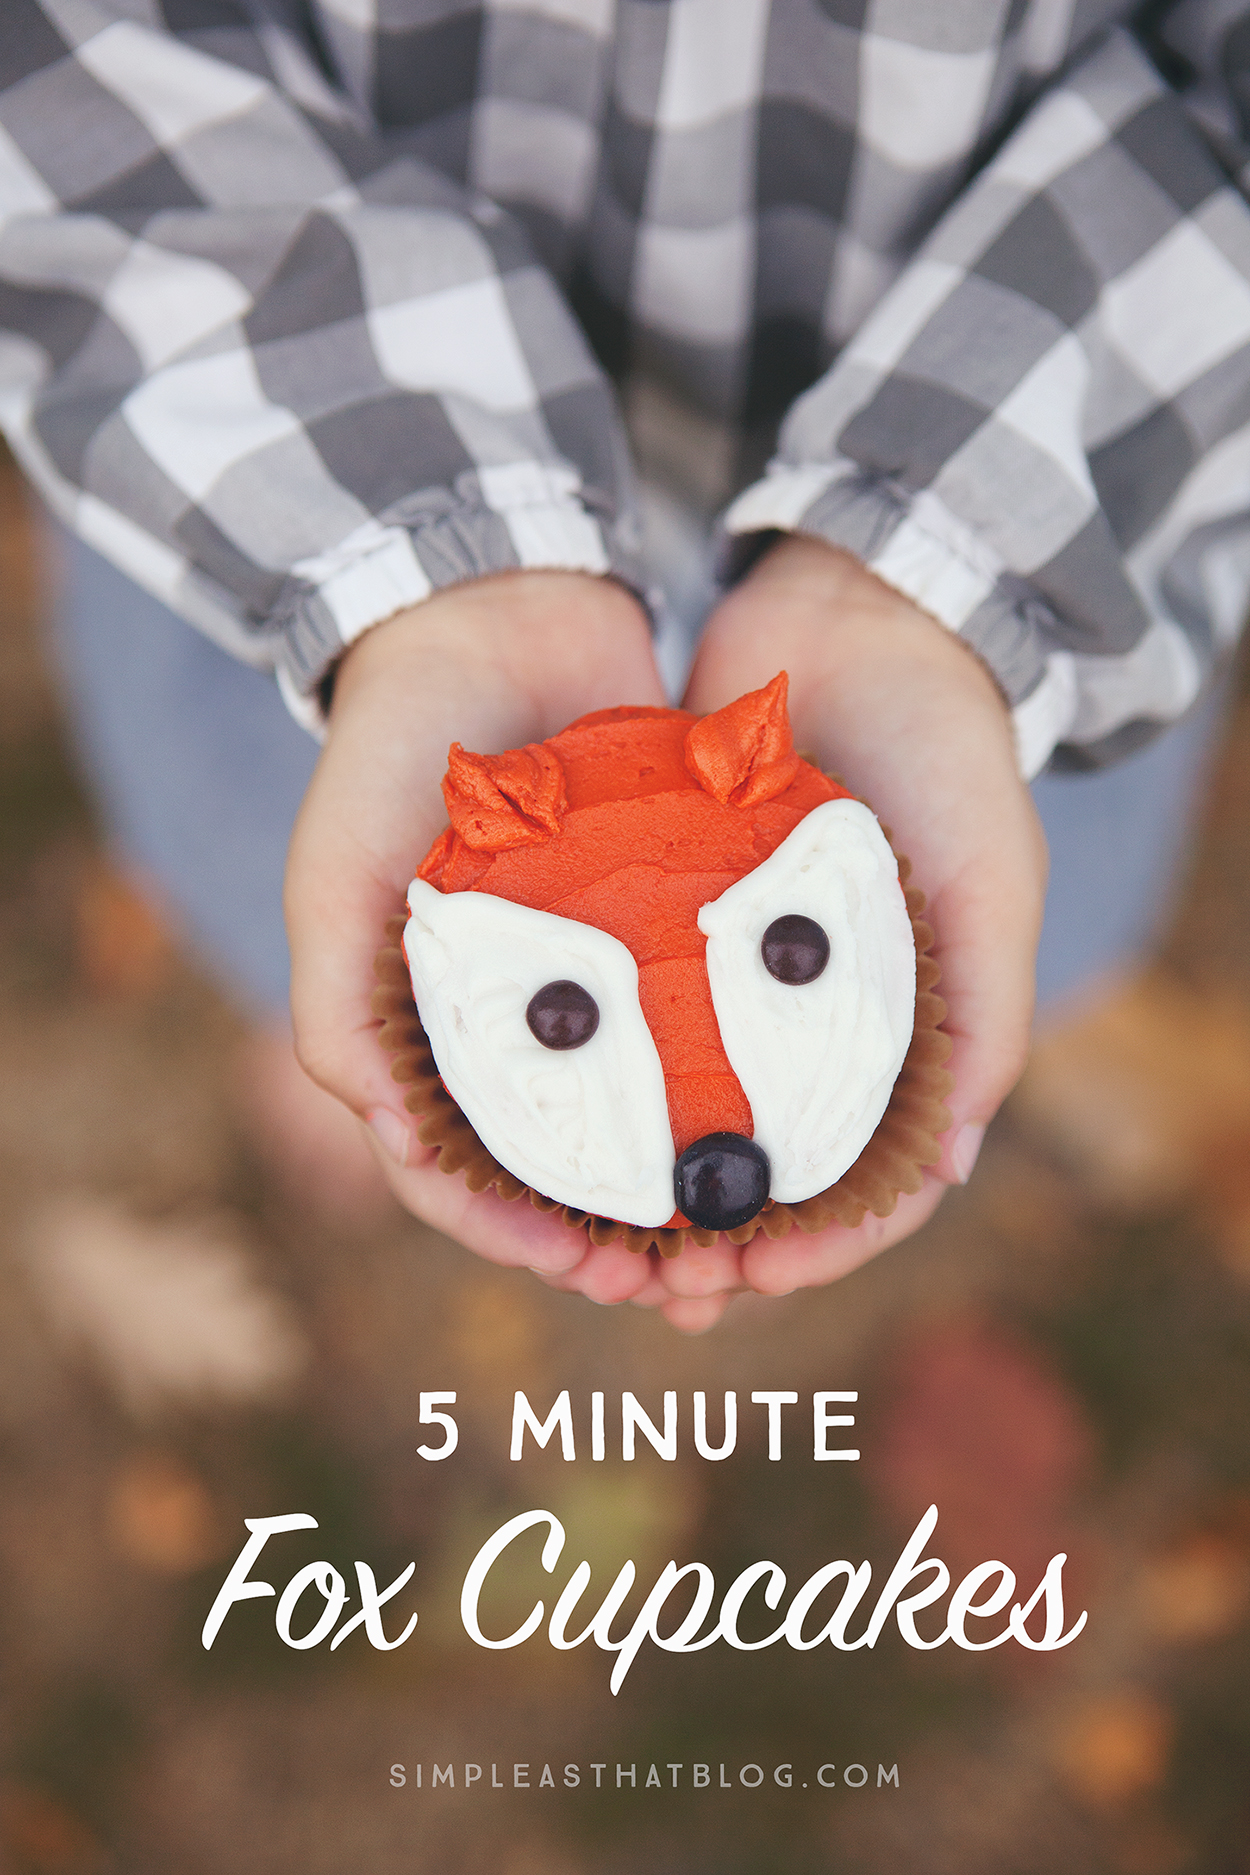
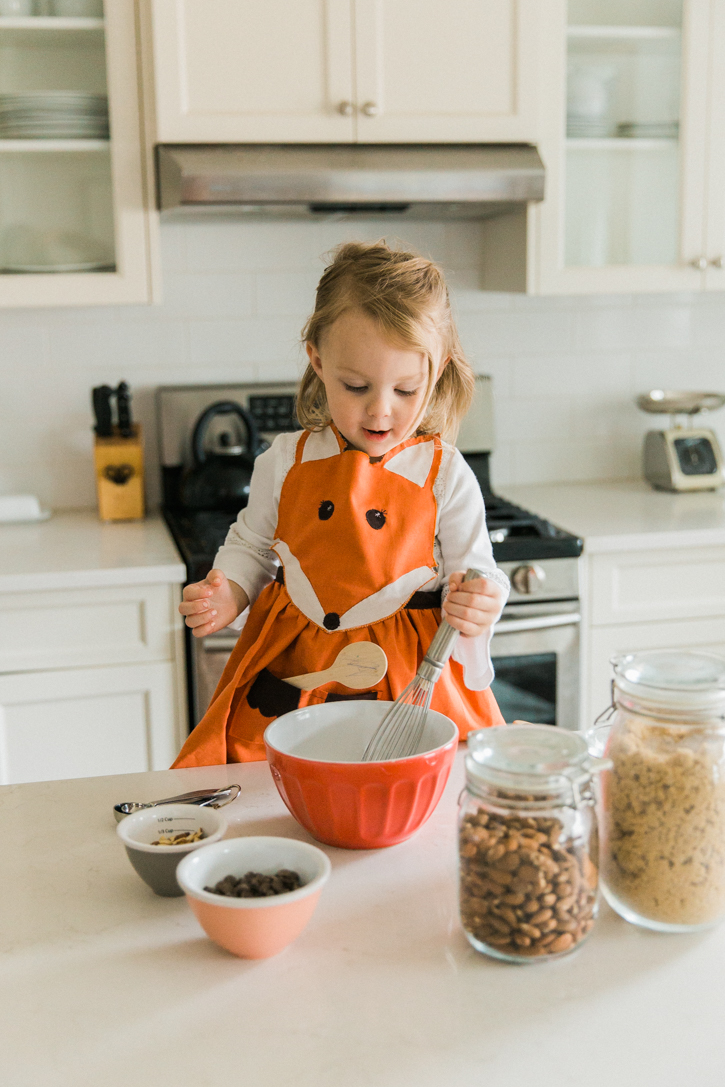
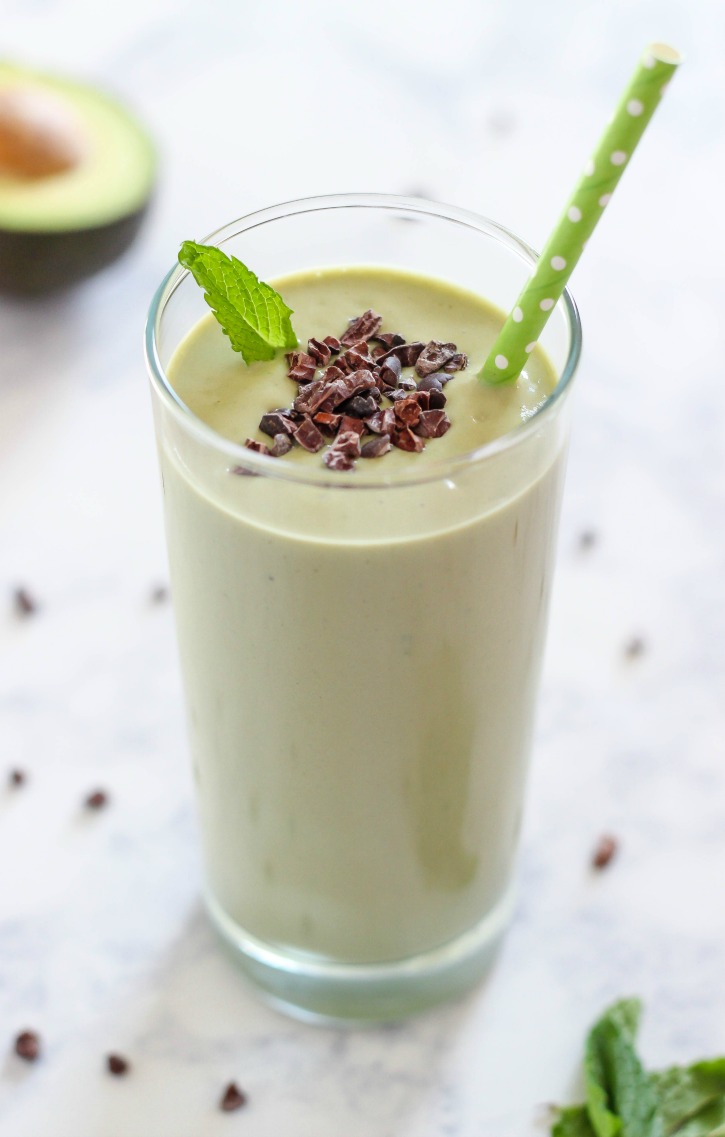
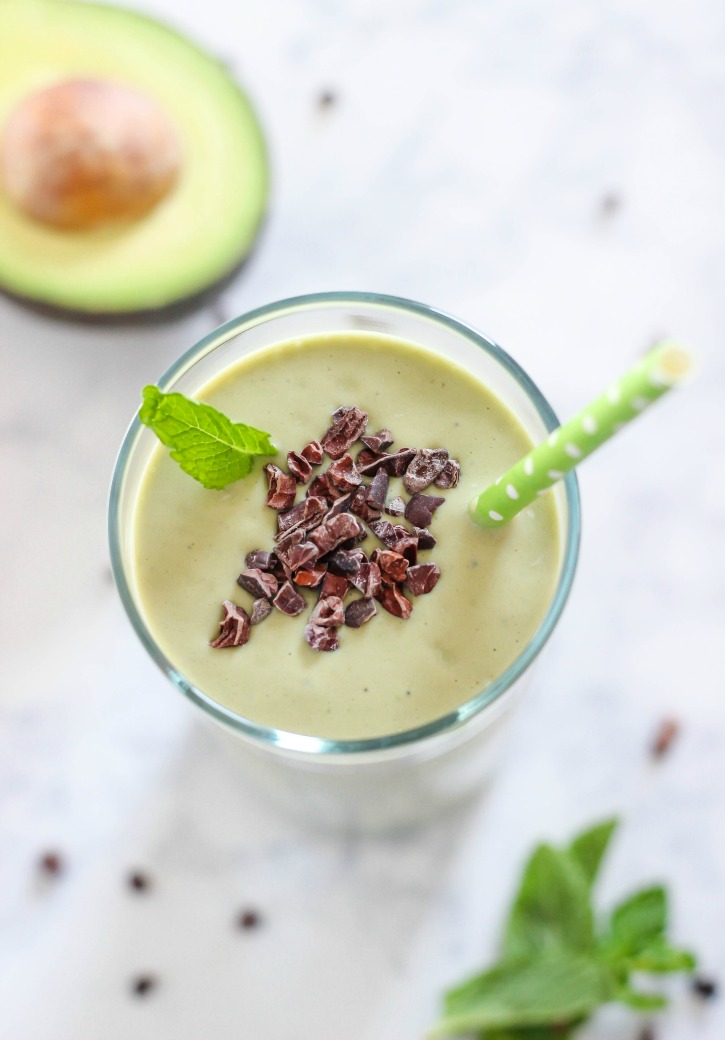
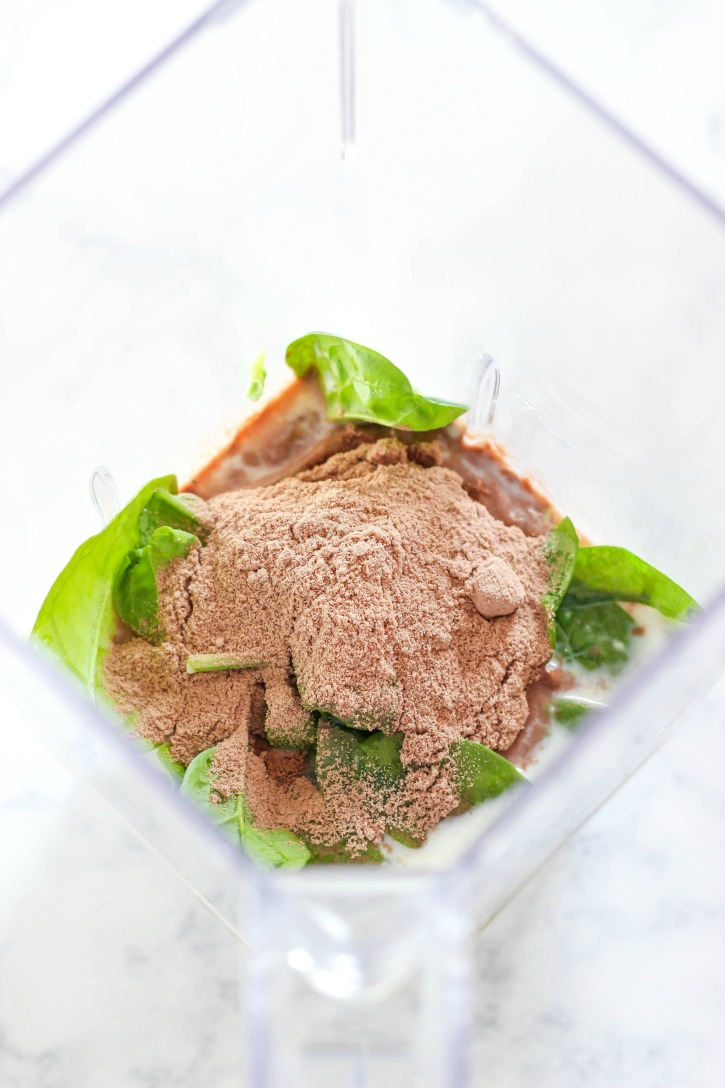
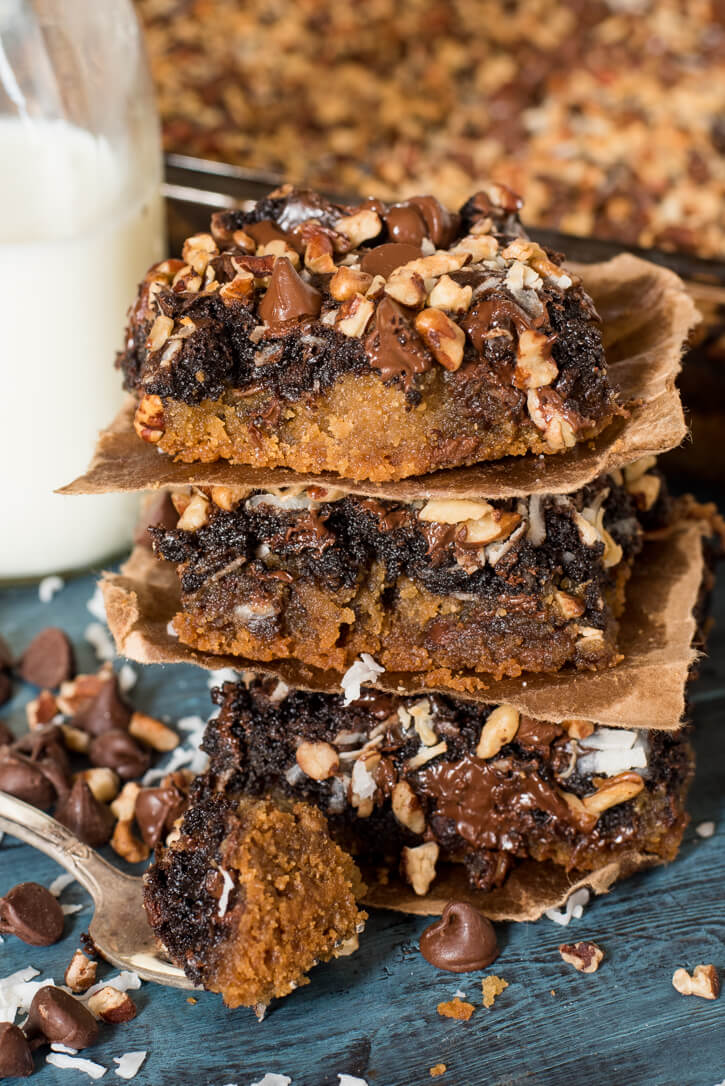
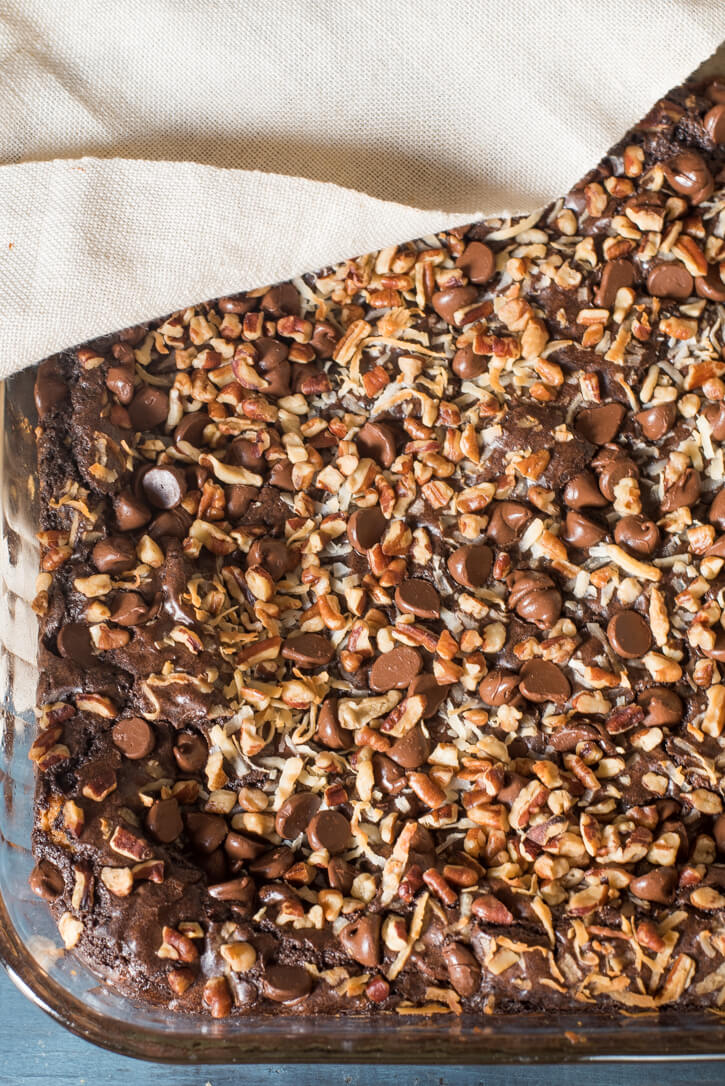
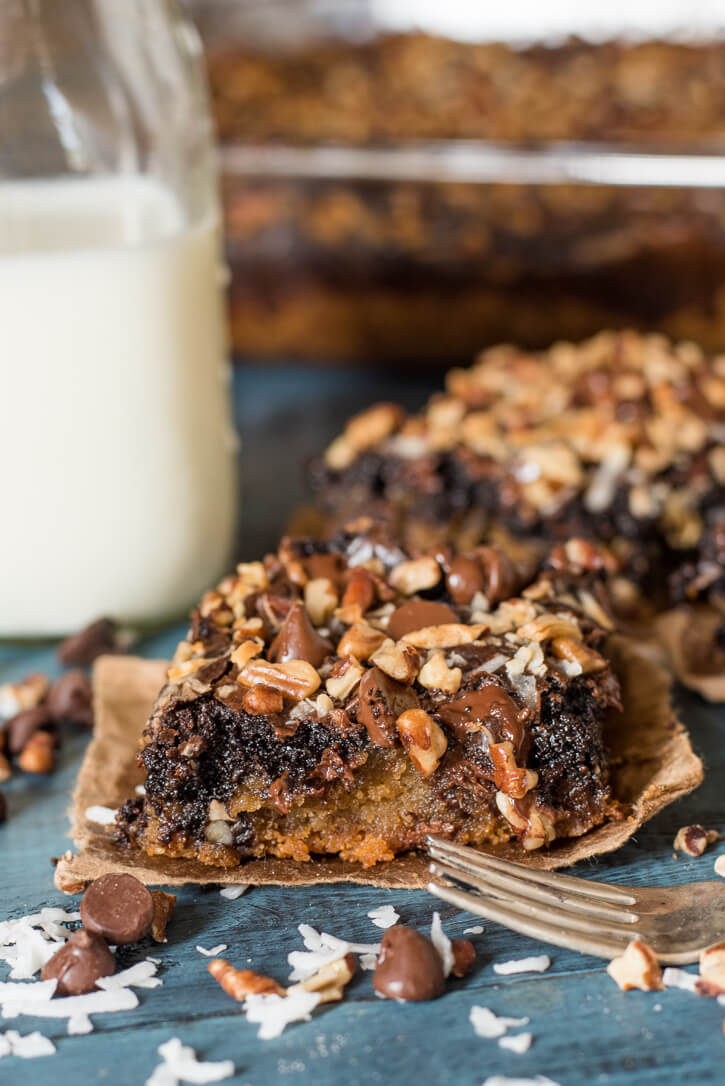
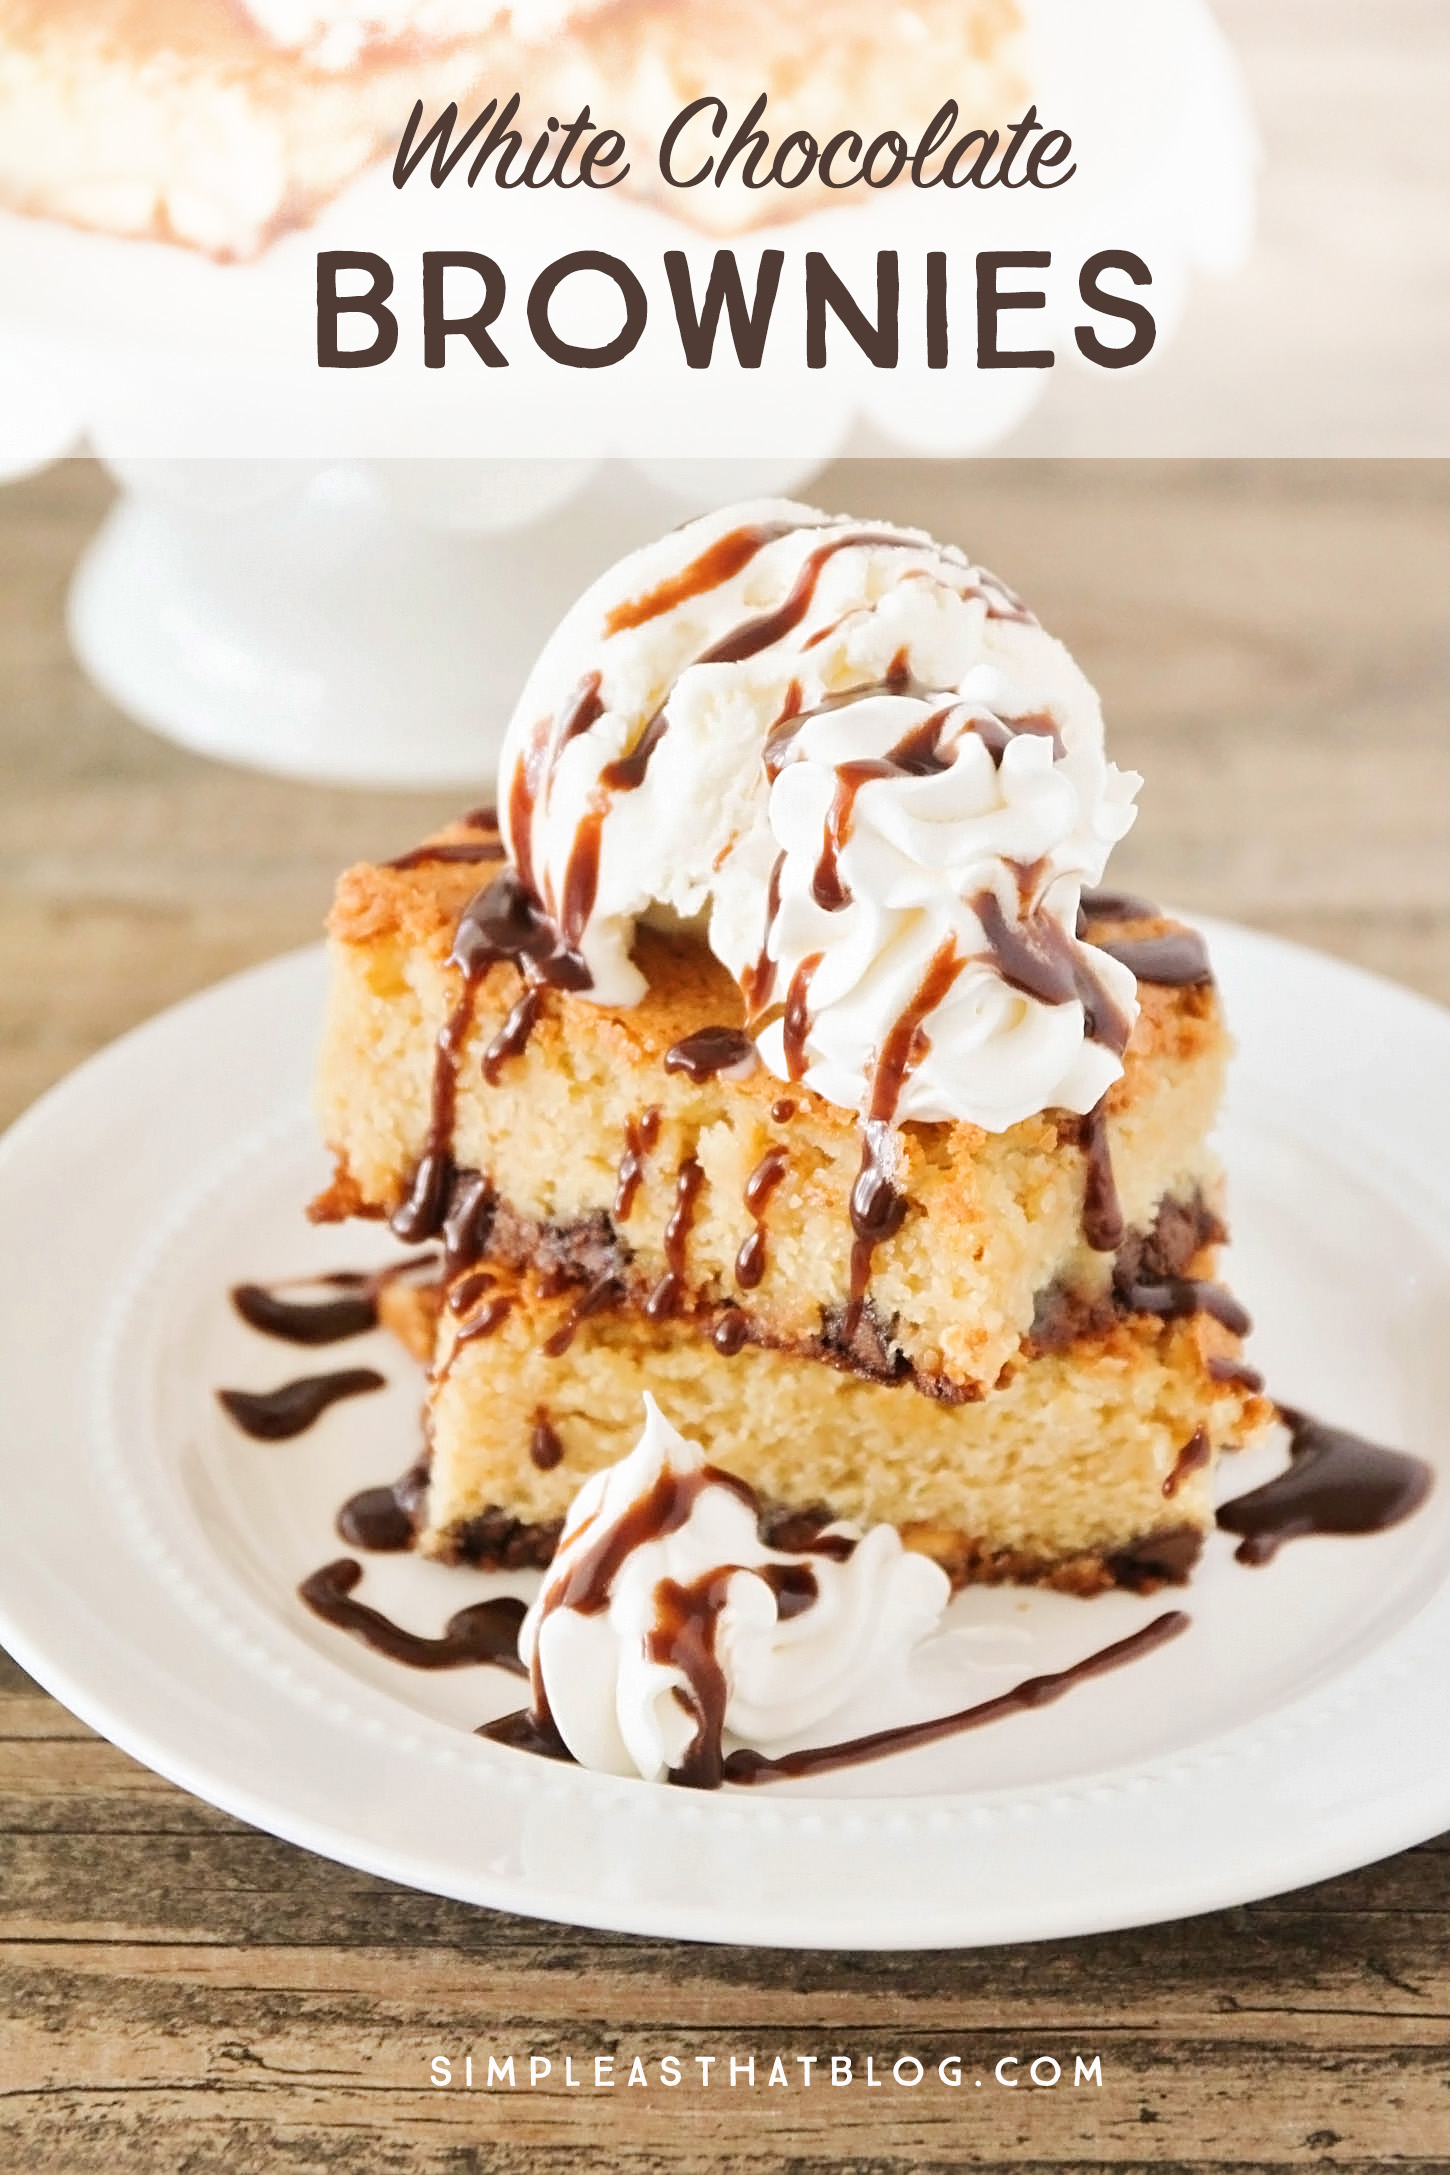
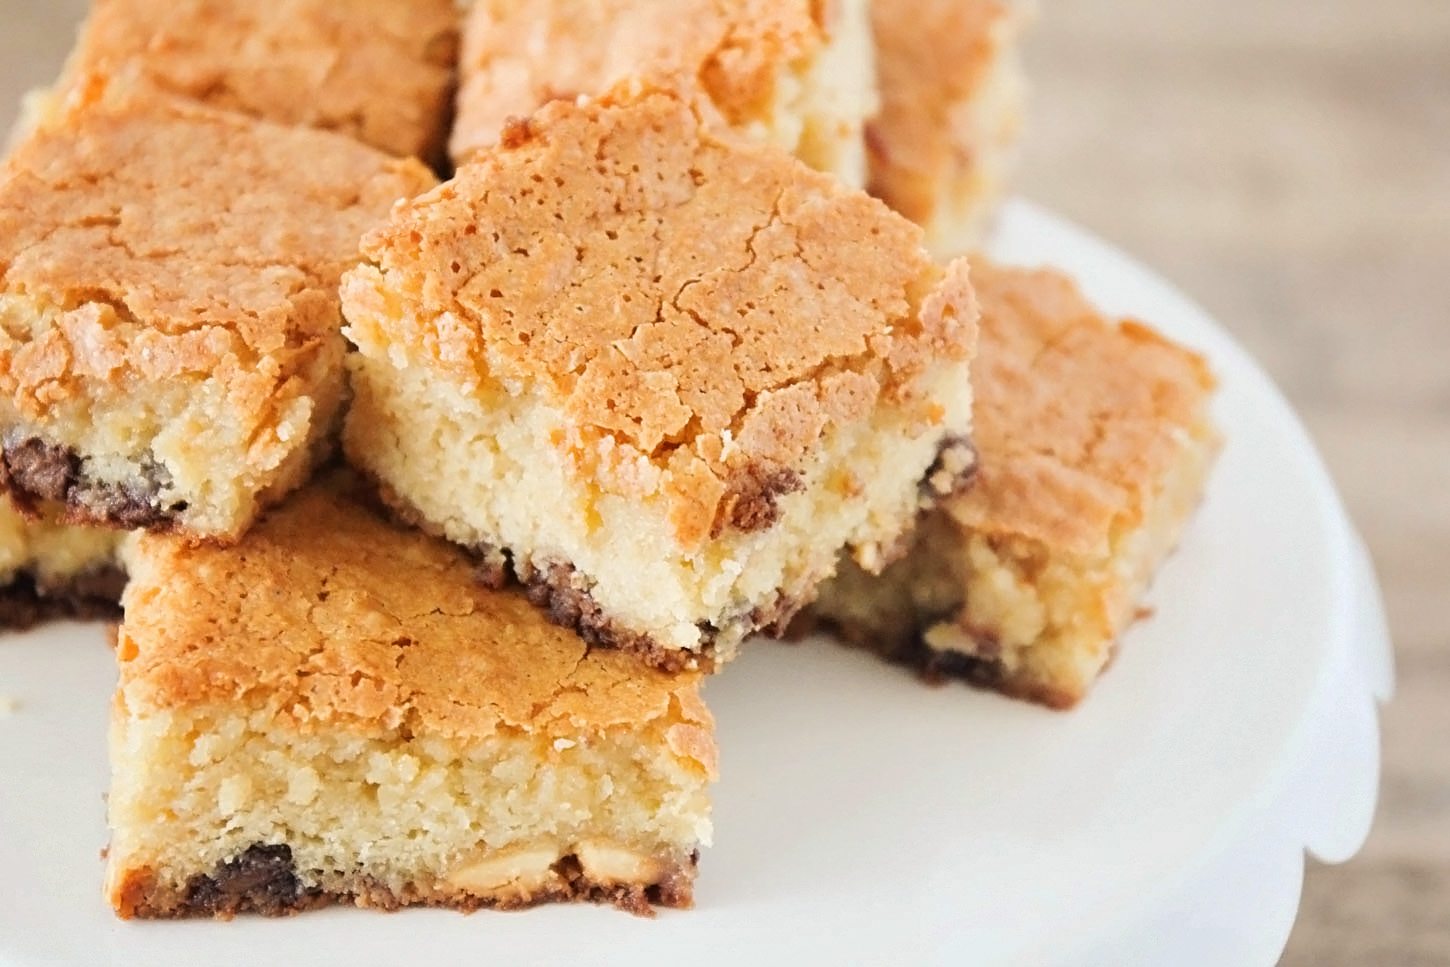
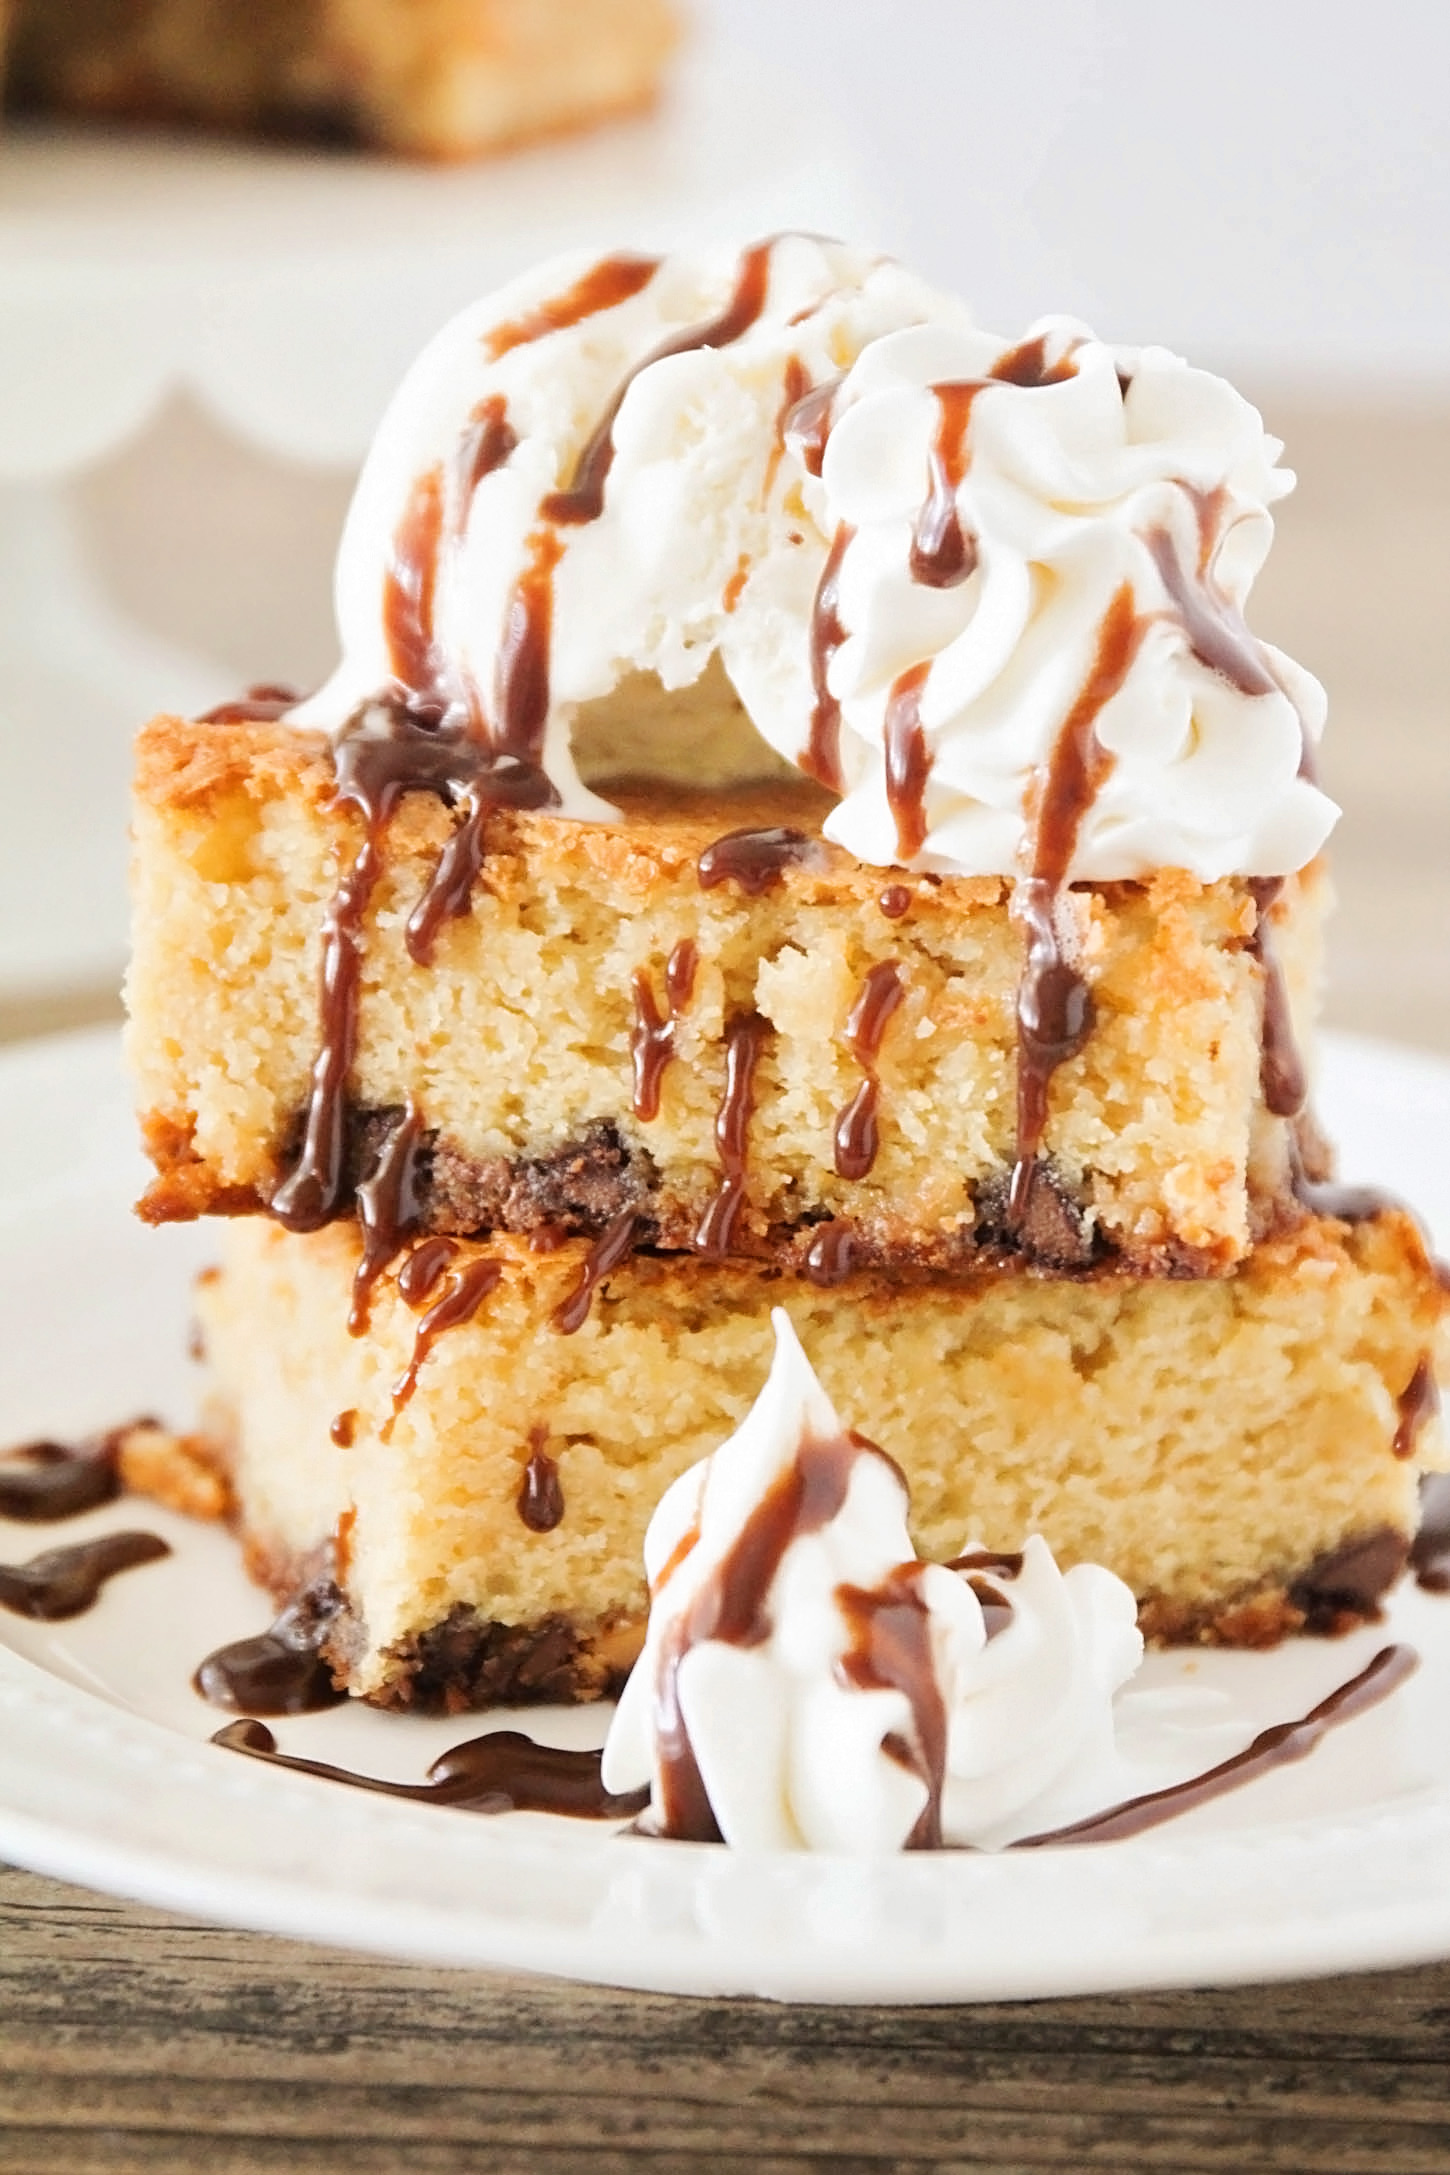
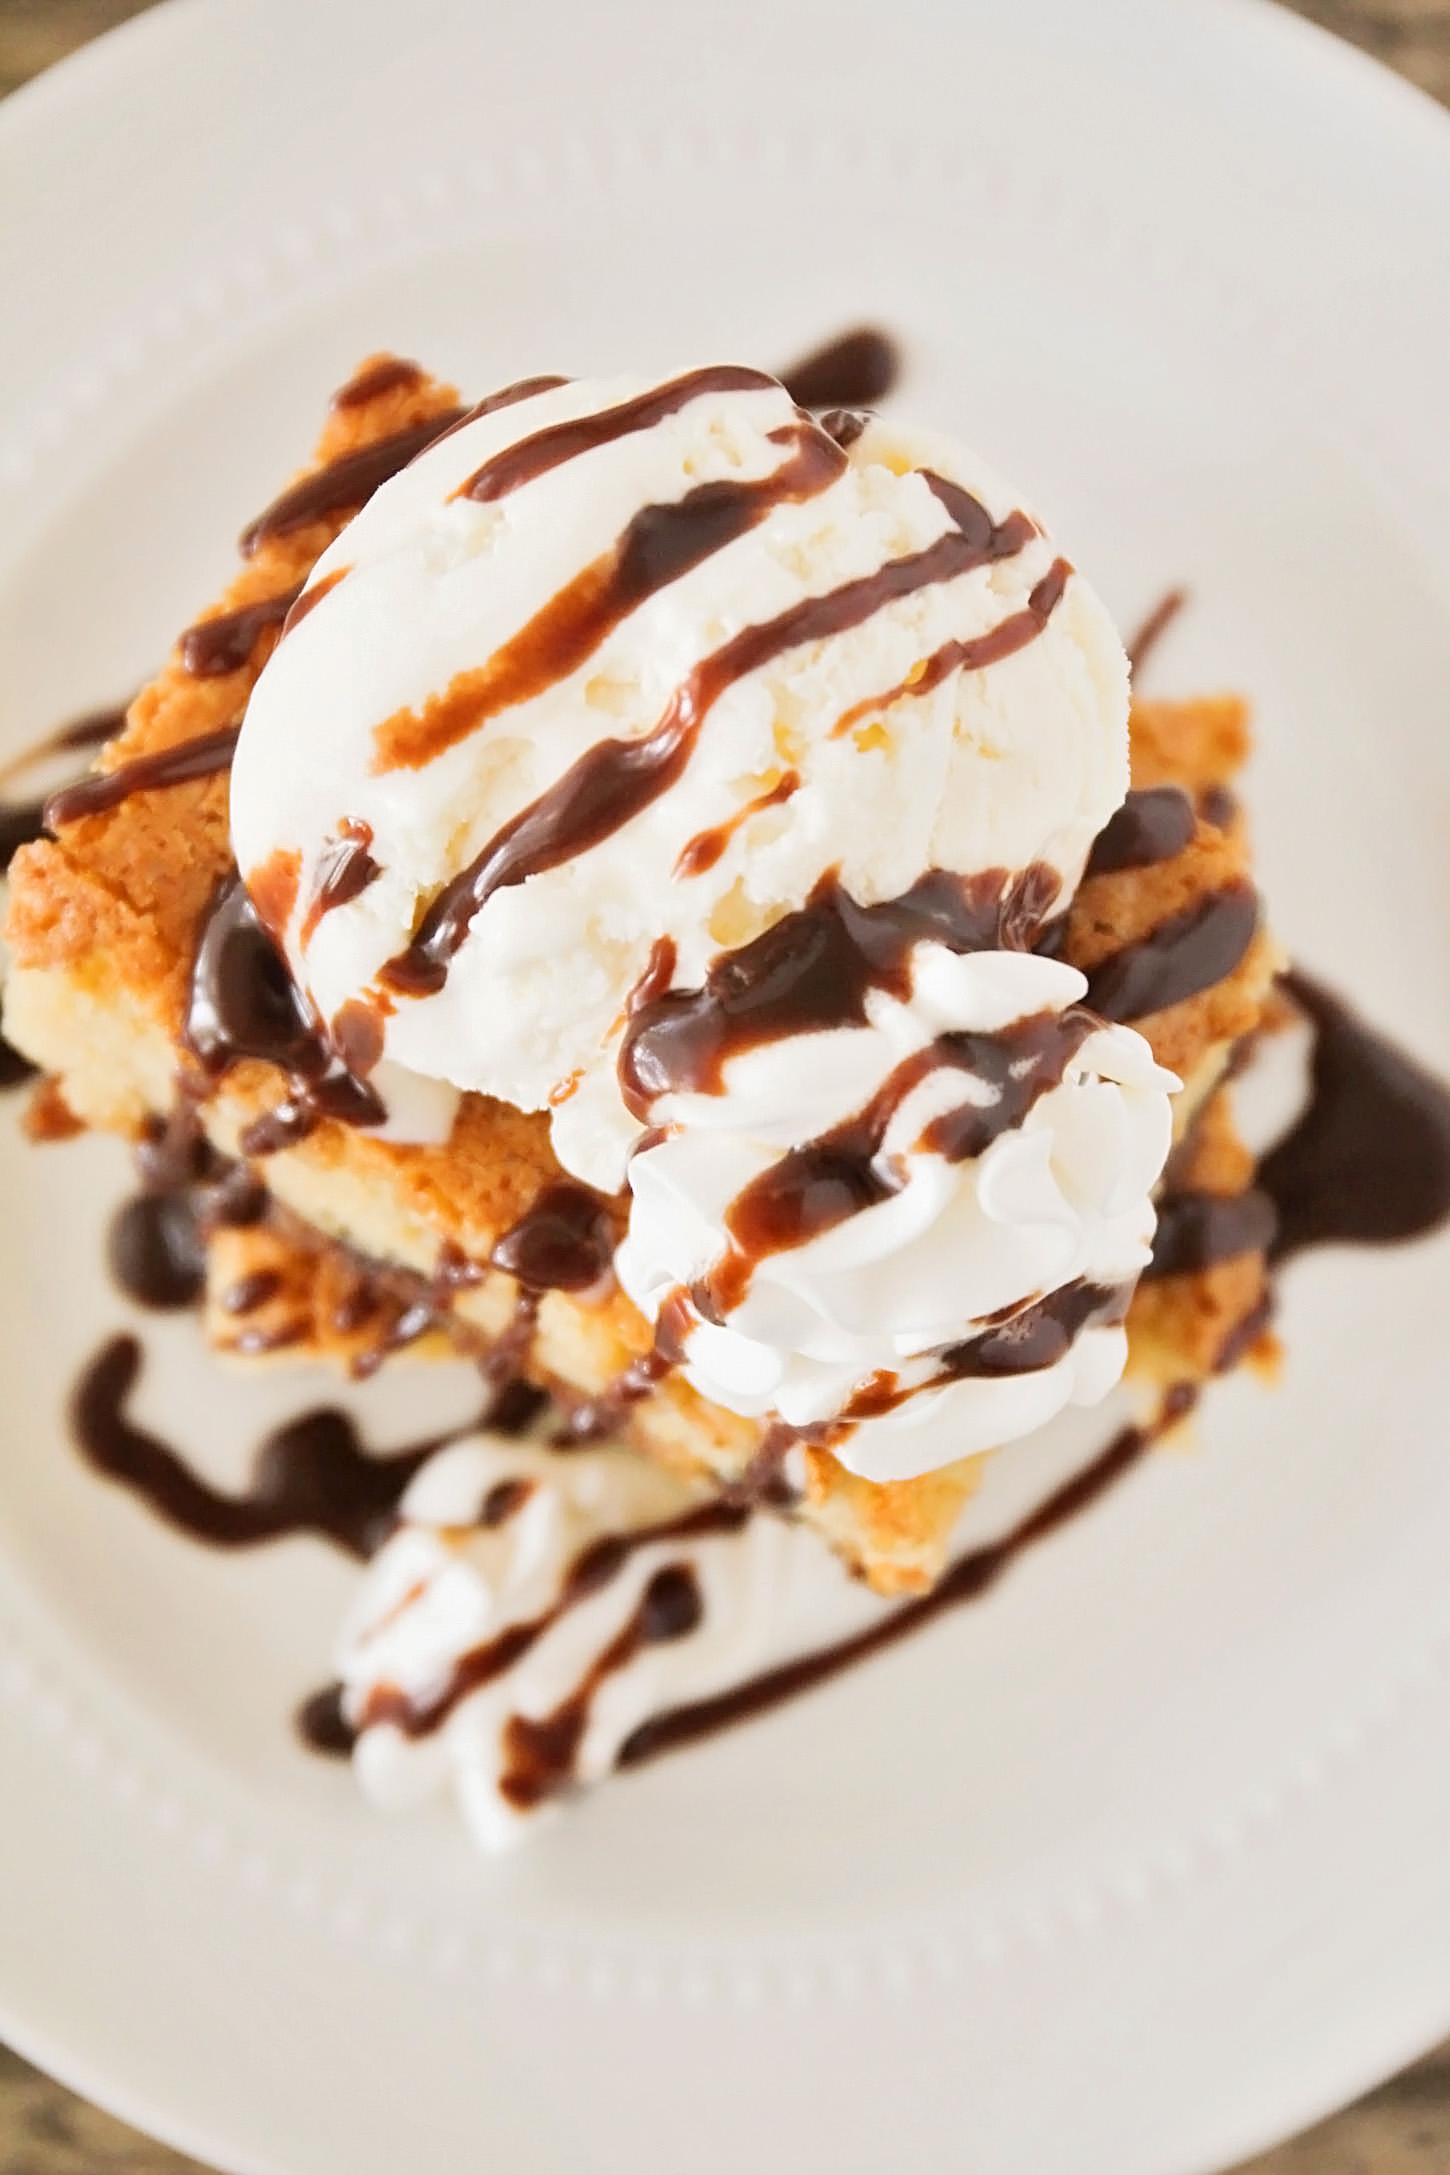
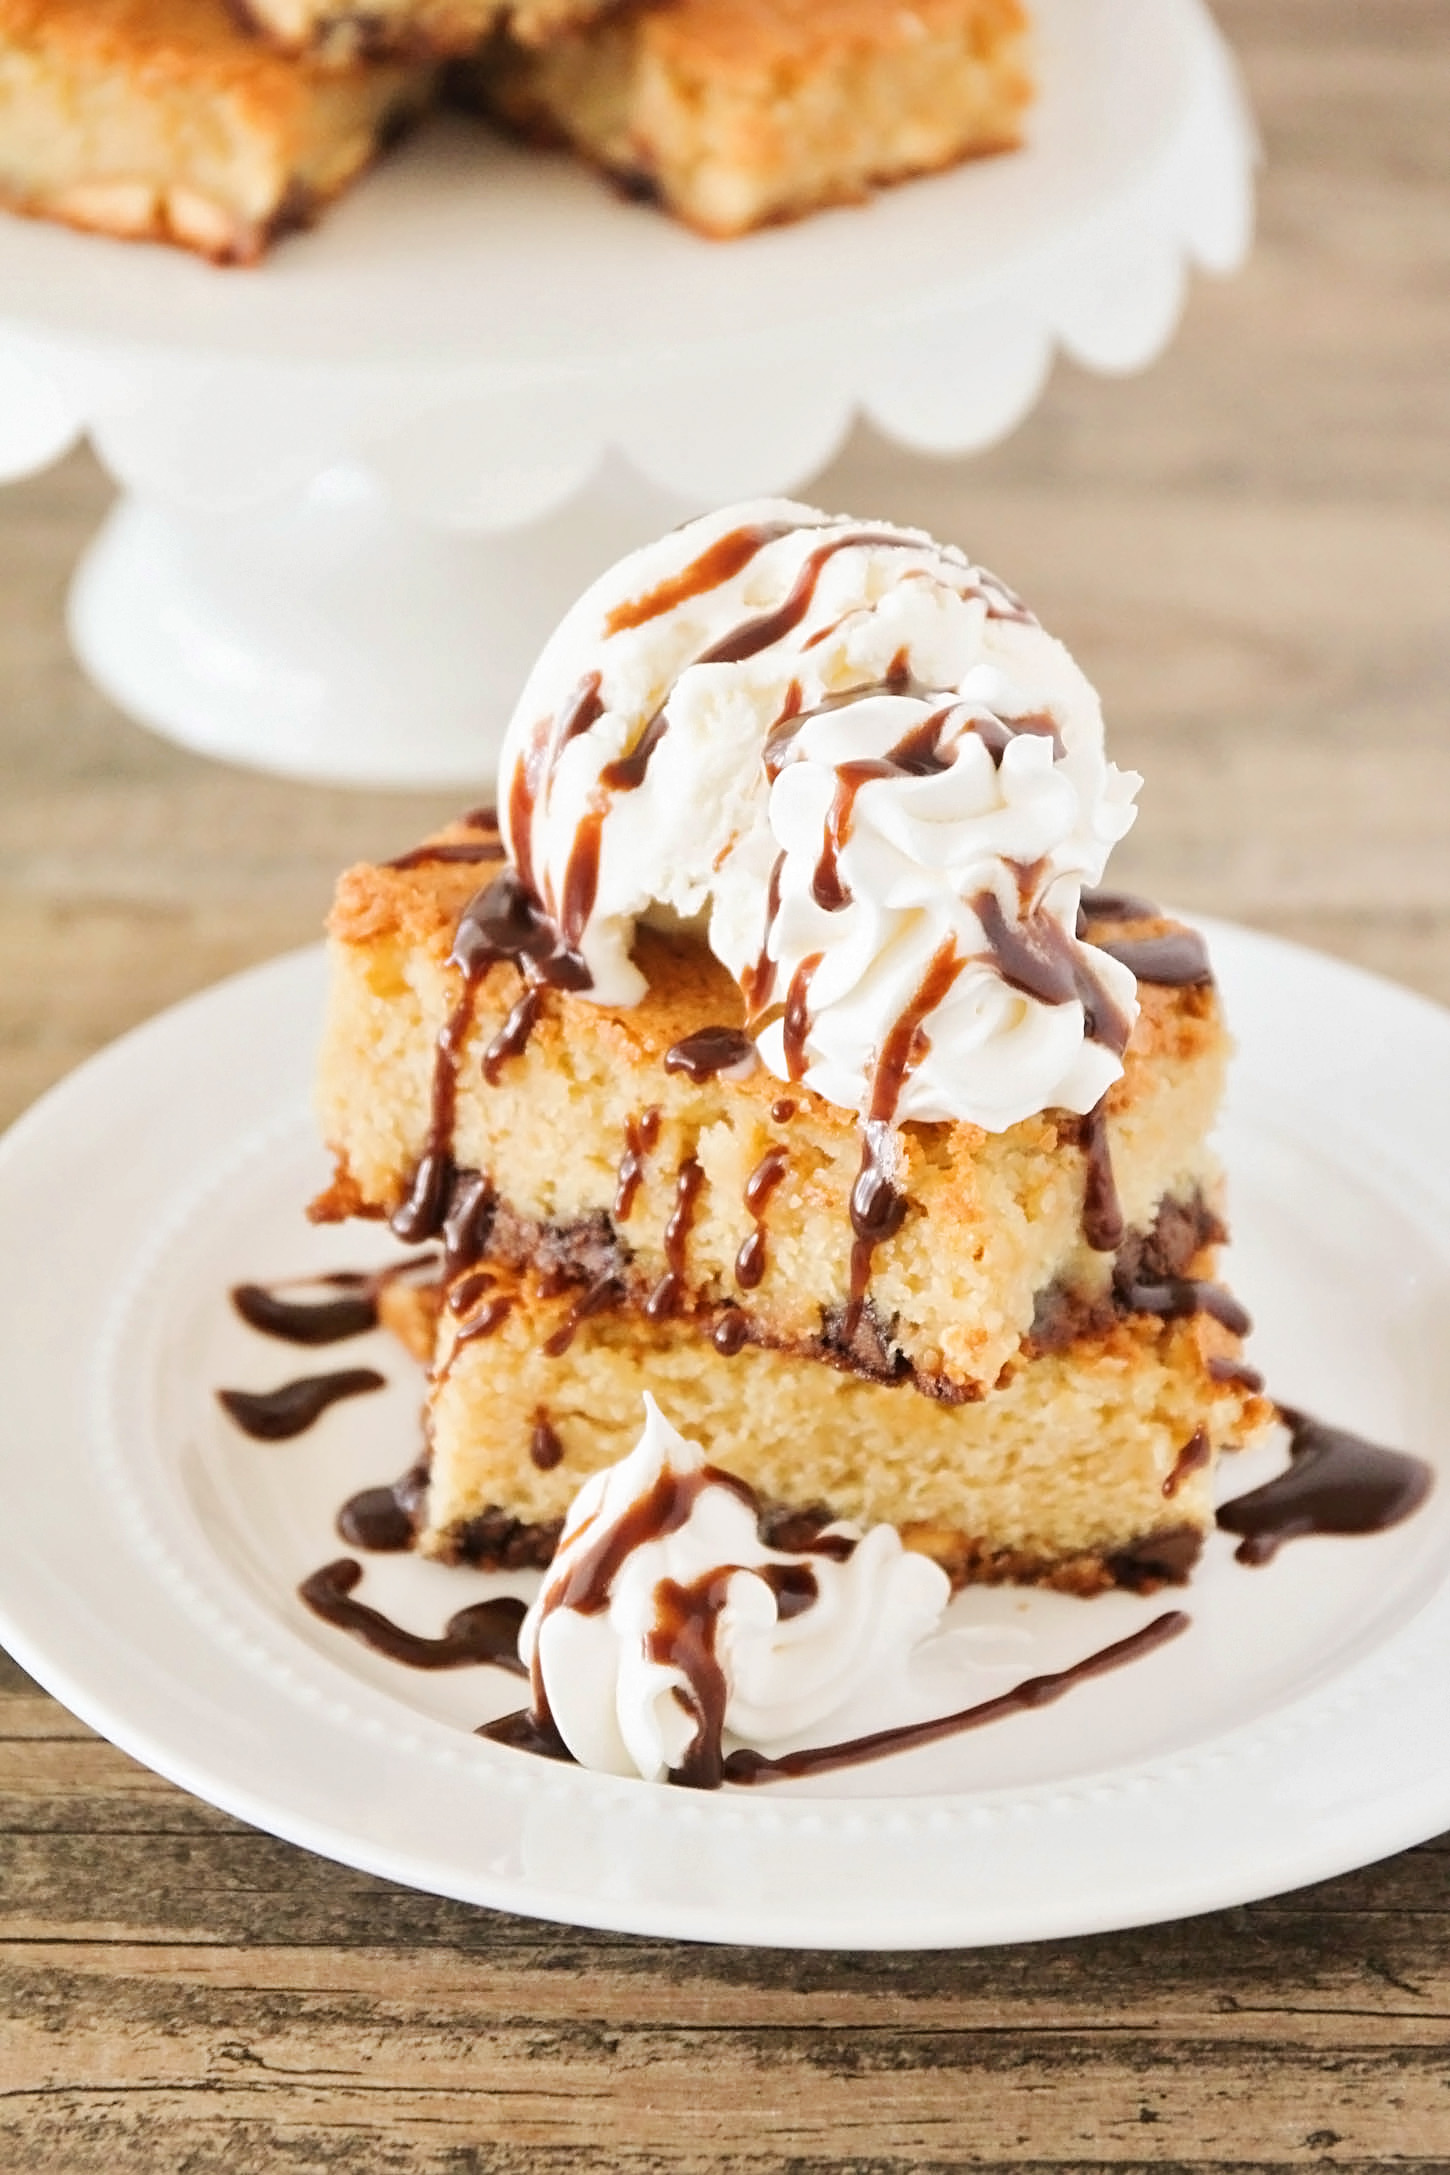
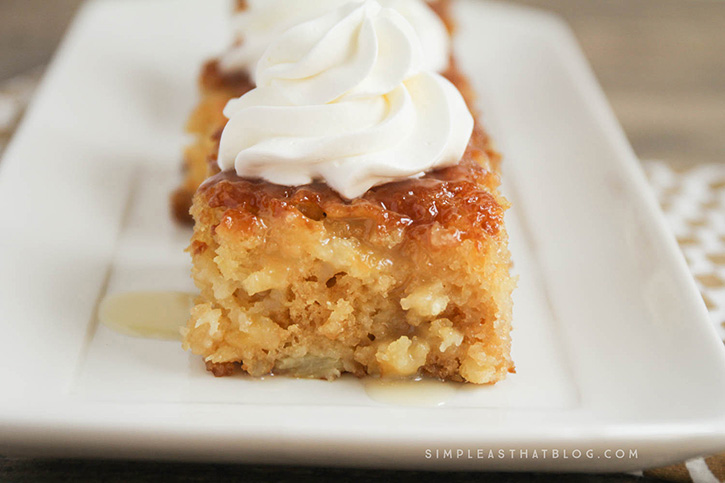
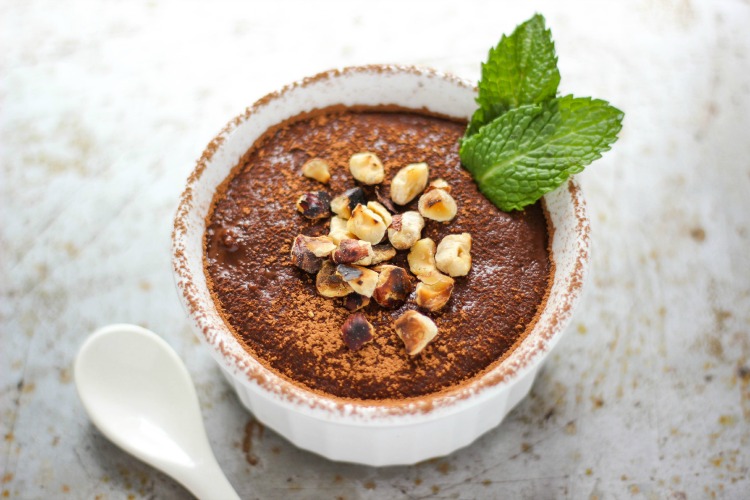
5-photos-to-take-this-halloween

4) Halloween Treats

Taking images of some of the smaller details, like the Halloween treats you make, is a great way to capture the spirit of Halloween. Let’s face it, it’s all about the treats!

5-photos-to-take-this-halloween

5-photos-to-take-this-halloween-2

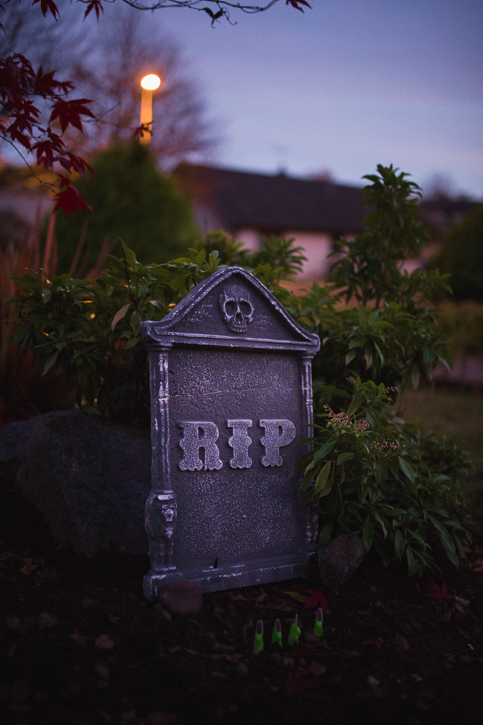
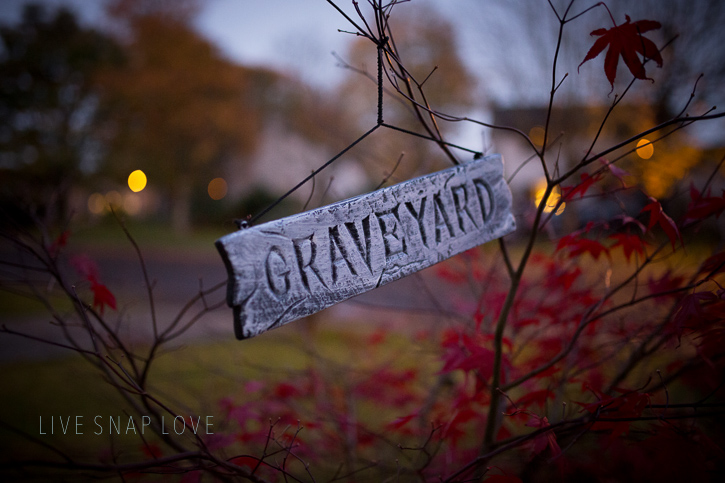
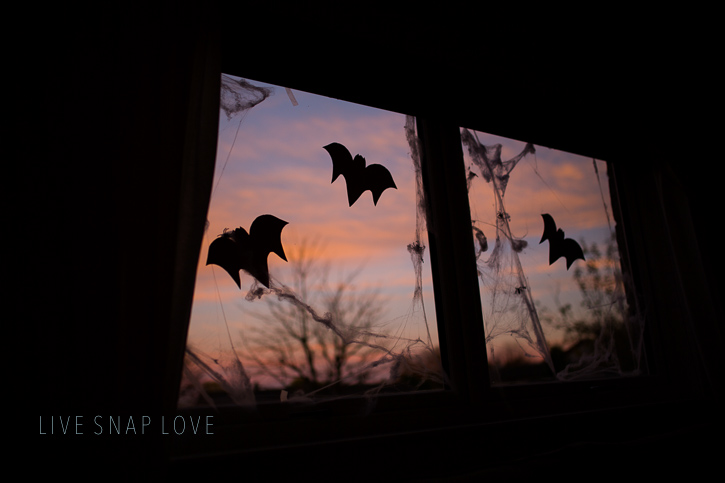
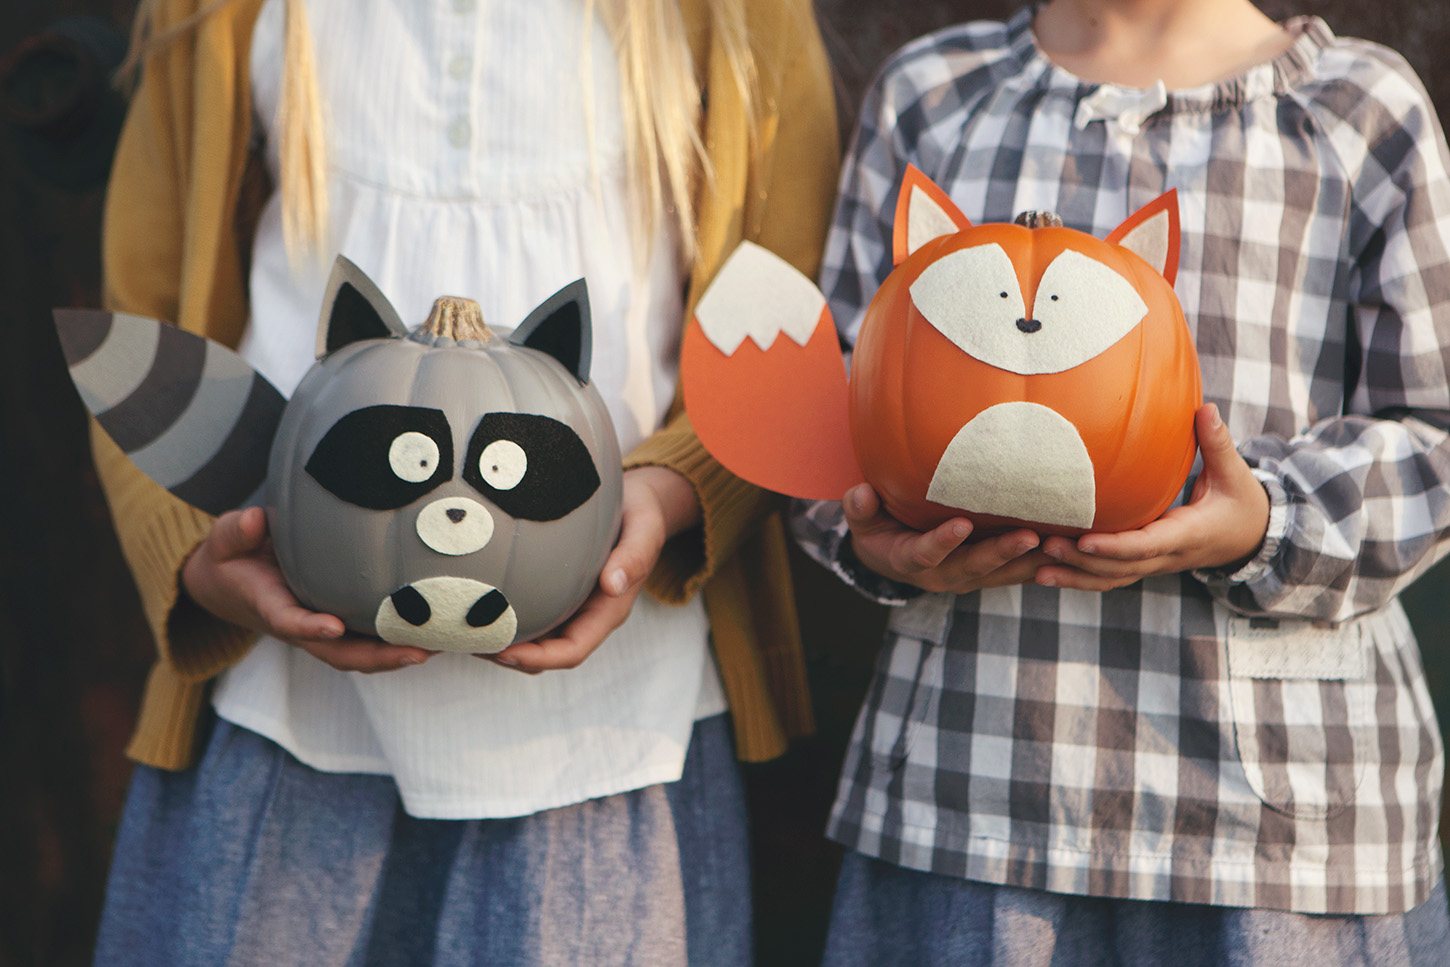
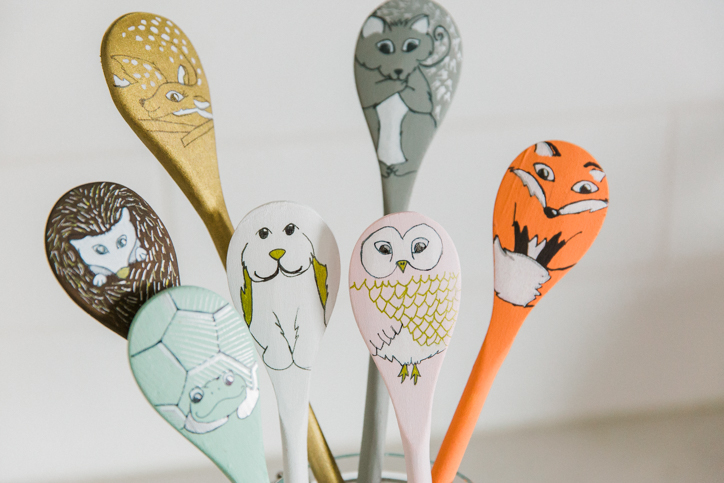
5) Halloween Decorations

Another thing to capture at Halloween is the decorations. A great way to take images of the Halloween decorations is to take them at dusk – when there is still some light available but it’s not quite daylight, not quite dark. This lets you get a much spookier look to your decorations, but gives you enough light that you can see what to photograph!

5-photos-to-take-this-halloween-4

5-photos-to-take-this-halloween-3

I hope you have a great Halloween and get some awesome photos!

Five Minute Fox Cupcakes

Sunday, October 16, 2016

 Five Minute Fox Cupcakes – The cutest little fox cupcakes, decorated in 5 minutes or less!

The cutest little fox cupcakes, decorated in 5 minutes or less!

Our Addie girl turned 9 years old this week and it was her year to have a friend party. We do them every other year to help simplify things when it comes to birthday celebrations. We went with a woodland party theme this year and it was all kinds of fun!

The cutest little fox cupcakes, decorated in 5 minutes or less!

I wanted to make some little woodland critter cupcakes to go along with the theme but my cupcake decorating skills are limited so I needed to find something doable.

I saw some ideas out there for fox cupcakes using rolled fondant and all kinds of other complicated techniques and that wasn’t going to happen. Using these cupcakes on the Wilton website for inspiration we came up with these fox cupcakes that took a fraction of the time to make.

The cutest little fox cupcakes, decorated in 5 minutes or less!

The cupcakes were made from a vanilla boxed cake mix and with just a few basic supplies I was able to decorate them in less than 5 minutes a piece. These cute little fox cupcakes might look fancy, but they’re as simple as it gets!

Follow the instructions below, including a quick video how-to to make your own fox cupcakes.


Supplies

Brown M&M’s minis

Brown M&M’s

Kraft color cupcake liners

Homemade Buttercream Icing or

Wilton Buttercream Icing Mix

Toothpick

Wilton Copper Icing Color

The cutest little fox cupcakes, decorated in 5 minutes or less!

Instructions

Step 1 | Prepare basic buttercream frosting according to this recipe or if you’d like to give Wilton’s Buttercream Icing Mix a try, it’s easy peasy and tastes delicious!

Step 2 | Divide icing into two bowls. Mix a small amount of Wilton Copper Icing Color in one bowl. Leave the rest white.

Step 3 |Cover entire cupcake with a layer of copper colored icing. Spread until smooth.

The cutest little fox cupcakes, decorated in 5 minutes or less!

Step 4 | Place a small amount of white icing in a piping bag or use a ziplock bag like I did and snip a small corner off for the the icing to come through.

Step 5 | Pipe white icing to cover white areas for the fox’s face as shown. Smooth with a butter knife or small spatula.

Step 6 | Add mini brown M&M’s for eyes and a large brown M&M for the nose.

Step 7 | Place a small portion of copper icing in a piping bag or ziplock (cut a large hole this time) and pipe out the two ears.

The cutest little fox cupcakes, decorated in 5 minutes or less!

I put together a short video showing how to decorate one of the cupcakes from start to finish and you can view it her –> Fox Cupcake How-to Video

Fox cupcakes how-to decorate video.

That’s all there is to it! These cupcakes were so quick to put together and they really made a fabulous impression at the party!

If you enjoyed this post you might also like…

Woodland Creature No-Carve Pumpkins

Woodland creature no-carve pumpkins.

Woodland Creature Cup Crafts

Woodland Creature Cup Crafts

Fox Apron Tutorial and Pattern

Fox Apron and Tutorial

Mint Chocolate Protein Smoothie

Wednesday, October 12, 2016

Mint Chocolate Protein Smoothie – a delicious green smoothie recipe packed with protein that keeps you satisfied for hours.

Mint Chocolate Protein Smoothie - a delicious green smoothie recipe packed with protein that keeps you satisfied for hours.

Hello there!  This is Katie from The Casual Craftlete blog.  Today, I am sharing a tasty recipe for a Mint Chocolate Protein Smoothie.  If you love mint chocolate chip, then you are going to absolutely love this recipe.  It tastes just like mint chocolate chip ice cream  but the best part is that it’s healthy.  This smoothie is packed with protein, greens, and wholesome ingredients making it yummy and healthy.  Grab a straw and let’s get to this easy breakfast smoothie recipe.

Mint Chocolate Protein Smoothie - a delicious green smoothie recipe packed with protein that keeps you satisfied for hours.

Growing up as a kid, mint chocolate chip ice cream was my all time favorite, and Baskin-Robbins was the best.  Taking the love of those flavors, I wanted to make a healthier recipe and this smoothie recipe is amazing.  I have been making smoothies for many years and I have to say that this is a new popular recipe for me.

Mint Chocolate Protein Smoothie - a delicious green smoothie recipe packed with protein that keeps you satisfied for hours.

This Mint Chocolate Protein Smoothie is made with not one, but two greens – avocado and baby spinach.  If you are worried about the flavors tasting too earthy, don’t be.  This smoothie is also made with chocolate protein powder, milk, vanilla Greek yogurt, honey, and peppermint extract.  Just combine all the ingredients into a Blendtec Blender and pulse until smooth and creamy.  Top with cocoa nibs and a mint leaf for the perfect smoothie.  Enjoy!

Mint Chocolate Protein Smoothie - a delicious green smoothie recipe packed with protein that keeps you satisfied for hours.

5.0 from 1 reviews
Mint Chocolate Protein Smoothie
 
Print
a delicious green smoothie recipe packed with protein that keeps you satisfied for hours
Author: The Casual Craftlete for Simple As That
Recipe type: Breakfast
Cuisine: American
Serves: 1
Ingredients
  • ½ of an avocado
  • ¼ cup vanilla Greek yogurt
  • ¼ cup chocolate protein powder
  • ½ Tbsp honey
  • ¼ tsp peppermint extract or more if you like mint
  • ¾ cup milk of choice
  • ½ cup baby spinach, firmly packed
  • ½ cup ice
  • 1 Tbsp cocoa nibs or mini chocolate chips
Instructions
  1. Place all ingredients except cocoa nibs in a large high speed blender and blend until smooth and creamy. Garnish with cocoa nibs or chocolate chips if desired.
3.5.3208

Mint Chocolate Chip Protein Smoothie - a delicious green smoothie recipe packed with protein that keeps you satisfied for hours.

10 Ways to Find More Wide Open Spaces in Your Family’s Life

Wednesday, October 12, 2016

You know the kind of week I’m talking about. The overwhelmingly busy ones… The weeks filled with shuttling kids to and from practice, preparing meals, answering emails, booking doctors appointments, and so much more.

The weeks where your husband needs a shirt ironed before work and one of the kids forgot to do three math problems that are due that morning. Drop off, pick up, repeat.

The weeks that feel cramped, tight, and restricting.

How many of us are caught in this stage of life? How many of us are running at this pace?

At the end of the day, I know I’ve felt a little empty at times—even though my schedule was so full.

We all want more time to read favorite books with our children, to bake together in the kitchen, to snuggle up for movie night, and to tell more stories about our loved ones. We all want less time spent on things of little significance… But how?

We all want less time spent on things of little significance... But how? 10 Ways to Find More Wide Open Spaces in Your Family's Life.

Not long ago, with the the new school year around the corner, I was anxious to squeeze in one more outing before putting the freedom of summer behind us. Having just moved to North Dakota, we set out to explore our state by visiting Theodore Roosevelt National Park.

This park is praised as a hidden gem among national parks. It’s out of the way and thus, not as busy as most national parks tend to be. We didn’t know what to expect, since we’re so used to the mountainous parks of Alberta, Canada. I didn’t know if the flat prairie would appeal to me as much or if we’d find much to do.

The things I was hesitant about turned out to be exactly what I loved about this beautiful place. Being able to explore a nature trail together—uninterrupted by the noise of cars and void of other humans for miles at a time—was refreshing.

I let my eyes wander all the way to the horizon, and I immediately felt my lungs fill with air—almost as if I hadn’t really breathed in the weeks before that moment. I saw my kids’ shoulders loosen up and their smiles reach their eyes.

"Once she stopped rushing through life, she was amazed how much more life she had time for." - unknown

Theodore Roosevelt National Park was a sanctuary, a chance to step away from the busy and into a slower pace. A place to reconnect, find quiet and stillness, and enjoy the wide open space as a family.

We watched wild horses graze and gallop and be free. We went for a drive at dusk to look for buffalo and were enthralled when we came across an entire herd that we could barely make out in the early darkness.

We all want less time spent on things of little significance... But how? 10 Ways to Find More Wide Open Spaces in Your Family's Life.

We stopped the car in the middle of the quiet road as the herd crossed directly in front of us. With our windows rolled down, we listened to these enormous animals breathing and saw their warm breath steaming in the cool evening air.

From within my car, I heard, “Wow!” and “Look at that, Mom!” But I also heard utter silence as we stared, awe-struck at this majestic scene.

What I learned about fighting for margin in our family’s life—while wandering the prairies of Theodore Roosevelt National Park.

The truth is, the space—the margin—in our lives doesn’t just happen. We have to make it. We have to be intentional. Sometimes we have to fight for it. We fight against societal norms to be busy, to have a packed calendar. We fight against our own urge to keep up with those around us. And we fight for our family and our kids and what we know is best for them.

We all need room to run through prairie grass and let the wind blow through our hair. We need to take in the golden sunset and wrap our arms around the little bodies that are too quickly growing out of them.

Whether you’re looking for literal wide open spaces or metaphorical ones, I hope these 10 ideas help you clear more breathing room in your family’s life. Because it is so worth it. 

We all want less time spent on things of little significance... But how? 10 Ways to Find More Wide Open Spaces in Your Family's Life.

10 Ideas to Help You Clear More Breathing Room in Your Family’s Life

1. Look for small pockets of time

I get that it’s not plausible to just quit commitments and clear out your family’s schedule. But you can still be mindful of small windows of time; you can relish the “space” you find when you’re looking for it. Enjoy a nap, a few minutes of quiet time or reading, or a moment of snuggles on the couch with a little one.

I am the queen of power naps. When I find myself lagging throughout the day, these little naps are just the pick-me-up I need. I set my phone alarm for twelve minutes. Twelve! It’s just enough time for me to rest my eyes but wake up refreshed, not groggy.

2. Learn to say no without guilt

Remember that in saying YES to something outside of your home and family, you have to say NO to something else. This is a lesson I’ve had to learn the hard way. Through over-commitments and sheer exhaustion, I’ve realized how much I can take on and what I can’t.

“You can do anything, but not everything.”

3. Turn off your phone

Designate a specific time each day (maybe at dinner) where the phones go away and you talk together, distraction-free.

4. Wake up a few minutes early

Even if it’s just a few minutes, this makes all the difference in starting my day off on the right foot. This is when I put myself in the right frame of mind to greet my children and mentally prepare for the morning rush. These few minutes to breathe have helped make me a happier mom.

5. Write in a journal 

Few things re-ground me like writing in a journal. It’s a powerful way to free up space in your mind.

If you want to extend the benefits of journaling to your child and connect more with him or her in the process, try a shared journal.

6. Take some “me” time

Filling yourself up will make more room for others. {18 Ways to Treat Yourself with More Love}

7. Savor the small moments

Life doesn’t have to be filled with luxury vacations and gourmet meals. A trip to Target alone can feel luxurious; a nature walk with the kids is exciting. There’s beauty in a “small” life.

8. Shift your perspective; get a bird’s-eye view of your life

In Theodore Roosevelt National Park, I felt my priorities click back into place while standing on top of a hill, following the gentle flow of a river with my eyes.

“What we see depends mainly on what we look for.” John Lubbock

9. Be protective of your family’s down time

Fiercely protective. For meaningful conversations to come to the surface, we need to have time to do nothing. For those small moments of connection to happen, we need to be in tune and ready for them. Down time is key.

“When things aren’t adding up in your life, start subtracting.” unknown

10. Make time for nature 

A simple walk through the trees, a family camping trip, or a solo hike. There is much to be learned out in the beauty of nature, and often taking that walk is exactly what I need to help me slow down and really see the beauty that is around me.


What specific things are you doing lately to discover more breathing room for you and your family?

Fox Apron Tutorial and Pattern

Monday, October 10, 2016

The cutest little fox apron you've ever seen - AND it's reversible. Click for the pattern and step-by-step instructions.

Hello!  It’s Jennie again from The Lovely Little Nest with a free tutorial and pattern to make a little Fox Apron.  I’m so excited about this project, because it is adorable!  My two-year-old was as happy with it as I was.

The cutest little fox apron you've ever seen - AND it's reversible. Click for the pattern and step-by-step instructions.

There is some sewing involved but it’s fairly simple, and there are some (life changing) sewing tricks I learned while making this that I can’t wait to share with you.  Let’s dive in, and if you haven’t sewn much before, don’t be scared! This is a great project with simple stitching to get you into the swing of things.

FREE pattern and instructions to make this adorable Fox Apron.

Supplies:

Sewing Machine

Fabric Scissors

Straight Pins

Printable Template

White School Glue

Thread to match fabric

Fabric (based on 44″ width):

24″ Orange Broadcloth

24″ Backing Fabric

10″ Dark Brown Broadcloth

6″ Cream Broadcloth


FREE pattern and instructions to make this adorable Fox Apron.

Instructions:

1.  Print off two copies of the pattern here, tape it together, and cut them out.  Cut apart the ears, eyes, nose, paws and cheeks from the second copy of the pattern so that you have all of the pieces.

FREE pattern and instructions to make this adorable Fox Apron.

2.  Cut all of your fabric pieces out:

Orange:  13″ x 41″ Rectangle, 4.5″ x 7″ Rectangle, Fox Head

Backing:  13″ x 41″ Rectangle

Brown:  1 Nose, 2 Eyes, 2 Paws, 2  3″ x 30″ Rectangles, 2  3″ x 21″ Rectangles

Cream:  2 Ears, 2 Cheeks

FREE pattern and instructions to make this adorable Fox Apron.

Skirt:

1.  Layer the two 13″ x 41″ rectangles one on top of the other, right sides together.  Stitch along the sides and bottom of the rectangles, using a 1/2″ seam allowance.

FREE pattern and instructions to make this adorable Fox Apron.

2.  Trim the two bottom corners and turn the rectangle right side out, using something pointy to turn the corners out.  Iron all of the seams flat.

FREE pattern and instructions to make this adorable Fox Apron.

3.  Adjust the stitch length on your machine to a basting length (typically between length 4 and 6).  Sew along the top of the rectangle, leaving long threads on each end.  Do not use a secure stitch on this seam, as it is to gather the top of the skirt.

FREE pattern and instructions to make this adorable Fox Apron.

4.  It’s time to start work on the pocket, and learn that amazing trick I was talking about.  Use a thin layer of white school glue around the edges of the backside of your two paws, and then stick them onto the 4.5″ x 7″ rectangle that will become your apron pocket.  Place them 1″ from the sides.  The glue is water-soluble and means you don’t have to try to pin tiny bits of fabric on top of one another; you can just glue them, wait until the glue dries (or use an iron to hurry the process), sew and throw it in the wash to dissolve the glue!  Life changing, right??

FREE pattern and instructions to make this adorable Fox Apron.FREE pattern and instructions to make this adorable Fox Apron.

5.  Once the glue is dry, use a tight zig-zag stitch around the edges of the paws to secure them in place and keep them from fraying.  Fold down the top edge of the pocket 1/2″, iron, and stitch it with a straight stitch.

FREE pattern and instructions to make this adorable Fox Apron.

6.  Fold the rest of the sides in 1/2″, iron them down, and pin it to the front and centre of your large skirt rectangle.  Sew down all of the edges but the top.  I chose to stitch an additional line down the centre of the pocket to split it into two pockets.

FREE pattern and instructions to make this adorable Fox Apron.FREE pattern and instructions to make this adorable Fox Apron.FREE pattern and instructions to make this adorable Fox Apron.

7.  Now gather the top of the skirt by pulling the threads you left hanging on each end and pushing the fabric to the centre.  Adjust the fullness so that it is distributed evenly.  You will need to end up with 20″ at the top from side to side.

Ties:

1.  Take each tie strip (your 4 skinny rectangles) and press in half together, right sides facing out.  Open up the strip and fold each of the outer edges in towards the centre and iron again.

FREE pattern and instructions to make this adorable Fox Apron.

2.  Take the two shorter (21″) strips, tuck in the ends of them, and sew together all three open sides.  For the remaining two strips, sew the two short ends together to create one long strip for the waistband.

FREE pattern and instructions to make this adorable Fox Apron.

3.  Centre the long strip along the top of the gathered skirt and fold it over, sandwiching the skirt top inside the brown strip.  Pin it in place, fold the ends of the strip in, sew them closed and across the bottom of the waistband, securing the strip to your gathered skirt.

FREE pattern and instructions to make this adorable Fox Apron.
Fox Head:

1.  Place a thin line of glue around the edge of all the features for the Fox Face, place them on the orange fox head, and iron them to dry the glue.

FREE pattern and instructions to make this adorable Fox Apron.

2.  Coordinate the color thread to match the feature you are sewing, and zig-zag stitch around each piece to secure them in place.  I used a few stitches to add eyelashes and a white highlight to the fox’s eyes.

FREE pattern and instructions to make this adorable Fox Apron.

3.  Place the face on top of the same shape backing piece, right sides facing out.  Glue them together with another thin line, and pin the two shorter tie pieces inside the ears, as pictured below.  Use a zig-zag stitch around the entire edge to secure the front and back of the head together.  Use a straight stitch and go over where the ties attach to the head, to secure the straps on strongly.

FREE pattern and instructions to make this adorable Fox Apron.FREE pattern and instructions to make this adorable Fox Apron.

4.  Place the finished fox head on top of the skirt with the chin over the waistband.  Pin it in place and, using a straight stitch, sew around all the edges of the white cheeks, just inside the orange, to hide the seams and secure the face to the skirt.  You can see the stitches better from the backside, pictured in the second photo below.

FREE pattern and instructions to make this adorable Fox Apron.FREE pattern and instructions to make this adorable Fox Apron.

5.  I decided to add some cute trim to the bottom of the skirt after I was finished.  It’s optional, and there are many different types of embellishments, so choose what works best for you.

FREE pattern and instructions to make this adorable Fox Apron.

Now stand back and look at your beautiful work!

FREE pattern and instructions to make this adorable Fox Apron.

I am in love with this adorable apron, it is so cute!

FREE pattern and instructions to make this adorable Fox Apron.FREE pattern and instructions to make this adorable Fox Apron.

And don’t forget, it’s reversible!

FREE pattern and instructions to make this adorable Fox Apron.FREE pattern and instructions to make this adorable Fox Apron.

Now go and bake something delicious with your little fox helper.

FREE pattern and instructions to make this adorable Fox Apron.

FREE pattern and instructions to make this adorable Fox Apron.

If you enjoyed this DIY tutorial you may also like…

5 Minute Fox Cupcakes

The cutest little fox cupcakes, decorated in 5 minutes or less!

Woodland Creature No-Carve Pumpkins

Woodland Creature No-Carve Pumpkins

Woodland Paper Cup Crafts

Woodland Paper Cup Crafts

Woodland Creature Wooden Spoon Puppets

Woodland Creature Wooden Spoon Puppets

Chocolate Coconut Cookie Bars

Thursday, October 6, 2016

Use store-bought shortcuts to make these Chocolate Coconut Cookie Bars. It combines brownies, chocolate chip cookies, coconuts and pecans to make a quick, semi-homemade treat!
chocolate-coconut-cookie-bars

Happy October! It’s Julie from Tastes of Lizzy T! If you follow along with us at all on our blog, you know it has been a busy season for us. Not only is schooling and kids’ sports keeping us busy, but the house of our dreams went up for sale and we decided to buy it. So amidst the normal business, our current home is in disarray as we fix up, clean up and pack up to get it ready to sell.

chocolate-coconut-cookie-bars

As you all know, life continues to march on in spite of busy seasons. I sometimes wonder how I can keep up with the normal life activities when all of the extra to-do lists get piled on.

Our current schedule involves 3 potluck dinners every weekend that I have to prepare food for. Even with my kitchen a current mess, I have to come up with some fantastic dish to bring that everyone will enjoy.

That’s where short-cuts come in!

chocolate-coconut-cookie-bars

Last weekend I headed to the store and bought ready-to-bake cookie dough and a brownie mix to make these chocolate coconut cookie bars. My kids wanted to turn their nose up to these cookie bars because they had coconut.

One taste of the chocolatey goodness, though? They suddenly didn’t mind diving in and devouring a cookie bar or two.

Because they use grocery-store  mixes, these chocolate coconut cookie bars take no time to throw together. And because you are baking it together at home, they still have that homemade flavor that everyone loves.

chocolate-coconut-cookie-bars

Try these chocolate coconut cookie bars when life gets busy!

If you love chocolate and coconut together, try our Almond Joy cake, cookies and coconut creme pies!

Chocolate Coconut Cookie Bars
 
Print
Use store-bought shortcuts to make these Chocolate Coconut Cookie Bars. It combines brownies, chocolate chip cookies, coconuts and pecans to make a quick, semi-homemade treat!
Author: Julie
Recipe type: Dessert
Cuisine: Amerian
Serves: 15
Ingredients
  • 2 tubes (16.5 ounces each) Pillsbury refrigerated chocolate chip cookie dough
  • ¾ cup unsweetened flaked coconut, divided
  • 1 package fudge brownie mix (8-inch square pan size)
  • ½ cup semi-sweet chocolate chips
  • ½ cup chopped pecans
Instructions
  1. Preheat the oven to 350 degrees.
  2. Spray a 9x13 pan with cooking spray.
  3. Press the chocolate chip cookie dough into the bottom of the prepared pan.
  4. Sprinkle with half of the coconut. Press the coconut firmly into the dough.
  5. Prepare the brownie mix according to the package directions.
  6. Spread the brownie batter carefully over the coconut.
  7. Sprinkle with the remaining coconut, chocolate chips and pecans.
  8. Bake at 350 degrees for 45 minutes or until the middle of the brownies are cooked through.
  9. Allow the brownies to cool, then cut into 15 squares.
  10. Store any leftovers in an airtight container.
3.5.3208


Decadent White Chocolate Brownies

Tuesday, October 4, 2016

Soft, chewy and oh so sweet, these Decadent White Chocolate Brownies go above and beyond any brownie you’ve ever tasted! For a special occasion or just because, this dessert is one that will leave your family and friends wanting more.

Soft, chewy and oh so sweet these Decadent White Chocolate Brownies go above and beyond any brownie you've ever tasted. For a special occasion or just because, this dessert is one that will leave your family and friends wanting more!

When it comes to my birthday there’s a yearly tradition that I always look forward to. Enjoying a White Chocolate Brownie from one of my favorite Canadian restaurants, Moxies. It’s rare that I celebrate a birthday without stopping in for my favorite dessert with family and friends.

Soft, chewy and oh so sweet these Decadent White Chocolate Brownies go above and beyond any brownie you've ever tasted. For a special occasion or just because, this dessert is one that will leave your family and friends wanting more!

I can’t get enough of these delicious, chewy, heaven-in-your mouth brownies and because I only eat one once a year, they’re extra special.

Well, I found the best White Chocolate Brownie knock-off recipe out there and I couldn’t keep this one under wraps any longer. Now I can eat this delicious dessert to my hearts content at home —
birthday or no birthday — and you can too!


White chocolate blondies scattered with chunks of milk chocolate topped with ice-cream, homemade chocolate sauce and whipped cream!

You may be thinking — it’s just a brownie, come on! But these are different than any brownie you’ve ever tasted my friend and you need to try one for yourself!

You begin with white chocolate melted together with butter and sugar, blended into a rich batter sprinkled with with chunks of milk chocolate and it only gets better from there!

Soft, chewy and oh so sweet these Decadent White Chocolate Brownies go above and beyond any brownie you've ever tasted. For a special occasion or just because, this dessert is one that will leave your family and friends wanting more!

Decadent White Chocolate Brownies
 
Print
Prep time
15 mins
Cook time
40 mins
Total time
55 mins
 
Ingredients
  • ½ cup butter
  • 9 oz white chocolate
  • ¾ cup white sugar
  • ¾ cup brown sugar
  • 3 eggs
  • ½ cup milk
  • 1½ tsp vanilla
  • 2 cups flour
  • 2 tsp baking powder
  • ½ tsp salt
  • ⅔ cup milk chocolate chips
  • ⅔ cup white chocolate chips
Instructions
  1. Melt butter with white chocolate.
  2. Mix by hand the sugar, eggs, vanilla and milk.
  3. Add the cooled butter/ white chocolate mixture.
  4. Add dry ingredients and mix by hand until blended.
  5. Spread into a 9x13 inch pan and bake at 350ºF for 40-45 minutes.
  6. Heat the sauce ingredients until well blended.
  7. Cut brownies into squares.
  8. Put one scoop of vanilla ice-cream, add whipping cream and drizzle with sauce.
3.5.3208

White chocolate blondies scattered with chunks of milk chocolate topped with ice-cream, homemade chocolate sauce and whipped cream!

Homemade Chocolate Sauce

1 cup milk chocolate chips

1/4 cup sugar

1/2 cup evaporated milk

1 Tbsp butter

Serve warm, topped with ice-cream, homemade chocolate sauce and whipping cream. I hope you enjoy my favorite White Chocolate Brownies as much as I do!

Soft, chewy and oh so sweet these Decadent White Chocolate Brownies go above and beyond any brownie you've ever tasted. For a special occasion or just because, this dessert is one that will leave your family and friends wanting more!

MORE DESSERT FAVORITES

Easy Pineapple Poke Cake

This made from scratch Pineapple Poke Cake is as easy as using a mix and it turns out spongey, moist and delicious every time! It's all the flavors of pineapple upside down cake, made simple and it's sure to be a crowd pleaser!

Lemon Fluff Dessert

If you love lemon desserts as much as I do you're going to love this easy Lemon Fluff recipe! This light and airy, no-bake dessert is one that our family has enjoyed for years!

Healthy Banana Chocolate Pudding

Healthy Banana Chocolate Pudding

Cute DIY Photo Blocks

Sunday, October 2, 2016

Cute DIY Photo Blocks – create your own rustic photo displays using recycled wood and a handful of favorite family photos.

Hi everyone, it’s Annika here. Fall is officially here, have you started to feel the urge to craft more lately? I always feel it more strongly when the weather starts to get a bit darker and cooler, and you start to spend more time indoors. Or maybe it’s because I’m in a total nesting mode at the moment, and very excited about our coming family addition 🙂

Today’s craft project is a fairly simple one. My hubby made these cute little wood houses from recycled wood, a while ago, and I really love the rustic feel they add to my decor. Then the other day, I just felt like spicing them up a bit and thought that they would look pretty awesome as photo blocks, with some simple lettering. Since I was going to put them in our nursery, I wanted the pictures to reflect our family. So I chose a couple of images of the hubby and I, a couple of our dogs, and then I wanted to add words like home and love and a couple of paw prints to the blocks, as well.

Create your own rustic photo displays using recycled wood and a handful of favorite family photos.

For the project, you will need the following tools and materials:

MATERIALS:

  • WOODBLOCKS
    I’m not going into great detail on how to make woodblocks, but just explain that all it takes is a couple of scrap wood pieces, thick enough to stand. Then you saw/cut them to your desired shape and measurements and sand them down.
  • PRINTOUT OF WORDS/CLIP ART
    Your printouts can be made in a simple program like Word (or photoshop), where you write out a couple of words, use a font you like and scale the words to match the sides of your photo blocks. You’ll also find default clip art galleries in the programs, where you can find cute shapes like flowers, or in my case paw prints.
  • PHOTOS
    I printed the photos to fit the width and height of my woodblocks, which is then later trimmed to fit the woodblock. Make sure that when you choose your photos, and if they need trimming, that the area of focus is not going to be trimmed away.So you don’t end up cutting away half a face.
  • NAILS WITH SMALL HEADS
    Use small nails with a flat head One for each corner of the image(s). The flat head will make sure that the image stays in place.

TOOLS:

  • SCISSORS
  • HAMMER
  • RULER
  • PENCIL & PEN
  • MARKER or PAINT & BRUSH
Create your own rustic photo displays using recycled wood and a handful of favorite family photos.
STEP 1:
Take your block and put one of your images on top. Use a ruler and pen to mark out where you need to trim the image to fit the shape of your block. Trim the photo with a scissor along the marking.
STEP 2:
Place your trimmed photo on the block and nail it to the wood with a hammer in each corner. Make sure the photo doesn’t bulge.
Create your own rustic photo displays using recycled wood and a handful of favorite family photos.
STEP 3:
Next, we add some lettering or shapes to the sides of our blocks. Cut out the ones you need from your printout and cover the back of it with pencil.
STEP 4:
Now turn your paper and place it on where you want the shape or lettering to go. Trace firmly around the shape. You have now transferred an outline of your shape to the woodblock.

NOTE: In the below picture, I actually flipped the paper wrong. It’s so much easier if you trace on the printed side of the paper ;-).

Create your own rustic photo displays using recycled wood and a handful of favorite family photos.
STEP 5:
Go over the outline with your pencil, to make it more visible.
STEP 6:
Last we take a marker ( or paint and brush) and fill out the traced outline of the shape or lettering.
Create your own rustic photo displays using recycled wood and a handful of favorite family photos.
Go through the above process for all your blocks. I have filled out all the sides of each block, which allows me to have two images, and two-lettered words (or shapes) on each block. This way it can be seen from all sides.
If you are already thinking about crafting your own Christmas presents this year, this simple project can be really fun and personalized for the receiver.
Create your own rustic photo displays using recycled wood and a handful of favorite family photos. Create your own rustic photo displays using recycled wood and a handful of favorite family photos.
I hope you liked this simple and fun little way of displaying photos and that you get to make some of your own.
Have a beautiful October. See you soon!
Annika

Southwest BBQ Chicken Salad with Creamy Lime-Cilantro Dressing

Friday, September 30, 2016

This Southwest BBQ Chicken Salad with Creamy Lime-Cilantro Dressing is a quick dinner option that’s full of healthy ingredients and so packed with flavor your family will asking for it again and again!

This Southwest BBQ Chicken Salad with Creamy Lime-Cilantro Dressing is a quick dinner option that's full of healthy ingredients and so packed with flavor your family will asking for it again and again!

Not every meal we try makes it into our regular dinner rotation, but the minute we tried this salad at my mother-in-laws house, I knew it was a keeper!

The combination of flavors is seriously heaven. I could eat this again and again and never get tired of it. In fact, I eat this for leftovers at lunch when the kids are school. It’s just as good the next day….and the day after that!

This Southwest BBQ Chicken Salad with Creamy Lime-Cilantro Dressing is a quick dinner option that's full of healthy ingredients and so packed with flavor your family will asking for it again and again!

A Healthy, Easy to Prepare Dinner for Busy Weeknights

I love that this is an inexpensive, simple dinner option filled with healthy ingredients like greens (lettuce), protein (chicken) and legumes (black beans.)

To make this meal even quicker, I like to prepare the chicken in our Instant Pot. I can put frozen chicken breasts in and they’re ready to shred in about 1/2 an hour. You could also use a rotisserie chicken if you were short on time.


5.0 from 1 reviews
Southwest BBQ Chicken Salad with Creamy Lime Cilantro Dressing
 
Print
Ingredients
  • 2-3 Large Chicken Breasts
  • 1 Cup BBQ Sauce
  • ½ head romaine lettuce, chopped small
  • ½ head iceberg lettuce, chopped small
  • 1 can corn, drained
  • 1 can black beans, drained and rinsed
  • 1 bunch green onions, chopped
  • 4 roma tomatoes, diced
  • 2 Avocados, diced
  • Shredded cheese
  • Crispy Tortilla strips
Instructions
  1. Mix shredded chicken in with BBQ sauce until coated evenly. Toss together lettuce, cilantro, corn, beans and chopped vegetables. Top with shredded chicken, cheese and crispy tortilla strips. Drizzle Creamy Lime-Cilantro Dressing over salad and enjoy!
3.5.3208


You can use store bought tortilla chips or make your own crispy tortilla strips.

Crispy Tortilla Strips

Slice 10-12 corn tortillas into narrow strips and place on cookie sheet. Spray with vegetable oil cooking spray and sprinkle generously with salt. Place under broiler and let bake until crispy and brown around the edges.

This Creamy Lime-Cilantro Dressing is long on taste and short on prep time. Pair it with our Southwest BBQ Chicken Salad for a delicious and healthy meal!

The only thing this tasty salad needs to finish things off is to top it with homemade Creamy Lime-Cilantro Dressing. Just throw the ingredients in your blender and in 5 minutes it’s ready! You’ll find the recipe here.

If you liked this post you might also enjoy…

Apricot Chicken

This delicious Apricot Chicken can be made in the slow cooker or in our new favorite kitchen gadget – the Instant pot. With just 4 ingredients, this dish is both easy and tasty! It’s the perfect solution if you need dinner in a pinch.

Chicken and Stuffing Casserole

img_6490

Rustic Italian One-Pot Chicken and Rice

Tired of battling picky eaters at the dinner table? Rustic Italian One-Pot Chicken and Rice sneaks good nutrition into yummy, cheesy, familiar flavors!

Creamy Lime-Cilantro Dressing

Friday, September 30, 2016

This Creamy Lime-Cilantro Dressing is long on taste and short on prep time. Pair it with our Southwest BBQ Chicken Salad for a delicious and healthy meal!

This Creamy Lime-Cilantro Dressing is long on taste and short on prep time. Pair it with our Southwest BBQ Chicken Salad for a delicious and healthy meal!

It’s as easy as throwing all the ingredients for this dressing in your blender and mixing it up. I can’t believe how delicious it is and as good as it tastes on salad it can also be used on fish, chicken, for dipping veggies, etc.

Creamy Lime-Cilantro Dressing
 
Print
Ingredients
  • 1 Package (1 oz) Hidden Valley Ranch Dressing Mix (do NOT use instruction on package)
  • 1 Cup Mayonaise
  • ½ Cup of Milk or Buttermilk
  • 1 Lime
  • 2 Cloves of garlic, chopped
  • ½ Cup chopped cilantro
  • ½ Cup Green Salsa
  • Franks Red Hot Sauce
Instructions
  1. Place milk, mayonnaise, and ranch mix in blender and blend well. Juice lime (about 2 tbsp of juice) and add to mixture. Add garlic, cilantro and green salsa. Blend well. Add hot sauce to taste. Make a few hours before serving to allow time to thicken.
3.5.3208

This Creamy Lime-Cilantro Dressing is long on taste and short on prep time. Pair it with our Southwest BBQ Chicken Salad for a delicious and healthy meal!

This recipe makes enough that you’ll have leftovers and it keeps well in the fridge for several days. Enjoy!


« Previous Page
Next Page »

Primary Sidebar

Rebecca Cooper — Founder, Simple as That Blog

Hello, I'm Rebecca. Welcome to my blog, Simple as That. Come along as we embrace simplicity in crafting, photography, travel, and family life. Read more about me.

Newsletter

Get the latest updates from Simple as That delivered to your inbox.

Join for Free

Beyond Snapshots: Mastering the Art of Mobile Photography

Connect

  • Bloglovin
  • Facebook
  • Instagram
  • Pinterest
  • Twitter

Follow On Pinterest

Visit Rebecca - Simple as That Blog's profile on Pinterest.

Categories

  • Crafts / DIY
  • Holidays
  • Motherhood
  • Organization
  • Photography
  • Printables
  • Recipes
  • Simple Living
  • Travel
  • Wellness

Our Privacy Policy

Follow on Instagram

Instagram has returned invalid data.

Printable 2023 Calendar

Our printable calendars and organizational pages have been essential in keeping our home and my life in order and I guarantee they will be a help to you too!

Click here to learn more

© Simple as That Blog, 2017 · Design by Brian Gardner

Simple as That Blog

Facebook / Instagram / Pinterest / Twitter / Contact