50 Photos to Take During Baby’s First Year – Of all the milestones we capture in our children’s lives, none are quite as precious as the ones we document during their first year of life. Don’t miss a single moment with this printable 50 Photos to Take During Baby’s First Year checklist!
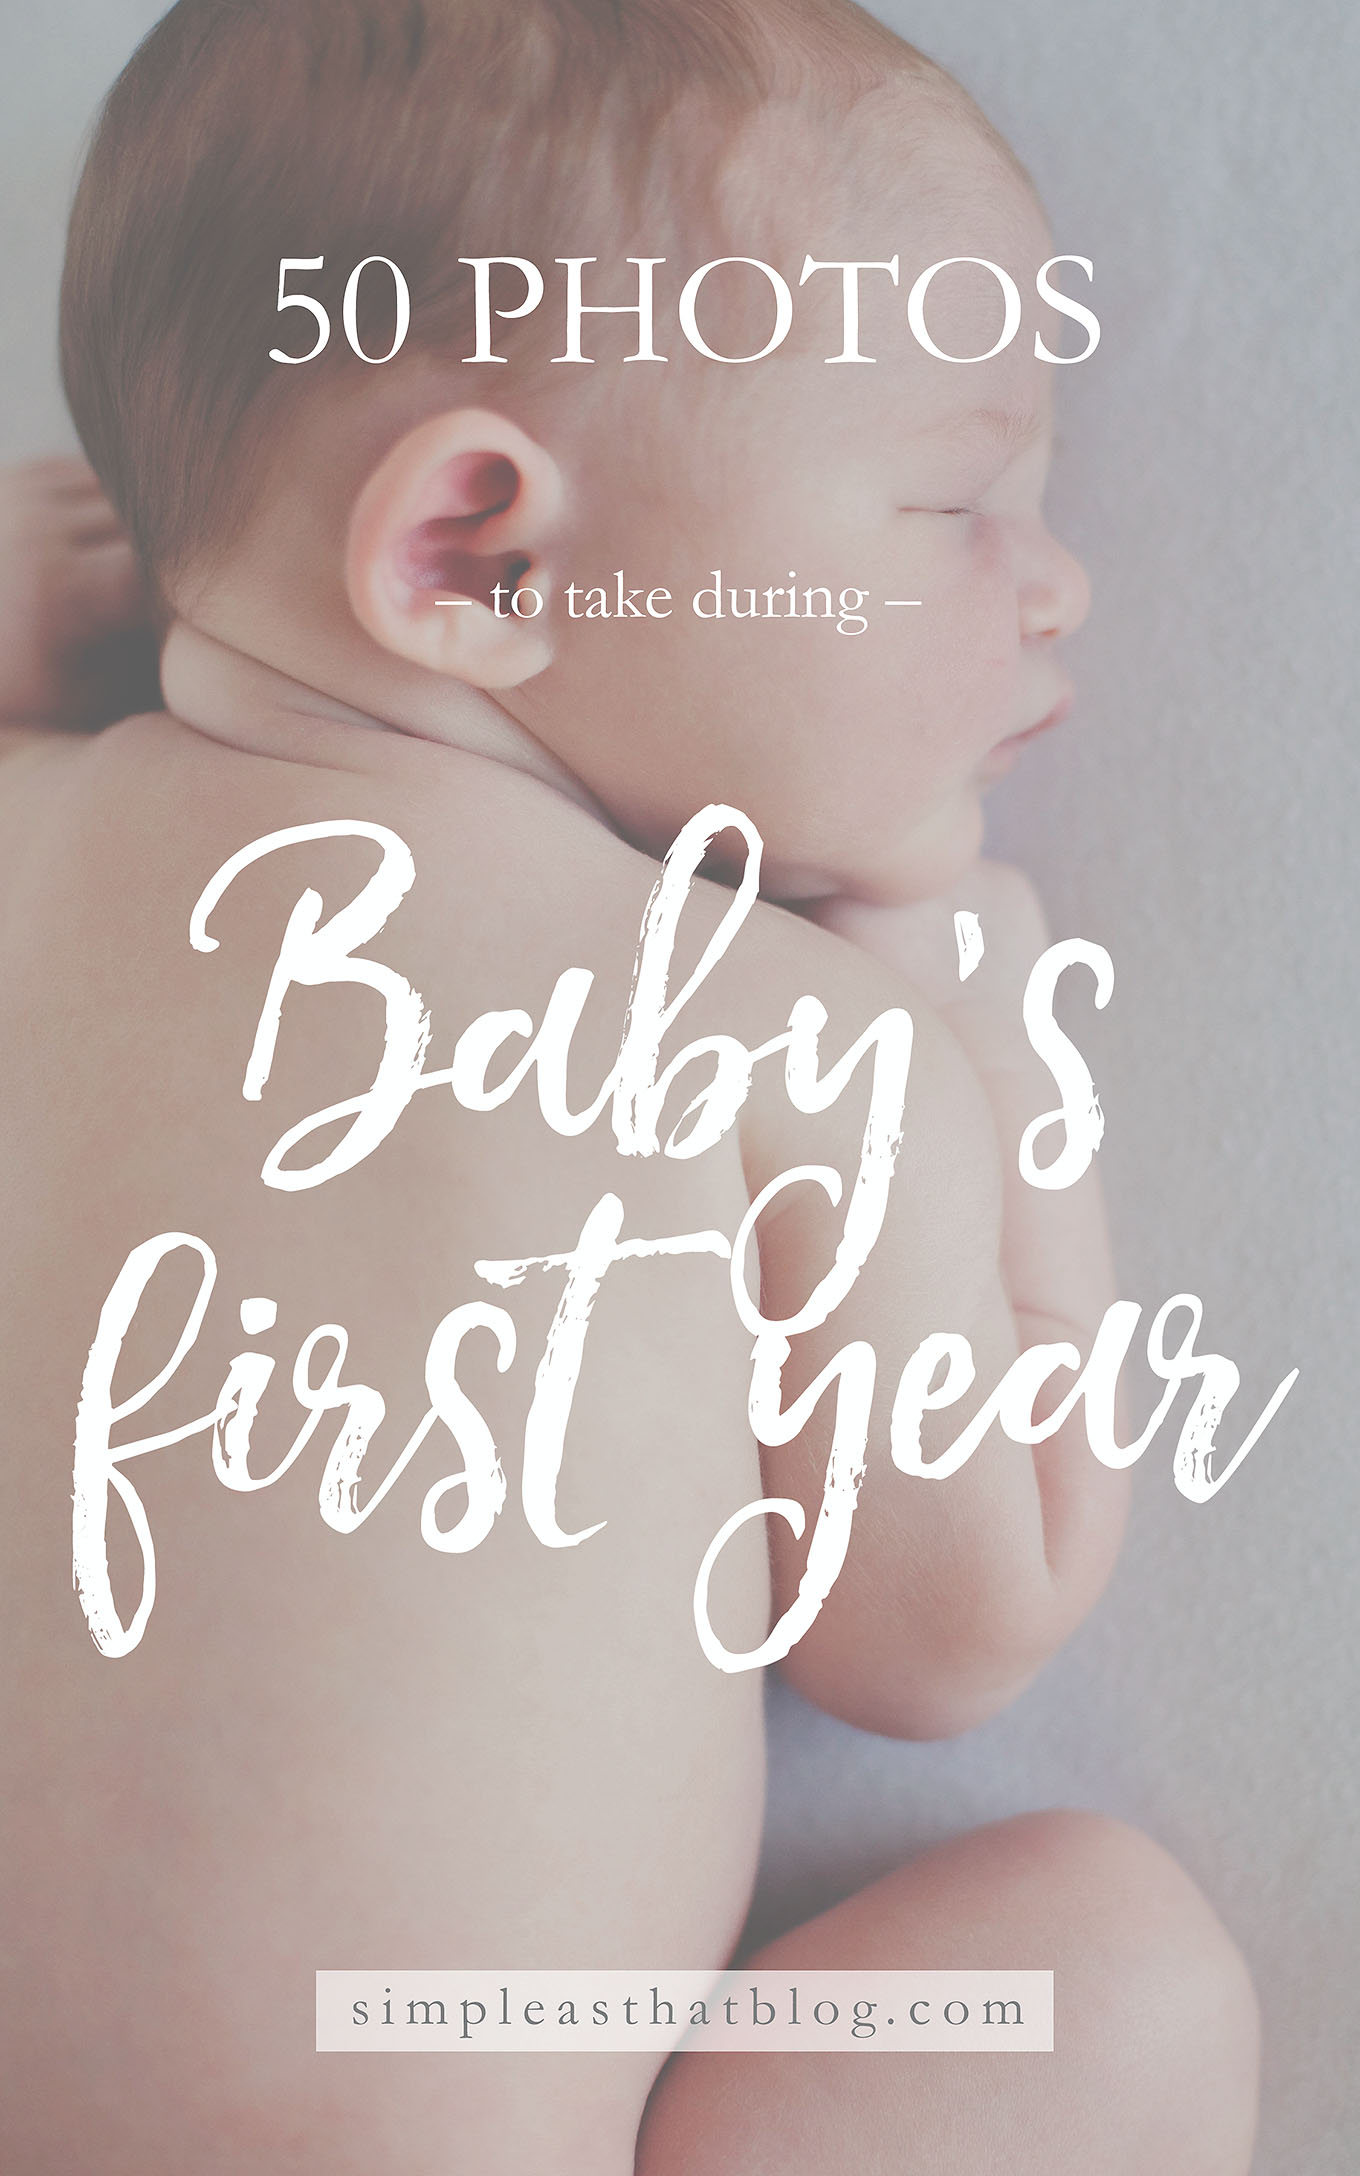
50 Photos to Take During Baby’s First Year
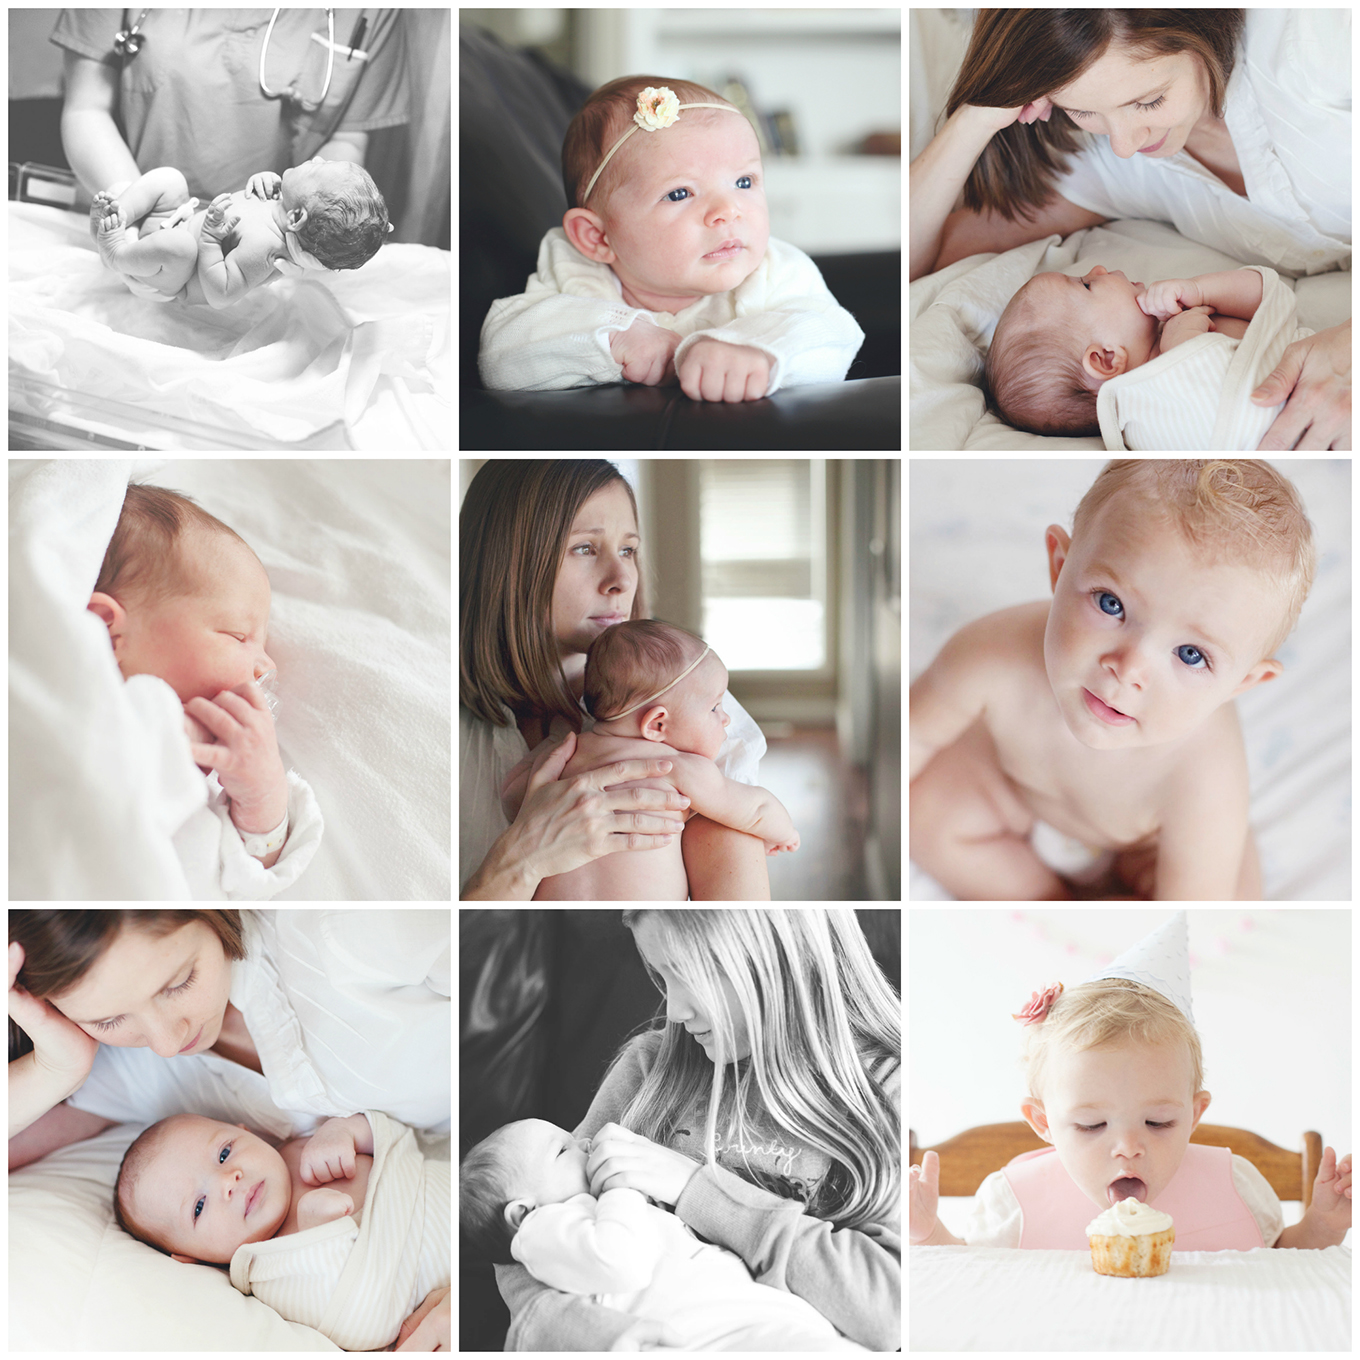
From first smiles and first steps all the way to that first birthday, there are so many memorable moments to capture during baby’s first year. As a mother of four whose baby is now seven, I know all too well how quickly these baby years fly by.
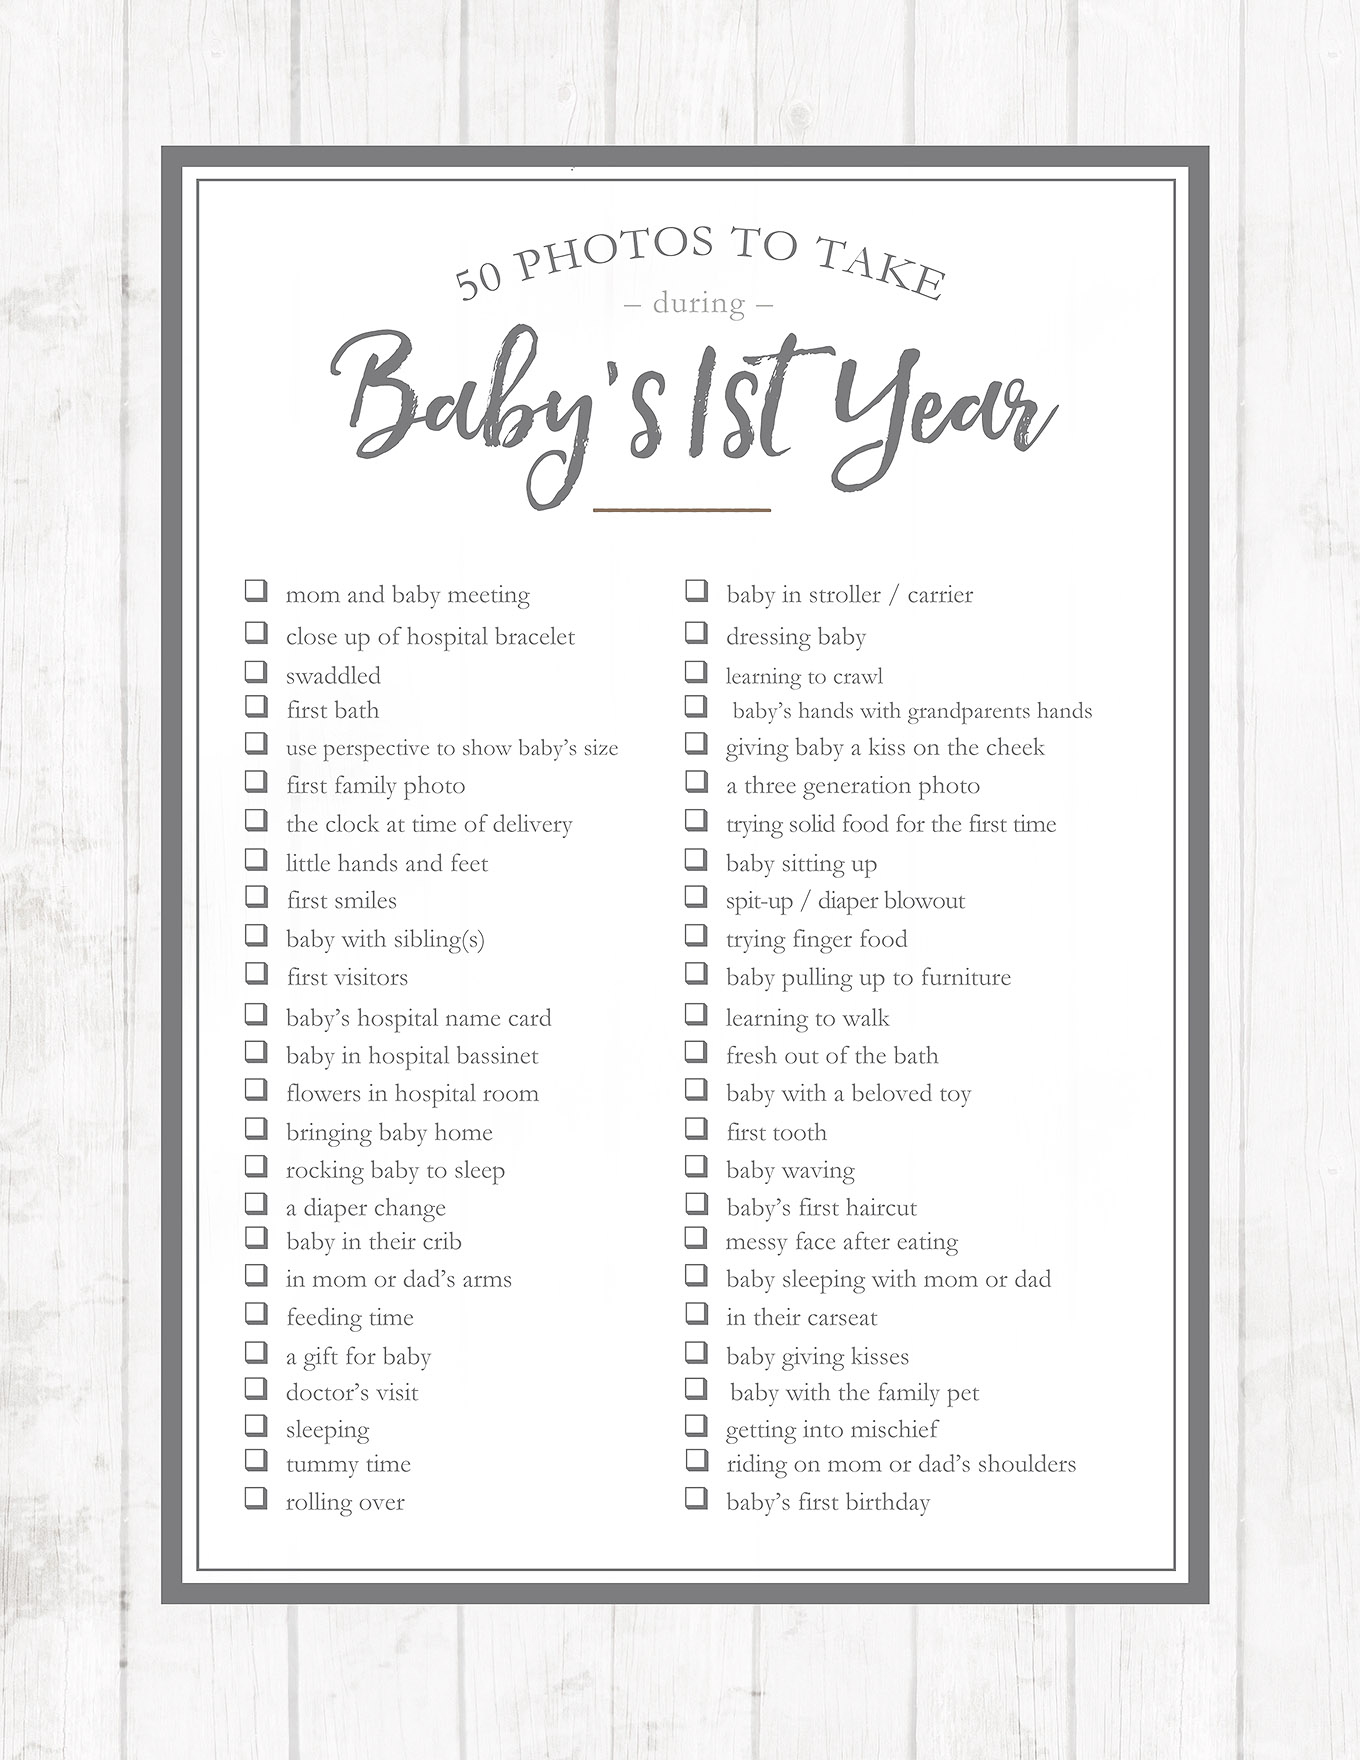
Download our FREE Baby’s First Year Photos Checklist!
These baby years are fleeting and we want to remember every detail. Having a list of photo ideas is helpful when setting out to capture unique and precious images of your little bundle of joy. Remember that capturing the ordinary, every day moments is just as important as documenting the exciting milestones.
Diaper changes, feeding time, learning to sit up, snuggles with mom or dad – whether you’re shooting images of your baby with your phone or you’re a skilled photographer, this printable checklist of photo ideas is sure to get you inspired. I’ve shared 50 key images to capture during baby’s first year so when you look at these photos years from now you’ll remember the smallest details from this precious time in your child’s life.
If you need some photography tips to help you capture those first few months after baby arrives here is my best advice for do-it-yourself newborn photography.
Printable Photo Checklists
If you’ve been a follower of Simple as That for any amount of time you’ll know how much I enjoy creating printable photo checklists just like this one. These lists serve as inspiration to help you get the creative juice flowing while capturing meaningful images of every aspect of life. I have photo checklists available for each season, for your next travel adventure, motherhood and more!