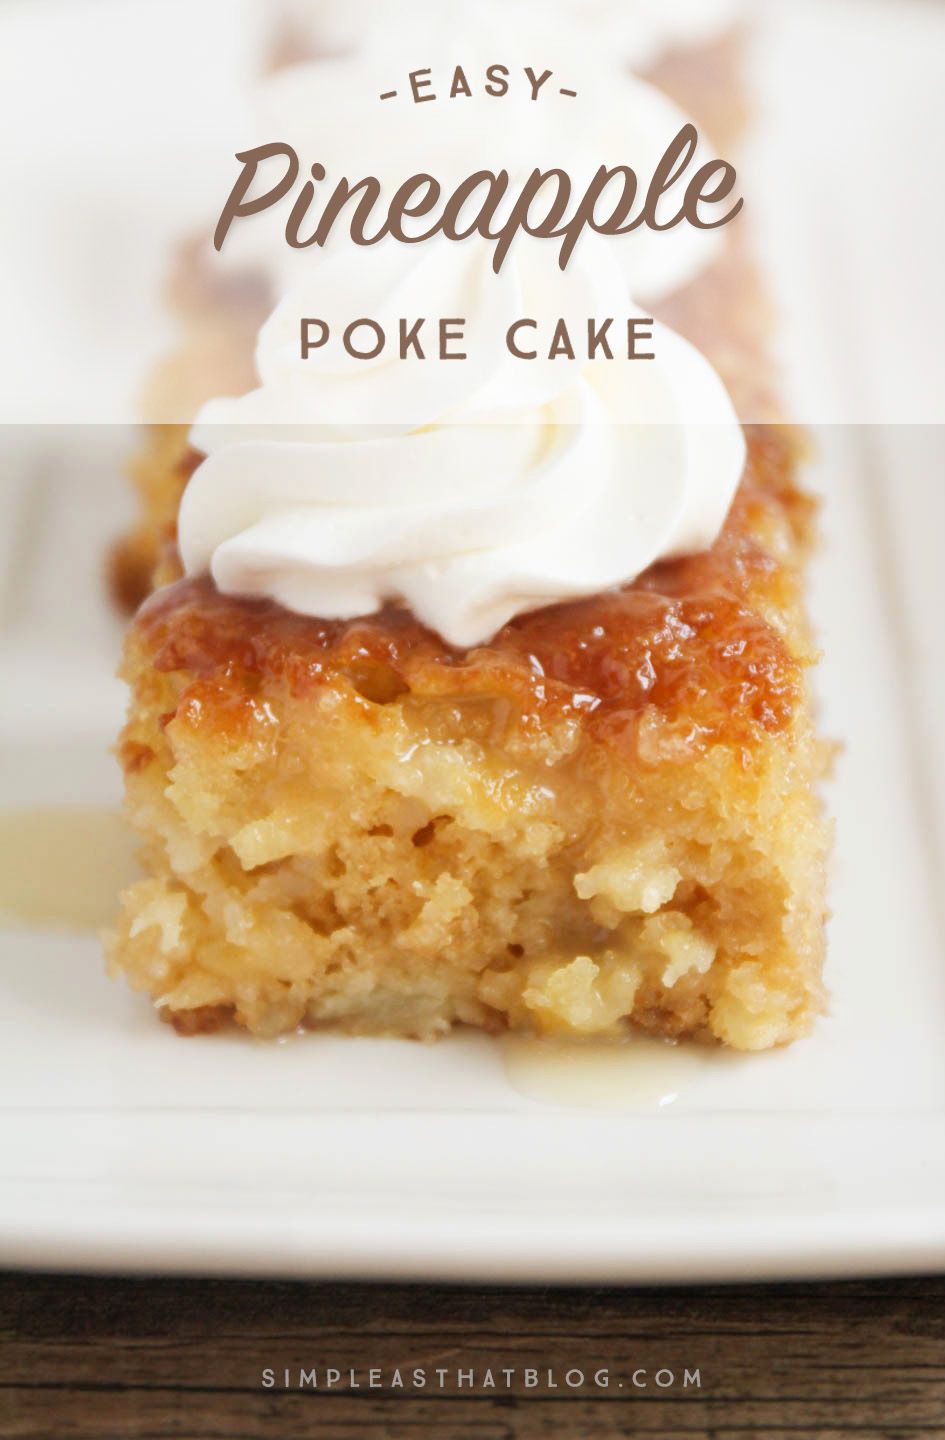
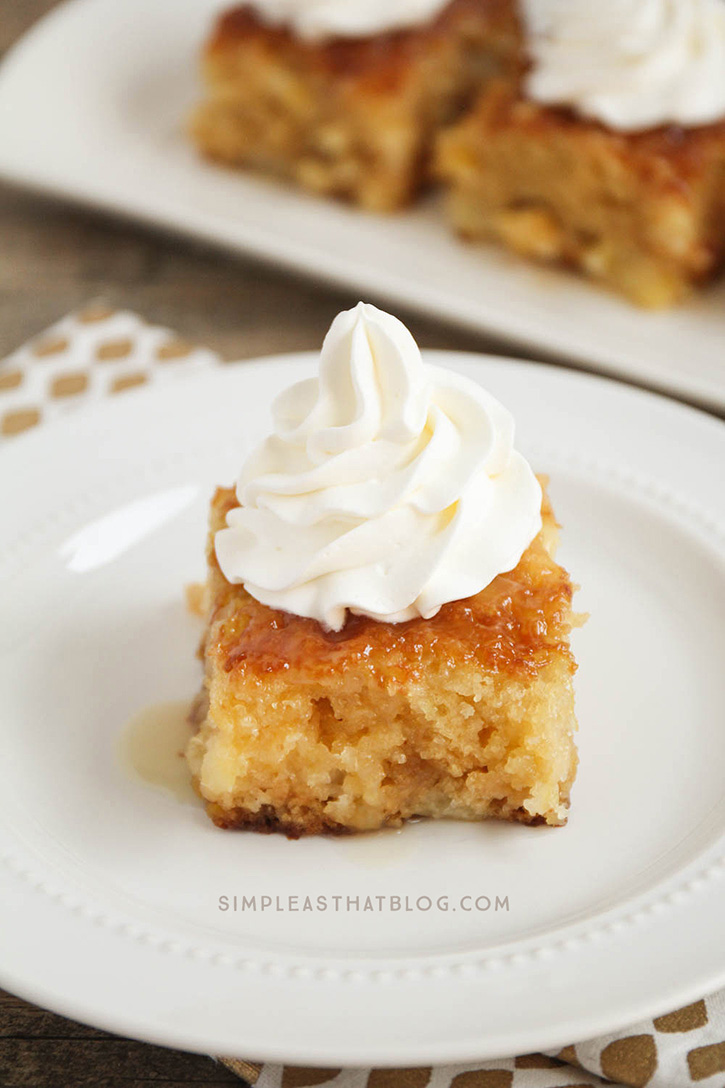
This made from scratch Pineapple Poke Cake is as easy as using a mix and it turns out spongey, moist and delicious every time! It’s all the flavors of pineapple upside down cake, made simple and it’s sure to be a crowd pleaser!
This simple cake is one that my mom made for us all the time growing up! It was one of my favorite desserts then and it still is now.
What I love most about this Pineapple cake is that I can keep the ingredients stocked in my pantry and make it whenever needed, no making any special trips to the grocery store. It’s also fool proof and turns out deliciously every time!
Poke cakes are notorious for being incredibly moist and full of flavor. The glaze for this pineapple cake is really basic, but it oozes into every inch and with the first bite you’ll in pineapple heaven! The other thing that’s great, is this cake is even better the day after.
- 1½ cups white sugar
- 2 tsp baking soda
- 2 cups flour
- 2 eggs
- ½ tsp salt
- 14 oz. can crushed pineapple
- Sauce:
- ½ cup cream/milk
- ½ cup butter
- 1 tsp vanilla
- ¾ cups sugar
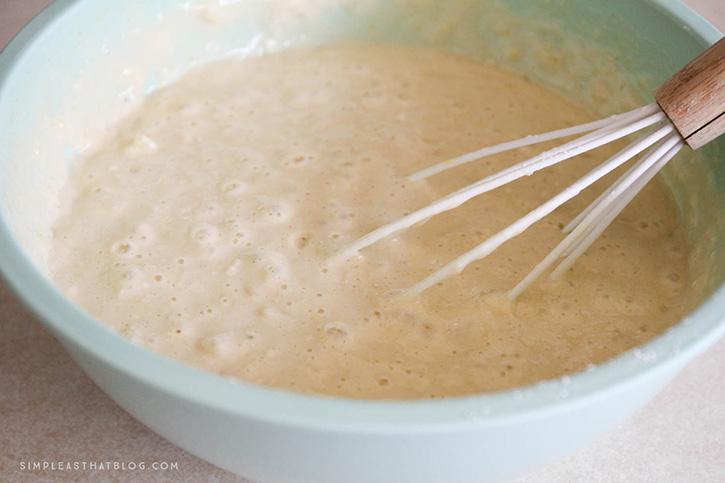
- Mix eggs, sugar, crushed pineapple, baking soda, flour and salt together. Do NOT drain pineapple juice.
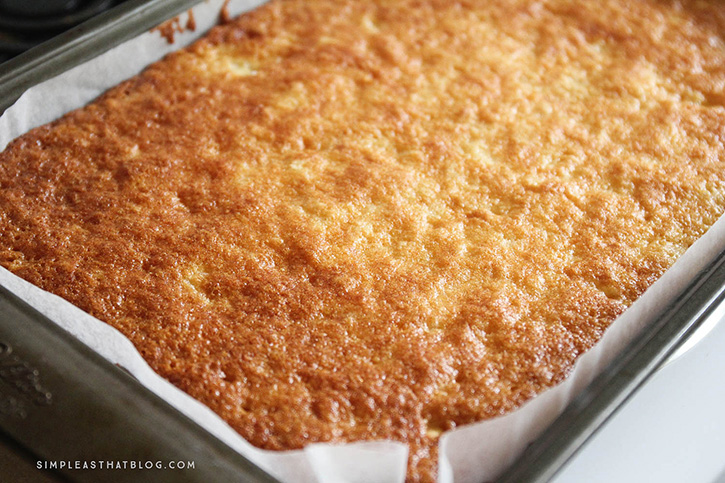
- Bake at 325 for 40-45min in a 9" X 13" pan. Top will be golden/dark brown when finished.
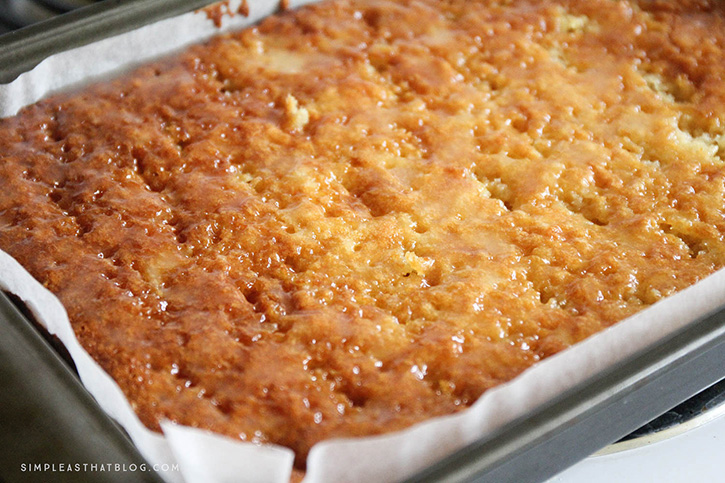
- Once cake is completely cooled, poke holes all over the top with a fork.
- To make sauce: boil together sugar, cream, butter and add vanilla last.
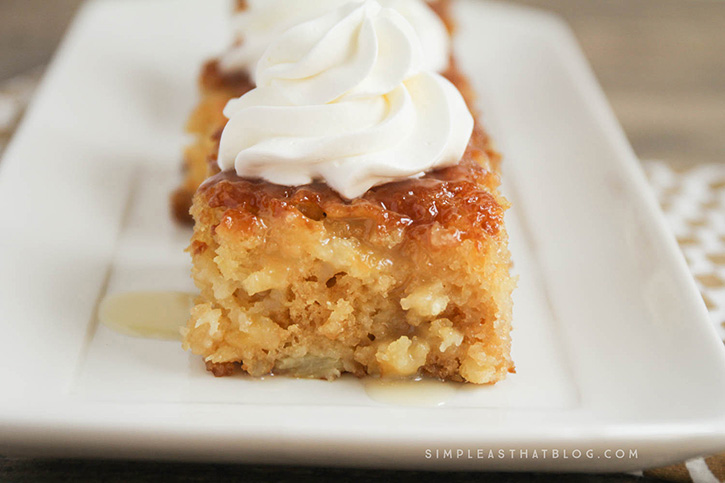
- Pour sauce over entire cake. Allow to soak in. Serve.
Mix eggs, sugar, crushed pineapple, baking soda, flour and salt together. Do NOT drain pineapple juice.
Bake at 325 for 40-45min. Top will be golden/dark brown when finished. Once cake is completely cooled, poke holes all over the top with a fork.
Make sauce by boiling together sugar, cream/milk, butter and add vanilla last.
Pour sauce over entire cake. Allow to soak in. Serve.
If you enjoyed this recipe, you might want to check out…

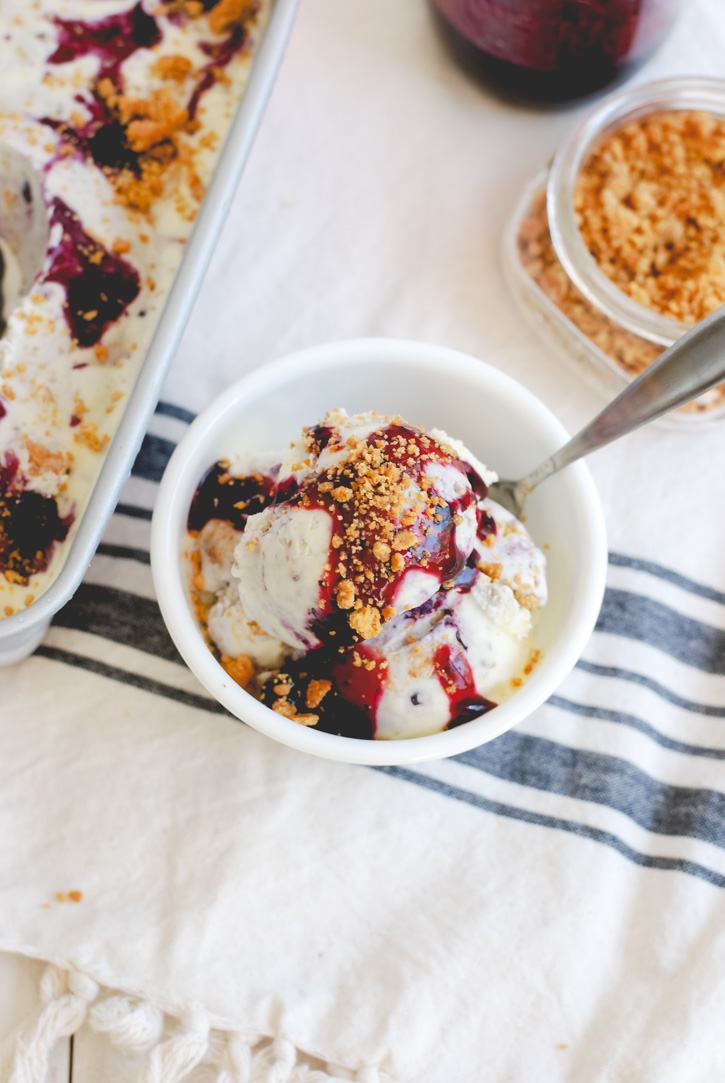
Homemade Blueberry Cheesecake Ice Cream
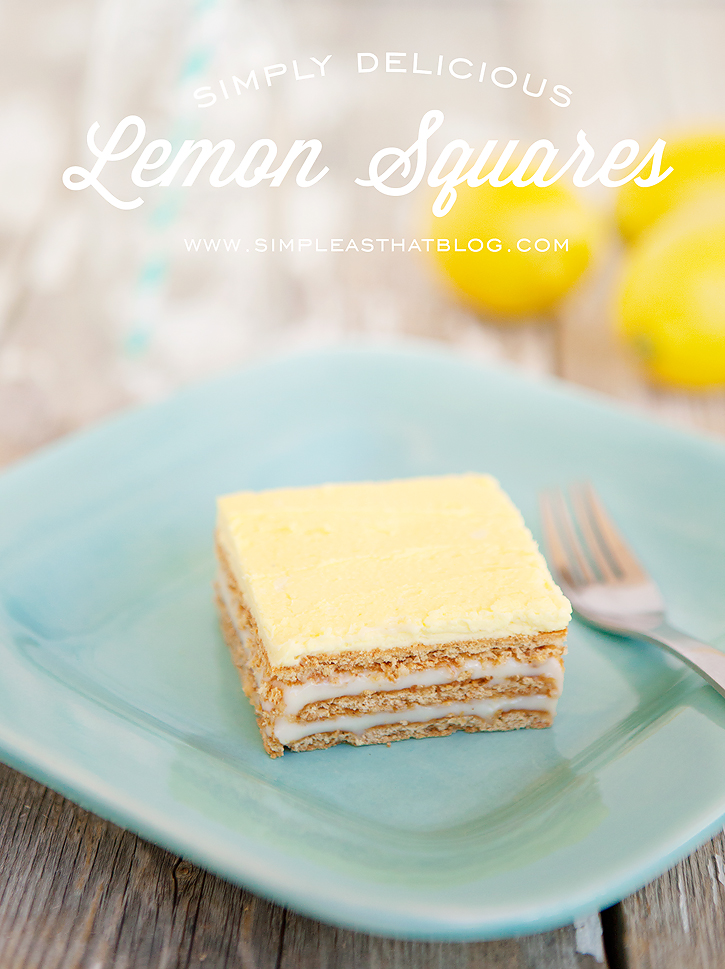
Simply Delicious No-Bake Lemon Squares