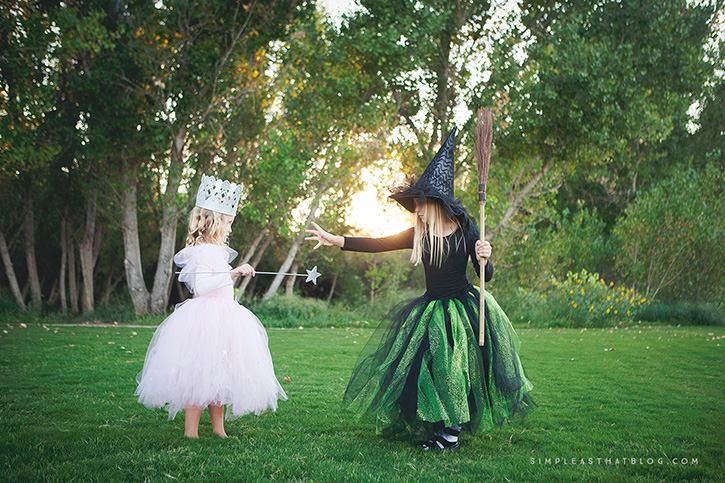
DIY Glinda and Wicked Witch of the West Costumes – homemade Halloween costumes don’t have to be complicated. With inspiration from the classic Wizard of Oz movie, you can put these simple Glinda the Good Witch and Wicked Witch of the West Costumes together in an afternoon – little to no sewing involved!
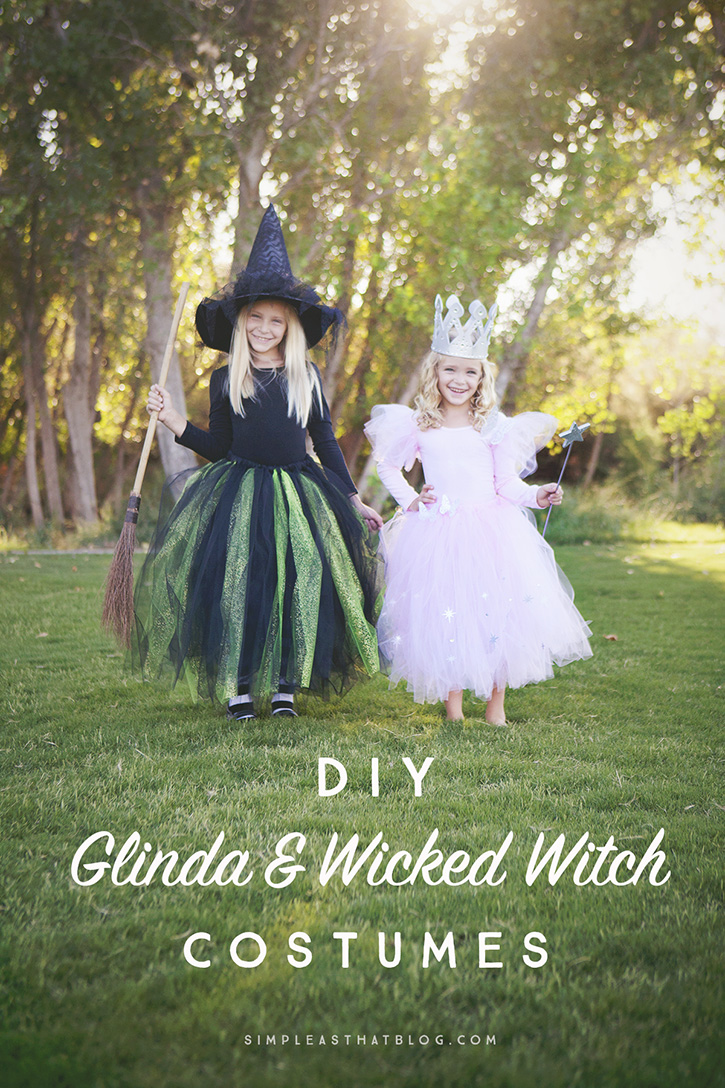
We don’t always DIY our costumes but this year we got creative thanks to the Michaels Makers DIY Costume Challenge and it was a lot of fun! My 7 year old wanted to be a witch for Halloween and with inspiration from the classic Wizard of Oz movie, we put together a simple DIY wicked witch costume for her.
Of course, I couldn’t resist making a sparkling Glinda the Good Witch costume for her little sister as well. Their costumes turned out so cute, but most importantly, they didn’t break the bank and they were easy to put together!
Let’s start with a quick how-to for the Wicked Witch of the West costume. It’s completely no-sew and my daughter especially loves how full the tulle skirt is! Below is a list of supplies we used for the Wicked Witch of the West costume.
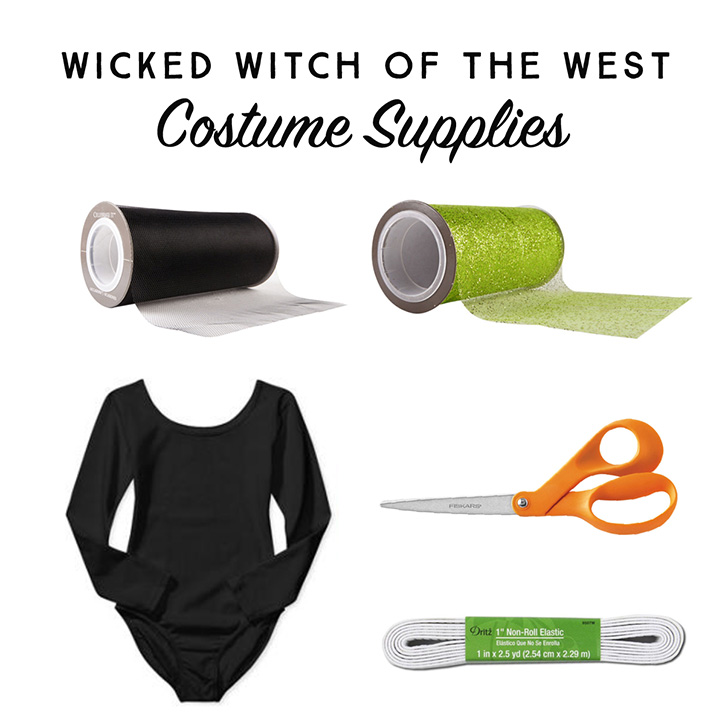 4-5 rolls Black Tulle Fabric | 2 rolls Green Glitter Tulle Fabric | Scissors | Black Leotard | 1 inch Elastic With the exception of the leotard and the witch’s broom, everything pictured above was purchased at Michaels. We started with a plain black leotard as a base for this costume. Below are the steps for putting together the tutu.
 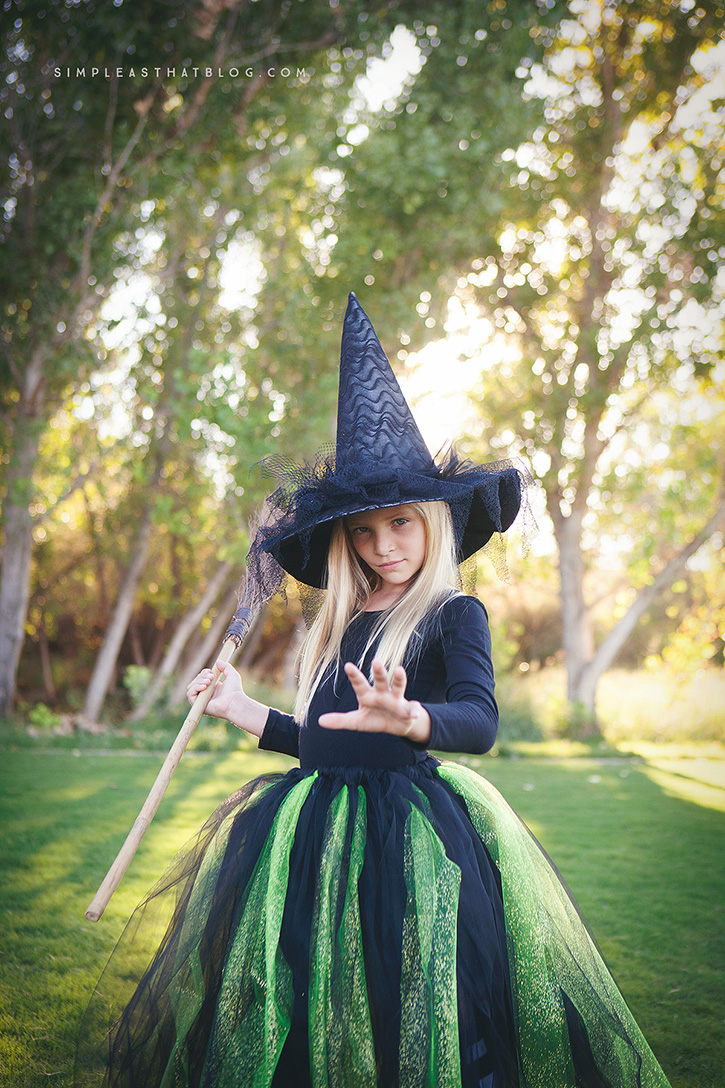 Wicked Witch of the West Costume Step 1 Measure a length of elastic to fit around child’s waist. Secure ends of elastic together with a few quick stitches. We kept it really simple by just stapling the elastic together. Step 2 Decide on how long you’d like your skirt to be. Measure a length of black tulle twice as long as you’d like the tutu to be. Use this piece as a guide to cut the rest of your tulle.
  Step 3 Now you’re going to start tying the tulle onto the elastic. Take one piece of tulle, fold it in half and loop around the elastic from the front. Pull the rest of the tulle through the loop. Step 4 You want all of your tulle pieces to be tied to the elastic in the same direction. Keep adding tulle until the tutu is as full as you’d like. We added about 5 lengths of tulle to the elastic then added a green one and repeated this pattern all the way around the tutu.
 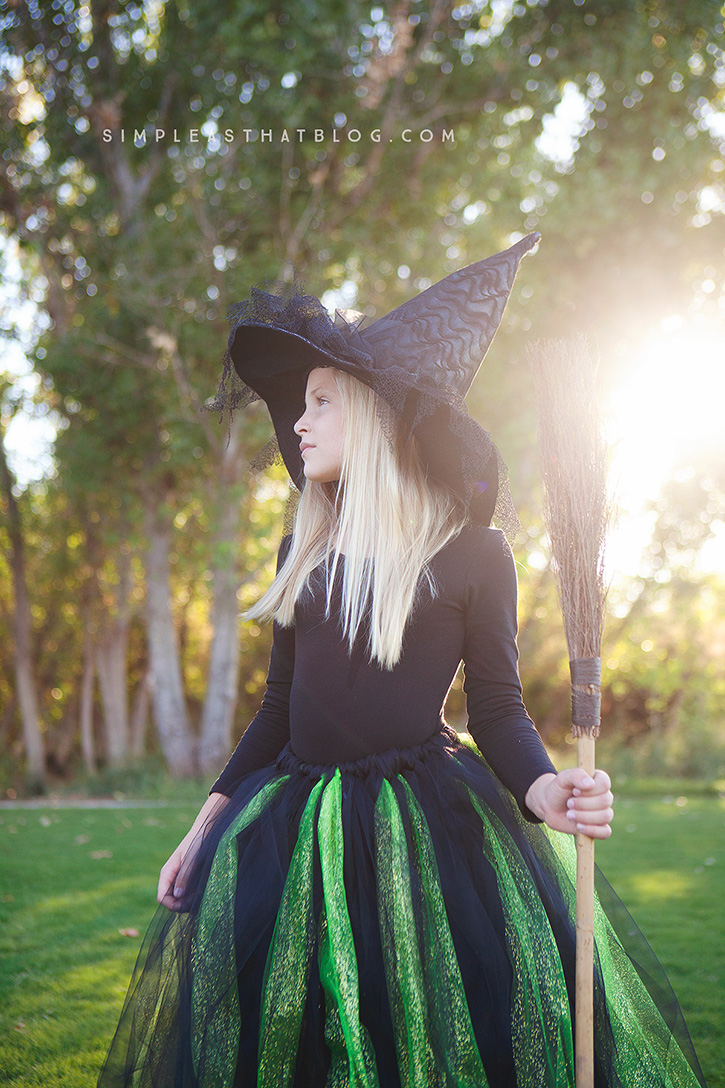 Step 5 Once the tutu is as full as you’d like try it on. Trim any stray pieces that may be a little long and that’s it! One beautiful, wicked witch of the west tutu! We purchased a broom and Michaels had some really pretty witches hats to complete the outfit. Glinda the Good Witch Costume My youngest daughter is all about glitter and sparkles so this Glinda the Good Witch costume was right up her alley! You’ll find the supply list and instruction for the costume below.
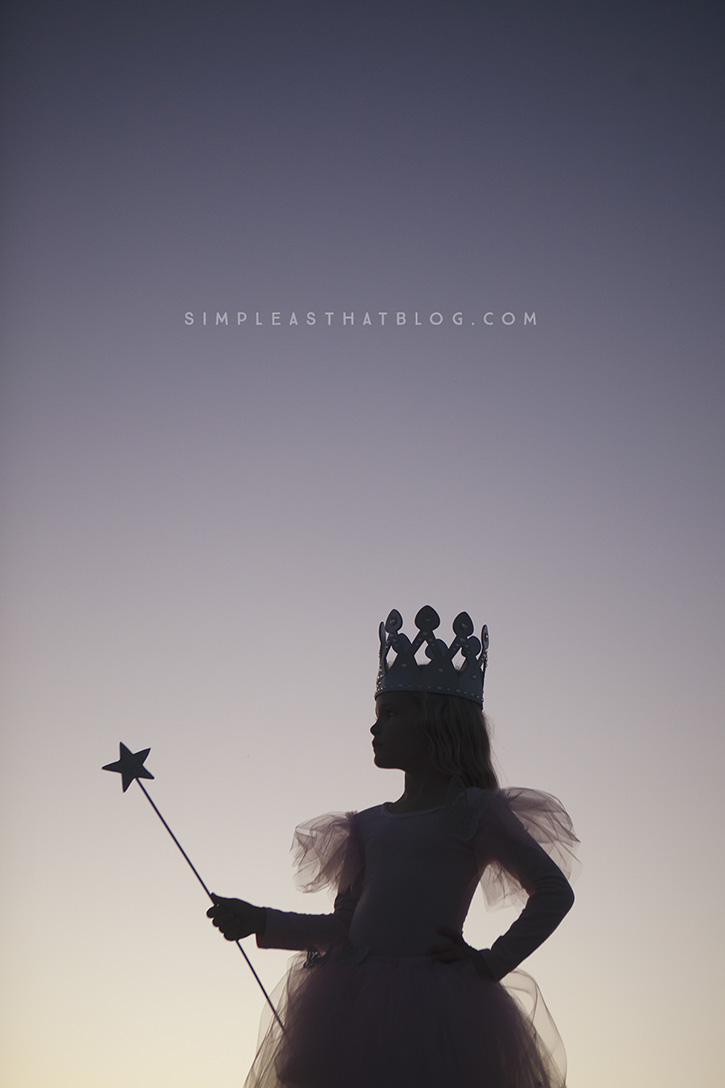
 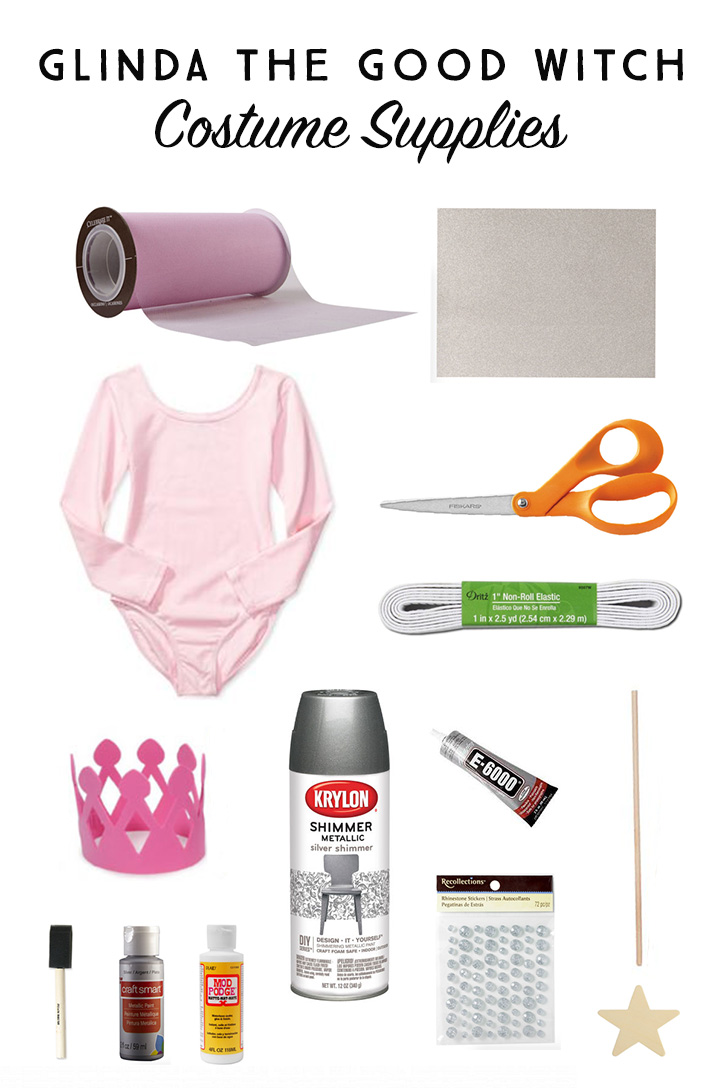 Pink Tulle Fabric | Silver Glitter Paper | Pink Long Sleeve Leotard | Scissors | 1 inch Elastic | Craft Foam Crown | Krylon Silver Shimmer Metallic Spray Paint | E-6000 Adhesive | Rhinestone Stickers | Wood Dowel | 3 1/2 inch wood star | Foam Brush | Silver Metallic Craft Paint | Mod Podge | Silver Glitter
 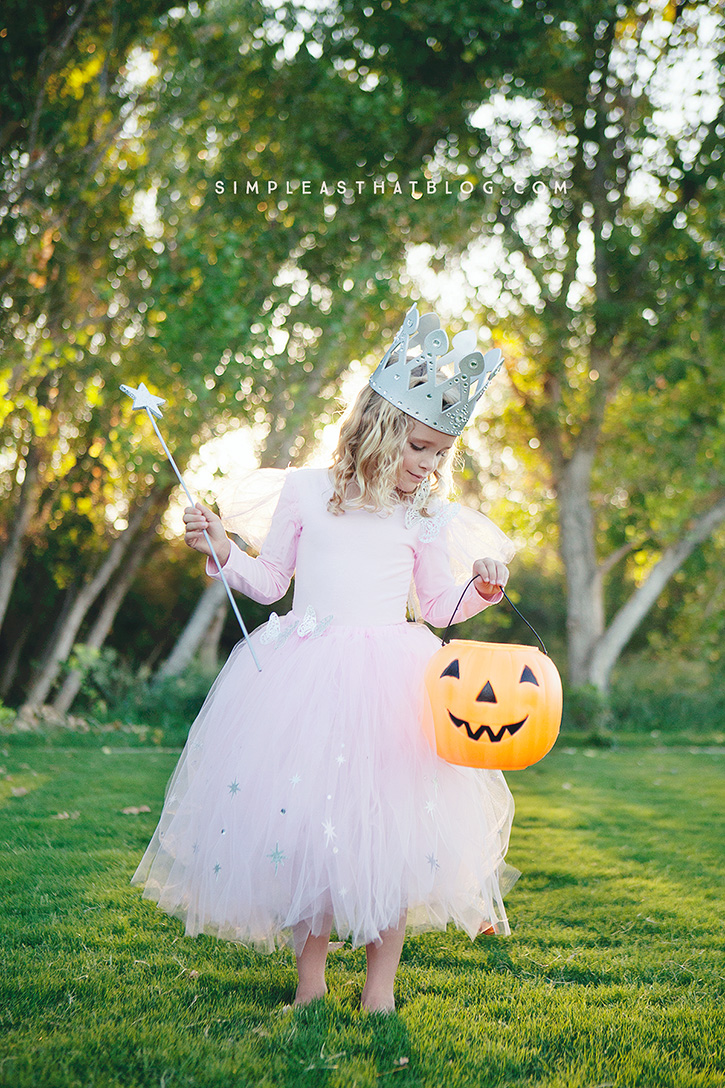 No-Sew Glinda the Good Witch Tutu The base of this costume is also a plain ballet leotard in pink. Follow the instructions for the no-sew tutu above using this time using pink tulle. Depending on how full you’d like the tutu to be you’ll need 4-5 rolls of tulle or more.
 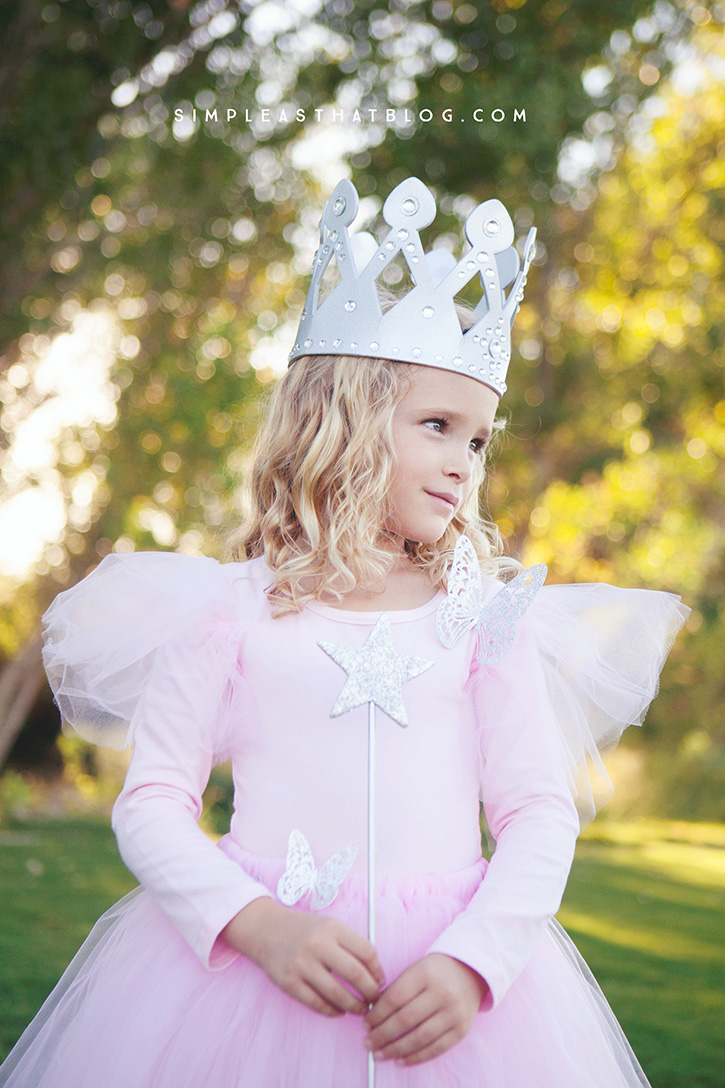 To add some shimmer and shine to Glinda’s dress I cut out various sizes of stars from silver glitter cardstock using my Cricut Explore. Next, I glued the stars around the bottom of 1/3 of the tutu using e-6000 adhesive. I also added some small rhinestones to the tutu, adhering them with E-6000 as well. The final touch on Glinda’s dress was adding some sparkly butterflies. I used this font and cut out three butterflies from silver glitter paper with my Cricut Explore. I then attached them to the tutu using E-6000 adhesive. To add sleeves and the butterfly to the pink tutu I pulled out my sewing machine, but you could just as easily attached them to the tutu using adhesive. For the sleeves I used three layers of the same tulle fabric I used for the tutu. I gathered the tulle and sewed it along the top edge of the sleeve of the leotard. I also sewed the butterfly directly on to the leotard, but you could use adhesive instead.
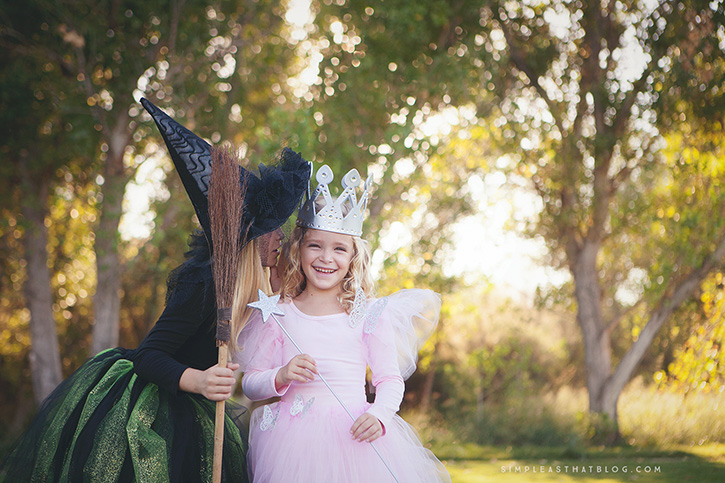
 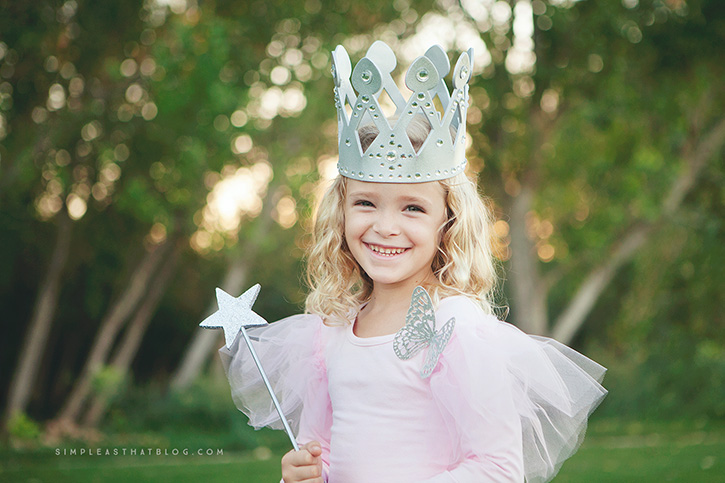 Glinda the Good Witch Crown Of course the Glinda costume wouldn’t be complete without the classic tall, jeweled crown. A craft foam crown painted with silver shimmer spray paint became this beautiful head piece. To make yours, spray the crown generously with the silver spray paint until it’s completely covered. Decorate with rhinestone jewels in varying sizes. Attach to the foam crown using E-6000 adhesive. Glinda the Good Witch Wand To create the wand, you’ll need a thin piece of wood doweling. Drill a hole in a 3 1/2 inch wood star. Glue the dowel inside the hole. Paint the wand with silver metallic craft paint. Using mod podge cover the star. Sprinkle glitter over the mod podge. Seal with another layer of mod podge. As a photographer, Halloween just wouldn’t be Halloween without the photos. We had so much fun snapping a few shots of the girls in their costumes! I think these two get a long a bit better than the original Glinda and Wicked Witch – well most of the time anyway. 😉
 DIY costumes aren’t always practical, but sometimes it’s a fun way to go! My girls and I made some special memories creating these costumes together this year.
 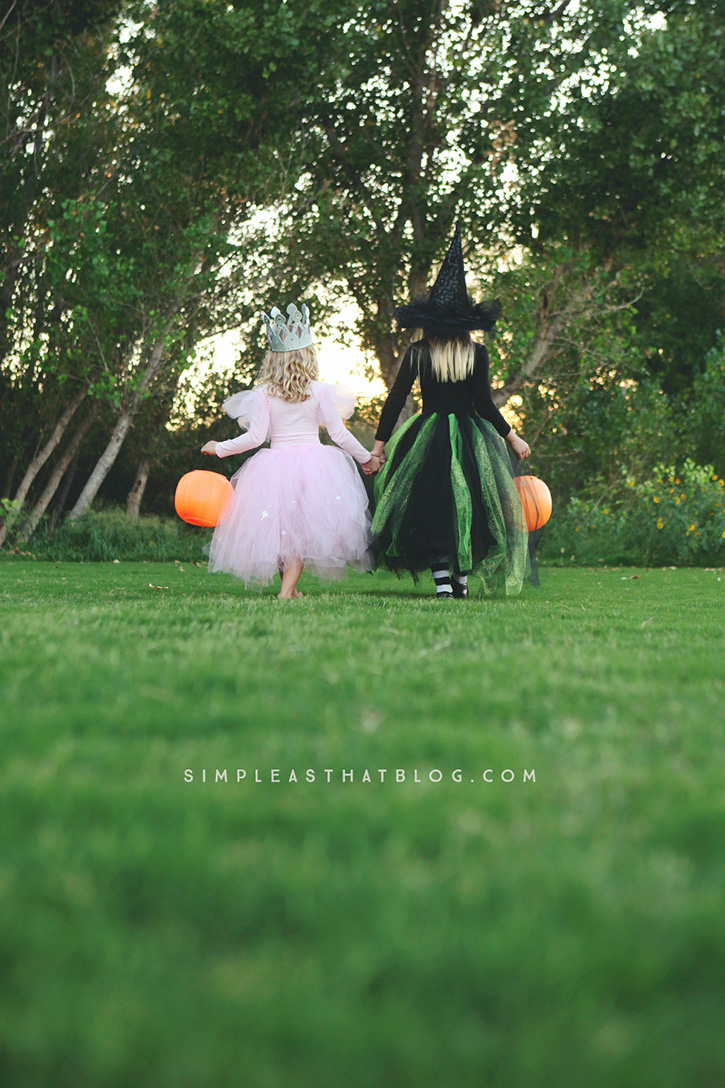 Whether you’re into spooky sights, playful pumpkins or giggling ghouls, the Michaels.com Halloween project page has tons of ideas for DIY Halloween costumes and décor. If you haven’t decided what you’re going to be check out the other 49 DIY costumes from the Michaels Makers and you might just find the perfect one for you, your kiddos or your beloved pet this Halloween– they’re to die for!
FOR MORE HALLOWEEN INSPIRATION VISIT THESE POSTS
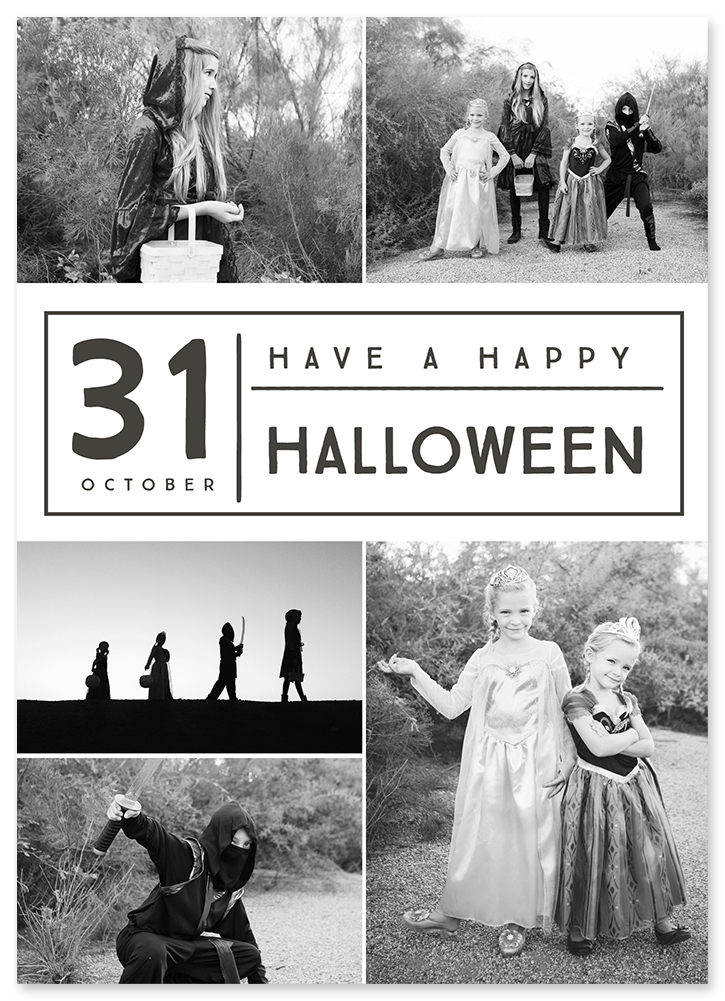
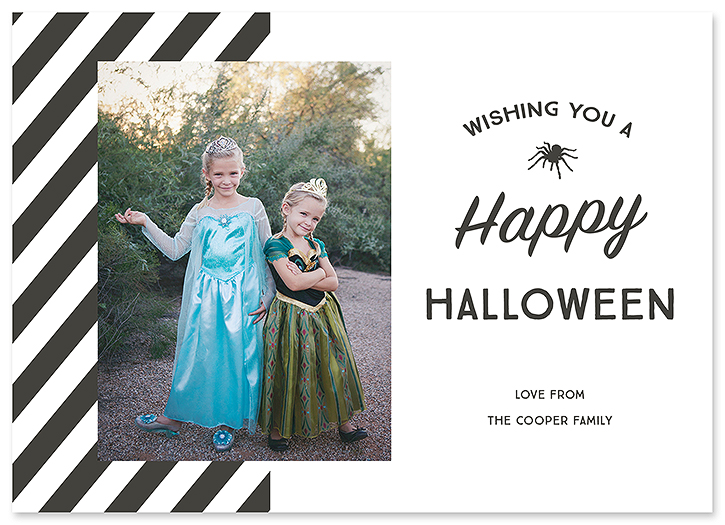
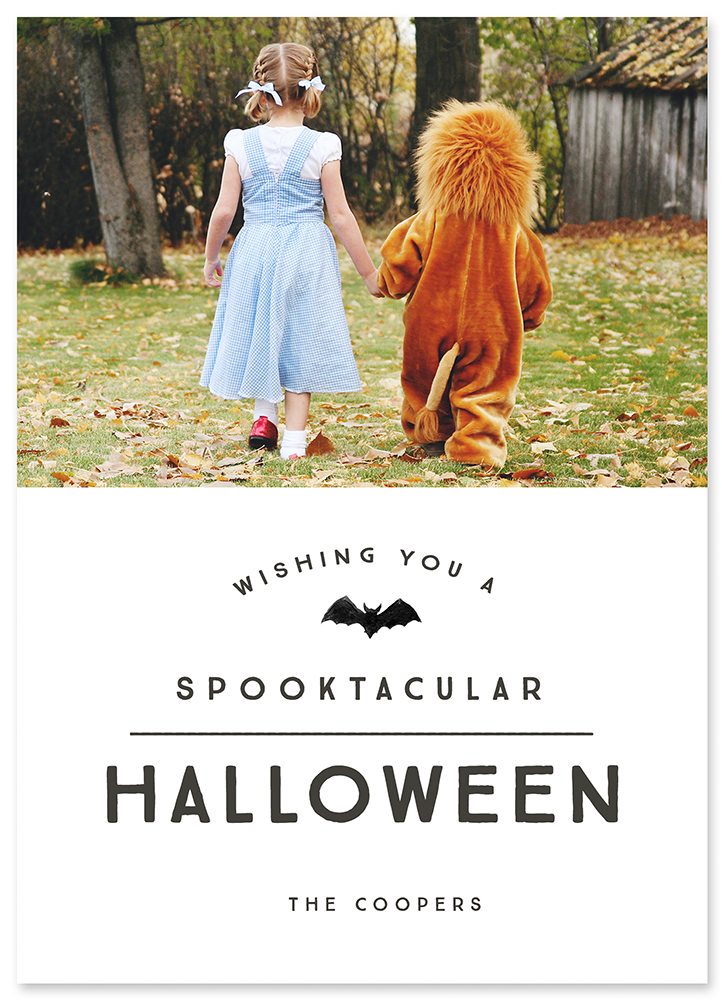
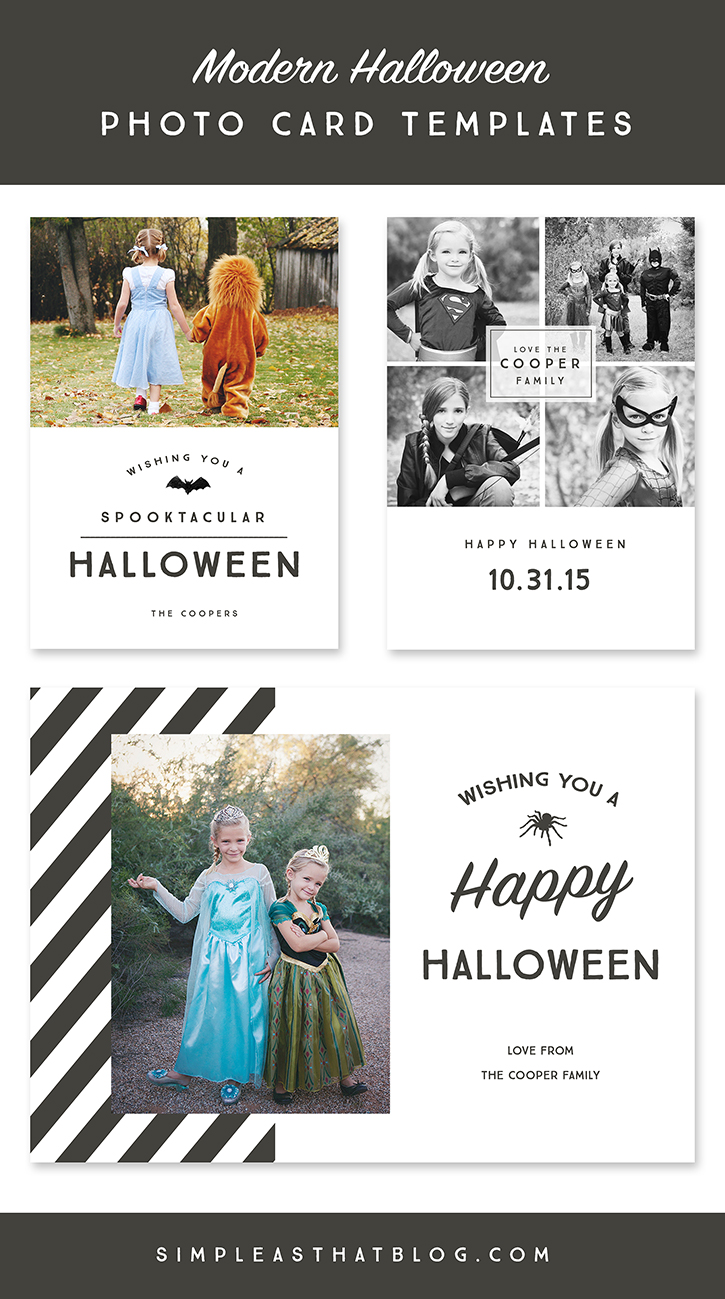
Modern Halloween Photo Card Templates
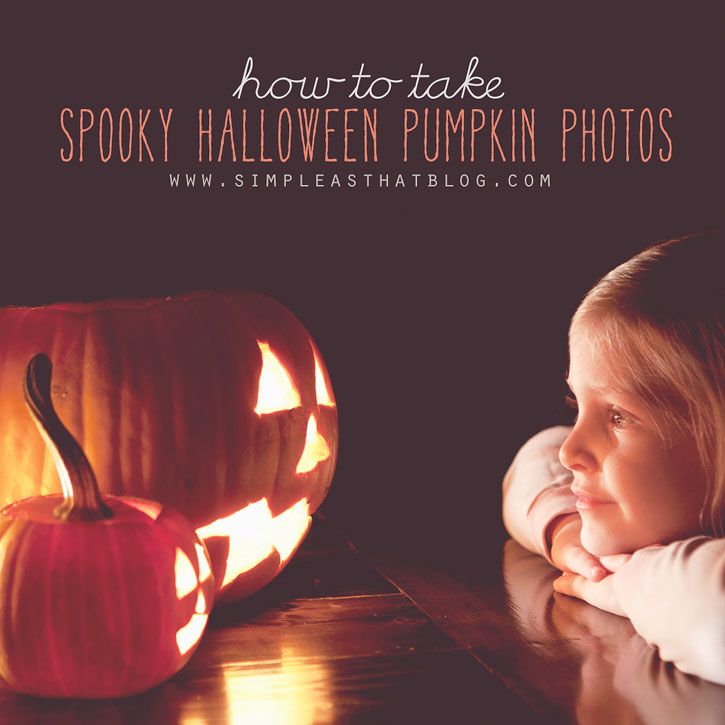
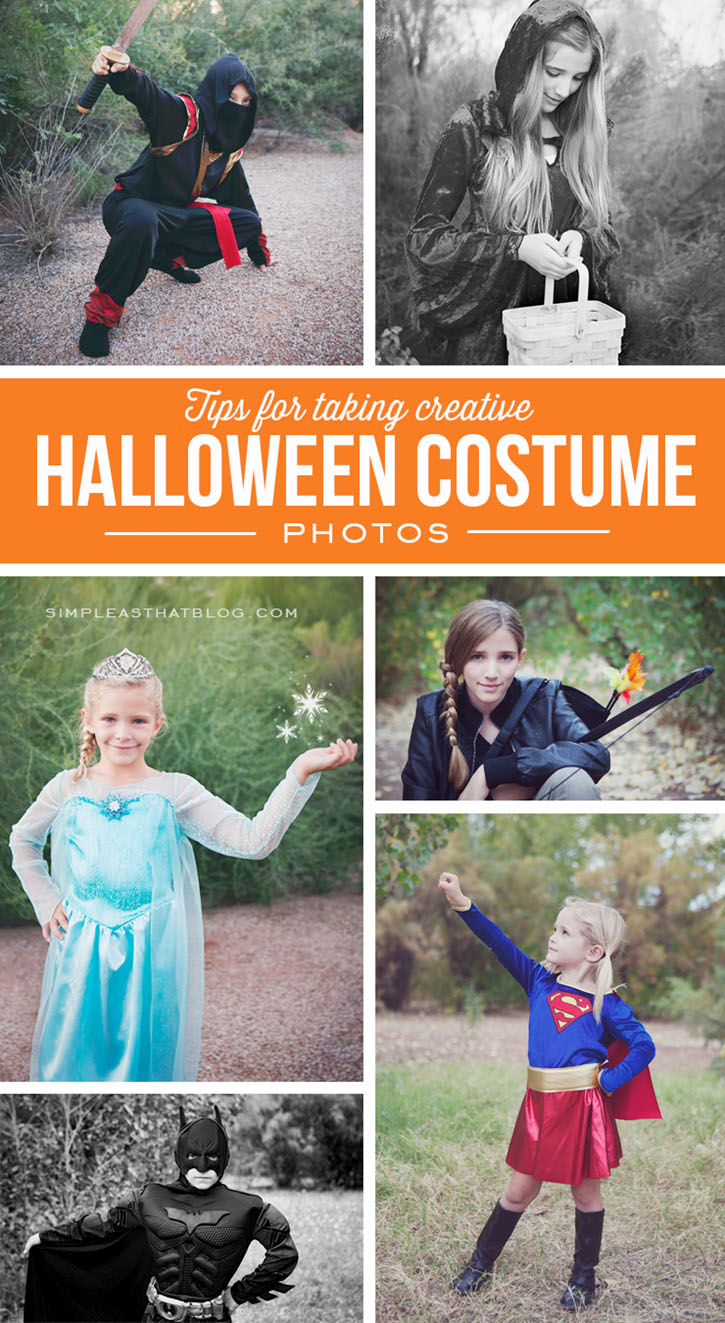
Tips for Taking Creative Halloween Photos
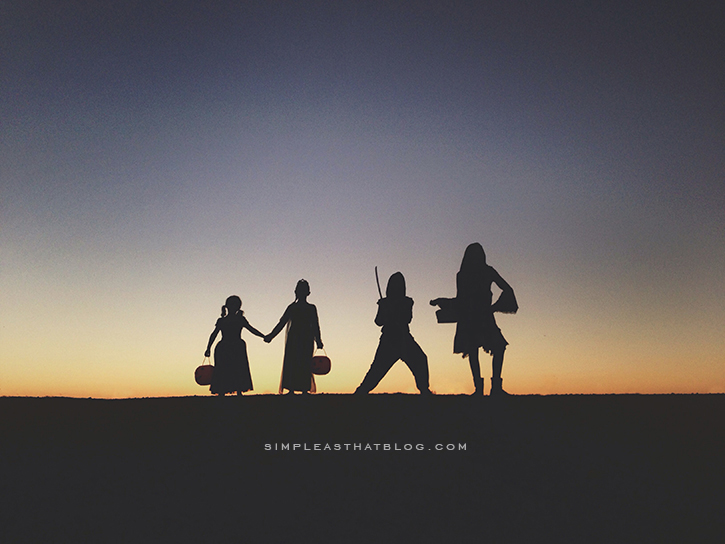
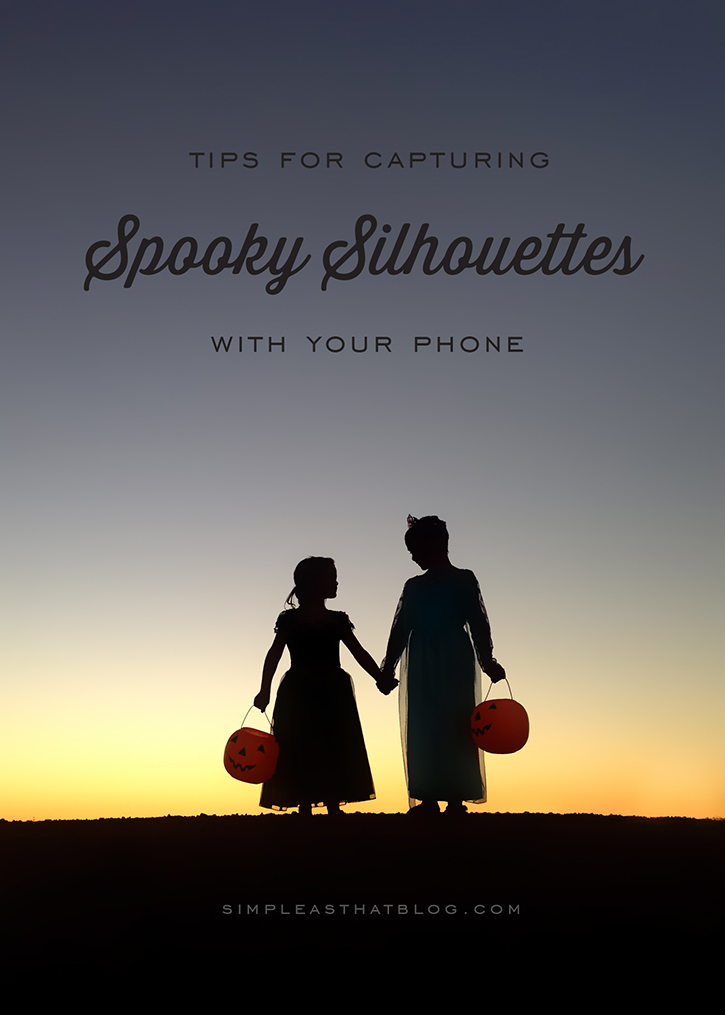
Tips for Taking Spooky Silhouette Photos